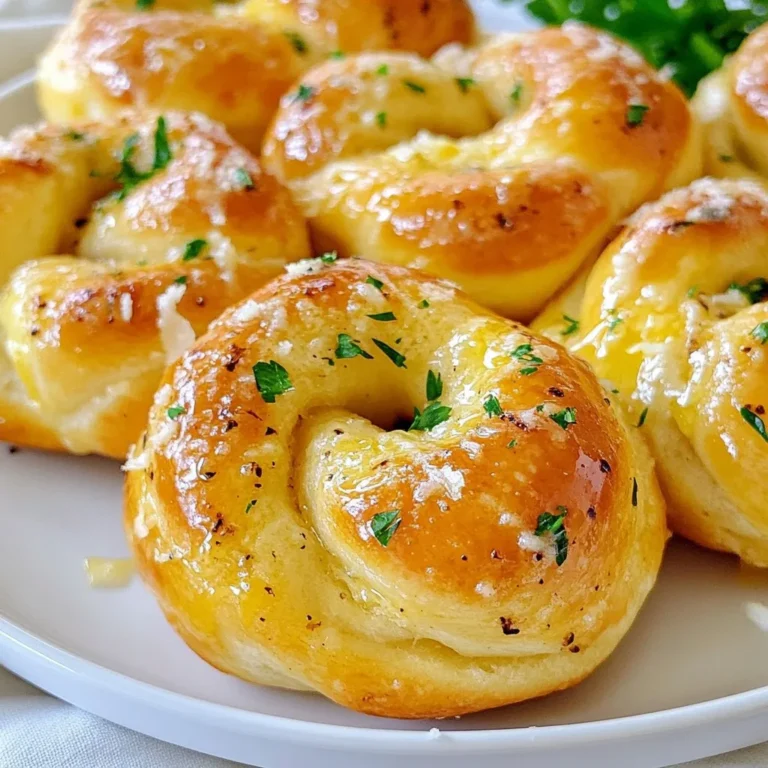
Cheesy Garlic Breadsticks Simple and Tasty Recipe
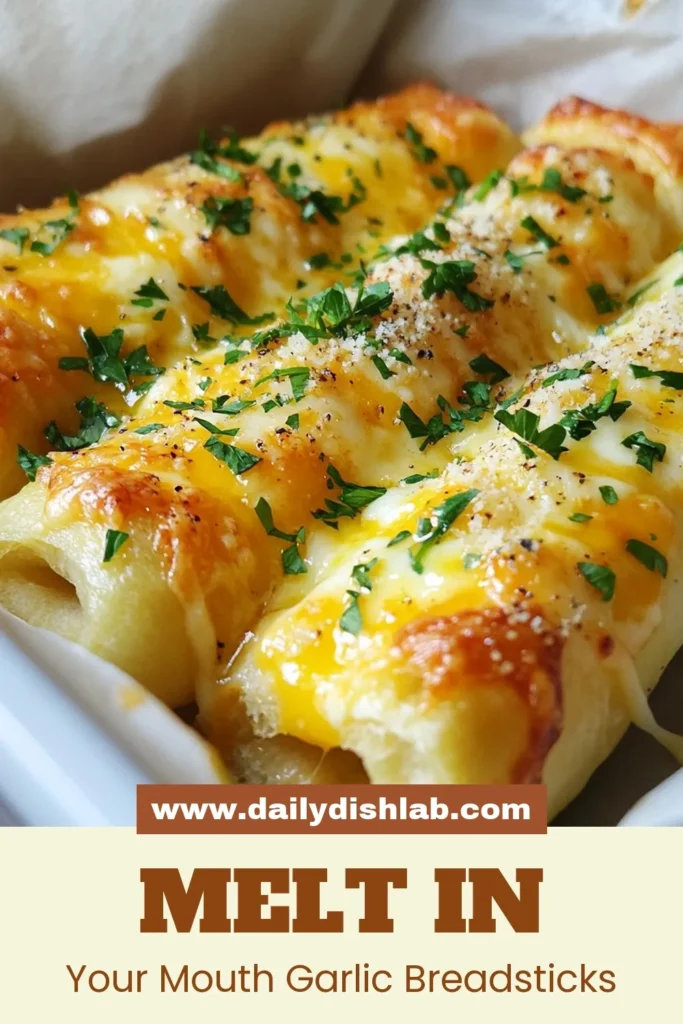
Are you ready to impress with a simple and tasty treat? Cheesy garlic breadsticks are the perfect snack or side dish, and making them is easier than you think. In this post, I’ll show you step-by-step how to create these soft, cheesy delights. From the ingredients you need to expert tips for success, you’ll have everything you need to bake the best breadsticks ever! Let’s dive in!
Why I Love This Recipe
- Easy to Make: This recipe requires simple ingredients and straightforward steps, making it perfect for both novice and experienced bakers.
- Cheesy Goodness: With a generous amount of mozzarella and Parmesan, every bite is a delightful explosion of cheesy flavor.
- Perfect for Sharing: These breadsticks are great for gatherings or movie nights, inviting everyone to enjoy a delicious snack together.
- Customizable: You can easily add your favorite herbs or spices to the dough or toppings, making this recipe versatile for any taste.
Ingredients
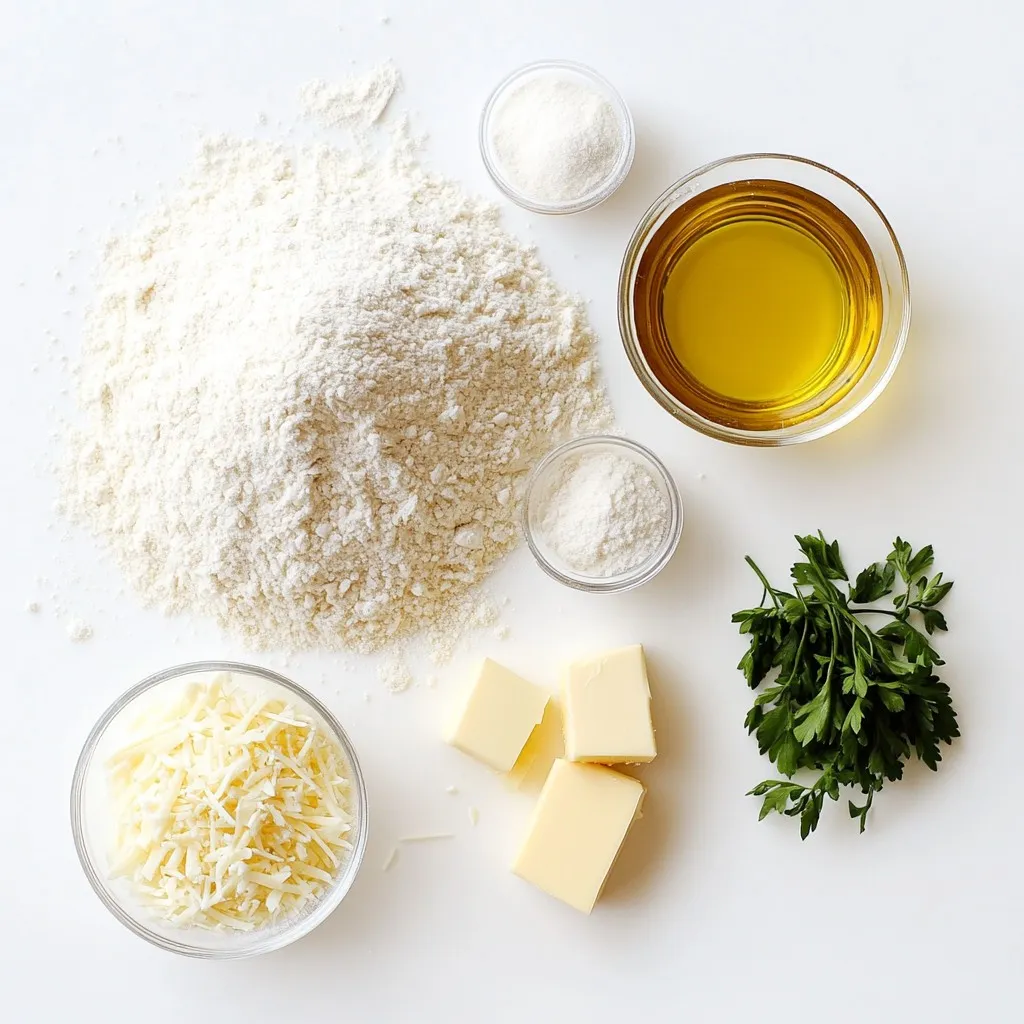
List of Ingredients
- 2 cups all-purpose flour
- 1 teaspoon active dry yeast
- 1 teaspoon sugar
- 1 teaspoon salt
- 3/4 cup warm water (110°F or 45°C)
- 2 tablespoons olive oil
- 1 teaspoon garlic powder
- 1 cup shredded mozzarella cheese
- 1/4 cup grated Parmesan cheese
- Fresh parsley, chopped (for garnish)
- 1 tablespoon melted butter
Measurement Guide
When measuring flour, spoon it into the cup and level it off. This method helps avoid using too much flour. For water, use a thermometer to ensure it’s warm but not hot. Yeast needs warmth to activate, so get it right! Use a scale for precise measurements if you want the best results.
Substitutions for Key Ingredients
If you don’t have all-purpose flour, you can use bread flour. It gives a chewier texture. For the yeast, instant yeast works too, and you don’t need to proof it. Don’t have mozzarella? Try cheddar or even a dairy-free cheese. Olive oil can be swapped with melted butter for a richer taste.
Step-by-Step Instructions
Preparing the Dough
To start, gather your ingredients. You need warm water, sugar, yeast, flour, salt, and olive oil. In a small bowl, mix warm water, sugar, and yeast. Let this sit for about five minutes. You want it to get frothy. This means the yeast is active. In a large bowl, mix the flour and salt. Make a well in the center and pour in the frothy yeast mix. Add the olive oil next. Mix until the dough forms. Knead the dough on a floured surface for about five to seven minutes. You want it to be smooth and elastic. Place this dough in a greased bowl. Cover it with a damp cloth. Let it rise in a warm spot for about one hour, or until it doubles in size.
Rolling and Cutting the Breadsticks
Once the dough has risen, it’s time to shape it. Punch the dough down gently to release the air. Roll it out on a floured surface to about half an inch thick. You want to form a rectangle shape. After that, transfer the rolled dough to a greased baking sheet. Use a pizza cutter or knife to cut the dough into strips. Make sure each strip is even. This helps with cooking time.
Baking Instructions and Tips
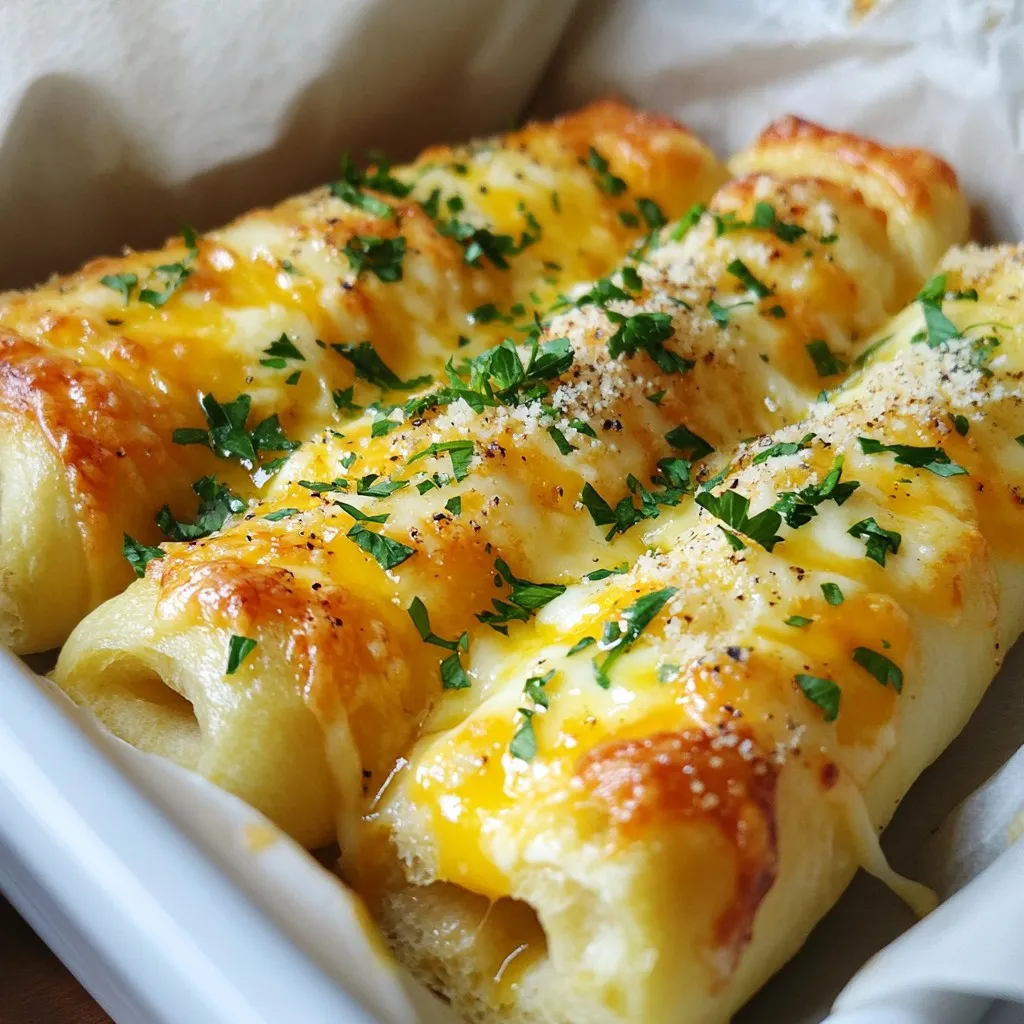
Preheat your oven to 400°F (200°C). Brush melted butter over the dough strips. Sprinkle garlic powder evenly on top. Then, add shredded mozzarella and grated Parmesan cheese. Make sure each stick is well covered. Bake these in the preheated oven for about 12 to 15 minutes. You want the edges to be golden and the cheese bubbly. Once done, take them out and sprinkle with chopped parsley for a fresh touch. Let the breadsticks cool for a few minutes before serving. Enjoy with marinara sauce for dipping!
Tips & Tricks
How to Achieve Perfectly Cheesy Breadsticks
To get the best cheesy breadsticks, use fresh cheese. Fresh mozzarella melts better and gives that gooey texture we love. Make sure your dough rises in a warm spot. This helps it become light and fluffy. When you shape the breadsticks, cut them evenly for even baking. Brush them with melted butter before baking to add flavor and shine.
Common Mistakes to Avoid
One common mistake is not letting the dough rise enough. This can make your breadsticks dense. Another mistake is using too much flour when rolling out the dough. This can lead to dry breadsticks. Avoid overbaking them as well; watch for golden edges and bubbly cheese. Lastly, don’t forget to season properly. Garlic powder and salt are key to great flavor.
Enhancing Flavor with Additional Ingredients
You can boost the flavor of your breadsticks in fun ways. Try adding herbs like oregano or basil into the dough. You can also mix in some crushed red pepper for a spicy kick. For a cheesy twist, consider using a blend of cheeses like cheddar and mozzarella. If you love garlic, add minced garlic to the melted butter before brushing.
Pro Tips
- Use Warm Water: Ensure your water is warm (about 110°F or 45°C) to activate the yeast properly for a good rise.
- Knead Thoroughly: Knead the dough for 5-7 minutes until it’s smooth and elastic for the best texture in your breadsticks.
- Don’t Skip the Rise: Allow the dough to rise until it doubles in size for fluffy breadsticks; this step is crucial!
- Experiment with Toppings: Feel free to add herbs or spices to the cheese topping for extra flavor; try crushed red pepper or Italian seasoning!
Variations
Herb and Spice Variations
You can change the flavor of your cheesy garlic breadsticks with herbs and spices. Try adding dried oregano or basil to the dough for a fresh taste. You can also sprinkle red pepper flakes on top for a spicy kick. Mix in some Italian seasoning before baking for a warm, rich flavor.
Different Cheese Combinations
While mozzarella and Parmesan are classic choices, you can experiment with other cheeses. Try using sharp cheddar for more flavor. You can also mix in gouda or fontina for a creamier texture. For a unique twist, use crumbled feta to add a salty bite. Each cheese brings its own taste, making each batch special.
Gluten-Free Option
If you need a gluten-free option, replace all-purpose flour with a gluten-free blend. Look for a blend with xanthan gum for the best texture. Follow the same steps for mixing and kneading. Just ensure your baking sheet is properly greased to prevent sticking. Your gluten-free breadsticks will still be cheesy and delicious!
Storage Information
How to Store Leftover Breadsticks
To keep your cheesy garlic breadsticks fresh, place them in an airtight container. If you have a lot, you can stack them with parchment paper between layers to avoid sticking. Store at room temperature for up to two days. For longer storage, move them to the fridge. They can last up to a week in the fridge.
Reheating Instructions
To reheat the breadsticks, preheat your oven to 350°F (175°C). Place the breadsticks on a baking sheet. Cover them with aluminum foil to keep them moist. Bake for about 10 minutes, or until warm. You can also use a microwave. Heat for about 20-30 seconds, but be careful not to overheat. This can make them tough.
Freezing and Thawing Tips
If you want to freeze the breadsticks, let them cool completely first. Wrap each one in plastic wrap, then place them in a freezer bag. They can last for up to three months in the freezer. To thaw, move them to the fridge overnight. Reheat in the oven or microwave as mentioned above. This way, you can enjoy cheesy garlic breadsticks anytime!
FAQs
How do I make Cheesy Garlic Breadsticks vegan?
To make Cheesy Garlic Breadsticks vegan, swap out the cheese. You can use vegan cheese instead of mozzarella and Parmesan. You can also replace the butter with a vegan margarine. Use a plant-based milk to help the dough rise. These changes keep the taste and texture while making it vegan-friendly.
Can I use pre-made dough instead?
Yes, you can use pre-made dough. Store-bought pizza dough works well. Just roll it out to your desired thickness. Follow the same steps for adding garlic powder and cheese. This option saves time and still gives great results.
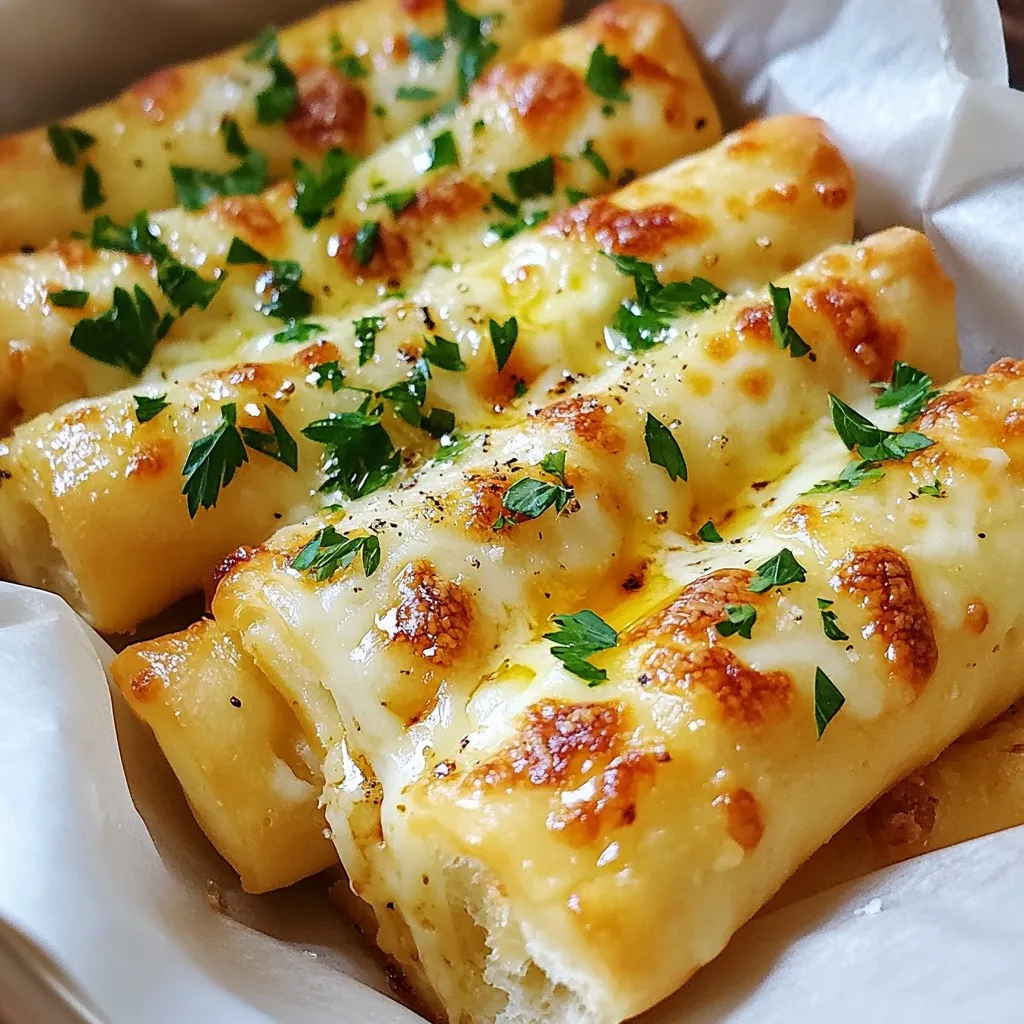
What’s the best way to serve Cheesy Garlic Breadsticks?
Serve Cheesy Garlic Breadsticks warm for the best flavor. Place them in a basket lined with parchment paper. Add a side of marinara sauce for dipping. Fresh parsley on top adds a nice touch. They make a great snack or appetizer. Enjoy with friends and family!
This article covered how to make delicious cheesy breadsticks from start to finish. We explored the key ingredients, from measurements to substitutions. I shared step-by-step instructions for preparing, rolling, and baking. You learned tips for crafting the perfect breadsticks and common mistakes to avoid. I also highlighted variations like herb blends and gluten-free options. Finally, I provided storage tips to keep them fresh. Enjoy making these breadsticks and experimenting with your favorite flavor

Cheesy Garlic Breadsticks
Ingredients
- 2 cups all-purpose flour
- 1 teaspoon active dry yeast
- 1 teaspoon sugar
- 1 teaspoon salt
- 3/4 cup warm water (110°F or 45°C)
- 2 tablespoons olive oil
- 1 teaspoon garlic powder
- 1 cup shredded mozzarella cheese
- 1/4 cup grated Parmesan cheese
- to taste Fresh parsley, chopped (for garnish)
- 1 tablespoon melted butter
Instructions
- In a small bowl, combine warm water, sugar, and yeast. Let it sit for about 5 minutes until it becomes frothy.
- In a large mixing bowl, combine the flour and salt. Create a well in the center and pour in the frothy yeast mixture along with the olive oil.
- Mix the ingredients until a dough begins to form. Knead for about 5-7 minutes on a floured surface until the dough is smooth and elastic.
- Place the dough into a greased bowl, cover it with a damp cloth, and let it rise in a warm place for about 1 hour or until it doubles in size.
- Preheat your oven to 400°F (200°C).
- Once the dough has risen, punch it down and roll it out on a floured surface into a rectangle, about 1/2 inch thick.
- Transfer the rolled-out dough to a greased baking sheet. Use a pizza cutter or knife to cut the dough into strips.
- Brush the melted butter over the dough and sprinkle garlic powder evenly on top.
- Top with shredded mozzarella and grated Parmesan cheese, ensuring each stick is covered.
- Bake in the preheated oven for 12-15 minutes or until the edges are golden and the cheese is bubbly.
- Remove from the oven and sprinkle with fresh chopped parsley for garnish.
- Let cool for a few minutes before serving.