Chicken Parmesan Casserole Tasty Family Meal Idea
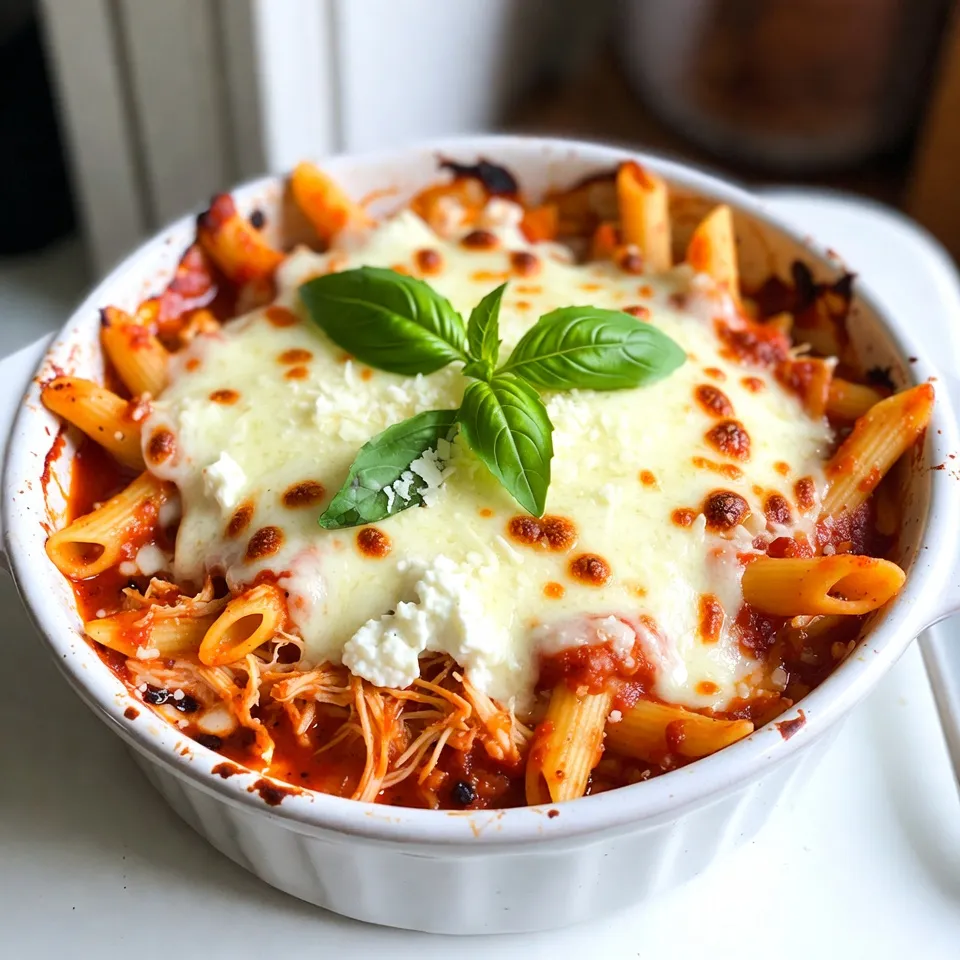

Looking for a meal that’s both simple and delicious? Try my Chicken Parmesan Casserole! This dish combines tender chicken, creamy ricotta, and savory cheeses for a filling family dinner. It’s a fun twist on a classic favorite that everyone will love. Plus, you can make it ahead of time for those busy nights. Ready to dive into this tasty recipe? Let’s get started!
Why I Love This Recipe
- Comfort Food Classic: This casserole combines all the beloved flavors of chicken Parmesan into a warm, hearty dish that feels like a hug.
- Easy to Make: With just a few simple steps, you can whip up this delicious meal without spending hours in the kitchen.
- Family-Friendly: The combination of cheesy goodness and tender chicken makes it a hit with kids and adults alike.
- Versatile Ingredients: Feel free to customize the recipe by adding your favorite vegetables or changing the type of pasta!
Ingredients
Main Ingredients List
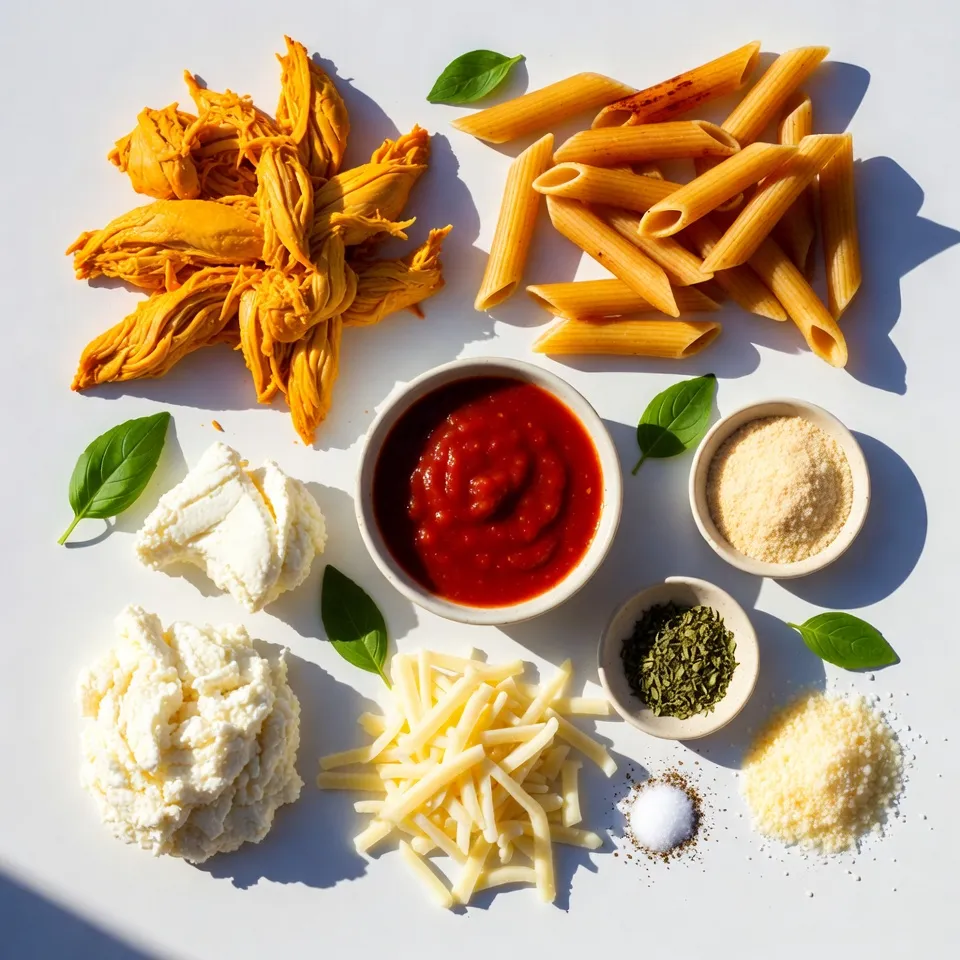
- 2 cups cooked chicken, shredded
- 2 cups cooked penne pasta
- 1 cup marinara sauce
- 1 cup ricotta cheese
- 1 ½ cups shredded mozzarella cheese
- ½ cup grated Parmesan cheese
Spices and Seasonings
- 1 teaspoon garlic powder
- 1 teaspoon dried Italian herbs (oregano, basil, thyme)
- Salt and pepper to taste
Garnish Suggestions
- Fresh basil leaves for garnish (optional)
When making Chicken Parmesan Casserole, the right ingredients matter. I love to use cooked chicken that is shredded. It makes the casserole tender and easy to eat. You can use leftover chicken or rotisserie chicken for this.
Next, I use cooked penne pasta. It holds the sauce well and adds a nice bite. Marinara sauce is key for flavor. A good quality sauce makes a big difference.
Ricotta cheese adds creaminess. It pairs well with the marinara. I also use lots of mozzarella cheese. It melts perfectly, giving that gooey texture we all love. Don’t forget the grated Parmesan for a nice finish.
For spices, I add garlic powder for flavor and dried Italian herbs for depth. Salt and pepper help to taste.
Finally, I like to use fresh basil for garnish. It adds color and a fresh taste. Use these ingredients to create a dish that your family will love.
Step-by-Step Instructions
Preparation Steps
- Preheat your oven to 350°F (175°C).
- Prepare the chicken and pasta ahead of time.
To start, you want your oven hot and ready. This helps cook the casserole evenly. Next, cook your chicken and penne pasta. Shred the chicken into bite-sized pieces. Cook the pasta until it is al dente, which means firm to the bite. This way, it won’t get too soft in the oven.
Assembly Steps
- Combine the shredded chicken, cooked penne pasta, marinara sauce, ricotta cheese, garlic powder, Italian herbs, salt, and pepper.
- Layer the ingredients in the casserole dish as directed.
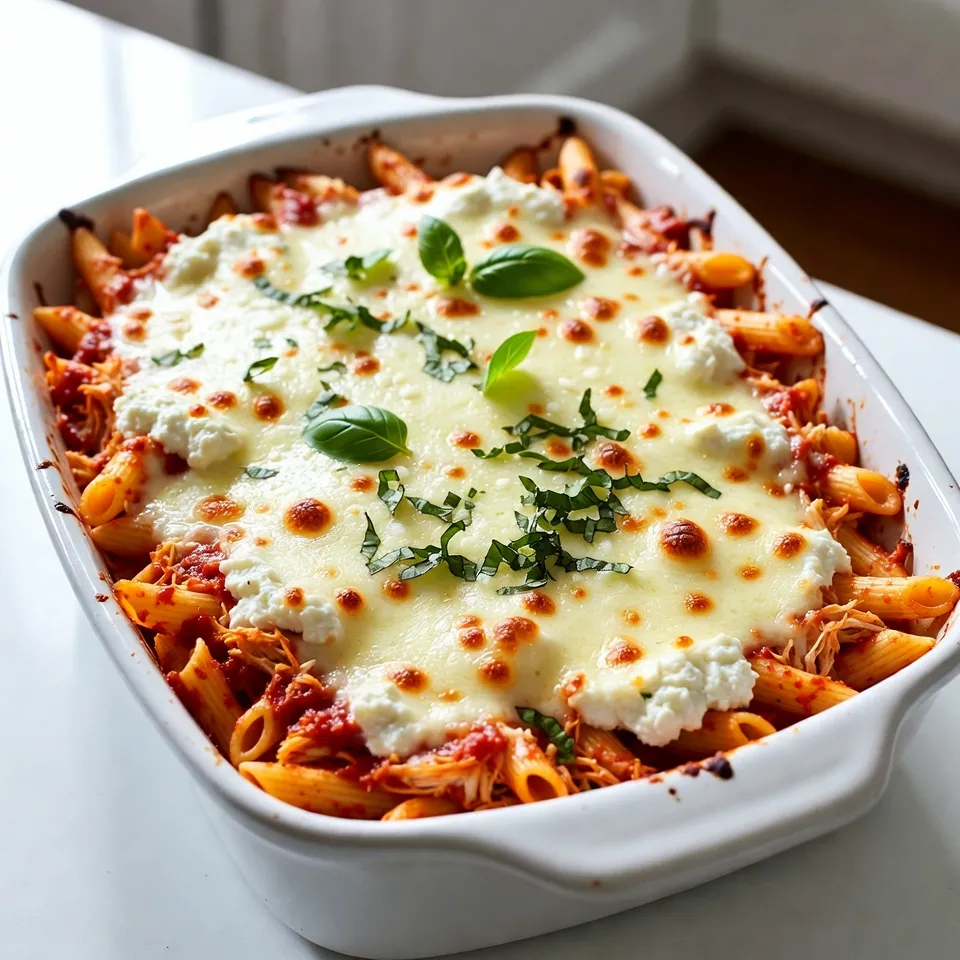
In a large bowl, mix together the chicken, pasta, marinara sauce, ricotta cheese, garlic powder, Italian herbs, salt, and pepper. Make sure everything is coated well. This step is key to a tasty casserole. Now, grab a casserole dish. Spread half of the chicken mixture evenly in the bottom. Next, sprinkle half of the shredded mozzarella and half of the grated Parmesan cheese on top of that layer. Repeat with the rest of the chicken mixture and finish with the remaining cheese.
Baking Steps
- Cover the casserole with aluminum foil and bake for 25 minutes.
- Remove the foil and bake for an additional 15 minutes until cheese is golden brown.
Cover your dish tightly with aluminum foil. This keeps moisture in while it bakes. Place the casserole in your preheated oven and bake for 25 minutes. After that, take off the foil to let the cheese get golden brown. Bake for another 15 minutes. The cheese should be bubbly and golden. Let the casserole cool for a few minutes before serving.
Tips & Tricks
Cooking Tips
To keep the casserole moist, use cooked chicken that is not too dry. Shredded rotisserie chicken works well. The marinara sauce also helps to add moisture. Stir it gently to coat everything well.
To prevent the cheese from burning, cover the casserole with aluminum foil during the first part of baking. After 25 minutes, you can remove the foil. This keeps the cheese from browning too soon and allows it to melt perfectly.
Serving Tips
For a great presentation, serve the casserole right from the dish. Add a sprinkle of fresh basil on top. This not only looks nice but adds a fresh taste.
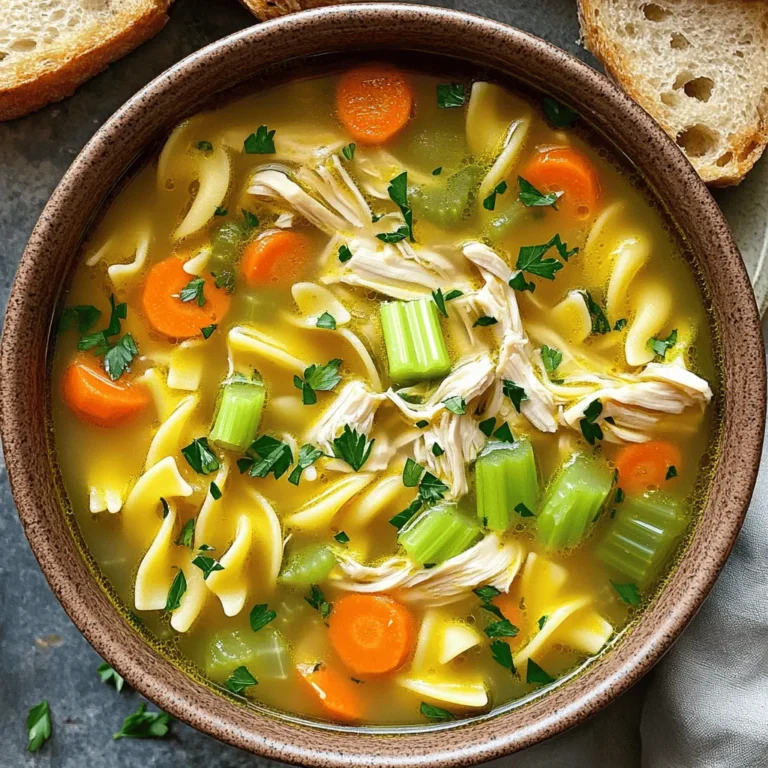
Pair Chicken Parmesan Casserole with a side salad. A simple green salad with lemon vinaigrette works well. Garlic bread is another tasty side that everyone loves.
Troubleshooting Common Issues
If the casserole is too dry, add a little more marinara sauce. Mix it in gently before serving. This will help bring back the moisture.
If the cheese on top is burnt, cover it with a layer of fresh mozzarella. Then, put it back in the oven for a few minutes. This can help mask the burnt flavor and add a fresh cheesy layer.
Pro Tips
- Use Leftover Chicken: This recipe is a great way to use up leftover rotisserie chicken or any cooked chicken you have on hand, saving you time and reducing food waste.
- Customize the Cheese: Feel free to mix and match different cheeses like provolone or fontina for a unique flavor twist in your casserole.
- Add Veggies: Incorporate vegetables like spinach, bell peppers, or mushrooms into the layers for added nutrition and flavor.
- Make Ahead: Prepare the casserole a day in advance and store it in the refrigerator. Just pop it in the oven when you’re ready to serve!
Variations
Ingredient Substitutions
You can switch up the pasta in this dish. Penne works well, but you can try rotini or shells. These shapes hold the sauce nicely and add fun to each bite.
For cheese, consider using provolone or fontina. These cheeses melt well and give a rich flavor. You can also mix different cheeses for a unique taste.
Healthier Versions
You can make this dish lighter. Use low-fat ricotta and mozzarella for a healthier twist. You can also use a low-sugar marinara sauce. This keeps the flavors while cutting down on fat.
Adding veggies boosts nutrition. Sauté some spinach, zucchini, or bell peppers. Stir them into the chicken mix for added color and taste.
Cooking Method Variations
If you want to try a slow cooker, it’s easy. Just mix all the ingredients and place them in the cooker. Set it on low for about 4 hours. This method makes it tender and juicy.
For quicker prep, use an Instant Pot. Combine all ingredients in the pot and seal it. Cook on high pressure for just 10 minutes. This saves time but still gives great flavor.
Storage Info
Refrigeration Guidelines
To store leftovers, let the casserole cool first. Then, place it in an airtight container. This keeps it fresh and tasty. You can keep it in the fridge for up to three days. For best results, reheat it in the oven. This way, it stays crispy on top.
Freezing Instructions
If you want to save some for later, freezing is a great idea. First, let the casserole cool completely. Then, wrap it tightly in aluminum foil or use a freezer-safe container. It can stay frozen for up to three months. When you are ready to eat it, thaw it overnight in the fridge. For reheating, bake it at 350°F (175°C) until bubbly. This usually takes about 30-40 minutes.
Shelf Life
In the fridge, your Chicken Parmesan Casserole is good for three days. If you freeze it, it lasts for three months. Always check for freshness before eating. If it smells off or looks strange, throw it away. Enjoy your delicious meals without worry!
FAQs
What can I use instead of ricotta cheese?
If you need a ricotta cheese swap, try cottage cheese. It has a similar texture but is a bit thicker. Cream cheese is another option; it adds richness but can be denser. You can also use Greek yogurt for a tangy twist. Just remember, each option changes the taste slightly.
Can I make Chicken Parmesan Casserole ahead of time?
Yes, you can prep this casserole in advance. Prepare it the night before and store it in the fridge. This way, the flavors meld nicely. When you’re ready to bake, just pop it in the oven. If it’s cold, add a few extra minutes to the baking time. This method makes weeknight dinners much easier.
Is Chicken Parmesan Casserole gluten-free?
To make this casserole gluten-free, swap out the penne pasta for gluten-free pasta. Many brands offer good options that taste great. Check the marinara sauce label too, as some sauces may contain gluten. By making these changes, you can enjoy this dish without worry.
In this article, I shared a simple and tasty Chicken Parmesan Casserole recipe. You learned about the key ingredients, step-by-step instructions, and helpful tips to make your dish a success. I also covered variations, storage methods, and answered common questions. Whether you try different cheeses or use a slow cooker, this casserole is easy to adapt. Enjoy sharing this warm, cheesy meal with family and friends. It’s sure to bring smiles around the tabl


![- 1 lb ground beef or turkey - 1 small onion, finely chopped - 2 cloves garlic, minced - 1 cup shredded cheddar cheese - 1 cup marinara sauce - 1 tablespoon Worcestershire sauce - 1 teaspoon dried oregano - Salt and freshly ground black pepper to taste - 4 large garlic bread rolls (choose ones with a sturdy texture, like ciabatta or French rolls) - 2 tablespoons butter, softened To make Cheesy Garlic Bread Sloppy Joes, gather the main ingredients first. Ground beef or turkey forms the base of this dish. Add finely chopped onion and minced garlic for flavor. The cheese brings creaminess, while marinara sauce provides the tangy depth. Next, boost the taste with flavor enhancers. Worcestershire sauce adds a savory kick. Dried oregano gives an aromatic touch. Don’t forget salt and black pepper to balance the flavors. Finally, select sturdy garlic bread rolls. These rolls will hold up well to the filling. A good butter spread on the inside adds richness. For the full recipe, check out the [Full Recipe]. 1. Start by heating a large skillet over medium heat. Add 1 lb of ground beef or turkey. Cook it for about 5 to 7 minutes. Break it apart with a spatula as it cooks. You want it to brown evenly. 2. Once the meat is browned, add 1 small finely chopped onion and 2 cloves of minced garlic. Sauté these for 3 to 4 minutes. The onion should turn translucent and smell great. Stir often so nothing sticks. 3. Mix in 1 cup of marinara sauce, 1 tablespoon of Worcestershire sauce, and 1 teaspoon of dried oregano. Add salt and freshly ground black pepper to taste. Let this simmer for about 10 minutes. Stir now and then. This helps the flavors blend and the sauce thicken. 4. While the meat mixture simmers, preheat your oven to 375°F (190°C). This temperature is perfect for toasting. 5. Prepare your garlic bread rolls by cutting them in half horizontally. You want to spread a thin layer of softened butter on the inside of each half. Choose sturdy rolls like ciabatta or French rolls for the best texture. 6. Place the buttered rolls on a baking sheet, cut sides up. Toast them in the oven for about 5 to 7 minutes. Look for golden brown edges to know they are ready. 7. Once the rolls are toasted, remove them from the oven. Generously scoop the hearty meat mixture onto the bottom halves of the toasted garlic bread. 8. Sprinkle 1 cup of shredded cheddar cheese on each loaded bottom half. Make sure you cover it evenly for a nice cheesy topping. 9. Return the baking sheet with the cheesy, loaded rolls to the oven. Bake for an additional 5 minutes, or until the cheese is melted and bubbly. 10. Finally, take them out and garnish with finely chopped fresh parsley. This adds a nice pop of color. Serve right away, placing the top halves of the garlic bread on the side for your guests to add to their sandwiches. For the complete recipe, check out the Full Recipe section above. To boost the taste of your Cheesy Garlic Bread Sloppy Joes, consider these tips: - Seasoning suggestions: Add a pinch of smoked paprika for a smoky kick. A dash of cayenne pepper can give it some heat. You can also try a teaspoon of Italian herbs for extra flavor. - Cheese alternatives: Cheddar cheese is great, but you can mix it up. Try mozzarella for a gooey texture or pepper jack for some spice. For perfect results, follow these cooking tips: - Best stovetop practices: Use medium heat to brown meat evenly. Stir the meat regularly to avoid burning. Cook the onions until soft for great flavor. - Oven settings for perfect toasting: Preheat your oven to 375°F (190°C). Toast the rolls until they are golden but not too hard. A few minutes is all you need. Make your meal even better with these ideas: - Complementary side dishes: Serve with potato chips or a fresh side salad. Both add nice crunch and contrast to your sloppy joes. - Garnishing with parsley: Sprinkle freshly chopped parsley on top for a pop of color. It also adds a fresh taste that brightens the dish. For a full recipe, check out the Cheesy Garlic Bread Sloppy Joes. {{image_4}} You can swap ground beef or turkey for other meats. Ground chicken works great and is leaner. If you prefer a plant-based option, use lentils or a meat substitute. Both choices keep the dish tasty and filling. Boost the flavor by adding spices. Chili powder adds a nice kick. You can also mix in vegetables like bell peppers or mushrooms. These additions make the filling even heartier and more nutritious. The type of bread can change your cheesy garlic bread sloppy joes. Try using different rolls like hoagie or brioche. Each bread adds its own flavor and texture. Experiment to find your perfect match. For the full recipe, check out the [Full Recipe]. To keep Cheesy Garlic Bread Sloppy Joes fresh, store them properly. Place leftovers in an airtight container. This helps keep the flavors intact. Store in the fridge for up to three days. Make sure to let them cool before sealing. When reheating, you have two good options: the microwave and the oven. The microwave is quick but may make the bread soggy. Heat on medium power for about one to two minutes. The oven gives a better result. Preheat to 350°F (175°C) and heat for about 10 minutes. This keeps the bread crispy while warming the filling. Freezing is a great choice for longer storage. To freeze, let the sloppy joes cool completely. Then, scoop the filling into a freezer-safe bag. Remove as much air as possible and seal. You can freeze the mixture for up to three months. To thaw, place the bag in the fridge overnight. Heat it up in the microwave or oven when you're ready to enjoy. Making Cheesy Garlic Bread Sloppy Joes takes about 30 minutes from start to finish. You will spend roughly 10 minutes prepping the ingredients. Cooking the meat and mixing everything takes about 10 more minutes. Finally, baking the rolls takes another 5 to 7 minutes. This timing makes it a quick and tasty meal option. Yes, you can prepare the meat mixture ahead of time. Cook the ground beef or turkey, onions, and garlic as directed. Let it cool, then store it in an airtight container in the fridge for up to three days. When you're ready, simply reheat the mixture and continue with the recipe. This saves time during busy weeknights. If you don't have garlic bread rolls, don't worry! You can use other sturdy breads. Options like ciabatta, French rolls, or even bagels work well. Just make sure they can hold the meat mixture without falling apart. You can also make your own garlic bread by spreading butter and garlic on regular rolls before toasting them. Enjoy experimenting with different breads! This blog covered how to make Cheesy Garlic Bread Sloppy Joes, highlighting key ingredients like beef, cheese, and marinara. I shared step-by-step instructions and helpful tips to boost flavor. You can also explore various meat and bread options to suit your taste. Remember, leftovers store well and reheating is quick. This dish offers easy meals and fun variations. Try making it your own! Enjoying your time in the kitchen makes cooking rewarding and enjoyable.](https://dailydishlab.com/wp-content/uploads/2025/06/1eb0e08b-e1bd-4549-a6fe-2db60bc0ee8e-768x768.webp)