Chocolate Peanut Butter Mug Cake Quick and Easy Treat
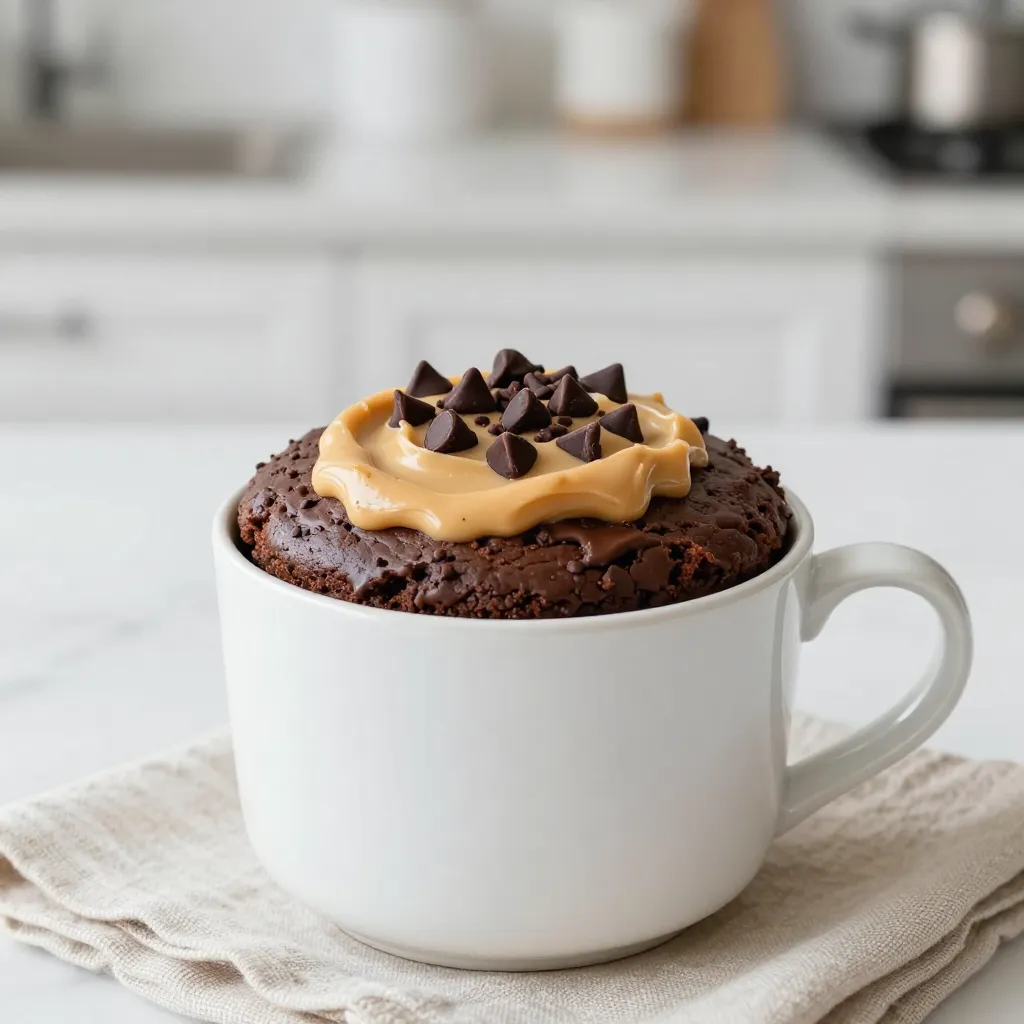
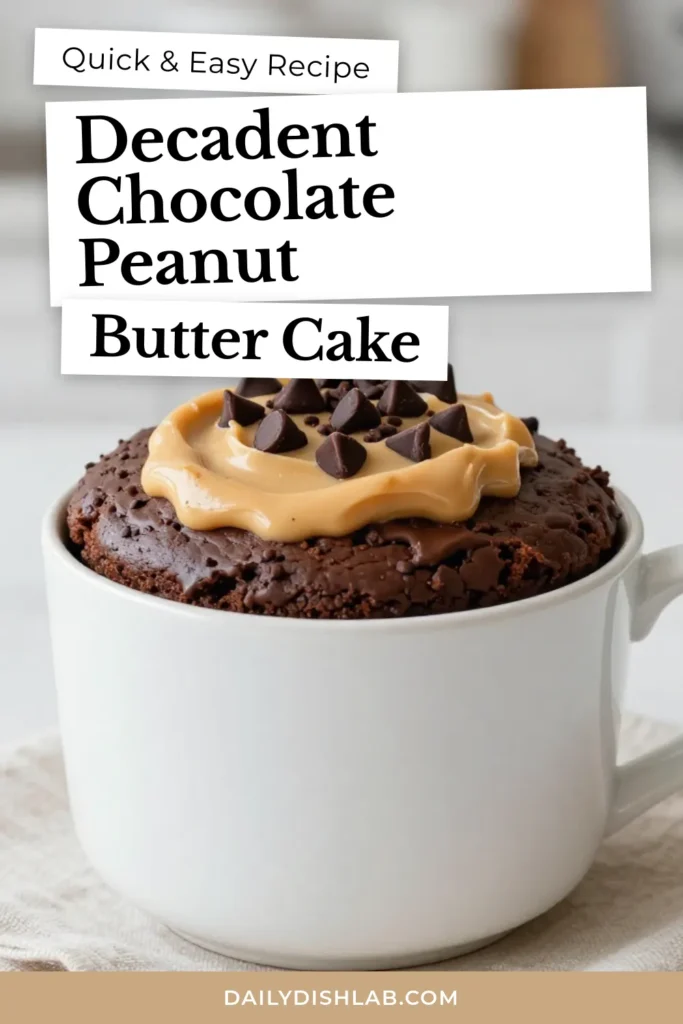
Craving something sweet but short on time? I’ve got just the treat for you: a Chocolate Peanut Butter Mug Cake! This quick and easy dessert combines rich cocoa and creamy peanut butter in minutes. Perfect for those busy nights when you need a little indulgence. Join me as I guide you through the simple steps to whip up this delightful snack right in your microwave. Let’s get started!
Why I Love This Recipe
- Quick and Easy: This mug cake can be made in just 5 minutes, making it perfect for a last-minute dessert craving.
- Decadent Flavor: The combination of chocolate and peanut butter creates a rich and indulgent treat that satisfies any sweet tooth.
- Customizable: You can easily add chocolate chips or top it with whipped cream for an extra touch of deliciousness.
- Single Serving: This recipe is designed for one, so you can enjoy a guilt-free dessert without leftovers.
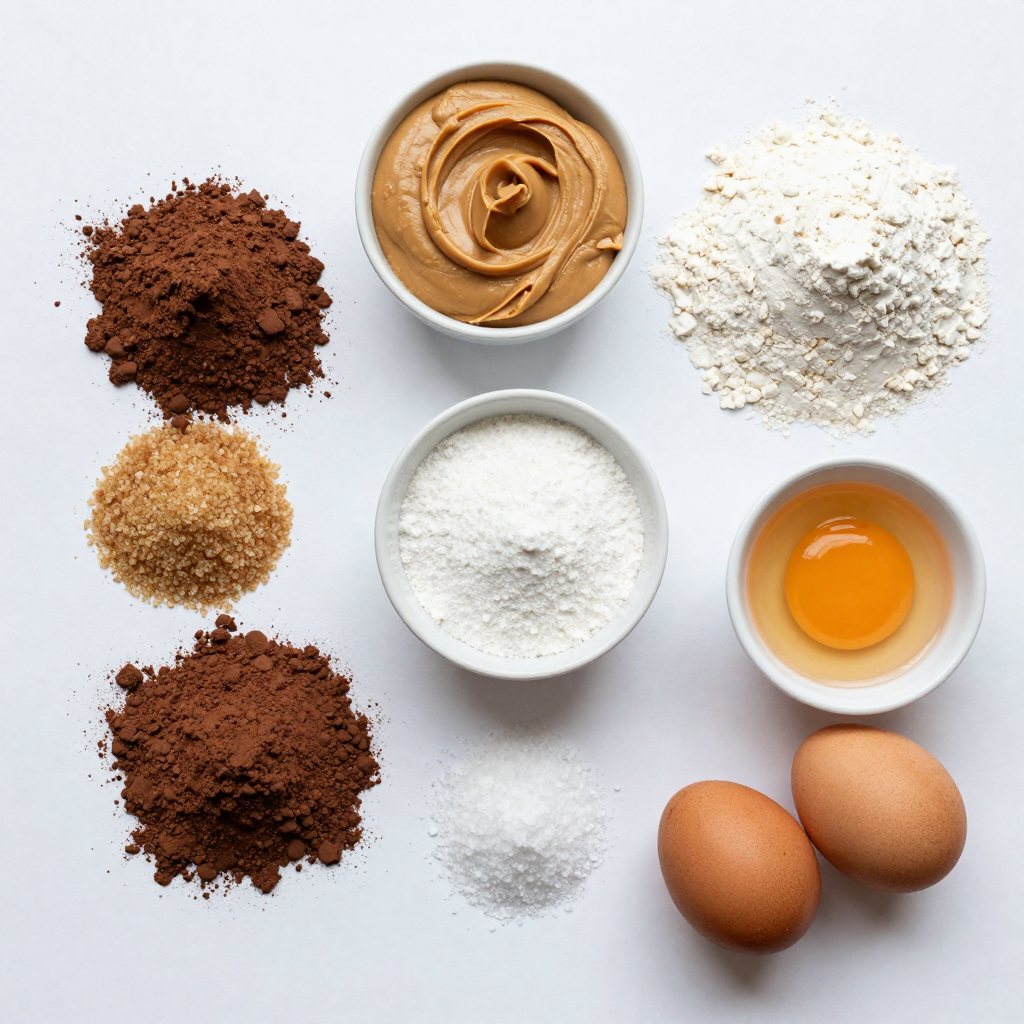
Ingredients
Here’s what you need for the chocolate peanut butter mug cake. Gather these simple items:
- 4 tablespoons all-purpose flour
- 2 tablespoons unsweetened cocoa powder
- 2 tablespoons sugar
- 1/8 teaspoon baking powder
- A pinch of salt
- 3 tablespoons milk
- 2 tablespoons creamy peanut butter
- 1 tablespoon vegetable oil
- 1/4 teaspoon vanilla extract
- Optional: chocolate chips for extra indulgence
These ingredients come together quickly. Each plays a key role. The flour gives structure. Cocoa adds rich chocolate flavor. Sugar sweetens the mix. Baking powder makes it rise. Salt enhances all the tastes. Milk adds moisture. Peanut butter provides creaminess and taste. Vegetable oil keeps it soft. Vanilla adds a warm note. If you love chocolate, toss in some chocolate chips.
You can find all these ingredients at your local store. Make sure to measure them well. Accurate amounts give the best results. Now that you know what you need, you’re ready to begin your mug cake adventure!

Step-by-Step Instructions
Preparation Steps
- Combine dry ingredients in the mug
Start by taking a microwave-safe mug. Add 4 tablespoons of all-purpose flour, 2 tablespoons of unsweetened cocoa powder, 2 tablespoons of sugar, 1/8 teaspoon of baking powder, and a pinch of salt. Whisk these together well. This mix gives your cake its base.
- Mix wet ingredients in a separate bowl
In another bowl, add 3 tablespoons of milk, 2 tablespoons of creamy peanut butter, 1 tablespoon of vegetable oil, and 1/4 teaspoon of vanilla extract. Stir these until the peanut butter blends in smoothly. This adds flavor and moisture.
- Combine wet and dry mixtures
Pour the wet mixture into the mug with the dry mix. Stir gently until everything comes together. Make sure there are no flour pockets. If you want, fold in some chocolate chips for extra fun!
- Microwave the mug cake
Place the mug in the microwave. Cook it on high for 1 minute. Keep an eye on it, as microwaves can vary. The cake should rise and look set but still soft in the middle. If it looks wet, heat it in 10-second bursts until it’s done.
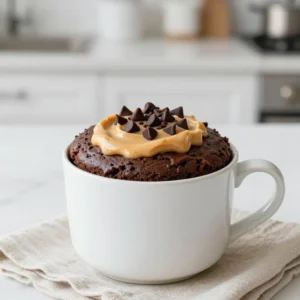
- Cool and serve
After microwaving, let the mug cake cool for a minute. This makes it safe to eat. For an extra treat, add whipped cream or a drizzle of chocolate syrup on top. Enjoy your quick and easy dessert!
Tips & Tricks
Perfecting Your Mug Cake
- Avoiding overmixing
When you mix the batter, stop as soon as the dry and wet ingredients blend. Overmixing makes the cake tough. You want it to be light and fluffy. A few flour pockets are okay. They will cook out in the microwave.
- Adjusting microwave time
Every microwave is different. Start with one minute, but watch closely. If it looks wet in the middle, add time in ten-second bursts. You want it set but a little gooey. This makes it extra tasty!
- Adding the right toppings
Toppings can change your mug cake game. A dollop of whipped cream adds creaminess. Drizzling chocolate syrup boosts the chocolate flavor. You can also sprinkle chocolate chips on top for extra indulgence. Get creative with your favorites!
Pro Tips
- Use a Larger Mug: A larger mug will prevent overflow during microwaving, giving your cake room to rise without making a mess.
- Experiment with Flavors: Feel free to add different mix-ins like nuts or dried fruits for a unique twist on this classic mug cake.
- Check Microwave Power: Microwaves can vary greatly in power; it’s best to start with 1 minute and add additional time in 10-second intervals if needed.
- Serving Suggestions: Enhance your mug cake by adding toppings like whipped cream, chocolate syrup, or fresh fruit for extra flavor and presentation.
Variations
Ingredient Swaps
You can make this mug cake even more fun by swapping some ingredients. Here are some ideas:
- Different nut butters: Try almond butter or cashew butter instead of peanut butter. Each will give a unique taste.
- Alternative sweeteners: If you want less sugar, use honey, maple syrup, or stevia. These can add new flavors too.
- Mix-in suggestions: Want to jazz it up? Add chopped nuts like walnuts or pecans. You can also toss in fruits like banana slices or berries for extra sweetness.
These swaps let you make this cake your own. Feel free to experiment with flavors and textures. Enjoy a new treat every time!
Storage Info
Can you store leftover mug cake?
Yes, you can store leftover mug cake. To keep it fresh, cover the mug with plastic wrap or transfer it to an airtight container. Store it in the fridge for up to two days.
When you want to enjoy it again, reheating is easy. Place the mug cake in the microwave for about 10 to 20 seconds. Check it every few seconds to avoid overheating. The goal is to warm it up, not cook it again.
If you want to add a tasty touch, try adding a little whipped cream or extra peanut butter on top when reheating. This will bring back that delicious flavor and make it feel fresh again. Enjoy your treat!
FAQs
Common Questions
Can I make this mug cake without an egg?
Yes, you can make this mug cake without an egg. The recipe does not require one. The combination of flour, cocoa, milk, and peanut butter keeps it moist and tasty.
How do I know when my mug cake is done?
You will know your mug cake is done when it rises and looks set. It should be slightly gooey in the middle. If it is still wet, microwave in 10-second intervals until it looks finished.
Can I double the recipe for two servings?
Yes, you can double the recipe. Just use two mugs and divide the ingredients evenly. Microwave each mug separately for the best results.
Is there a gluten-free version available?
Yes, you can make a gluten-free version. Simply swap the all-purpose flour for a gluten-free flour blend. This keeps the taste and texture delicious while meeting your needs.
This blog post covered how to make a tasty mug cake with simple ingredients. You learned to mix dry and wet items and microwave them with ease. I shared tips for perfecting your cake and some fun variations. You can even store leftovers or reheat them later. Remember, this mug cake is quick, easy, and flexible, making it a great treat. Get creative with your flavors and enjoy bakin
Chocolate Peanut Butter Mug Cake
Ingredients
- 4 tablespoons all-purpose flour
- 2 tablespoons unsweetened cocoa powder
- 2 tablespoons sugar
- 1 teaspoon baking powder
- 1 pinch salt
- 3 tablespoons milk
- 2 tablespoons creamy peanut butter
- 1 tablespoon vegetable oil
- 1 teaspoon vanilla extract
- optional chocolate chips
Instructions
- In a microwave-safe mug, whisk together the flour, cocoa powder, sugar, baking powder, and salt until well combined.
- In a separate bowl, combine the milk, peanut butter, vegetable oil, and vanilla extract. Mix until the peanut butter is fully integrated.
- Pour the wet ingredients into the mug with the dry ingredients. Stir until just combined, making sure there are no flour pockets, but be careful not to overmix. If desired, fold in a few chocolate chips.
- Microwave the mug on high for 1 minute. Keep an eye on it as microwave times can vary. The cake should rise and look set but slightly gooey in the middle. If it is still wet, microwave in 10-second intervals until done.
- Allow the mug cake to cool for a minute before enjoying. Optionally, you can add a dollop of whipped cream or a drizzle of chocolate syrup on top for extra flavor.
Notes
Chocolate Peanut Butter Mug Cake
Ingredients
- 4 tablespoons all-purpose flour
- 4 tablespoons sugar
- 2 tablespoons cocoa powder
- 1/8 teaspoon baking powder
- 1/8 teaspoon salt
- 3 tablespoons milk
- 2 tablespoons peanut butter
- 1 tablespoon vegetable oil
- 1/4 teaspoon vanilla extract
Instructions
- In a microwave-safe mug, mix together the flour, sugar, cocoa powder, baking powder, and salt.
- Add the milk, peanut butter, vegetable oil, and vanilla extract to the dry ingredients and stir until smooth.
- Microwave on high for about 1 minute, or until the cake has risen and is set in the middle.
- Let it cool for a minute before enjoying.
![- 2 cups grated zucchini (about 2 medium zucchinis) - 1 ½ cups all-purpose flour - 1 teaspoon baking soda - 1 teaspoon baking powder - ½ teaspoon salt - 1 teaspoon ground cinnamon - ½ teaspoon nutmeg - ½ cup granulated sugar - ½ cup brown sugar, packed - ½ cup vegetable oil (or melted coconut oil) - 2 large eggs - 1 teaspoon vanilla extract - ½ cup chopped walnuts (optional) - ½ cup raisins or chocolate chips (optional) To make classic zucchini muffins, you need fresh ingredients. Grated zucchini adds moisture and a soft texture. You can use about two medium zucchinis for this. All-purpose flour gives structure to the muffins. Baking soda and baking powder help them rise, so they become fluffy. The spices bring warmth and flavor. Salt enhances sweetness while cinnamon and nutmeg add depth. You’ll want both granulated and brown sugars for the best taste. Granulated sugar is sweet, while brown sugar adds richness. Oil keeps the muffins moist. You can choose between vegetable oil or melted coconut oil. Eggs bind everything together and add richness. Vanilla extract boosts the overall flavor. For extra crunch or sweetness, add walnuts, raisins, or chocolate chips. These optional add-ins make the muffins even more enjoyable. Check the [Full Recipe] for all the steps to bring these ingredients together. 1. Preheat your oven to 350°F (175°C). This ensures even baking. 2. Grate two medium zucchinis. Place them in a bowl and add a pinch of salt. Let them sit for about 10 minutes. This draws out extra moisture. 3. Use a clean kitchen towel to squeeze out the moisture from the zucchini. This step keeps your muffins from being soggy. 4. In a large bowl, whisk together the dry ingredients: all-purpose flour, baking soda, baking powder, salt, ground cinnamon, and nutmeg. This mix adds flavor and structure to the muffins. 1. In another bowl, mix the wet ingredients. Combine granulated sugar, brown sugar, vegetable oil, eggs, and vanilla extract. Stir until everything is well blended. 2. Gently fold the grated zucchini into your wet mixture. This step adds moisture and flavor to your muffins. 3. Gradually add the dry ingredients to the wet mix. Stir until just combined. A few lumps are fine; avoid overmixing. If you want, fold in chopped walnuts and raisins or chocolate chips for extra texture. 1. Divide the batter evenly among the muffin cups. Fill each cup about two-thirds full. 2. Bake your muffins for 18 to 22 minutes. They are ready when a toothpick comes out clean from the center. 3. After baking, let the muffins cool in the tin for five minutes. Then, transfer them to a wire rack to cool completely. This process gives you moist, flavorful muffins. For the full recipe, check the details above. Enjoy the delightful taste of classic zucchini muffins! To avoid soggy muffins with zucchini, start by squeezing out the excess moisture. After grating the zucchini, add a pinch of salt and let it rest for 10 minutes. Then, use a clean towel to squeeze the moisture out. This simple step makes a big difference. Do not overmix your batter. When you combine the dry and wet ingredients, stir until just mixed. A few lumps are okay. Overmixing leads to tough muffins, and we want them soft and fluffy. For garnishing, dust the muffins with powdered sugar right before serving. This adds a nice touch. You can also place a small mint leaf on top for color and freshness. Choose a beautiful serving platter to showcase your muffins. A white or pastel plate works well. It highlights the muffins’ golden-brown tops and makes them look even more inviting. {{image_2}} You can easily change the flavor of your zucchini muffins. A simple way is to add spices like ginger or cloves. Just a pinch will give your muffins a warm kick. You can mix in different nuts too. Walnuts are great, but pecans or almonds work well too. Each nut brings its own crunch and taste. If you need gluten-free muffins, swap the all-purpose flour for a gluten-free blend. You can find many good options at the store. For those who want vegan muffins, replace the eggs with flax eggs. Mix one tablespoon of ground flaxseed with three tablespoons of water. Let it sit for a few minutes to thicken. For dairy-free options, use almond milk or coconut milk instead of regular milk. These changes make the muffins fit many diets. For the full recipe, check out Classic Zucchini Muffins. To keep your classic zucchini muffins fresh, store them on the countertop. Place them in an airtight container. This helps keep moisture in while keeping air out. If you do not have a container, wrap them in plastic wrap. They will stay soft for about three days. Avoid direct sunlight, as this can dry them out. For long-term storage, freezing muffins works great. First, let the muffins cool completely. Wrap each muffin tightly in plastic wrap. Then, place them in a freezer bag or container. Label the bag with the date. They can stay fresh for up to three months. When you want to enjoy one, simply take it out and let it thaw at room temperature. You can also reheat it in the oven or microwave. Enjoy your delicious treat anytime! For the full recipe, check the details above. Can I use frozen zucchini? Yes, you can use frozen zucchini. Just thaw it first and squeeze out any extra water. This helps keep your muffins from getting soggy. Fresh zucchini is great too, but frozen works in a pinch. How do I know when the muffins are done? Your muffins are done when a toothpick inserted in the center comes out clean. They should also look golden on top. If the toothpick has wet batter, bake them a bit longer. What can I substitute for sugar? You can use honey or maple syrup as a substitute for sugar. Adjust the liquid in the recipe if using these. For a lower-calorie option, try using a sugar substitute like stevia. How do I make mini zucchini muffins? To make mini zucchini muffins, just use a mini muffin tin. Fill each cup about halfway. Bake them for about 10-15 minutes. Check with a toothpick to be sure they are done. For more tips, check the Full Recipe for Classic Zucchini Muffins! You now have a complete guide for making classic zucchini muffins. From gathering your ingredients to baking and storing, I covered it all. Remember to squeeze out excess moisture from the zucchini. This keeps your muffins from getting soggy. Have fun experimenting with flavors and variations, like adding nuts or trying gluten-free options. These muffins are not only tasty but also versatile. With the right tips and tricks, your baking will be a success. Enjoy the process and the delicious results!](https://dailydishlab.com/wp-content/uploads/2025/07/9e9b63d2-13fb-4728-9235-22db9d4cda68-768x768.webp)