Blueberry Cheesecake Ice Cream Delightful and Creamy Treat

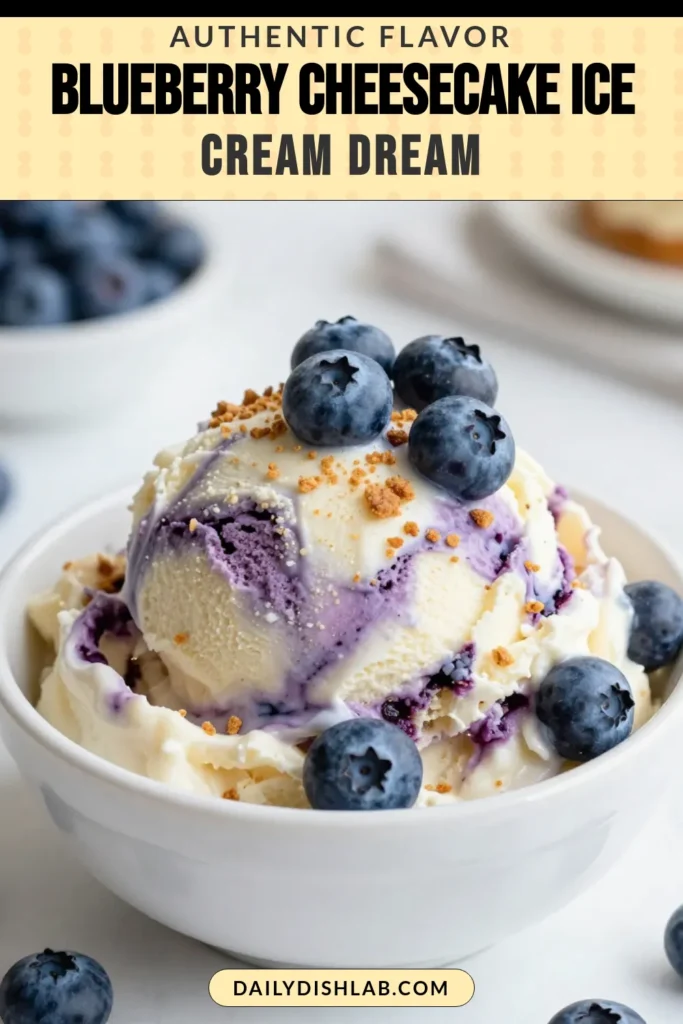
Indulging in homemade ice cream is a joy you won’t want to miss! Blueberry Cheesecake Ice Cream blends sweet blueberries, creamy cheese, and a crunchy crust into a fantastic treat. With fresh ingredients and simple steps, you can create a delightful dessert that will amaze your family and friends. Ready to craft this creamy dream? Let’s dive into the fun of making this summery delight, step by step!
Why I Love This Recipe
- Deliciously Creamy: This cheesecake ice cream is the perfect blend of rich cream cheese and velvety heavy cream, creating a luxurious texture that melts in your mouth.
- Fresh Blueberry Flavor: Using fresh blueberries ensures that every bite bursts with fruity goodness, elevating the taste of the ice cream to a whole new level.
- Cheesecake Twist: The addition of graham cracker crumbs gives this ice cream a delightful cheesecake essence, making it a unique frozen treat.
- Easy to Make: With straightforward instructions and minimal prep time, this recipe is perfect for anyone looking to whip up a refreshing dessert without hassle.
Ingredients
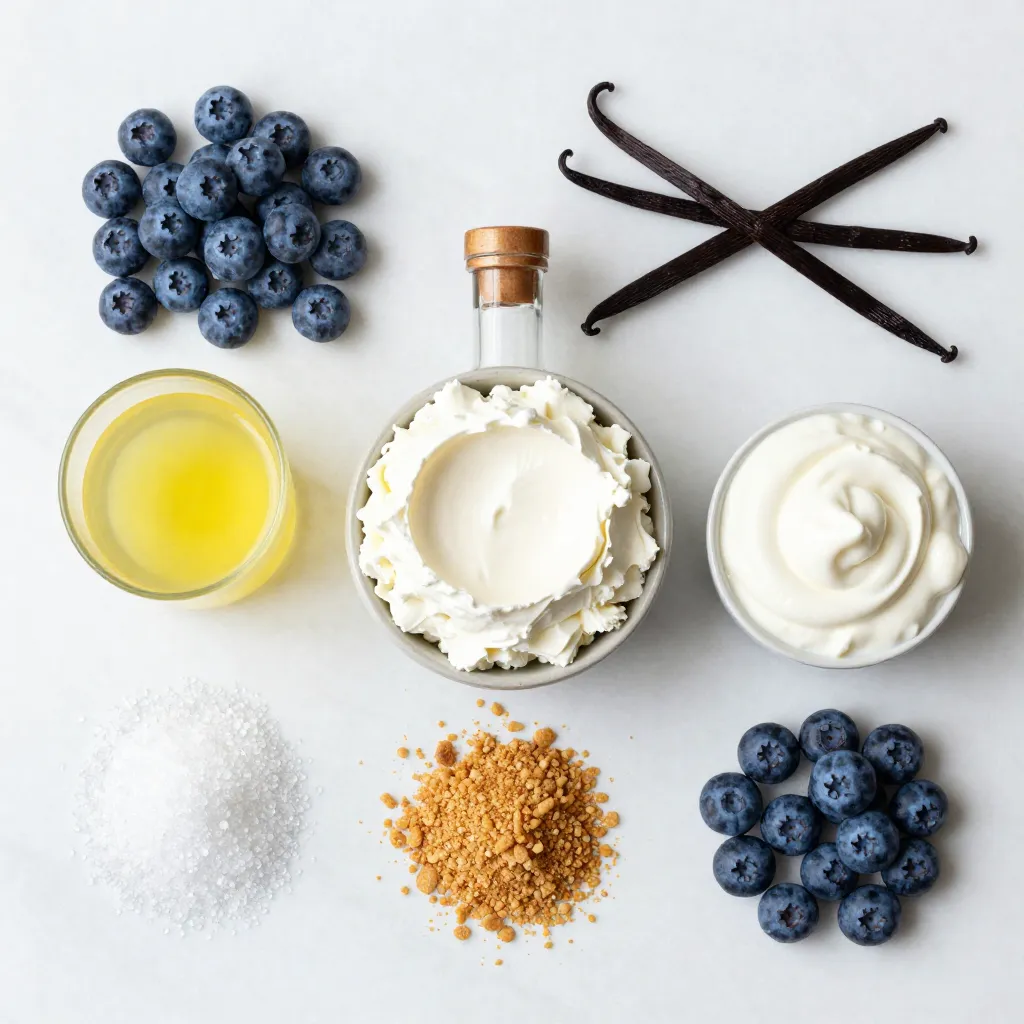
Fresh Ingredients Needed
- 2 cups fresh blueberries
- 1 cup granulated sugar, divided
- 1 tablespoon lemon juice
Fresh blueberries are key for this ice cream. They add a burst of flavor and color. Using ripe blueberries makes the ice cream sweeter and tastier. The granulated sugar balances the tartness of the berries. Dividing the sugar helps create a syrupy blueberry mix. Lemon juice adds brightness to the flavor. This combination is a must for any fruit ice cream.
Dairy Components
- 2 cups cream cheese, softened
- 1 cup heavy cream
- 1/2 cup sour cream
Cream cheese gives this ice cream its rich, creamy texture. Make sure it’s softened to mix well. Heavy cream adds a luscious mouthfeel and makes it smooth. Sour cream adds a slight tang, enhancing the cheesecake flavor. Together, these dairy components bring the creamy dessert to life.
Seasoning and Crunch
- 1 teaspoon vanilla extract
- 1/4 teaspoon salt
- 1/2 cup graham cracker crumbs
Vanilla extract rounds out the flavors and adds warmth. A pinch of salt enhances sweetness and depth. Graham cracker crumbs give that classic cheesecake crunch. They add texture and make each bite more enjoyable. These finishing touches are vital for a balanced and delightful ice cream.
Step-by-Step Instructions
Preparing the Blueberry Mixture
Cooking Blueberries with Sugar and Lemon Juice
Start by taking a small saucepan. Add 2 cups of fresh blueberries, ½ cup of granulated sugar, and 1 tablespoon of lemon juice. Cook this mixture over medium heat. Stir until the blueberries burst. This takes about 5 to 7 minutes. You want it to be syrupy. Once done, remove it from the heat.
Cooling the Blueberry Syrup
Let the syrup cool down. You can leave it on the counter for a bit. Cooling helps the flavors blend nicely later.
Making the Cheesecake Base
Beating Cream Cheese with Sugar
In a large bowl, take 2 cups of softened cream cheese. Add the remaining ½ cup of granulated sugar. Beat them together until it’s smooth and creamy. This process is key for a rich texture.
Adding Heavy Cream, Sour Cream, and Vanilla
Next, add 1 cup of heavy cream, ½ cup of sour cream, and 1 teaspoon of vanilla extract. Don’t forget a pinch of salt (¼ teaspoon). Mix on medium speed until everything is fluffy and well combined.
Combining Ingredients
Folding in Blueberry Mixture
Gently fold the cooled blueberry mixture into your cream cheese base. Be careful not to mix too much. You want to see swirls of blueberry throughout.
Incorporating Graham Cracker Crumbs
Now, stir in ½ cup of graham cracker crumbs. This adds that classic cheesecake crunch. It makes the ice cream even more delightful.
Churning and Freezing
Using Ice Cream Maker
Pour your mixture into an ice cream maker. Churn according to the manufacturer’s instructions. You want it to reach a soft-serve consistency. This usually takes about 20 to 30 minutes.
Freezing Instructions
Transfer the soft ice cream into an airtight container. Freeze it for at least 4 hours. This helps it become firm and scoopable. When ready to serve, let it sit at room temperature for a few minutes. This softens it just enough to scoop easily. Enjoy your blueberry cheesecake ice cream!
Tips & Tricks
Achieving the Perfect Consistency
Importance of Churning Time
Churning time is key to creamy ice cream. It incorporates air while freezing, creating a light texture. For this blueberry cheesecake ice cream, churn according to your ice cream maker’s instructions. Usually, 20 to 30 minutes will do. Watch for soft-serve consistency; it should be smooth yet slightly thick.
How to Soften Ice Cream for Serving
To serve, remove the ice cream from the freezer. Let it sit at room temperature for 5 to 10 minutes. This softens it without melting. Use a warm scoop to help you dish it out easily.
Enhancing Flavor
Using Different Berries
You can switch up the berries in this recipe. While blueberries shine, raspberries or strawberries offer fun twists. You can mix berries for a unique taste. Just adjust the cooking time based on the berry you choose.
Adjusting Sweetness Level
Taste is important. If you prefer less sweetness, reduce the sugar. Start with half a cup and add more if needed. Remember, the sweetness balances the tartness of the berries.
Presentation Ideas
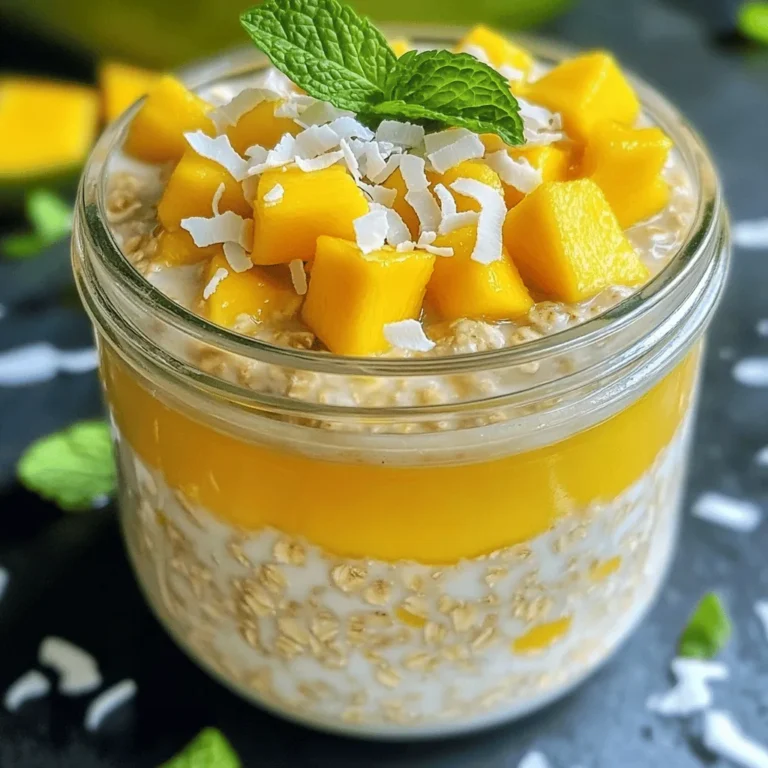
Creative Serving Suggestions
Serve your ice cream in waffle cones for fun. You can also use glass bowls or jars for a cute look. Layer the ice cream with extra blueberry syrup for a colorful effect.
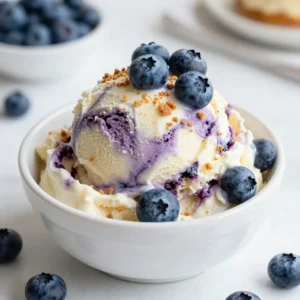
Garnishing with Extra Blueberries
Top your ice cream with fresh blueberries. They add color and a burst of flavor. Add a sprig of mint for a pop of green. This makes your dessert even more appealing and fresh.
Pro Tips
- Fresh Blueberries are Key: Use fresh blueberries for the best flavor and texture. Frozen blueberries can be used but may result in a more watery mixture.
- Softened Cream Cheese: Ensure your cream cheese is fully softened before mixing. This will help achieve a smooth and creamy texture without lumps.
- Chill the Mixture: For a creamier texture, chill the ice cream mixture for about 1-2 hours before churning. This helps it churn faster and leads to a smoother ice cream.
- Garnish Smartly: For a beautiful presentation, don’t forget to add extra blueberries on top before serving. They add a pop of color and enhance the flavor!
Variations
Flavor Variations
One fun twist is lemon blueberry cheesecake ice cream. Just add lemon zest and more lemon juice to the blueberry mix. This gives a bright, zesty flavor. You can also try swirls of other fruit purees, like raspberry or strawberry. Mix them in with the blueberry for a fruity surprise.
Dietary Substitutions
For dairy-free options, use coconut cream instead of heavy cream. Replace cream cheese with a dairy-free cream cheese. You can also use almond milk or oat milk in place of regular milk. If you want to cut sugar, try using stevia or monk fruit. These options work great and keep your ice cream sweet.
Additional Mix-Ins
Add chocolate chips for a rich touch. They bring a nice crunch and sweet balance. You can also use different cookie crumbles. Try Oreo or peanut butter cookies for a fun twist. These mix-ins will make your blueberry cheesecake ice cream even more exciting!
Storage Info
Storing Ice Cream
To keep your blueberry cheesecake ice cream fresh, follow these steps:
- Use an airtight container. This helps prevent ice crystals from forming.
- Fill the container almost full. Leave a small space for expansion.
- Place a piece of parchment paper on the surface. This adds extra protection against freezer burn.
Shelf Life
How long does it last in the freezer? Properly stored, this ice cream lasts about 2-3 months. After that, the flavor may fade. To enjoy it best, eat it within this time frame.
Reviving Frozen Ice Cream
Sometimes ice cream can become hard after freezing. Here are tips to restore its creamy texture:
- Move the ice cream to the fridge for 15-20 minutes before serving. This softens it a bit.
- Use a warm scoop to dish it out. Run the scoop under hot water for easy serving.
- If it’s too icy, you can beat it in a bowl. This can help bring back some creaminess.
FAQs
How do I make blueberry cheesecake ice cream without an ice cream maker?
You can make blueberry cheesecake ice cream without an ice cream maker by using a simple method. First, make the mixture as usual. Transfer it to a large bowl. Then, place the bowl in the freezer. Every 30 minutes, stir the mixture with a fork to break up ice crystals. Do this for 3 to 4 hours. This method gives you a creamy ice cream without the machine.
Can I use frozen blueberries instead of fresh for this recipe?
Yes, you can use frozen blueberries. Just thaw them before cooking. The thawed berries will still burst and create a syrup. This will work well, and you won’t lose any flavor. Make sure to adjust the sugar slightly, as frozen blueberries can be sweeter.
How long does it take to churn ice cream at home?
Churning ice cream at home usually takes about 20 to 30 minutes. The time can vary based on your ice cream maker. Keep an eye on it. You want a soft-serve consistency before you freeze it.
What are some good toppings for blueberry cheesecake ice cream?
You can add many tasty toppings. Here are some great options:
- Extra blueberries for freshness
- Whipped cream for a light touch
- Graham cracker crumbs for crunch
- A drizzle of honey or caramel sauce for extra sweetness
- Chopped nuts for a nutty flavor
Feel free to mix and match your favorites!
This blog post covered the key steps to make delicious blueberry cheesecake ice cream. You learned about the fresh ingredients, dairy components, and seasonings that create great flavor. I shared detailed instructions for prep, churning, and freezing. Additionally, I offered tips for the perfect texture and ways to enhance your ice cream. Remember, you can customize flavors and store your treat safely. Now, go ahead and make your own creamy dessert masterpiece! Enjoy every scoo
Blueberry Bliss Cheesecake Ice Cream
Ingredients
- 2 cups fresh blueberries
- 1 cup granulated sugar, divided
- 1 tablespoon lemon juice
- 2 cups cream cheese, softened
- 1 cup heavy cream
- 1 teaspoon vanilla extract
- 1 2 sour cream
- 1 4 teaspoon salt
- 1 2 cup graham cracker crumbs
- Extra blueberries for garnish
Instructions
- In a small saucepan, combine the fresh blueberries, 1/2 cup of granulated sugar, and lemon juice. Cook over medium heat until the blueberries burst and the mixture is syrupy, about 5-7 minutes. Remove from heat and let cool.
- In a large mixing bowl, beat the softened cream cheese and the remaining 1/2 cup of granulated sugar until smooth and creamy.
- Add the heavy cream, sour cream, vanilla extract, and salt to the cream cheese mixture. Mix on medium speed until well combined and fluffy.
- Gently fold in the cooled blueberry mixture into the cream cheese mixture, being careful not to fully blend; you want swirls of blueberry throughout.
- Stir in the graham cracker crumbs to add that cheesecake element to the ice cream.
- Pour the mixture into an ice cream maker and churn according to the manufacturer's instructions until it reaches a soft-serve consistency.
- Transfer the mixture to an airtight container and freeze for at least 4 hours or until firm.
- When ready to serve, allow the ice cream to sit at room temperature for a few minutes to soften, then scoop into bowls and garnish with extra blueberries.


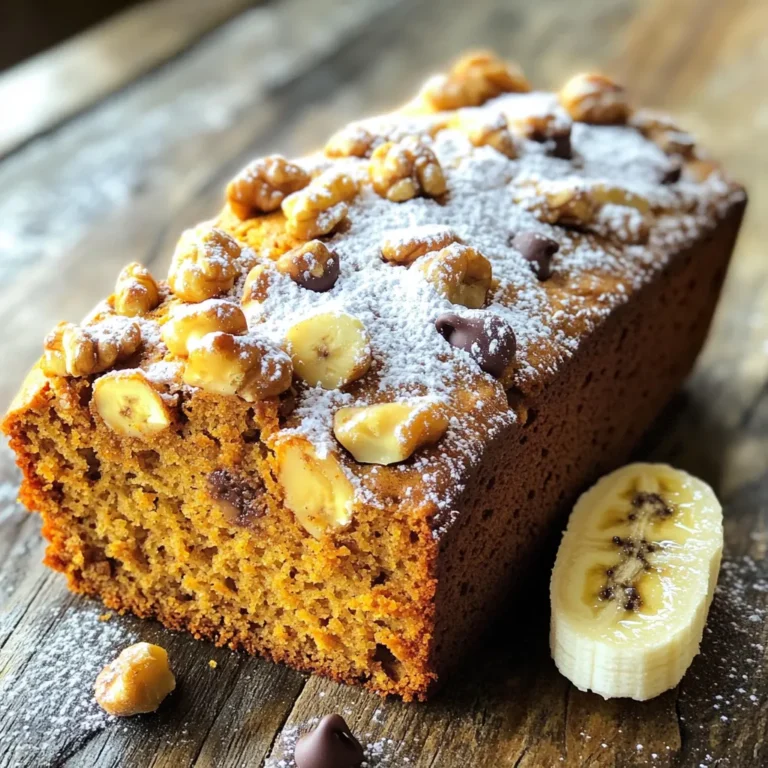
![To make these delightful cinnamon apple muffins, you need the following ingredients: - 2 cups all-purpose flour - 1 teaspoon baking soda - 1 teaspoon baking powder - 1 teaspoon ground cinnamon - 1/2 teaspoon salt - 1/2 cup unsalted butter, softened - 1 cup packed brown sugar - 2 large eggs - 1 teaspoon vanilla extract - 1 cup buttermilk - 2 apples, peeled, cored, and diced (preferably Granny Smith for tartness) - 1/2 cup chopped walnuts (optional) - Extra cinnamon sugar for topping (1 tablespoon sugar mixed with 1/2 teaspoon cinnamon) The right mix of these ingredients creates a warm, inviting flavor. I love how the sweet apples and warm cinnamon blend. The buttermilk adds moisture, making the muffins soft and fluffy. You can also add walnuts for a nice crunch, but they are optional. This simple list allows you to bake a batch that brings joy to any kitchen. Follow the [Full Recipe] for step-by-step instructions. - Preheat your oven to 350°F (175°C). - Line a muffin tin with paper liners or grease it well. - In a medium bowl, whisk together the flour, baking soda, baking powder, ground cinnamon, and salt. - In a large mixing bowl, cream softened butter and brown sugar until light and fluffy. - Add eggs one at a time, mixing well after each. Stir in the vanilla extract. - Gradually mix in the dry ingredients and buttermilk. Alternate adding each, starting and ending with dry ingredients. - Fold diced apples and walnuts into the batter. - Spoon the batter into the muffin tin, filling each cup about three-quarters full. - Sprinkle the tops with cinnamon sugar for added crunch and sweetness. - Bake for 18-22 minutes, or until a toothpick comes out clean. This simple method leads to tasty cinnamon apple muffins. For the full recipe, refer to the section above. Enjoy the warm, fluffy bites of joy! - Make sure all your ingredients are at room temperature. This helps them mix better. - Use a toothpick to check for doneness. Insert it in the center; it should come out clean. - Serve your muffins warm with a pat of butter. This adds richness and flavor. - You can also dust them with powdered sugar for a sweet touch. - For a cozy display, place them on a rustic wooden board. It looks inviting! - To achieve a moist muffin, do not overmix the batter. Mix just until combined. - Avoid dense muffins by measuring flour correctly. Too much flour can weigh them down. - Use a light hand when folding in the apples. This keeps the air in the batter. These tips will help you bake delicious cinnamon apple muffins every time! For a full recipe, check the earlier section. {{image_2}} You can switch things up by using different fruits. Instead of apples, try pears or berries. Both options bring a fresh taste to your muffins. If you love dried fruits, add cranberries to the mix. They add a nice chew and burst of flavor. If you want gluten-free muffins, use almond or oat flour instead of regular flour. Both options work well and keep the muffins soft. For those who prefer vegan options, replace eggs with flax eggs and use plant-based milk. These changes make the recipe accessible for everyone. To add more depth, mix in spices like nutmeg or ginger. They pair well with cinnamon and give your muffins a warm flavor. You can also swirl in caramel or chocolate chips for a sweet surprise. These little changes can take your muffins to a whole new level. Check out the Full Recipe for all the details on making these delightful treats! To keep your muffins fresh, store them at room temperature. Place them in an airtight container. This helps retain moisture. If you don't have a container, wrap them tightly in plastic wrap. They will stay soft for about three days. Be sure to keep them away from direct sunlight and heat. For longer storage, freeze your muffins. Allow them to cool completely first. Place them in a freezer-safe bag or container. Remove as much air as possible to prevent freezer burn. They can last up to three months in the freezer. When you want to enjoy one, reheat it for the best texture. You can microwave it for about 20-30 seconds. If you prefer the oven, bake at 350°F (175°C) for about 10 minutes. This keeps the muffins soft and fluffy. For the full recipe, check out the previous section. To make your muffins rise higher, focus on the batter's consistency. Use the right amount of flour. If your batter is too thick, add a touch more liquid. Air pockets help muffins rise, so mix gently but well. Also, make sure your oven is preheated to 350°F (175°C). An oven that is too cool can lead to flat muffins. Yes, you can use different apples. Granny Smith apples are tart and work well. Honeycrisp apples add a nice sweetness and crunch. Fuji apples are also great for a sweeter taste. Try to pick apples that are firm and fresh for the best results. Muffins usually last about 2-3 days at room temperature. Store them in an airtight container. If you want them to last longer, freeze them. In the freezer, they can last up to three months. Just make sure to wrap them well to prevent freezer burn. You can replace buttermilk with milk and vinegar. Just mix 1 cup of milk with 1 tablespoon of vinegar. Let it sit for a few minutes to thicken. Another option is to use yogurt or sour cream. These will also give your muffins a nice texture. For the full recipe, check out the [Full Recipe]. In this blog post, we covered how to make delicious apple muffins step by step, from gathering ingredients to baking tips. We also explored fun variations and smart storage methods. Remember, the right techniques make all the difference in your baking. Whether you stick to the classic recipe or try new flavors, these muffins will delight everyone. Enjoy the process, share them with friends, and savor each bite. Happy baking!](https://dailydishlab.com/wp-content/uploads/2025/06/22877687-0dd6-40e4-bb31-9a2a429db395-768x768.webp)