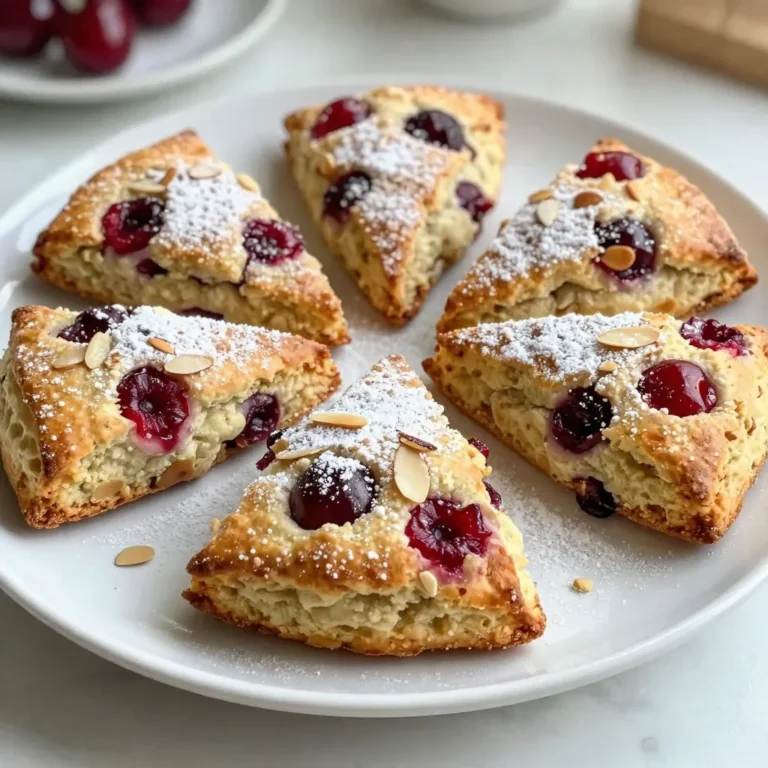
Chocolate Chip Pumpkin Scones Delightful Fall Treat

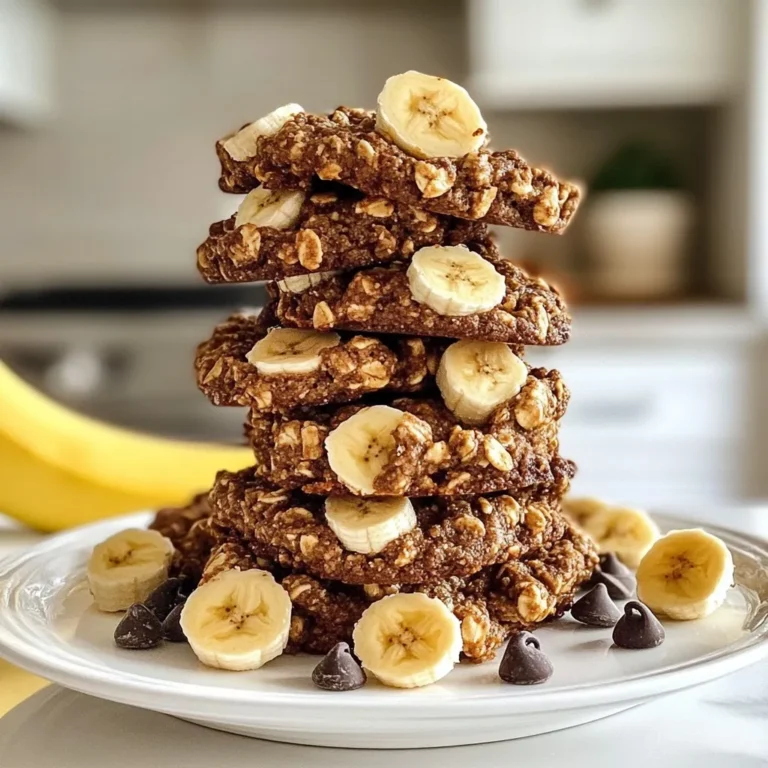
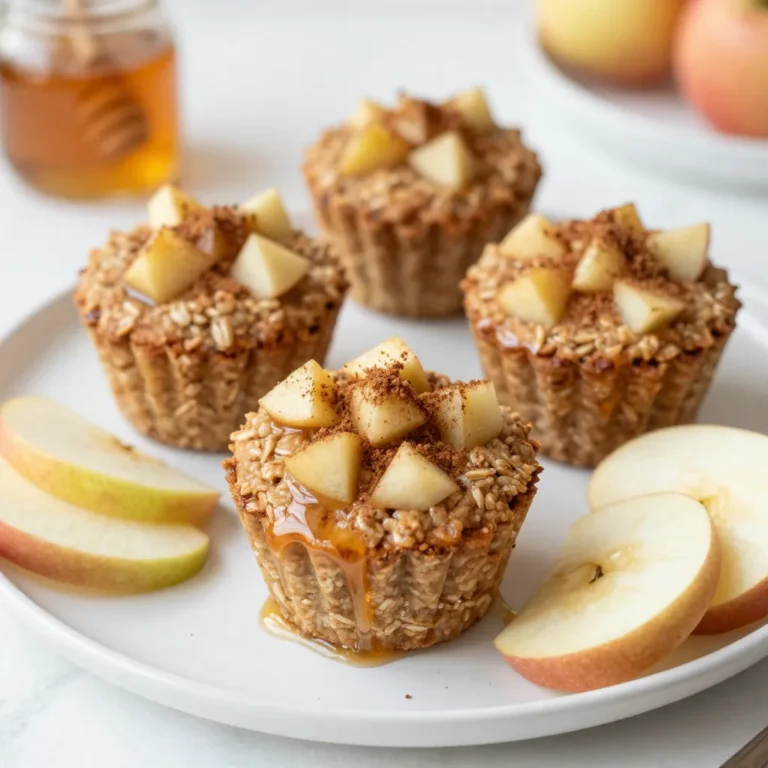
Fall is here, and there’s nothing like the warm, inviting aroma of Chocolate Chip Pumpkin Scones wafting from your kitchen. These treats blend rich pumpkin flavor with sweet chocolate chips, creating a delightful snack or breakfast. In this post, I’ll share a simple recipe, ingredient tips, and clever variations. Get ready to impress your friends and family with these tasty scones that capture the essence of autumn!
Why I Love This Recipe
- Delicious Flavor Combination: The rich chocolate chips paired with the warm spices and pumpkin create a delightful taste that is perfect for fall.
- Easy to Make: This recipe is straightforward, making it accessible for bakers of all skill levels, with minimal prep and cleanup.
- Perfect for Any Occasion: These scones are great for breakfast, brunch, or as an afternoon treat with tea or coffee.
- Great for Meal Prep: They can be made ahead of time and stored, allowing you to enjoy a fresh, homemade treat whenever you want.
Ingredients
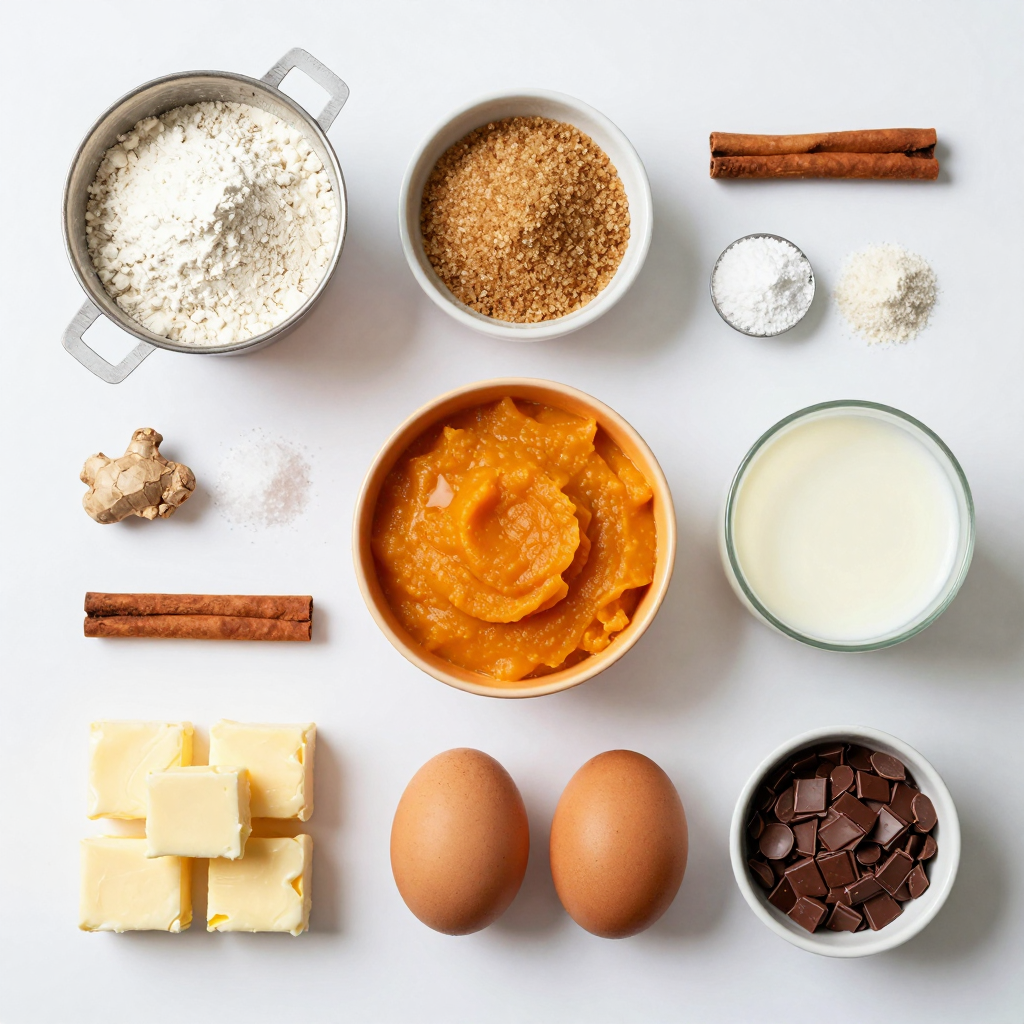
Complete List of Ingredients
- 2 cups all-purpose flour
- 1/2 cup brown sugar
- 1 tablespoon baking powder
- 1/2 teaspoon baking soda
- 1/2 teaspoon salt
- 1 teaspoon ground cinnamon
- 1/2 teaspoon ground nutmeg
- 1/4 teaspoon ground ginger
- 1/2 cup cold unsalted butter, cubed
- 1/2 cup pumpkin puree
- 1/4 cup milk
- 1 large egg
- 1/2 cup semi-sweet chocolate chips
When I make chocolate chip pumpkin scones, I love using fresh ingredients. Fresh flour and sugar make a big difference. For the butter, I use cold unsalted butter. It helps create a light and flaky texture.
Recommended Ingredient Brands
I suggest brands like King Arthur Flour for flour and Domino for brown sugar. These brands have great quality. They help to achieve the best flavor in your scones.
Ingredient Substitutions
You can swap out the all-purpose flour for a gluten-free blend if needed. Instead of brown sugar, you can use coconut sugar for a healthier option. If you want a dairy-free version, try coconut milk instead of regular milk.
When you gather these ingredients, you set the stage for a cozy baking experience. Each one plays a role in making these scones a delightful fall treat.
Step-by-Step Instructions
Prepping the Oven and Baking Sheet
First, set your oven to 400°F (200°C). This helps the scones rise and bake evenly. While the oven heats, grab a baking sheet. Line it with parchment paper. This makes clean-up easier and keeps the scones from sticking.
Mixing Dry Ingredients
In a large bowl, add the dry ingredients. Combine 2 cups of all-purpose flour, 1/2 cup of brown sugar, 1 tablespoon of baking powder, 1/2 teaspoon of baking soda, and 1/2 teaspoon of salt. Next, add 1 teaspoon of ground cinnamon, 1/2 teaspoon of ground nutmeg, and 1/4 teaspoon of ground ginger. Whisk everything well. This step adds flavor and ensures even mixing.
Combining Wet Ingredients and Dough Assembly
Now, in a separate bowl, mix the wet ingredients. Add 1/2 cup of pumpkin puree, 1/4 cup of milk, and 1 large egg. Whisk until smooth. Pour this mixture into the dry ingredients. Stir gently until combined. Be careful not to over-mix; a few lumps are okay. Finally, fold in 1/2 cup of semi-sweet chocolate chips for that sweet touch.
Shaping and Cutting Scones
Turn the dough out onto a floured surface. Gently knead it a few times until it holds together. Pat the dough into a circle about 1-inch thick. Use a knife or pizza cutter to slice the dough into 8 wedges. Place the wedges on your prepared baking sheet.
Baking Instructions
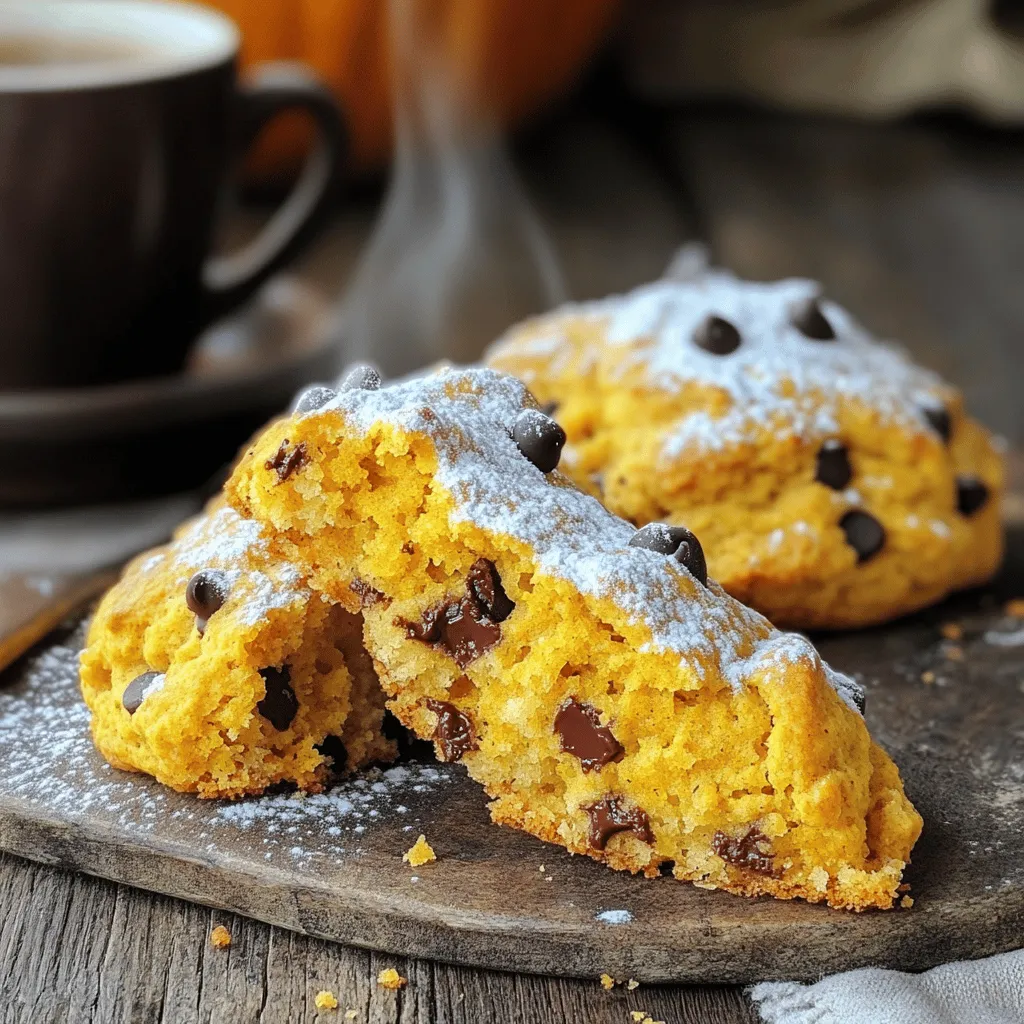
Bake the scones for 15-18 minutes. They should turn golden brown on the edges. Keep an eye on them to avoid over-baking. Once done, take them out and let them cool for a few minutes. Then, transfer them to a wire rack to cool completely. Enjoy your warm scones fresh from the oven!
Pro Tips
- Keep Butter Cold: Make sure your butter is cold to achieve that perfect flaky texture in your scones. You can even freeze it for a few minutes before cutting it into cubes.
- Don’t Overmix: When combining wet and dry ingredients, mix just until everything is incorporated. Overmixing can lead to tough scones.
- Variations: Feel free to add nuts or swap chocolate chips for dried fruit to customize these scones to your taste.
- Storage Tips: Store leftover scones in an airtight container at room temperature for up to 2 days, or freeze them for longer freshness.
Tips & Tricks
Perfecting Texture and Flavor
To make the best chocolate chip pumpkin scones, focus on the texture and flavor. Start with cold butter. This keeps the scones flaky. When you mix the butter with flour, aim for pea-sized pieces. This helps create that tender bite. Use fresh spices like cinnamon and nutmeg. They add warmth and depth. Don’t skip the chocolate chips; they bring sweetness and fun. If you want a richer flavor, try dark chocolate chips.
Ways to Avoid Common Mistakes
One common mistake is over-mixing the dough. Mix only until combined. This keeps the scones light and fluffy. Make sure your baking powder is fresh. Old baking powder won’t help the scones rise. Also, watch the baking time. Every oven is different. Start checking at 15 minutes. The edges should be golden brown. If you bake too long, the scones may dry out.
Best Practices for Serving and Storing
Serve your scones warm for the best taste. They pair well with tea or coffee. For a special touch, dust them with powdered sugar. You can also add a simple glaze made from powdered sugar and milk. To store, keep them in an airtight container. This helps them stay fresh. If you want to freeze them, wrap each scone in plastic wrap. They will last for up to a month. When ready to eat, just thaw and reheat.
Variations
Gluten-Free Chocolate Chip Pumpkin Scones
You can easily make these scones gluten-free. Just swap all-purpose flour for a gluten-free blend. Look for a blend that includes xanthan gum. This helps mimic the texture of regular flour. Follow the same recipe steps. You’ll enjoy the same great taste!
Vegan Chocolate Chip Pumpkin Scones
To make vegan chocolate chip pumpkin scones, replace the butter with coconut oil or a vegan butter. Use plant-based milk instead of regular milk. For the egg, you can use a flaxseed egg. Mix one tablespoon of flaxseed meal with three tablespoons of water. Let it sit for five minutes. This will help bind the ingredients.
Flavor Additions and Modifications
You can add more flavor to your scones. Here are a few ideas:
- Nuts: Chopped walnuts or pecans can add a nice crunch.
- Spices: Try adding cardamom or allspice for a warm twist.
- Citrus: A bit of orange or lemon zest brightens the taste.
- Dried fruit: Add raisins or cranberries for extra sweetness.
Feel free to experiment! Each addition brings a unique touch to your fall treat.
Storage Info
How to Store Leftover Scones
To keep your scones fresh, store them in an airtight container. They will stay good for about two days at room temperature. If you want them to last longer, the fridge is a good option. Just make sure the container is sealed tight. This keeps them soft and tasty.
Freezing Instructions
You can freeze chocolate chip pumpkin scones for up to three months. To do this, let them cool completely. Then, wrap each scone in plastic wrap. Place the wrapped scones in a freezer bag. Be sure to remove as much air as possible. When you want to enjoy them, just take them out and let them thaw in the fridge overnight.
Reheating Tips
To reheat scones, you can use the oven or microwave. For the oven, preheat it to 350°F (175°C). Place the scones on a baking sheet and warm them for about 10 minutes. This helps them regain their fresh-baked taste. If using a microwave, heat each scone for about 15-20 seconds. Be careful not to overheat, or they may become dry. Enjoy your scones warm!
FAQs
What can I substitute for pumpkin puree?
You can use mashed banana or applesauce. These options add moisture and sweetness. You can also use butternut squash puree if you want a similar flavor. Both choices work well in this recipe. Just keep the amount the same as pumpkin puree.
Can I make these scones in advance?
Yes, you can! Make the dough ahead of time and chill it. Wrap the dough in plastic wrap and place it in the fridge. You can keep it there for up to two days. When ready to bake, cut the scones and place them on the baking sheet. Bake as usual for a fresh treat.
How do I know when the scones are done baking?
Scones are done when they turn golden brown on the edges. You can also insert a toothpick into the center. If it comes out clean, the scones are ready. The baking time is usually 15 to 18 minutes. Keep an eye on them towards the end.
What should I serve with chocolate chip pumpkin scones?
These scones taste great with a hot drink. Serve them with tea or coffee. You can also pair them with cream cheese or butter. A drizzle of maple syrup adds a nice touch too. Enjoy them warm for the best flavor.
We covered the key ingredients for tasty chocolate chip pumpkin scones. You now know the step-by-step methods, helpful tips, and various options. With these instructions, you can bake perfect scones that suit your taste. Experiment with flavors and variations to find your favorite. Lastly, don’t forget to store extras properly! Enjoy your time in the kitchen, and share these treats with friends and family. Happy baking!

Chocolate Chip Pumpkin Scones
Ingredients
2 cups all-purpose flour
1/2 cup brown sugar
1 tablespoon baking powder
1/2 teaspoon baking soda
1/2 teaspoon salt
1 teaspoon ground cinnamon
1/2 teaspoon ground nutmeg
1/4 teaspoon ground ginger
1/2 cup cold unsalted butter, cubed
1/2 cup pumpkin puree
1/4 cup milk
1 large egg
1/2 cup semi-sweet chocolate chips
Instructions
Preheat your oven to 400°F (200°C) and line a baking sheet with parchment paper.
In a large mixing bowl, whisk together the flour, brown sugar, baking powder, baking soda, salt, cinnamon, nutmeg, and ginger until well combined.
Add the cold cubed butter to the dry ingredients. Using a pastry cutter or your fingers, work the butter into the flour until the mixture resembles coarse crumbs.
In a separate bowl, whisk together the pumpkin puree, milk, and egg until smooth.
Pour the wet ingredients into the dry mixture and stir gently until just combined. Avoid over-mixing.
Fold in the chocolate chips evenly throughout the dough.
Turn the dough onto a lightly floured surface and knead gently a few times until it comes together. Pat the dough into a circle about 1-inch thick.
Cut the dough into 8 wedges and place them on the prepared baking sheet.
Bake for 15-18 minutes or until the scones are golden brown on the edges.
Remove from the oven and let cool for a few minutes before transferring to a wire rack to cool completely.
Prep Time: 15 minutes | Total Time: 35 minutes | Servings: 8 scones
– Presentation Tips: Serve the scones warm, dusted with powdered sugar or drizzled with a simple glaze made from powdered sugar and milk for an elegant touch. Enjoy with a cup of tea or coffee!
Chocolate Chip Pumpkin Scones
Ingredients
- 2 cups all-purpose flour
- 0.5 cups brown sugar
- 1 tablespoon baking powder
- 0.5 teaspoon baking soda
- 0.5 teaspoon salt
- 1 teaspoon ground cinnamon
- 0.5 teaspoon ground nutmeg
- 0.25 teaspoon ground ginger
- 0.5 cups cold unsalted butter, cubed
- 0.5 cups pumpkin puree
- 0.25 cups milk
- 1 large egg
- 0.5 cups semi-sweet chocolate chips
Instructions
- Preheat your oven to 400°F (200°C) and line a baking sheet with parchment paper.
- In a large mixing bowl, whisk together the flour, brown sugar, baking powder, baking soda, salt, cinnamon, nutmeg, and ginger until well combined.
- Add the cold cubed butter to the dry ingredients. Using a pastry cutter or your fingers, work the butter into the flour until the mixture resembles coarse crumbs.
- In a separate bowl, whisk together the pumpkin puree, milk, and egg until smooth.
- Pour the wet ingredients into the dry mixture and stir gently until just combined. Avoid over-mixing.
- Fold in the chocolate chips evenly throughout the dough.
- Turn the dough onto a lightly floured surface and knead gently a few times until it comes together. Pat the dough into a circle about 1-inch thick.
- Cut the dough into 8 wedges and place them on the prepared baking sheet.
- Bake for 15-18 minutes or until the scones are golden brown on the edges.
- Remove from the oven and let cool for a few minutes before transferring to a wire rack to cool completely.