Mocha Oreo Icebox Cake Tempting No-Bake Delight
![- 2 cups heavy whipping cream - 1 cup powdered sugar - 1 teaspoon vanilla extract - 1 cup strong brewed coffee, cooled - 1 tablespoon cocoa powder - 1 package (14.3 oz) Oreo cookies - 1/2 cup crushed espresso beans (optional, for garnish) - Shaved chocolate or chocolate curls (for garnish) Choosing the right coffee Select a coffee you enjoy drinking. A bold, rich coffee enhances the flavor of the cake. I recommend a dark roast for a deep, satisfying taste. Alternative sweeteners or creams You can use coconut cream or almond milk for a lighter version. If you want less sugar, consider using honey or maple syrup. Adjust the amount based on your taste. Substitutions for Oreo cookies If you can’t find Oreos, use chocolate wafer cookies. They provide a similar texture and flavor. You can also try gluten-free cookies if needed. For the full recipe, see the details above. First, gather your ingredients. You will need heavy cream, powdered sugar, and Oreo cookies. Brew strong coffee and let it cool. These steps set the stage for a great icebox cake. The chilling time is key. It helps the flavors blend and firm up the cake. I recommend letting it chill for at least four hours. Overnight is even better! Now, let’s layer the cake. Start by dipping each Oreo in the coffee mixture. Don’t soak them too long. You want them soft but not soggy. Place a layer of dipped Oreos in your baking dish. Next, spread a layer of whipped cream over the cookies. Make sure to smooth it out evenly. Repeat this process. Alternate between Oreos and whipped cream until you finish with cream on top. Once you complete layering, it’s time for the final touches. I love to sprinkle crushed espresso beans and chocolate curls on top for a fancy look. For serving, slice the cake into squares. Chilled plates add a nice touch. You can also add a dollop of whipped cream on the side. A sprinkle of cocoa powder gives an extra flair. Enjoy your Mocha Oreo Icebox Cake! For the full recipe, check out the details above. - Over-whipping cream: When you whip the cream, stop as soon as stiff peaks form. Over-whipping can turn your cream into butter. - Dipping Oreos too long: Dip each Oreo quickly. If you soak them too long, they will fall apart and get mushy. - How long to chill: Chill the cake for at least four hours. Overnight is best for rich flavors. - Timing for flavor melding: Allow the cake to sit in the fridge. This helps the coffee and cream flavors blend perfectly. - Best mixing tools: Use an electric mixer to whip the cream. It makes the process quick and easy. - Recommended baking dish: A 9x13 inch baking dish works great. It holds all the layers and fits in most fridges. For a detailed look at the ingredients and steps, check out the Full Recipe. {{image_2}} You can change the coffee type to fit your taste. Try espresso for a strong kick. Or, use flavored coffee like hazelnut or vanilla to add a unique twist. You can also mix in spices like cinnamon or a splash of coffee liqueur for more depth. Adding flavors to whipped cream can enhance the cake even more. Mix in a touch of almond extract or a bit of melted chocolate. You could also fold in some cocoa powder for a richer taste. Each flavor adds its own charm to this treat. For a gluten-free version, swap out regular Oreos for gluten-free cookies. Many brands offer delicious options that taste just as good. You can also use gluten-free chocolate wafers as an alternative. If you want a lower-calorie cake, use reduced-fat cream or a sugar substitute. Greek yogurt can also replace some of the cream for a lighter feel. Adjust the sweetness to your liking while keeping the taste intact. You can make holiday-themed twists by adding peppermint extract in December. Top the cake with crushed candy canes for a festive look. In the summer, use fresh fruits like strawberries or raspberries. Layer them between the Oreos for a bright, fruity taste. Each season brings a new chance to play with flavors. For the [Full Recipe], check out the detailed instructions and ingredients. To keep your Mocha Oreo Icebox Cake fresh, cover it tightly. Use plastic wrap or aluminum foil. This prevents air from getting in and keeps the flavors intact. I recommend a glass or plastic container with a lid. This way, it stays safe and tastes great. Yes, you can freeze the cake! This is a great option if you want to save some for later. Wrap the cake tightly in plastic wrap and then in foil. This helps prevent freezer burn. To defrost, move the cake to the fridge. Let it sit overnight. This keeps it moist and tasty. Your icebox cake will last about 3 to 5 days in the fridge. Look for signs of spoilage, like off smells or mold. If the cake looks dry or the cookies are too soft, it’s time to toss it. Enjoy your delicious treat while it’s fresh! For the [Full Recipe](#), check back to make this amazing dessert! An icebox cake is a no-bake dessert that layers cookies and whipped cream. It is simple to make and perfect for warm days. The history of icebox cakes dates back to the 1920s. People used iceboxes to chill desserts before modern fridges were common. This cake allows flavors to meld as it chills, creating a rich taste. Yes, you can use other cookies! Try chocolate chip cookies for a twist. Graham crackers also work well and give a nice crunch. Vanilla wafers add a sweet touch too. Feel free to experiment with different flavors and textures to find your favorite. You will know the cake is ready when the whipped cream is set and holds its shape. It should feel firm to the touch. After chilling for at least four hours, the cookies will soften, but they should not fall apart. The layers should look smooth and cohesive. Absolutely! This cake is perfect for making in advance. You can prepare it a day before you plan to serve. Just cover it well with plastic wrap before chilling. This way, the flavors deepen and the cake tastes even better. In this blog post, we explored the key ingredients for a delicious icebox cake. We covered tips on choosing the right coffee and alternatives for Oreos. You learned step-by-step instructions for preparation, layering, and adding final touches. We also shared common mistakes and timing for best results. Now, with these details in mind, you can create your own perfect icebox cake. Don't be afraid to experiment with flavors and variations. Enjoy the process and delight in sharing your creation!](https://dailydishlab.com/wp-content/uploads/2025/07/0dda9964-7972-494e-946c-2eb6009d36dd.webp)
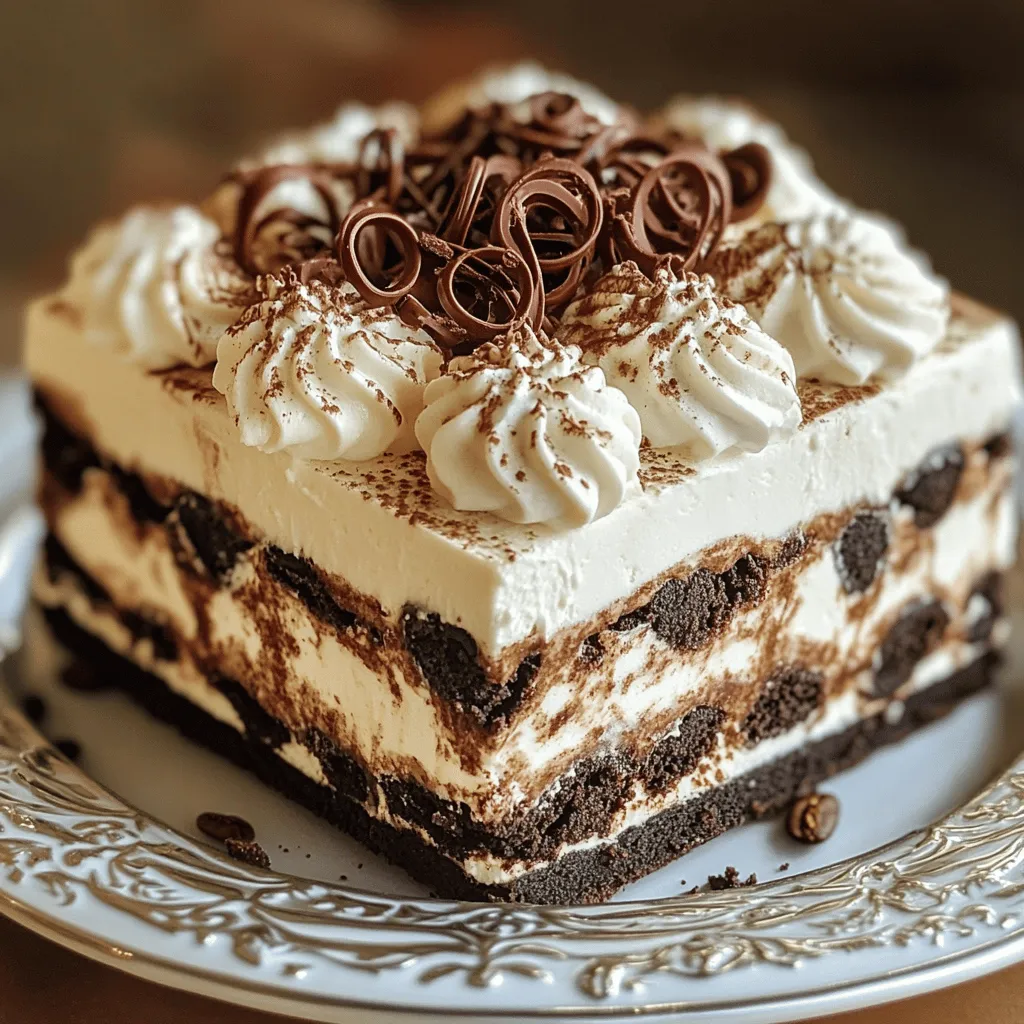
Indulge in a dessert that feels like a hug in every bite! My Mocha Oreo Icebox Cake combines rich coffee flavor with the beloved crunch of Oreo cookies. This no-bake delight is perfect for any occasion and will impress your friends and family. With just a few simple ingredients and easy steps, you can create a delicious treat that will have everyone asking for seconds. Let’s dive into this tempting recipe and make your dessert dreams come true!
Why I Love This Recipe
- Decadent Flavor: This dessert combines the rich flavors of mocha and Oreo, making each bite a delightful treat for chocolate and coffee lovers.
- No-Bake Convenience: With no baking required, this icebox cake is an easy and stress-free dessert option, perfect for any occasion.
- Make Ahead Friendly: This cake can be prepared in advance and stored in the fridge, allowing the flavors to meld beautifully over time.
- Customizable Garnish: Top it off with your favorite garnishes like crushed espresso beans or chocolate curls for an extra touch of elegance.
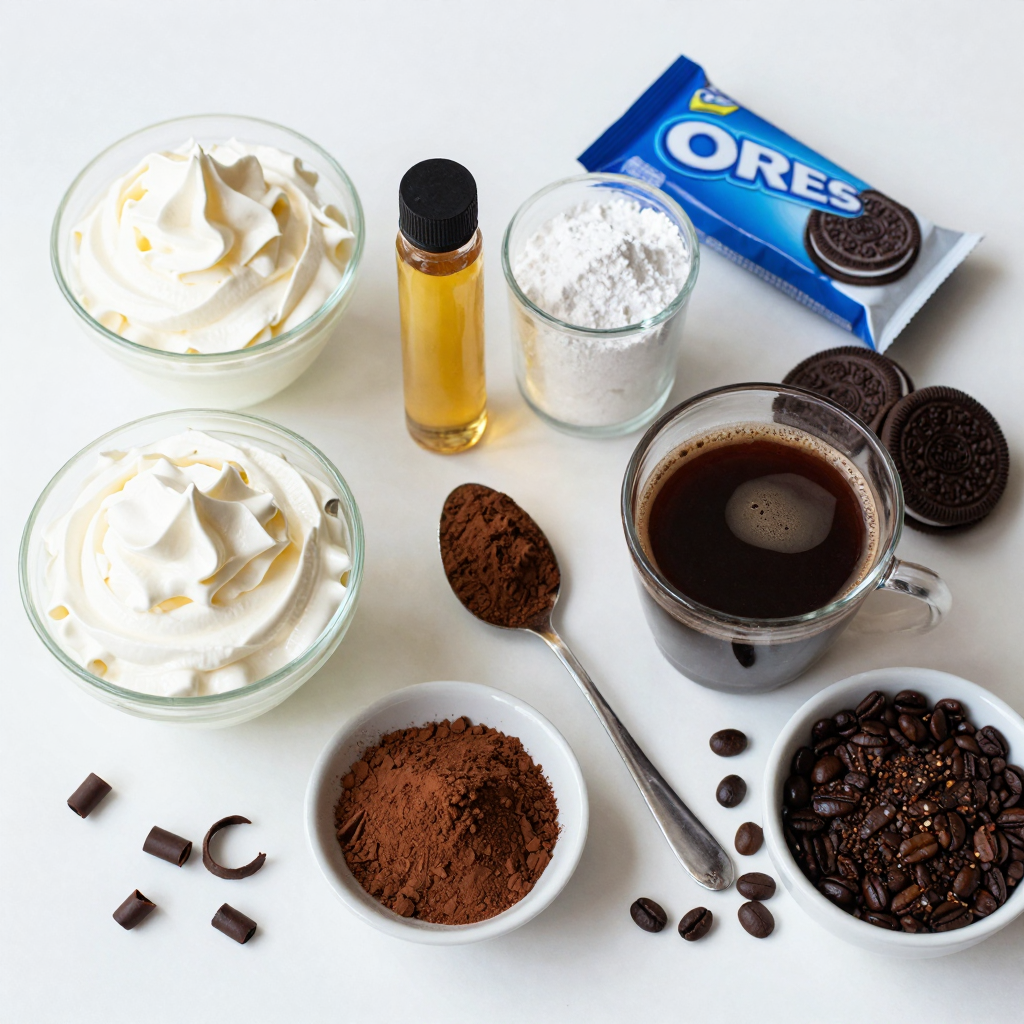
Ingredients
Complete Ingredient List
- 2 cups heavy whipping cream
- 1 cup powdered sugar
- 1 teaspoon vanilla extract
- 1 cup strong brewed coffee, cooled
- 1 tablespoon cocoa powder
- 1 package (14.3 oz) Oreo cookies
- 1/2 cup crushed espresso beans (optional, for garnish)
- Shaved chocolate or chocolate curls (for garnish)
Ingredient Tips
Choosing the right coffee
Select a coffee you enjoy drinking. A bold, rich coffee enhances the flavor of the cake. I recommend a dark roast for a deep, satisfying taste.
Alternative sweeteners or creams
You can use coconut cream or almond milk for a lighter version. If you want less sugar, consider using honey or maple syrup. Adjust the amount based on your taste.
Substitutions for Oreo cookies
If you can’t find Oreos, use chocolate wafer cookies. They provide a similar texture and flavor. You can also try gluten-free cookies if needed.
Step-by-Step Instructions
Preparation Overview
First, gather your ingredients. You will need heavy cream, powdered sugar, and Oreo cookies. Brew strong coffee and let it cool. These steps set the stage for a great icebox cake. The chilling time is key. It helps the flavors blend and firm up the cake. I recommend letting it chill for at least four hours. Overnight is even better!
Layering Process
Now, let’s layer the cake. Start by dipping each Oreo in the coffee mixture. Don’t soak them too long. You want them soft but not soggy. Place a layer of dipped Oreos in your baking dish. Next, spread a layer of whipped cream over the cookies. Make sure to smooth it out evenly. Repeat this process. Alternate between Oreos and whipped cream until you finish with cream on top.
Final Touches
Once you complete layering, it’s time for the final touches. I love to sprinkle crushed espresso beans and chocolate curls on top for a fancy look. For serving, slice the cake into squares. Chilled plates add a nice touch. You can also add a dollop of whipped cream on the side. A sprinkle of cocoa powder gives an extra flair. Enjoy your Mocha Oreo Icebox Cake!
Pro Tips
- Use Cold Ingredients: Ensure your heavy cream and coffee are cold for the best whipping results. This helps achieve the desired stiff peaks in the whipped cream.
- Layering Technique: For a more visually appealing cake, try to alternate the layers of Oreos and whipped cream evenly, ensuring the last layer is whipped cream for a smooth finish.
- Chilling Time: For the best flavor and texture, letting the cake chill overnight allows the cookies to soften perfectly and the flavors to meld beautifully.
- Add a Coffee Twist: If you want an extra kick, consider adding a splash of coffee liqueur to the coffee mixture for an adult version of this dessert.
Tips & Tricks
Common Mistakes to Avoid
- Over-whipping cream: When you whip the cream, stop as soon as stiff peaks form. Over-whipping can turn your cream into butter.
- Dipping Oreos too long: Dip each Oreo quickly. If you soak them too long, they will fall apart and get mushy.
Timing for Best Results
- How long to chill: Chill the cake for at least four hours. Overnight is best for rich flavors.
- Timing for flavor melding: Allow the cake to sit in the fridge. This helps the coffee and cream flavors blend perfectly.
Equipment Recommendations
- Best mixing tools: Use an electric mixer to whip the cream. It makes the process quick and easy.
- Recommended baking dish: A 9×13 inch baking dish works great. It holds all the layers and fits in most fridges.
Variations
Flavor Alternatives
You can change the coffee type to fit your taste. Try espresso for a strong kick. Or, use flavored coffee like hazelnut or vanilla to add a unique twist. You can also mix in spices like cinnamon or a splash of coffee liqueur for more depth.
Adding flavors to whipped cream can enhance the cake even more. Mix in a touch of almond extract or a bit of melted chocolate. You could also fold in some cocoa powder for a richer taste. Each flavor adds its own charm to this treat.
Dietary Adjustments
For a gluten-free version, swap out regular Oreos for gluten-free cookies. Many brands offer delicious options that taste just as good. You can also use gluten-free chocolate wafers as an alternative.
If you want a lower-calorie cake, use reduced-fat cream or a sugar substitute. Greek yogurt can also replace some of the cream for a lighter feel. Adjust the sweetness to your liking while keeping the taste intact.
Seasonal Variations
You can make holiday-themed twists by adding peppermint extract in December. Top the cake with crushed candy canes for a festive look. In the summer, use fresh fruits like strawberries or raspberries. Layer them between the Oreos for a bright, fruity taste. Each season brings a new chance to play with flavors.
Storage Info
Proper Storage Techniques
To keep your Mocha Oreo Icebox Cake fresh, cover it tightly. Use plastic wrap or aluminum foil. This prevents air from getting in and keeps the flavors intact. I recommend a glass or plastic container with a lid. This way, it stays safe and tastes great.
Freezing Instructions
Yes, you can freeze the cake! This is a great option if you want to save some for later. Wrap the cake tightly in plastic wrap and then in foil. This helps prevent freezer burn. To defrost, move the cake to the fridge. Let it sit overnight. This keeps it moist and tasty.
Shelf Life
Your icebox cake will last about 3 to 5 days in the fridge. Look for signs of spoilage, like off smells or mold. If the cake looks dry or the cookies are too soft, it’s time to toss it. Enjoy your delicious treat while it’s fresh!
FAQs
What is an icebox cake?
An icebox cake is a no-bake dessert that layers cookies and whipped cream. It is simple to make and perfect for warm days. The history of icebox cakes dates back to the 1920s. People used iceboxes to chill desserts before modern fridges were common. This cake allows flavors to meld as it chills, creating a rich taste.
Can I use different types of cookies?
Yes, you can use other cookies! Try chocolate chip cookies for a twist. Graham crackers also work well and give a nice crunch. Vanilla wafers add a sweet touch too. Feel free to experiment with different flavors and textures to find your favorite.
How do I know when it’s ready to serve?
You will know the cake is ready when the whipped cream is set and holds its shape. It should feel firm to the touch. After chilling for at least four hours, the cookies will soften, but they should not fall apart. The layers should look smooth and cohesive.
Can I make this ahead of time?
Absolutely! This cake is perfect for making in advance. You can prepare it a day before you plan to serve. Just cover it well with plastic wrap before chilling. This way, the flavors deepen and the cake tastes even better.
In this blog post, we explored the key ingredients for a delicious icebox cake. We covered tips on choosing the right coffee and alternatives for Oreos. You learned step-by-step instructions for preparation, layering, and adding final touches. We also shared common mistakes and timing for best results.
Now, with these details in mind, you can create your own perfect icebox cake. Don’t be afraid to experiment with flavors and variations. Enjoy the process and delight in sharing your creation!
![- 2 cups heavy whipping cream - 1 cup powdered sugar - 1 teaspoon vanilla extract - 1 cup strong brewed coffee, cooled - 1 tablespoon cocoa powder - 1 package (14.3 oz) Oreo cookies - 1/2 cup crushed espresso beans (optional, for garnish) - Shaved chocolate or chocolate curls (for garnish) Choosing the right coffee Select a coffee you enjoy drinking. A bold, rich coffee enhances the flavor of the cake. I recommend a dark roast for a deep, satisfying taste. Alternative sweeteners or creams You can use coconut cream or almond milk for a lighter version. If you want less sugar, consider using honey or maple syrup. Adjust the amount based on your taste. Substitutions for Oreo cookies If you can’t find Oreos, use chocolate wafer cookies. They provide a similar texture and flavor. You can also try gluten-free cookies if needed. For the full recipe, see the details above. First, gather your ingredients. You will need heavy cream, powdered sugar, and Oreo cookies. Brew strong coffee and let it cool. These steps set the stage for a great icebox cake. The chilling time is key. It helps the flavors blend and firm up the cake. I recommend letting it chill for at least four hours. Overnight is even better! Now, let’s layer the cake. Start by dipping each Oreo in the coffee mixture. Don’t soak them too long. You want them soft but not soggy. Place a layer of dipped Oreos in your baking dish. Next, spread a layer of whipped cream over the cookies. Make sure to smooth it out evenly. Repeat this process. Alternate between Oreos and whipped cream until you finish with cream on top. Once you complete layering, it’s time for the final touches. I love to sprinkle crushed espresso beans and chocolate curls on top for a fancy look. For serving, slice the cake into squares. Chilled plates add a nice touch. You can also add a dollop of whipped cream on the side. A sprinkle of cocoa powder gives an extra flair. Enjoy your Mocha Oreo Icebox Cake! For the full recipe, check out the details above. - Over-whipping cream: When you whip the cream, stop as soon as stiff peaks form. Over-whipping can turn your cream into butter. - Dipping Oreos too long: Dip each Oreo quickly. If you soak them too long, they will fall apart and get mushy. - How long to chill: Chill the cake for at least four hours. Overnight is best for rich flavors. - Timing for flavor melding: Allow the cake to sit in the fridge. This helps the coffee and cream flavors blend perfectly. - Best mixing tools: Use an electric mixer to whip the cream. It makes the process quick and easy. - Recommended baking dish: A 9x13 inch baking dish works great. It holds all the layers and fits in most fridges. For a detailed look at the ingredients and steps, check out the Full Recipe. {{image_2}} You can change the coffee type to fit your taste. Try espresso for a strong kick. Or, use flavored coffee like hazelnut or vanilla to add a unique twist. You can also mix in spices like cinnamon or a splash of coffee liqueur for more depth. Adding flavors to whipped cream can enhance the cake even more. Mix in a touch of almond extract or a bit of melted chocolate. You could also fold in some cocoa powder for a richer taste. Each flavor adds its own charm to this treat. For a gluten-free version, swap out regular Oreos for gluten-free cookies. Many brands offer delicious options that taste just as good. You can also use gluten-free chocolate wafers as an alternative. If you want a lower-calorie cake, use reduced-fat cream or a sugar substitute. Greek yogurt can also replace some of the cream for a lighter feel. Adjust the sweetness to your liking while keeping the taste intact. You can make holiday-themed twists by adding peppermint extract in December. Top the cake with crushed candy canes for a festive look. In the summer, use fresh fruits like strawberries or raspberries. Layer them between the Oreos for a bright, fruity taste. Each season brings a new chance to play with flavors. For the [Full Recipe], check out the detailed instructions and ingredients. To keep your Mocha Oreo Icebox Cake fresh, cover it tightly. Use plastic wrap or aluminum foil. This prevents air from getting in and keeps the flavors intact. I recommend a glass or plastic container with a lid. This way, it stays safe and tastes great. Yes, you can freeze the cake! This is a great option if you want to save some for later. Wrap the cake tightly in plastic wrap and then in foil. This helps prevent freezer burn. To defrost, move the cake to the fridge. Let it sit overnight. This keeps it moist and tasty. Your icebox cake will last about 3 to 5 days in the fridge. Look for signs of spoilage, like off smells or mold. If the cake looks dry or the cookies are too soft, it’s time to toss it. Enjoy your delicious treat while it’s fresh! For the [Full Recipe](#), check back to make this amazing dessert! An icebox cake is a no-bake dessert that layers cookies and whipped cream. It is simple to make and perfect for warm days. The history of icebox cakes dates back to the 1920s. People used iceboxes to chill desserts before modern fridges were common. This cake allows flavors to meld as it chills, creating a rich taste. Yes, you can use other cookies! Try chocolate chip cookies for a twist. Graham crackers also work well and give a nice crunch. Vanilla wafers add a sweet touch too. Feel free to experiment with different flavors and textures to find your favorite. You will know the cake is ready when the whipped cream is set and holds its shape. It should feel firm to the touch. After chilling for at least four hours, the cookies will soften, but they should not fall apart. The layers should look smooth and cohesive. Absolutely! This cake is perfect for making in advance. You can prepare it a day before you plan to serve. Just cover it well with plastic wrap before chilling. This way, the flavors deepen and the cake tastes even better. In this blog post, we explored the key ingredients for a delicious icebox cake. We covered tips on choosing the right coffee and alternatives for Oreos. You learned step-by-step instructions for preparation, layering, and adding final touches. We also shared common mistakes and timing for best results. Now, with these details in mind, you can create your own perfect icebox cake. Don't be afraid to experiment with flavors and variations. Enjoy the process and delight in sharing your creation!](https://dailydishlab.com/wp-content/uploads/2025/07/0dda9964-7972-494e-946c-2eb6009d36dd-300x300.webp)
Mocha Oreo Icebox Cake
Ingredients
2 cups heavy whipping cream
1 cup powdered sugar
1 teaspoon vanilla extract
1 cup strong brewed coffee, cooled
1 tablespoon cocoa powder
1 package (14.3 oz) Oreo cookies
1/2 cup crushed espresso beans (optional, for garnish)
Shaved chocolate or chocolate curls (for garnish)
Instructions
In a mixing bowl, whip the heavy cream using an electric mixer until soft peaks form. Gradually add the powdered sugar and vanilla extract while continuing to whip until stiff peaks form.
In a shallow dish, combine the cooled coffee and cocoa powder, stirring until fully dissolved.
Quickly dip each Oreo cookie into the coffee mixture, ensuring they are coated but not soggy.
In a 9×13 inch baking dish, create a layer of dipped Oreos at the bottom. Spread a layer of the whipped cream mixture over the cookies, smoothing it out evenly.
Repeat the layers, alternating between the Oreos and whipped cream, until all ingredients are used, finishing with a layer of whipped cream on top.
Cover and refrigerate the icebox cake for at least 4 hours or overnight for best results to allow the flavors to meld together.
Before serving, sprinkle crushed espresso beans and chocolate curls on top for garnish.
Prep Time: 20 minutes | Total Time: 4 hours 20 minutes | Servings: 12
– Presentation Tips: Slice the cake into squares and serve on chilled plates. Add a dollop of whipped cream on the side and a sprinkle of cocoa powder for an elegant touch.
Mocha Oreo Icebox Cake
Ingredients
- 2 cups heavy whipping cream
- 1 cup powdered sugar
- 1 teaspoon vanilla extract
- 1 cup strong brewed coffee, cooled
- 1 tablespoon cocoa powder
- 1 package (14.3 oz) Oreo cookies
- 1/2 cup crushed espresso beans (optional, for garnish)
- to taste Shaved chocolate or chocolate curls (for garnish)
Instructions
- In a mixing bowl, whip the heavy cream using an electric mixer until soft peaks form. Gradually add the powdered sugar and vanilla extract while continuing to whip until stiff peaks form.
- In a shallow dish, combine the cooled coffee and cocoa powder, stirring until fully dissolved.
- Quickly dip each Oreo cookie into the coffee mixture, ensuring they are coated but not soggy.
- In a 9x13 inch baking dish, create a layer of dipped Oreos at the bottom. Spread a layer of the whipped cream mixture over the cookies, smoothing it out evenly.
- Repeat the layers, alternating between the Oreos and whipped cream, until all ingredients are used, finishing with a layer of whipped cream on top.
- Cover and refrigerate the icebox cake for at least 4 hours or overnight for best results to allow the flavors to meld together.
- Before serving, sprinkle crushed espresso beans and chocolate curls on top for garnish.