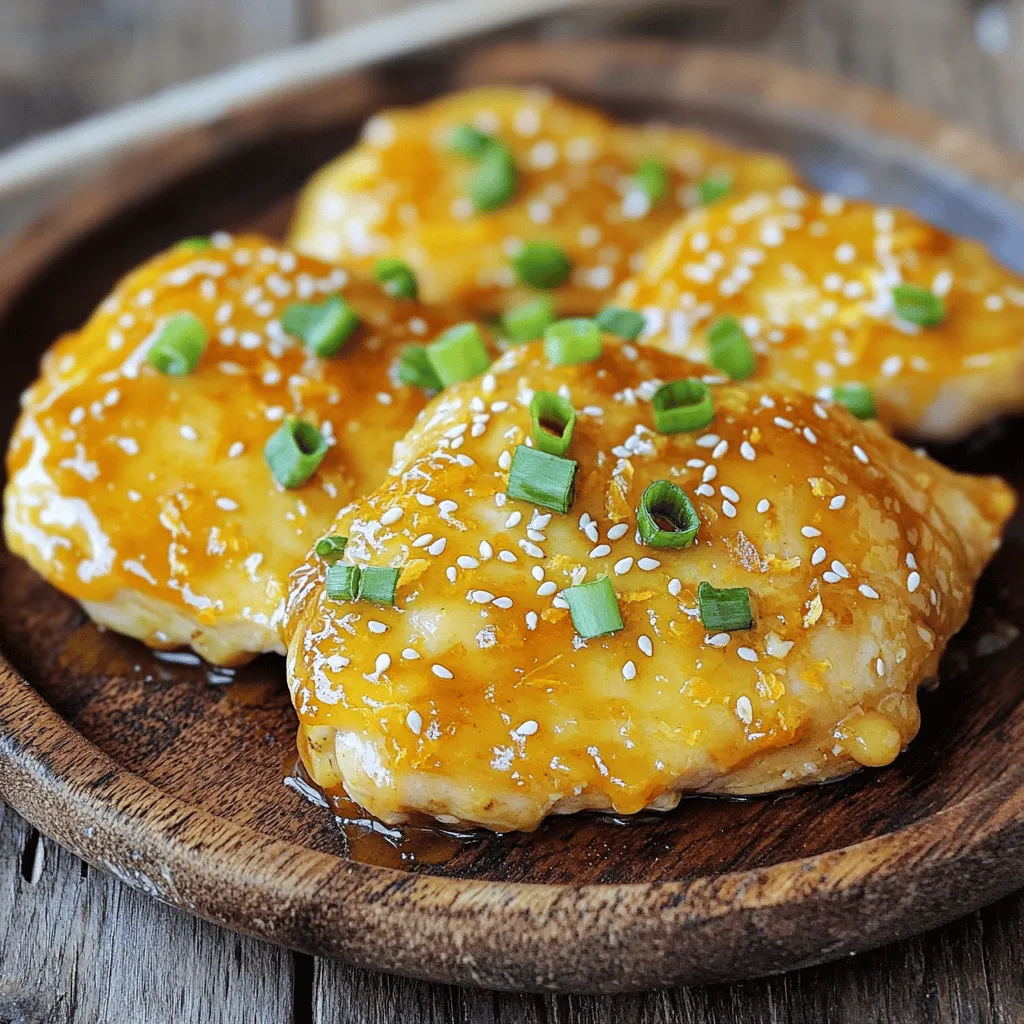
Tasty Orange Glazed Chicken Quick and Easy Recipe

Are you ready to transform your weeknight dinners? This Tasty Orange Glazed Chicken recipe is both quick and easy. With a sweet and tangy glaze that kids and adults love, you will have a hit on your hands! I’ll guide you through selecting fresh ingredients, marinating like a pro, and cooking methods that fit your style. Let’s dive into this delicious dish that feels fancy but comes together in minutes!
Why I Love This Recipe
- Bright Flavors: The combination of fresh orange juice and zest delivers a vibrant, citrusy flavor that brightens up any meal.
- Easy to Prepare: With minimal ingredients and straightforward steps, this recipe is perfect for weeknight dinners.
- Perfectly Glazed: The thickened glaze adds a beautiful shine and rich flavor, making the chicken look as good as it tastes.
- Healthier Option: Using lean chicken breasts and a homemade glaze allows for a healthier alternative to takeout.
Ingredients
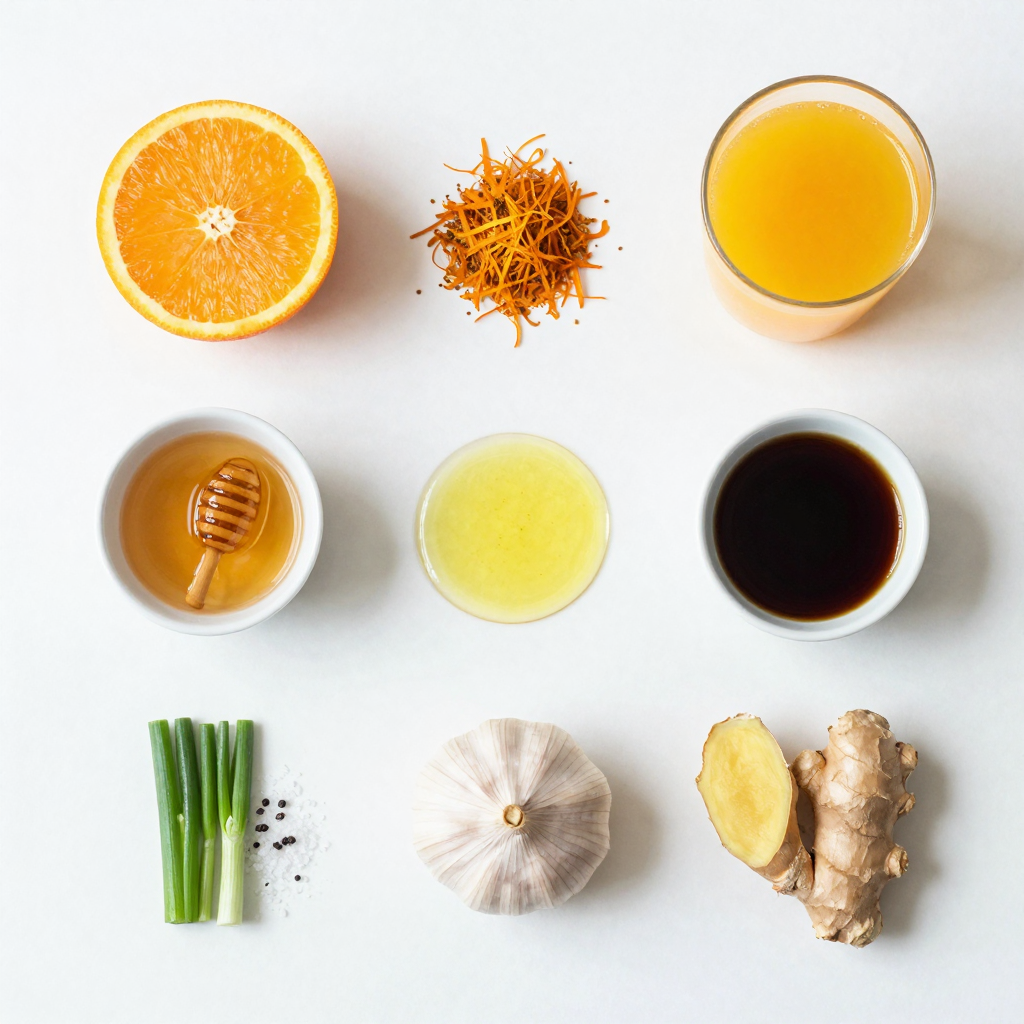
Complete List of Ingredients
- 4 boneless, skinless chicken breasts
- 1 cup fresh orange juice
- Zest of 1 orange
- 3 tablespoons honey
- 2 tablespoons soy sauce (low sodium)
- 2 tablespoons olive oil
- 2 cloves garlic, minced
- 1 teaspoon fresh ginger, grated
- Salt and pepper to taste
- Chopped green onions and sesame seeds for garnish
Ingredient Substitutions
You can swap chicken breasts for thighs for a juicier meal. If you prefer a sweeter glaze, use maple syrup instead of honey. For a gluten-free option, replace soy sauce with coconut aminos. You can also use garlic powder instead of fresh garlic if that’s what you have on hand.
Tips for Selecting Fresh Ingredients
When choosing chicken, look for bright pink color and no odor. Fresh oranges should feel firm and heavy for their size. Check for a smooth skin and vibrant color. Fresh ginger should be firm and have a strong aroma. Lastly, for garlic, choose bulbs that are firm and dry. Avoid any that are sprouting or soft.
Step-by-Step Instructions
Marinating the Chicken
To make orange glazed chicken, start by making the marinade. In a bowl, whisk together:
- 1 cup fresh orange juice
- Zest of 1 orange
- 3 tablespoons honey
- 2 tablespoons low sodium soy sauce
- 2 cloves minced garlic
- 1 teaspoon grated fresh ginger
Mix well until it is smooth. Season your chicken breasts with salt and pepper on both sides. Place them in a resealable bag or dish. Pour half of the marinade over the chicken. Seal or cover it and refrigerate for at least 30 minutes. You can let it marinate for up to 2 hours for a stronger taste.
Cooking Methods: Grill vs. Skillet
You can cook your chicken on a grill or in a skillet. For the grill, preheat it to medium-high heat. If you choose a skillet, heat a non-stick skillet with 2 tablespoons of olive oil over medium-high heat. When the grill or skillet is hot, remove the chicken from the marinade and discard the used marinade. Cook the chicken for about 6-7 minutes on each side. Check the internal temperature; it should reach 165°F (75°C). Look for nice grill marks or a golden color in the skillet.
Finishing Touches with the Glaze
While the chicken cooks, take the remaining marinade and pour it into a small saucepan. Heat it over medium heat and let it simmer for about 5-7 minutes. This will thicken the sauce. Once your chicken is fully cooked, brush the thickened glaze over each piece. Let it caramelize for an extra minute on the heat. After cooking, remove the chicken and let it rest for a few minutes. This helps keep it juicy. When ready, slice and serve it with chopped green onions and sesame seeds on top.
Pro Tips
- Marinating Time: Allow the chicken to marinate for at least 2 hours for maximum flavor absorption.
- Thickening the Glaze: Simmer the remaining marinade until it thickens for a richer glaze that clings better to the chicken.
- Resting the Chicken: Let the cooked chicken rest for a few minutes before slicing to retain its juices.
- Garnishing: Fresh herbs like cilantro or parsley can be used in addition to green onions for added color and flavor.
Tips & Tricks
How to Achieve Perfectly Glazed Chicken
To get your chicken perfectly glazed, start with a good marinade. The mix of orange juice, honey, soy sauce, garlic, and ginger makes a great flavor blend. Make sure to marinate the chicken for at least 30 minutes. For a stronger taste, try marinating for up to 2 hours. This adds depth to the flavor and helps the glaze stick.
Timing and Temperature Tips
Timing is key when cooking chicken. Grill or pan-fry the chicken for about 6-7 minutes on each side. Check the internal temperature; it should be 165°F (75°C). If you cook it too long, the chicken can dry out. Also, let the chicken rest for a few minutes after cooking. This keeps it juicy and flavorful.
Serving Suggestions for Orange Glazed Chicken
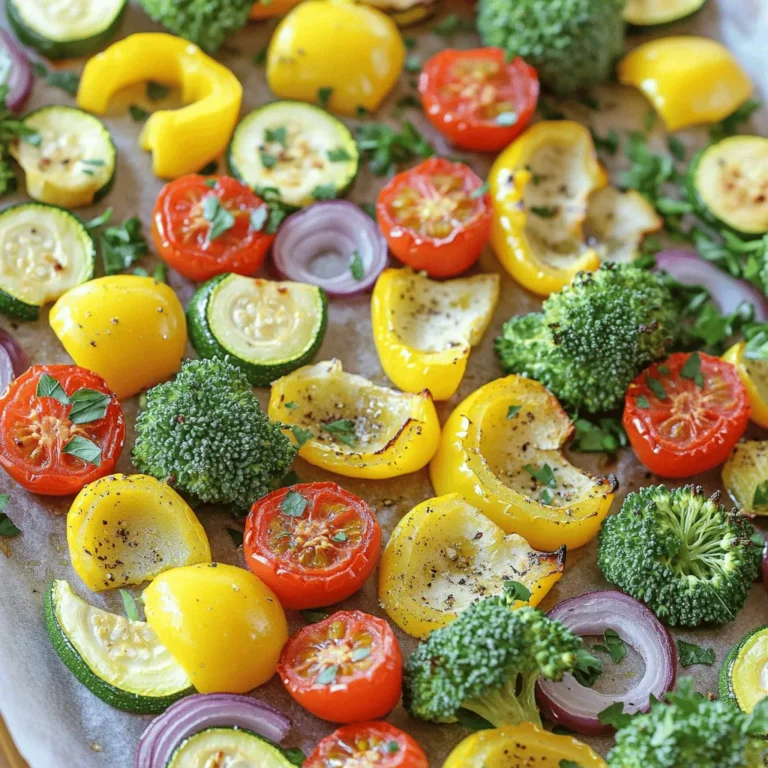
Orange glazed chicken pairs well with rice or quinoa. You can also serve it with steamed veggies for a healthy meal. For a fresh touch, add chopped green onions and sesame seeds on top. This not only looks nice but adds extra flavor. If you want more zest, consider serving with extra orange slices on the side. Enjoy!
Variations
Ingredient Swaps for Different Flavors
You can swap orange juice with other fruit juices. Try using pineapple or lemon juice. This will change the taste while keeping it fresh. You can also use maple syrup instead of honey for a unique flavor. For a spicy kick, add a dash of chili sauce to the marinade.
Cooking Techniques to Try (Baking, Air Frying)
Baking the chicken is a great option. Preheat your oven to 400°F (200°C). Place the marinated chicken on a baking sheet. Bake for 25-30 minutes until it reaches 165°F (75°C). Air frying is another fun way. Set the air fryer to 375°F (190°C) and cook for about 12-15 minutes. Both methods yield juicy, flavorful chicken.
Regional Variations and Flavor Additions
In Asian cooking, add sesame oil for a nutty flavor. You can also toss in some chopped cilantro for freshness. In Mediterranean dishes, try adding olives or sun-dried tomatoes. Each twist gives your dish a fun new vibe. Don’t be afraid to experiment with spices like cumin or paprika!
Storage Info
How to Store Leftovers Properly
To keep your orange glazed chicken fresh, let it cool down first. Then, place the chicken in an airtight container. Make sure to keep the glaze separate if you can. This way, the chicken won’t get too soggy. Store it in the fridge for up to three days. If you want to enjoy it later, freezing is a great option.
Reheating Instructions
When you’re ready to eat your leftovers, reheating is simple. You can use the microwave for quick results. Just place the chicken on a plate and cover it. Heat for one to two minutes or until warm. If you prefer a crispy texture, use a skillet. Heat a little olive oil over medium heat and cook the chicken for about five minutes. This way, you’ll get a nice sear back on the chicken.
Freezing Orange Glazed Chicken for Future Meals
To freeze your orange glazed chicken, first wrap it tightly in plastic wrap. Then, place it inside a freezer bag. Make sure to remove as much air as possible. This helps prevent freezer burn. You can freeze it for up to three months. When you’re ready to use it, thaw it overnight in the fridge. Then, reheat it using the instructions above for a quick meal.
FAQs
What can I serve with Orange Glazed Chicken?
You can serve orange glazed chicken with rice or quinoa. Both pair well and soak up the glaze. Steamed vegetables or a fresh salad also make great sides. Try asparagus or broccoli for a colorful plate. For a fun twist, serve it in taco form with tortillas and toppings.
Can I use chicken thighs instead of breasts?
Yes, you can use chicken thighs instead of breasts. Thighs add more flavor and stay juicy. They work well with the orange glaze. Just ensure they cook to an internal temperature of 165°F. Adjust cooking time since thighs may take longer to cook.
How do I store and reheat the glaze?
To store the glaze, pour it into an airtight container. Keep it in the fridge for up to a week. When ready to use, reheat it gently on the stovetop. Stir often to prevent burning. You can also add a splash of water if it thickens too much.
In this post, I shared how to make orange glazed chicken. We covered key ingredients, cooking methods, and tips for perfect results. You learned about ingredient swaps and cooking techniques to suit your taste. Remember to store leftovers properly and enjoy them later! With these easy steps, you can impress your friends and family with tasty meals. Keep experimenting, and don’t hesitate to try new flavors. Enjoy your cooking journey!

Orange Glazed Chicken
Ingredients
4 boneless, skinless chicken breasts
1 cup fresh orange juice
Zest of 1 orange
3 tablespoons honey
2 tablespoons soy sauce (low sodium)
2 tablespoons olive oil
2 cloves garlic, minced
1 teaspoon fresh ginger, grated
Salt and pepper to taste
Chopped green onions and sesame seeds for garnish
Instructions
In a bowl, whisk together the fresh orange juice, orange zest, honey, soy sauce, minced garlic, and grated ginger until well combined. This will be your marinade and glaze.
Season the chicken breasts with salt and pepper on both sides.
Place the chicken breasts in a resealable plastic bag or a shallow dish, and pour half of the marinade over the chicken. Seal or cover and let it marinate in the refrigerator for at least 30 minutes (or up to 2 hours for stronger flavor).
Preheat your grill or a non-stick skillet over medium-high heat and add the olive oil.
Remove the chicken from the marinade, discarding the marinade it was in. Place the chicken on the grill or skillet and cook for about 6-7 minutes on each side, or until the chicken is cooked through and has nice grill marks (internal temperature should reach 165°F/75°C).
While the chicken is cooking, pour the remaining marinade into a small saucepan and bring to a simmer over medium heat. Allow it to cook for about 5-7 minutes, until it thickens slightly.
Once the chicken is finished cooking, brush the thickened glaze over each piece of chicken, allowing it to caramelize slightly for an additional minute on the heat.
Remove the chicken from the heat and let it rest for a few minutes before slicing.
Serve the orange glazed chicken garnished with chopped green onions and sesame seeds.
Prep Time: 15 minutes | Total Time: 50 minutes | Servings: 4
Orange Glazed Chicken
Ingredients
- 4 pieces boneless, skinless chicken breasts
- 1 cup fresh orange juice
- 1 zest orange
- 3 tablespoons honey
- 2 tablespoons soy sauce (low sodium)
- 2 tablespoons olive oil
- 2 cloves garlic, minced
- 1 teaspoon fresh ginger, grated
- to taste salt and pepper
- for garnish chopped green onions and sesame seeds
Instructions
- In a bowl, whisk together the fresh orange juice, orange zest, honey, soy sauce, minced garlic, and grated ginger until well combined. This will be your marinade and glaze.
- Season the chicken breasts with salt and pepper on both sides.
- Place the chicken breasts in a resealable plastic bag or a shallow dish, and pour half of the marinade over the chicken. Seal or cover and let it marinate in the refrigerator for at least 30 minutes (or up to 2 hours for stronger flavor).
- Preheat your grill or a non-stick skillet over medium-high heat and add the olive oil.
- Remove the chicken from the marinade, discarding the marinade it was in. Place the chicken on the grill or skillet and cook for about 6-7 minutes on each side, or until the chicken is cooked through and has nice grill marks (internal temperature should reach 165°F/75°C).
- While the chicken is cooking, pour the remaining marinade into a small saucepan and bring to a simmer over medium heat. Allow it to cook for about 5-7 minutes, until it thickens slightly.
- Once the chicken is finished cooking, brush the thickened glaze over each piece of chicken, allowing it to caramelize slightly for an additional minute on the heat.
- Remove the chicken from the heat and let it rest for a few minutes before slicing.
- Serve the orange glazed chicken garnished with chopped green onions and sesame seeds.