Chocolate Peanut Butter Banana Ice Cream Delightful Treat
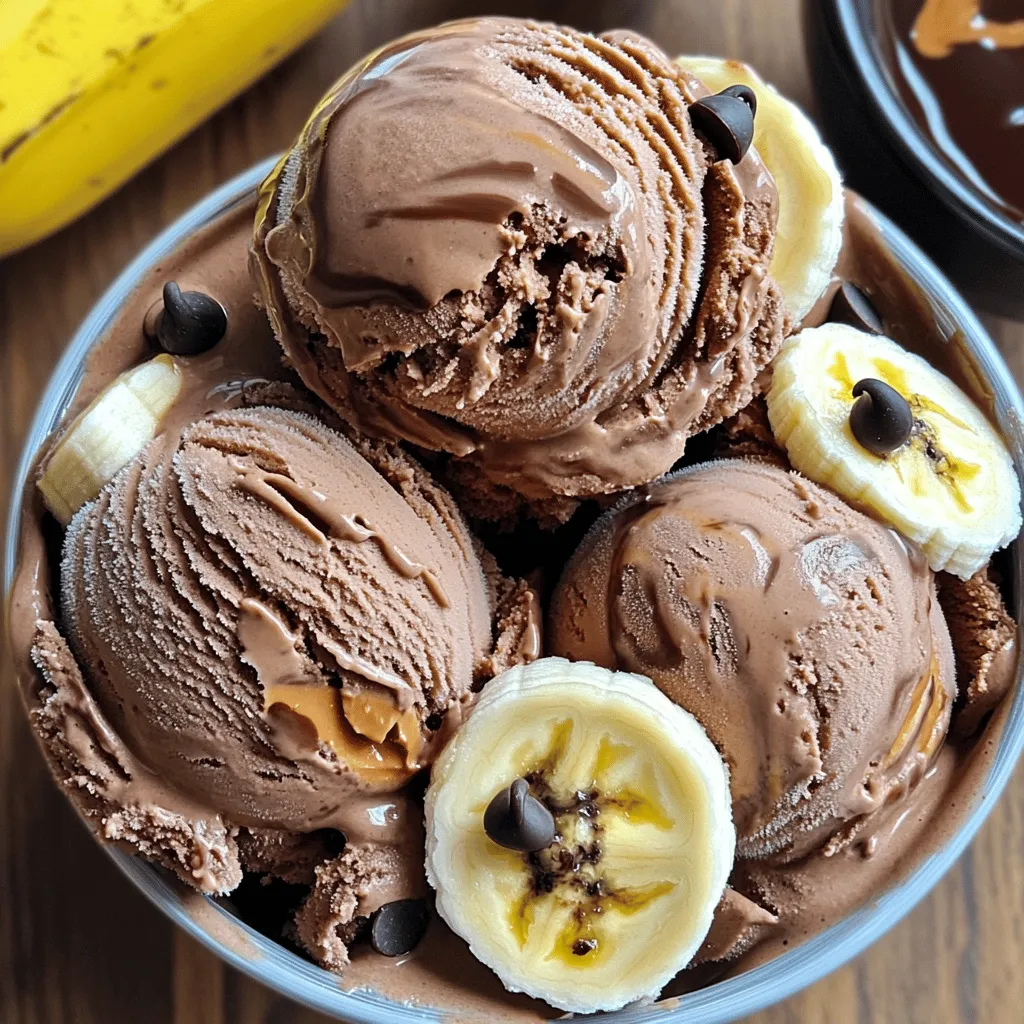
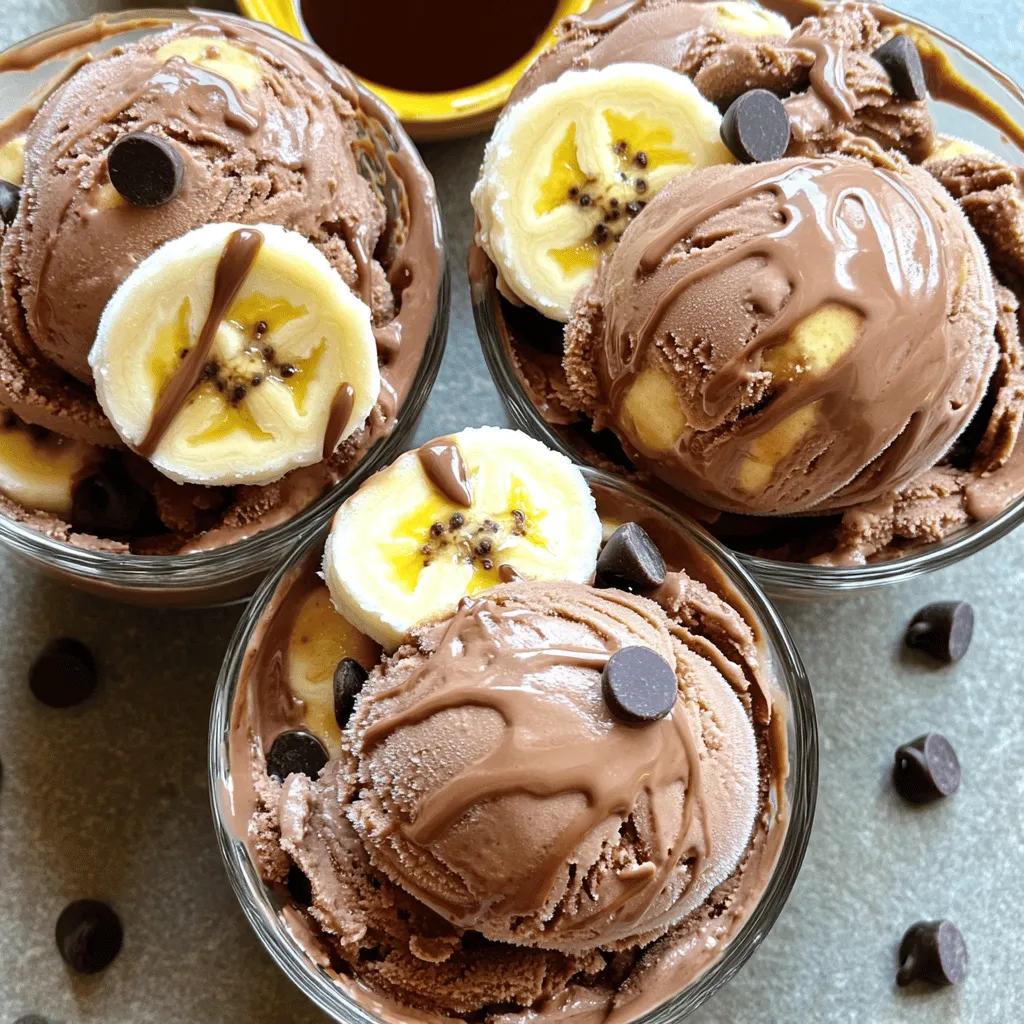
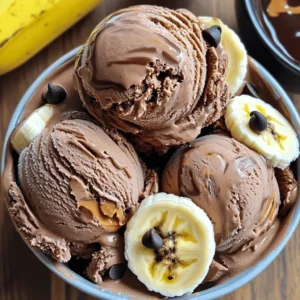
Craving a cool dessert that’s simple and delicious? Look no further! This Chocolate Peanut Butter Banana Ice Cream brings all the flavors you love in one tasty treat. With just a few ripe bananas, creamy peanut butter, and rich cocoa powder, you can whip up a decadent ice cream that’s both healthy and satisfying. Ready to impress your taste buds? Let’s dive into this delightful recipe!
Why I Love This Recipe
- Deliciously Creamy: This ice cream has a rich and creamy texture that rivals any store-bought option, thanks to the frozen bananas and peanut butter.
- Healthy Indulgence: Made with wholesome ingredients like bananas and natural peanut butter, this recipe offers a healthier dessert alternative without sacrificing flavor.
- Customizable: You can easily customize this ice cream by adding your favorite mix-ins like dark chocolate chips, nuts, or even a sprinkle of sea salt.
- Quick and Easy: With minimal prep time and simple steps, this recipe is perfect for a last-minute dessert or a fun cooking project with kids.
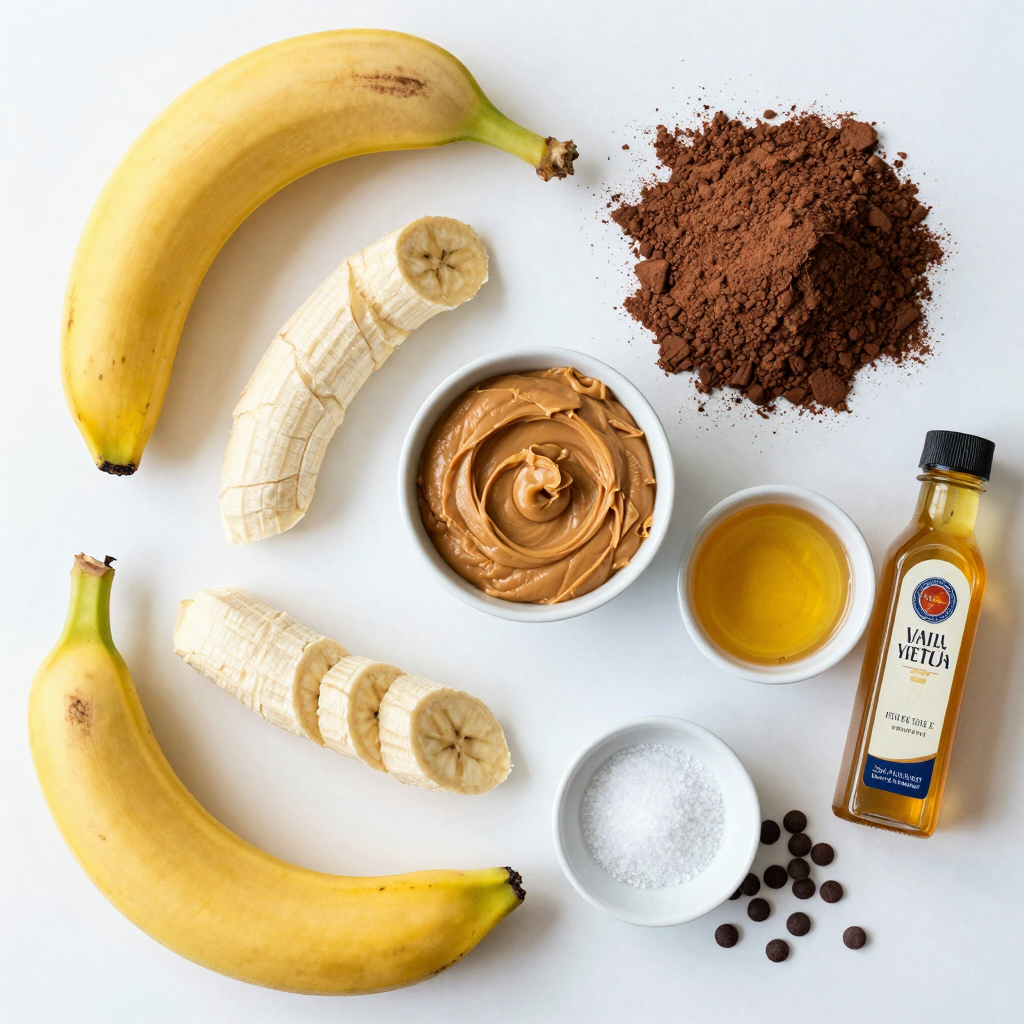
Ingredients
Let’s dive into the delightful ingredients you need for this treat. Each one plays a key role in making your Chocolate Peanut Butter Banana Ice Cream a hit.
- 4 ripe bananas
- 1/2 cup creamy peanut butter
- 1/3 cup unsweetened cocoa powder
- 2 tablespoons honey or maple syrup (optional for extra sweetness)
- 1 teaspoon vanilla extract
- Pinch of salt
- 1/2 cup dark chocolate chips (optional for mix-ins)
These ingredients blend together to create a rich and creamy ice cream. The ripe bananas bring natural sweetness and a smooth texture. Creamy peanut butter adds a rich, nutty flavor. Unsweetened cocoa powder gives it that deep chocolate taste we all love. Honey or maple syrup can enhance sweetness if you desire. Vanilla extract adds warmth, while the pinch of salt balances the flavors. If you want a chocolatey crunch, toss in the dark chocolate chips.
Now that you know the ingredients, you’re ready to whip up this easy and tasty ice cream.
Step-by-Step Instructions
Preparation of Bananas
- Start by placing the sliced bananas in a freezer-safe container. Freeze them for at least 2 hours. This makes them nice and firm.
- After they freeze, take them out and let them sit for about 5 minutes. This helps them soften a bit for blending.
Blending the Mixture
- In your food processor, combine the frozen banana slices, peanut butter, cocoa powder, honey (if you want it sweeter), vanilla extract, and a pinch of salt.
- Blend everything on high speed until the mixture is smooth and creamy. Stop to scrape down the sides as needed. This ensures a well-mixed treat.
Freezing the Ice Cream
- Once blended, transfer the mixture to a freezer-safe container. Use a spatula to smooth out the top for even freezing.
- Freeze for about 2-3 hours. This makes it firm enough to scoop. If you want a softer texture, check it after 2 hours.
Pro Tips
- Use Ripe Bananas: The riper the bananas, the sweeter and creamier your ice cream will be. Look for bananas with brown spots for the best flavor.
- Blend Thoroughly: Make sure to blend the mixture until completely smooth. Stopping to scrape down the sides will help achieve a creamy consistency.
- Experiment with Sweetness: Adjust the sweetness to your taste by adding more honey or maple syrup. You can also omit it entirely if you prefer a less sweet ice cream.
- Serve with Toppings: Enhance your ice cream by serving it with a drizzle of peanut butter, chocolate sauce, or toppings like crushed nuts or fresh fruit.
Tips & Tricks
Perfecting the Texture
To get that creamy feel, freeze your bananas well. Slice them thin before freezing. This helps them blend smoothly. When you blend, use a food processor. Start on low speed, then increase it. If it gets stuck, stop to scrape the sides. This step ensures all ingredients mix well.
For mix-ins, add them after blending. Gently fold in dark chocolate chips or nuts. This keeps them whole and adds fun bites.
Sweetening Options
You can sweeten your ice cream with honey or maple syrup. Honey gives a more floral taste. Maple syrup adds a warm flavor. Start with two tablespoons, then taste. You can always add more if you like it sweeter. Balance is key.
Presentation Tips
Serving matters! Use chilled bowls for a nice touch. Drizzle extra peanut butter or chocolate sauce on top. Add banana slices or chopped nuts for a colorful finish. You can even sprinkle cocoa powder for flair. Let your creativity shine!
Variations
Flavor Additions
You can make this ice cream even more fun! Here are some ideas for mix-ins:
- Nuts: Add chopped walnuts or almonds for a crunch.
- Fruits: Toss in some berries or diced mango for a fruity twist.
For flavor swaps, consider using:
- Vanilla: Swap out some cocoa for vanilla extract.
- Almond butter: Replace peanut butter with almond butter for a new taste.
Dietary Modifications
Want to make this ice cream vegan? Try these tips:
- Use maple syrup instead of honey for sweetness.
- Check labels to ensure all ingredients are plant-based.
For gluten-free options, rest easy. All the ingredients in this recipe are gluten-free! Just ensure any mix-ins are also gluten-free.
Seasonal Variations
You can change the flavors with the seasons! Consider these ideas:
- Summer: Add fresh strawberries or peaches for a refreshing treat.
- Fall: Try mixing in pumpkin puree and spices for a cozy flavor.
- Winter: Add a hint of peppermint extract for a festive touch.
These variations keep the ice cream exciting and perfect for any time of year!
Storage Info
Best Practices for Freezing
To store your chocolate peanut butter banana ice cream, use an airtight container. This helps keep out air and moisture, which can affect the taste. Label the container with the date. It will stay fresh for up to two weeks in the freezer. If you see ice crystals forming on top, it may not taste as good.
Signs that the ice cream has gone bad include changes in smell or color. If it develops a grainy texture, it’s best to toss it out. Always trust your senses; if something seems off, it probably is.
Re-freezing Considerations
Yes, you can refreeze ice cream, but it might change the texture. When ice cream thaws, it can become too soft. If you refreeze it, ice crystals form, making it grainy. To maintain the best texture after thawing, serve and enjoy it within a few days.
If you must refreeze, let it soften slightly before scooping. This step helps mix the texture back together. Be careful not to leave it out too long, or it may melt too much. Keep an eye on your ice cream, and enjoy each scoop!
FAQs
How long does it take to freeze the ice cream?
It takes about 2-3 hours to freeze the ice cream. After blending, transfer the mixture to a container. Smooth out the top with a spatula. Place it in the freezer. Check the ice cream after 2 hours. If it feels soft, freeze it longer until it’s firm.
Can I use frozen bananas from the store?
Yes, you can use frozen bananas from the store. They are a great time-saver. Look for bananas that are ripe and ready for smoothies. Make sure they are plain, with no added sugar or flavor. Using pre-frozen bananas can still give you that creamy texture.
What can I substitute for peanut butter?
If you have nut allergies, you can try sun butter. This is made from sunflower seeds. It has a similar taste and texture. You can also use soy nut butter or tahini. These are good options that are safe for allergies.
You learned how to make a tasty and easy banana ice cream using simple ingredients. From freezing ripe bananas to blending your mix, each step matters. Remember to adjust sweetness and texture to fit your taste. Try different flavors and toppings to make it your own. Store your ice cream well for the best taste. Enjoy your homemade treat any time!
Chocolate Peanut Butter Banana Ice Cream
Ingredients
4 ripe bananas, peeled and sliced
1/2 cup creamy peanut butter
1/3 cup unsweetened cocoa powder
2 tablespoons honey or maple syrup (optional for extra sweetness)
1 teaspoon vanilla extract
Pinch of salt
1/2 cup dark chocolate chips (optional for mix-ins)
Instructions
Start by placing the sliced bananas in a freezer-safe container and freeze them for at least 2 hours or until fully frozen.
Once the bananas are frozen, remove them from the freezer and let them sit for about 5 minutes to soften slightly.
In a food processor, combine the frozen banana slices, peanut butter, cocoa powder, honey (if using), vanilla extract, and a pinch of salt.
Blend the ingredients on high speed until smooth and creamy. You may need to stop and scrape down the sides of the bowl a couple of times to ensure everything is well combined.
If you want to add dark chocolate chips, fold them in gently with a spatula after the mixture is blended.
Once fully mixed, transfer the ice cream mixture to a freezer-safe container. Use a spatula to smooth out the top.
Freeze for about 2-3 hours or until the ice cream is set to your desired consistency.
When ready to serve, allow the ice cream to sit at room temperature for about 5 minutes to soften slightly, then scoop into bowls.
Prep Time: 10 mins | Total Time: 2 hrs 10 mins | Servings: 4-6
– Presentation Tips: Serve the ice cream in chilled bowls, drizzled with additional peanut butter or chocolate sauce, and garnish with banana slices or chopped nuts for a delightful finish.
Chocolate Peanut Butter Banana Ice Cream
Ingredients
- 4 pieces ripe bananas, peeled and sliced
- 0.5 cup creamy peanut butter
- 0.33 cup unsweetened cocoa powder
- 2 tablespoons honey or maple syrup (optional for extra sweetness)
- 1 teaspoon vanilla extract
- 1 pinch salt
- 0.5 cup dark chocolate chips (optional for mix-ins)
Instructions
- Start by placing the sliced bananas in a freezer-safe container and freeze them for at least 2 hours or until fully frozen.
- Once the bananas are frozen, remove them from the freezer and let them sit for about 5 minutes to soften slightly.
- In a food processor, combine the frozen banana slices, peanut butter, cocoa powder, honey (if using), vanilla extract, and a pinch of salt.
- Blend the ingredients on high speed until smooth and creamy. You may need to stop and scrape down the sides of the bowl a couple of times to ensure everything is well combined.
- If you want to add dark chocolate chips, fold them in gently with a spatula after the mixture is blended.
- Once fully mixed, transfer the ice cream mixture to a freezer-safe container. Use a spatula to smooth out the top.
- Freeze for about 2-3 hours or until the ice cream is set to your desired consistency.
- When ready to serve, allow the ice cream to sit at room temperature for about 5 minutes to soften slightly, then scoop into bowls.
- Presentation Tips: Serve the ice cream in chilled bowls, drizzled with additional peanut butter or chocolate sauce, and garnish with banana slices or chopped nuts for a delightful finish.