
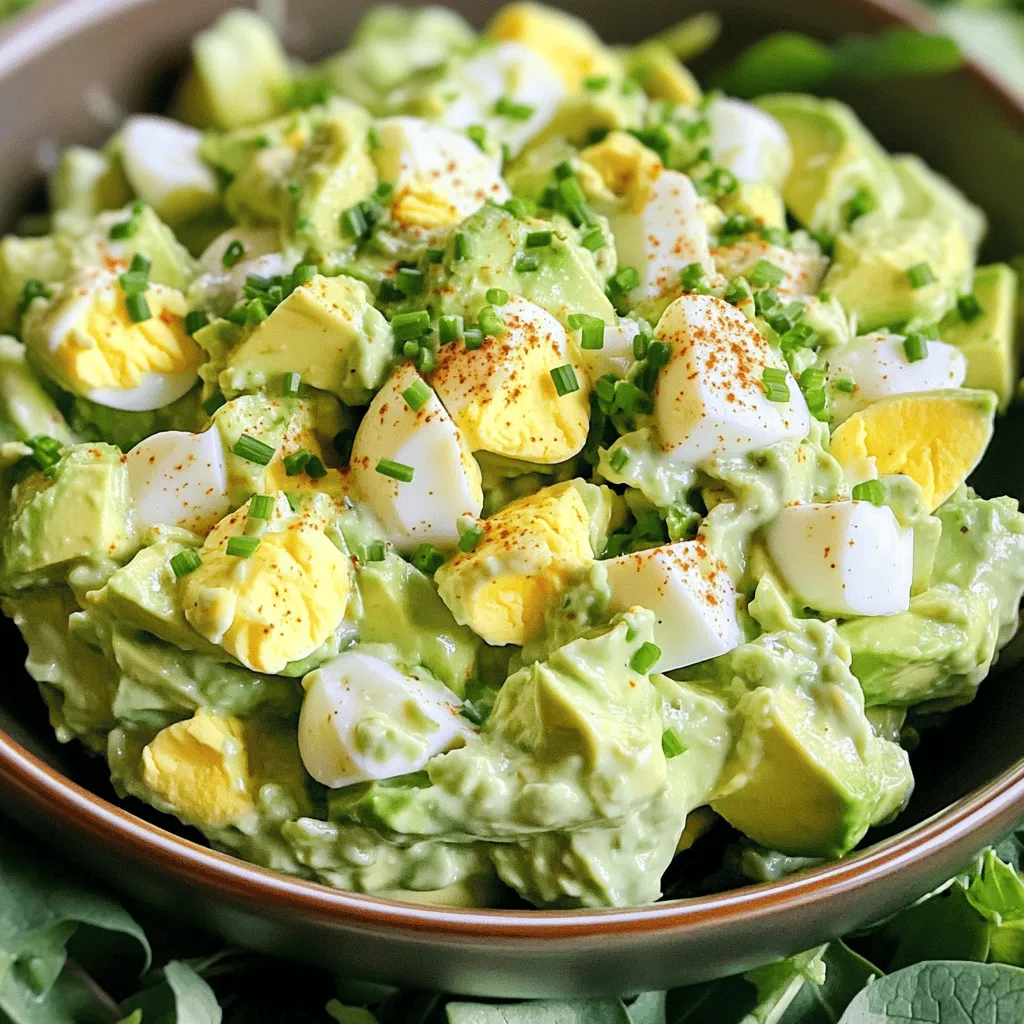
Looking for a quick, tasty meal that packs a nutritious punch? This Avocado Egg Salad is your answer! With creamy avocado, protein-rich eggs, and zesty flavors, it’s perfect for lunch or a light dinner. I’ll share easy steps to make it and fun ideas to switch it up. Let’s dive into this healthy recipe that you can enjoy today!
Why I Love This Recipe
- Healthy Ingredients: This avocado egg salad combines nutritious ingredients like eggs and avocado, making it a wholesome meal option.
- Quick to Prepare: With a total time of just 30 minutes, this recipe is perfect for a quick lunch or snack.
- Versatile Dish: You can serve it on mixed greens, in lettuce wraps, or even on toast, making it adaptable to your preference.
- Delicious Flavor: The combination of creamy avocado, zesty lemon, and fresh chives creates a delightful flavor profile that everyone will love.
Ingredients
List of Ingredients
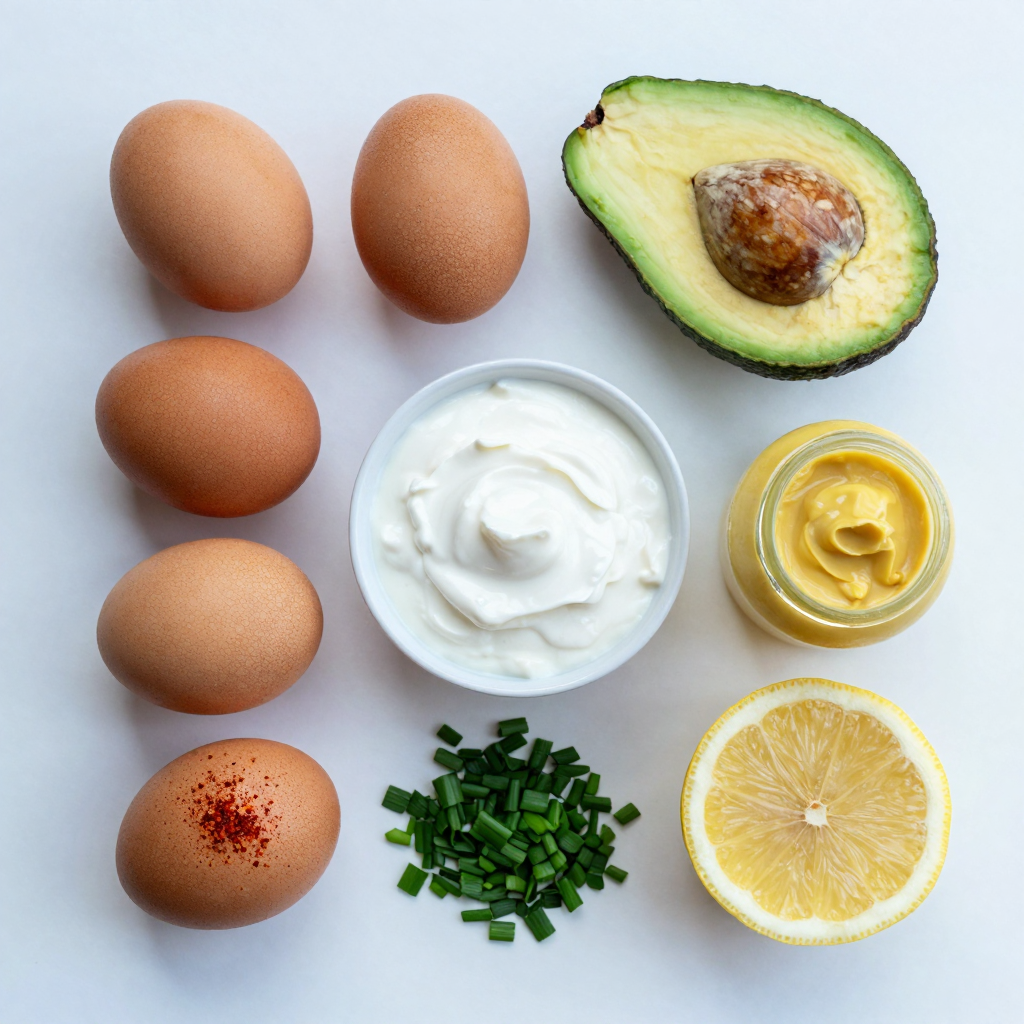
– 4 large eggs
– 1 ripe avocado
– 2 tablespoons Greek yogurt
– 1 tablespoon Dijon mustard
– 2 tablespoons fresh chives, chopped
– 1 tablespoon lemon juice
– Salt and pepper to taste
– Optional: Paprika for garnish
The ingredients for this avocado egg salad are simple yet powerful. First, you need four large eggs. They add protein and richness to the dish. A ripe avocado is key. It brings creaminess and healthy fats. Next, Greek yogurt keeps the salad light but adds a tangy taste. Dijon mustard gives a slight kick, making each bite exciting.
Fresh chives add a mild onion flavor. They also brighten the dish with their green color. Lemon juice brings acidity, balancing the creaminess of the avocado and yogurt. Finally, salt and pepper enhance all the flavors. If you want, sprinkle some paprika on top for a pop of color.
Using these fresh ingredients makes the salad both tasty and nutritious.
Step-by-Step Instructions
Boil the Eggs
To start, place your four large eggs in a saucepan. Cover them with cold water, about an inch above the eggs. Turn the heat on high and let the water boil. Once it boils, reduce the heat to medium and let it simmer for 10 to 12 minutes. This gives you hard-boiled eggs with a creamy yolk.
After the time is up, transfer the eggs to an ice bath. Fill a bowl with ice and cold water. This cools the eggs quickly and makes peeling easier. Let them sit in the ice bath for about five minutes.
Prepare the Avocado
While the eggs cool, grab your ripe avocado. Use a sharp knife to cut it in half. Carefully remove the pit. You can twist the halves to help release the pit. Next, scoop the avocado flesh into a mixing bowl using a spoon.
Make sure to choose an avocado that is ripe but firm. This gives the salad a creamy texture without being too mushy.
Combine Ingredients
Now it’s time to combine everything! Start by mashing the avocado with a fork. You want it to be smooth but still a bit chunky. This adds a nice texture to the salad.
Next, add two tablespoons of Greek yogurt and one tablespoon of Dijon mustard. These ingredients add creaminess and flavor. Mix everything well until combined.
After that, peel the cooled eggs and chop them into bite-sized pieces. Gently fold the chopped eggs into the avocado mixture. Be careful not to break the eggs too much. Finally, season with salt and pepper to taste.
Pro Tips
- Perfectly Boiled Eggs: For the best texture, use fresh eggs and place them in cold water before bringing it to a boil. This helps prevent cracking.
- Choose the Right Avocado: Ensure your avocado is ripe but not overripe; it should yield slightly to gentle pressure for the best flavor and creaminess.
- Season Gradually: Taste as you go! Start with a little salt and pepper, and adjust according to your preference for a perfectly seasoned salad.
- Presentation Matters: Use colorful greens and garnishes like paprika and chives to make your dish visually appealing and appetizing.
Tips & Tricks
Perfecting Texture
To get the right avocado consistency, pick a ripe avocado. It should yield gently when you press it. Cut it in half, remove the pit, and scoop the flesh into a bowl. Use a fork to mash it until it’s smooth but still a bit chunky. This gives your salad a nice feel.
When chopping the eggs, let them cool first. Peel the eggs and chop them into small pieces. Aim for bite-sized chunks, so they mix well with the avocado.
Flavor Enhancements
To boost flavor, consider adding spices and herbs. Fresh dill or parsley can bring a new taste. A sprinkle of garlic powder or a dash of cayenne pepper can also add a fun kick.
For garnishes, you can use paprika for a pop of color or extra chives for freshness. These small touches can make a big difference.
Serving Recommendations
Presentation matters. Serve your avocado egg salad in elegant bowls. You can also place it on a bed of mixed greens for a vibrant look.
For complementary sides, consider pairing it with whole-grain bread or crispy crackers. A side of fresh fruit can balance the meal nicely. Explore these ideas to make your dish stand out!
Variations
Substitute Ingredients
You can change the binder in this recipe to fit your taste. If you want a creamier texture, try using mashed silken tofu instead of Greek yogurt. It adds a nice creaminess while keeping it dairy-free. You can also use mayonnaise for a richer flavor.
For herbs or spices, get creative! Dill or parsley add fresh notes. You can even add a pinch of garlic powder for an extra kick.
Dietary Modifications
Want to make it vegan? Simply swap out the eggs for chickpeas. Mash them up like you would the eggs. Add in some turmeric for color and flavor. This keeps the dish tasty while being plant-based.
If you’re watching carbs, skip the yogurt and use just avocado. This keeps the dish low-carb and still creamy and delicious. You can also add in some diced celery for crunch without the carbs.
Seasonal Variations
Seasonal veggies can really change the dish. In the spring, add in fresh peas or radishes for a pop of color and taste. In the fall, consider mixing in roasted pumpkin or butternut squash for warmth and comfort.
Adjust flavors based on the season too. For summer, a hint of lime and fresh cilantro can brighten it up. In winter, add smoked paprika for a deeper, cozy flavor.
Storage Info
Short-Term Storage
To store your avocado egg salad, first, let it cool to room temperature. Place it in an airtight container. This keeps the flavors fresh and prevents drying out. Use glass or plastic containers with tight lids for best results.
– Airtight container
– Glass or plastic material
Long-Term Storage
You can freeze avocado egg salad, but note that the texture may change. To freeze it, scoop the salad into freezer-safe containers. Leave some space at the top for expansion. When ready to eat, thaw it in the fridge for a few hours. Stir well before serving to help regain some creaminess.
– Freezer-safe containers
– Leave space for expansion
Shelf Life
In the fridge, your avocado egg salad lasts about 3 to 4 days. Check for signs of spoilage. If you see brown spots or a sour smell, it’s time to toss it. Freshness is key for taste and safety.
– 3 to 4 days in the fridge
– Look for brown spots or sour smell
FAQs
Can I make Avocado Egg Salad in advance?
Yes, you can make Avocado Egg Salad ahead of time. To prep in advance, cook the eggs and mash the avocado a few hours before serving. Store the salad in an airtight container in the fridge. It tastes great for up to two days. For best results, mix in the eggs right before serving. This keeps the texture fresh and tasty.
What can I substitute for Greek yogurt?
If you don’t have Greek yogurt, here are some great substitutes:
– Sour cream
– Plain yogurt
– Silken tofu
– Mayonnaise
– Cottage cheese
Each option adds a unique flavor and texture. Choose what you like best!
How do I adjust the recipe for more servings?
To make more servings, simply increase the number of eggs and avocado. For example, use 8 eggs and 2 avocados for 8 servings. Adjust the Greek yogurt and mustard too. Keep the same ratio for the other ingredients. This way, everyone gets a tasty meal!
Is this recipe gluten-free?
Yes, this recipe is gluten-free. All the ingredients used, like eggs and avocado, do not contain gluten. Just ensure any additional ingredients, like mustard, are also gluten-free. It’s a perfect choice for those avoiding gluten in their diet.
How to prevent the avocado from browning?
To keep the salad fresh, use these tips:
– Add lemon juice to the avocado right away.
– Store the salad in an airtight container.
– Cover the surface of the salad with plastic wrap, pressing it down to remove air.
These steps help keep your Avocado Egg Salad looking bright and green!
This blog post covered a delicious recipe for avocado egg salad. We discussed ingredients, cooking steps, and tips for perfecting the dish. Remember, you can customize flavors and make this salad your own. Storage tips ensure your salad stays fresh, while alternatives cater to various diets. Enjoy making this tasty dish, and don’t hesitate to experiment with seasonal ingredients. Homemade food always tastes better and is healthier. Happy cooking!


