Skip to content
About
Contact
Cookie Policy
Copyright Policy
Disclaimer
Search
Home
Dinner
Appetizer
Desserts
Drinks
About
Contact
Privacy Policy
Toggle Menu
Home
/
Appetizer
- Page 11
Appetizer
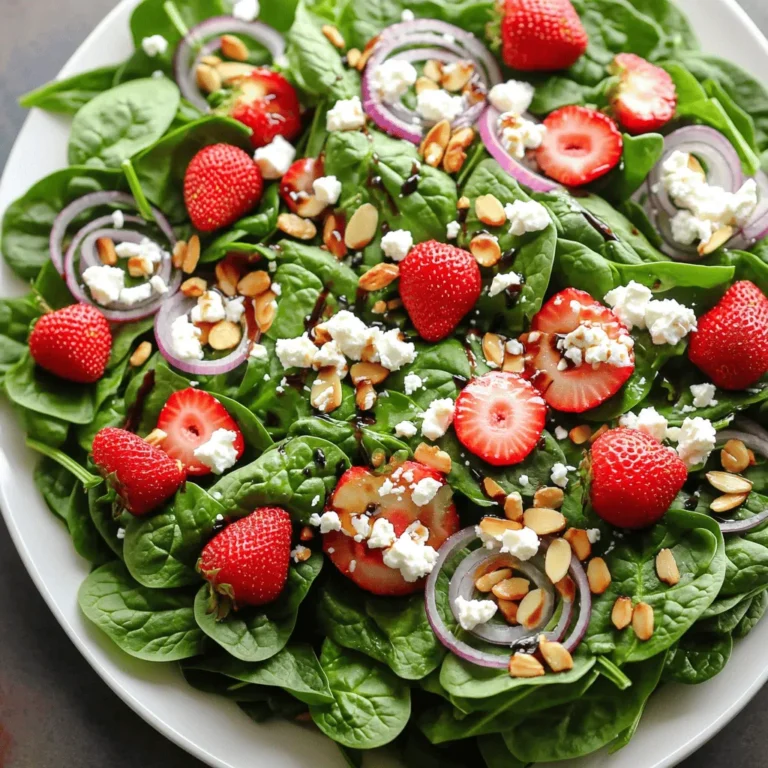
Spinach Strawberry Feta Salad Tasty and Fresh Delight
Falafel Patties Quick and Delicious Recipe Guide
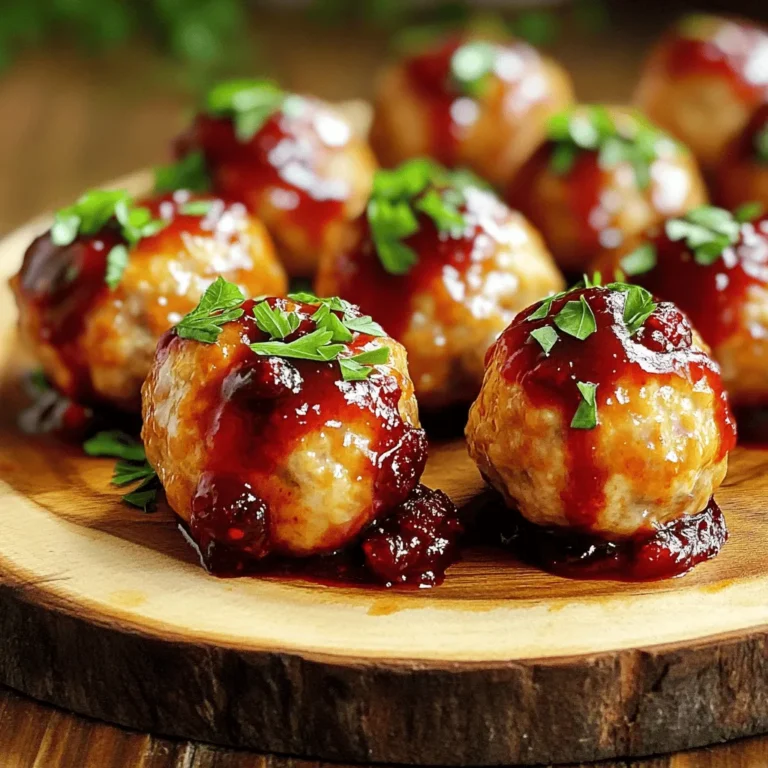
Cranberry BBQ Turkey Meatballs Savory and Simple Dish
Sweet Chili Turkey Meatballs Flavorful and Simple Recipe
Garlic Parmesan Air Fryer Wings Crispy and Tasty Snack
Sweet Potato Nacho Skillet Tasty and Simple Dish
Sweet Chili Chicken Lettuce Wraps Flavorful Delight
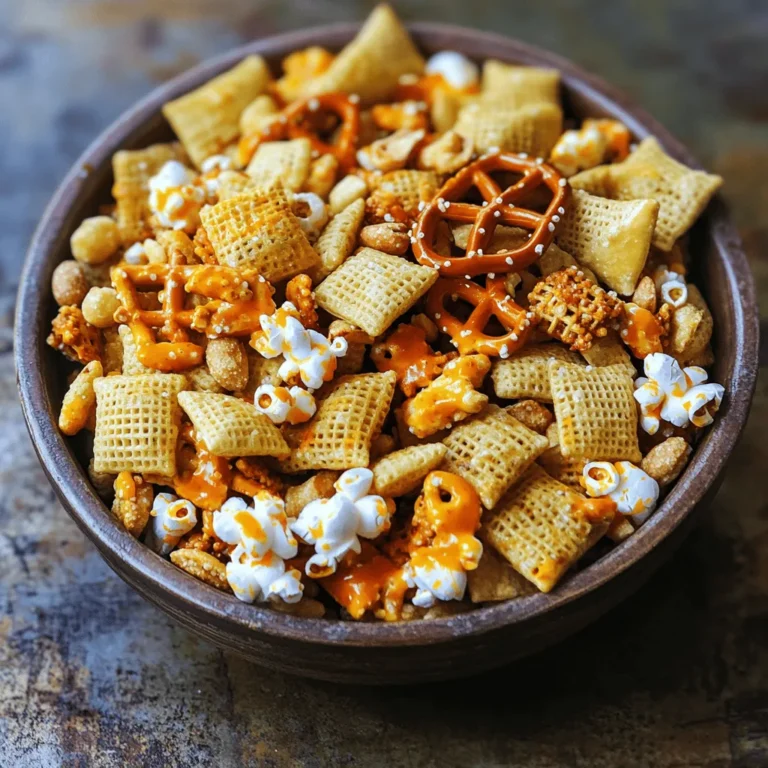
Buffalo Ranch Chex Mix Crunchy Snack Recipe
Honey Garlic Green Beans Simple and Flavorful Side
Crispy Parmesan Cauliflower Bites Irresistibly Tasty
Page navigation
Previous Page
Previous
1
…
9
10
11
12
13
…
26
Next Page
Next
Home
Dinner
Appetizer
Desserts
Drinks
About
Contact
Privacy Policy
Toggle Menu Close
Search for:
Search


. To make your Crispy Parmesan Cauliflower Bites truly amazing, use Panko breadcrumbs. They add a great crunch that regular breadcrumbs can't match. When you coat the florets, spray them lightly with olive oil. This helps them get golden and crispy. For a tasty twist, pair the bites with marinara sauce or garlic aioli for dipping. Both options bring out the flavors of the cauliflower. Before serving, sprinkle fresh parsley on top. It adds a pop of color and freshness. Be careful not to overcrowd the baking sheet. If the florets are too close, they will steam instead of crisp. Also, make sure each floret has an even coating of the breadcrumb mix. This ensures every bite is crispy and delicious. {{image_2}} You can easily change the heat of your cauliflower bites. Just add more cayenne or sprinkle in some red pepper flakes. If you love herbs, try Italian seasoning for a fresh twist. These simple changes can make your bites even more exciting. Want a different cheese flavor? Switch it up! Use cheddar for a sharp taste or mozzarella for a milder touch. You can also adjust the cheese amount to fit your taste. More cheese gives a richer flavor, while less keeps it light. If you need a gluten-free version, it's easy! Just swap all-purpose flour with gluten-free flour. You can also use gluten-free breadcrumbs for the coating. This way, everyone can enjoy these tasty bites without worry. Remember to check the Full Recipe for detailed steps and measurements! You should let your cauliflower bites cool completely before storing them. Once cool, place them in an airtight container. This keeps them fresh and tasty. I often use a glass container with a tight lid. It works well to prevent moisture from getting in. For the best texture, reheat your cauliflower bites in the oven. Set your oven to 350°F and bake for 10-15 minutes. This helps regain their crispiness. If you are short on time, you can use the microwave. Just know that they may lose some crunch this way. You can freeze raw coated florets before baking. This makes meal prep super easy. Just coat the florets as usual and place them on a baking sheet. Freeze them for about an hour, then transfer them to a freezer-safe bag. When you are ready to bake, you can bake them directly from frozen. Just add a few more minutes to the baking time. This method makes it simple to enjoy these crispy bites anytime. For the full recipe, check back to the beginning. Crispy Parmesan Cauliflower Bites usually last 3-5 days in the refrigerator. To keep them fresh, store them in an airtight container. This helps maintain their taste and texture. If you notice any signs of spoilage, it’s best to toss them out. Yes, you can prep and coat them ahead of time. Just coat the florets and keep them in the fridge. Bake them just before serving for the best results. This keeps them crispy and hot, perfect for sharing with friends or family. These bites pair well with many dipping sauces. You can try ranch, marinara, or mustard. Each dip adds its own flavor, making your snack even more tasty. Feel free to get creative with sauces you enjoy! For the full recipe, check out the complete details above. Making Crispy Parmesan Cauliflower Bites is simple and fun. We covered key ingredients, from fresh cauliflower to tasty seasonings. I shared step-by-step instructions and tips for achieving that perfect crunch. You can customize these bites to fit your taste or dietary needs. Don’t forget to store them well for later. With a bit of practice, you’ll impress friends and family with this healthy snack. Enjoy the making and sharing of these bites!](https://dailydishlab.com/wp-content/uploads/2025/07/cd5319ec-8bde-454d-b3ba-e0a3ba5bfe99-768x768.webp)