Skip to content
About
Contact
Cookie Policy
Copyright Policy
Disclaimer
Search
Home
Dinner
Appetizer
Desserts
Drinks
About
Contact
Privacy Policy
Toggle Menu
Home
/
Appetizer
- Page 12
Appetizer
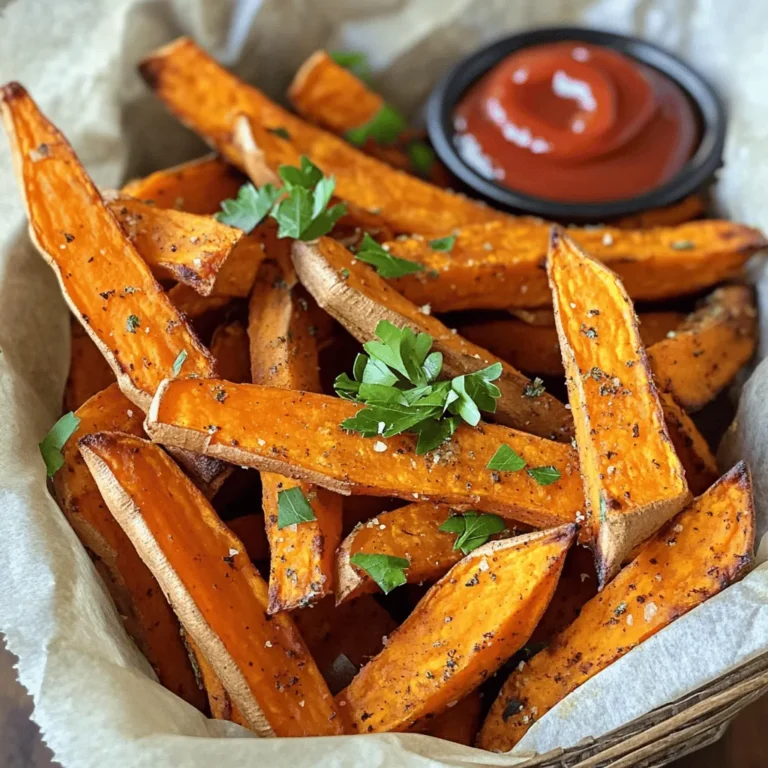
Roasted Garlic Herb Sweet Potato Fries Delightful Snack
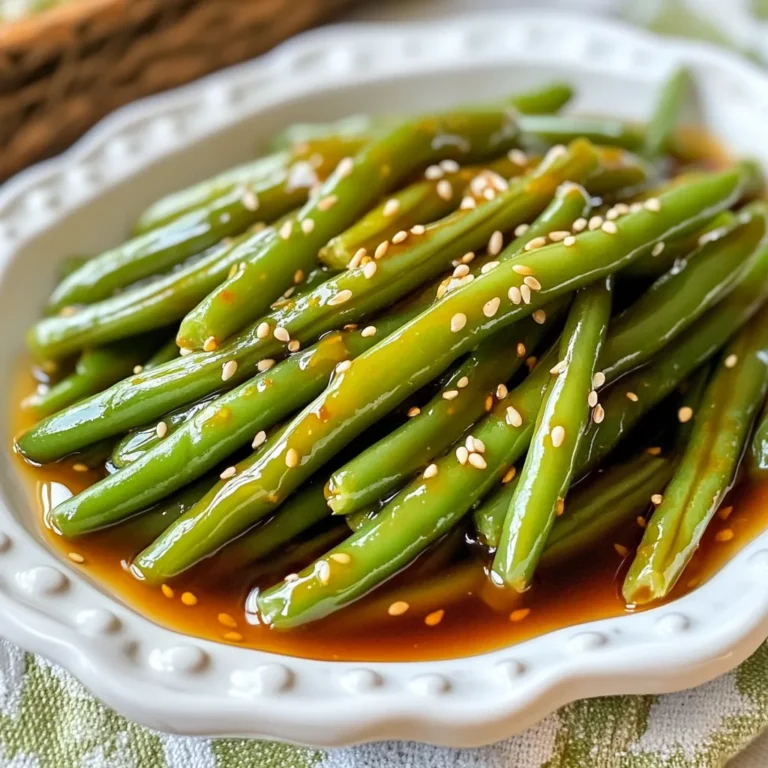
Honey Garlic Green Beans Perfectly Flavorful Side
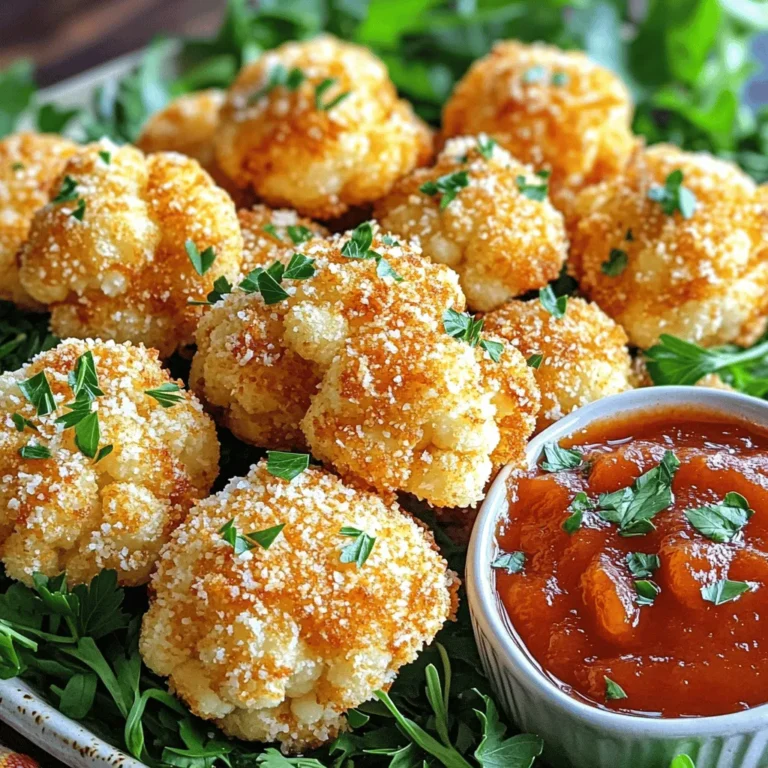
Crispy Parmesan Cauliflower Bites Simple and Tasty Snack
Roasted Garlic Herb Sweet Potato Fries Delightful Snack
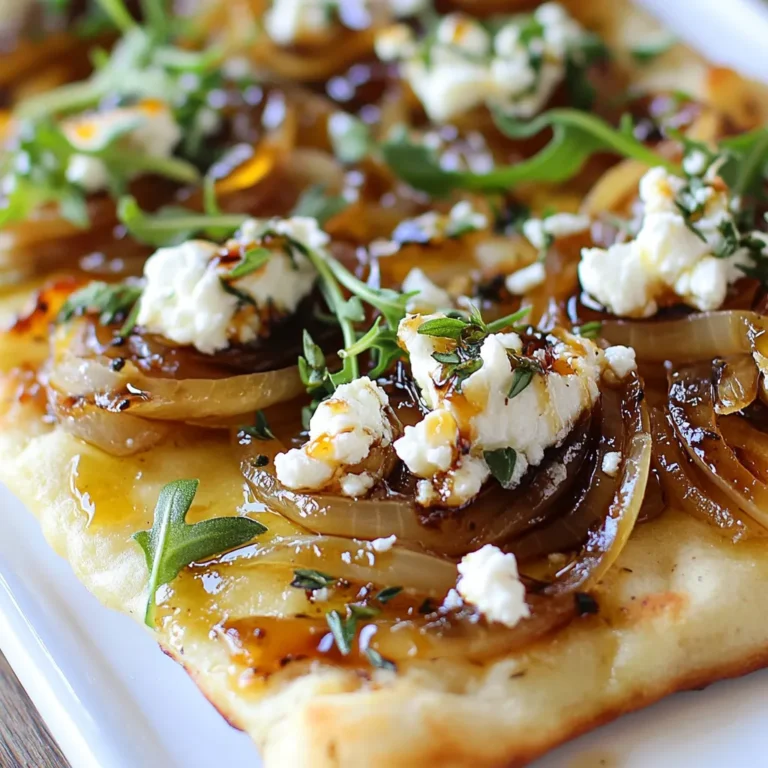
Caramelized Onion Goat Cheese Flatbread Delight
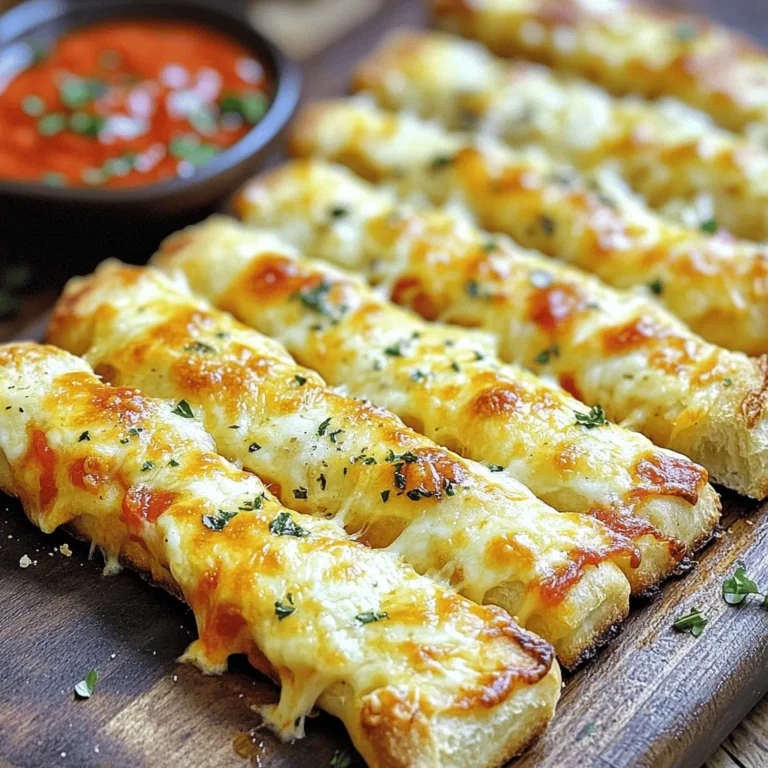
Cheesy Garlic Breadsticks Easy and Delicious Recipe
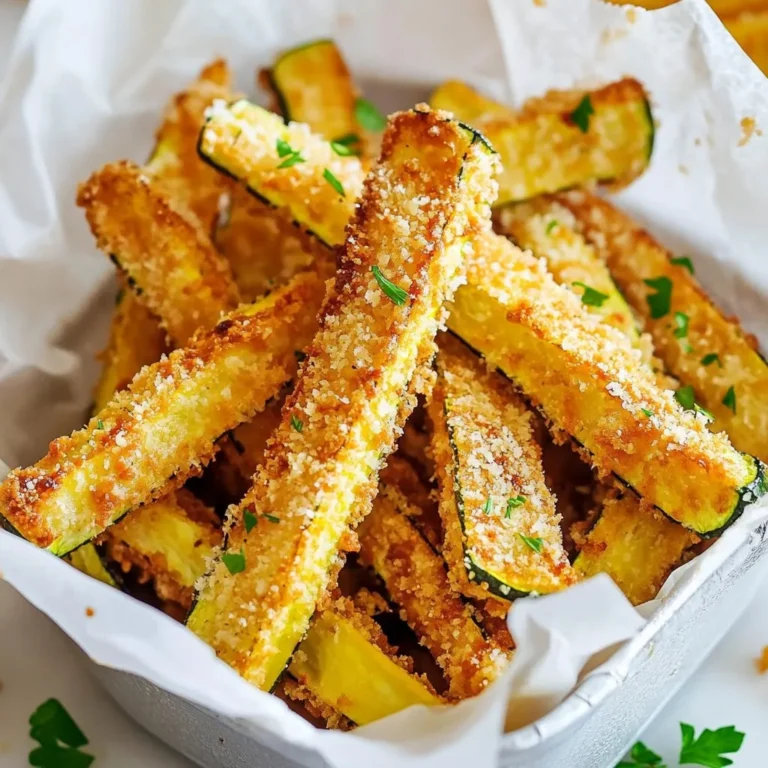
Air Fryer Parmesan Zucchini Fries Crunchy Delight
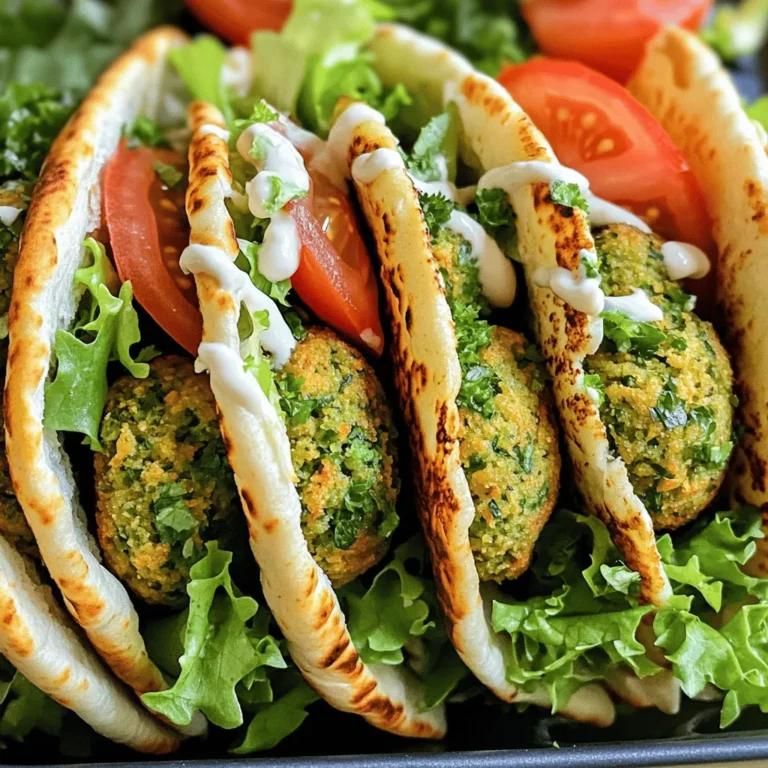
Crispy Air Fryer Falafel Perfectly Seasoned and Light
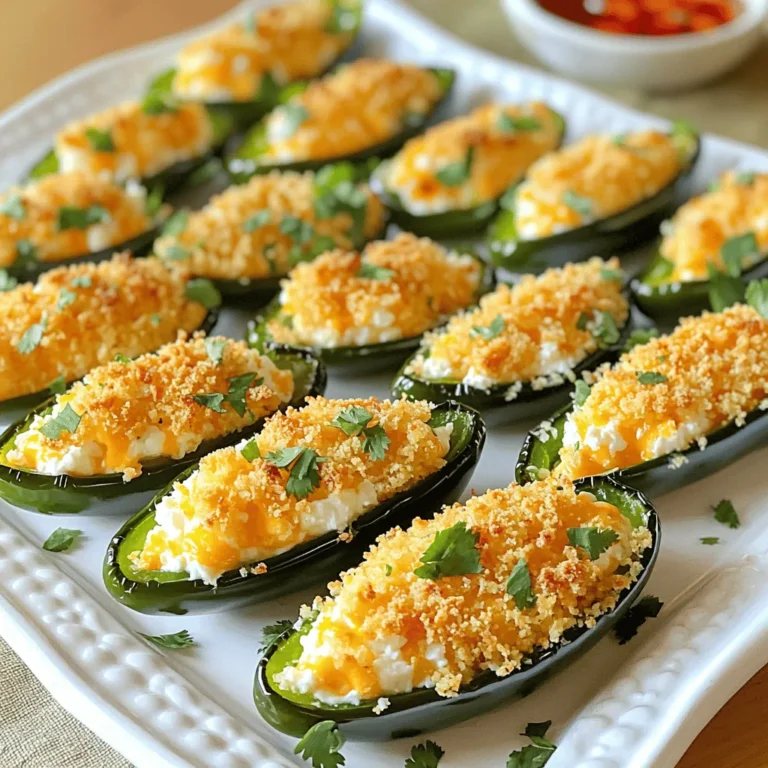
Baked Jalapeño Poppers Crispy and Flavorful Snack
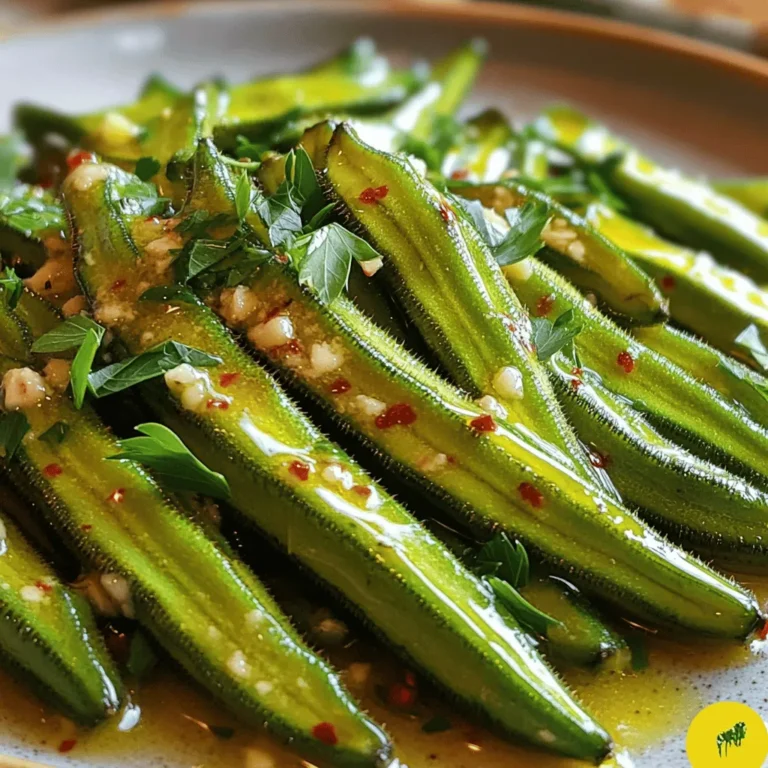
Easy Garlic Butter Okra Flavorful and Quick Dish
Page navigation
Previous Page
Previous
1
…
10
11
12
13
14
…
26
Next Page
Next
Home
Dinner
Appetizer
Desserts
Drinks
About
Contact
Privacy Policy
Toggle Menu Close
Search for:
Search