Skip to content
About
Contact
Cookie Policy
Copyright Policy
Disclaimer
Search
Home
Dinner
Appetizer
Desserts
Drinks
About
Contact
Privacy Policy
Toggle Menu
Home
/
Appetizer
- Page 18
Appetizer
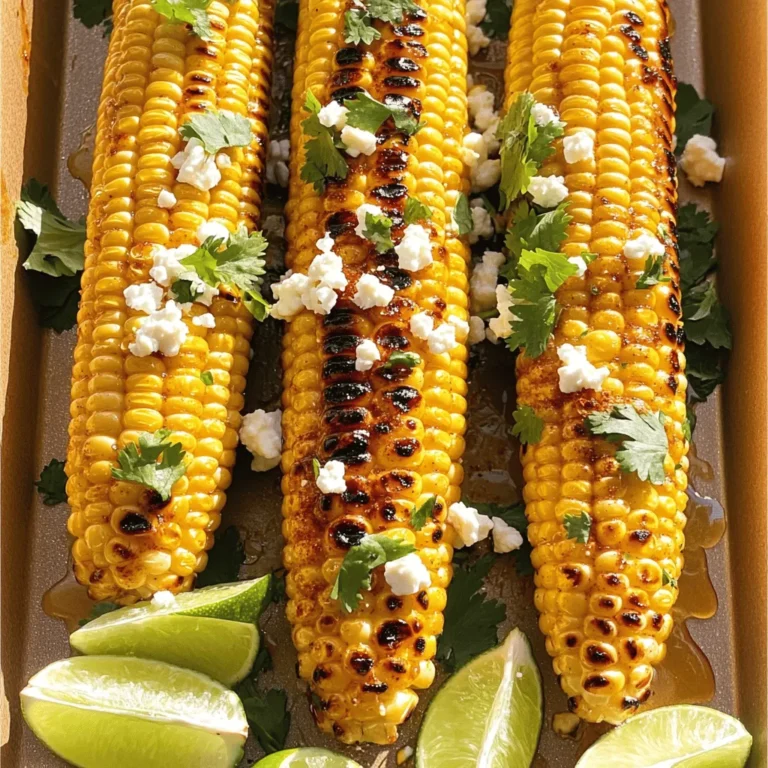
Grilled Corn on the Cob Irresistible Summer Recipe
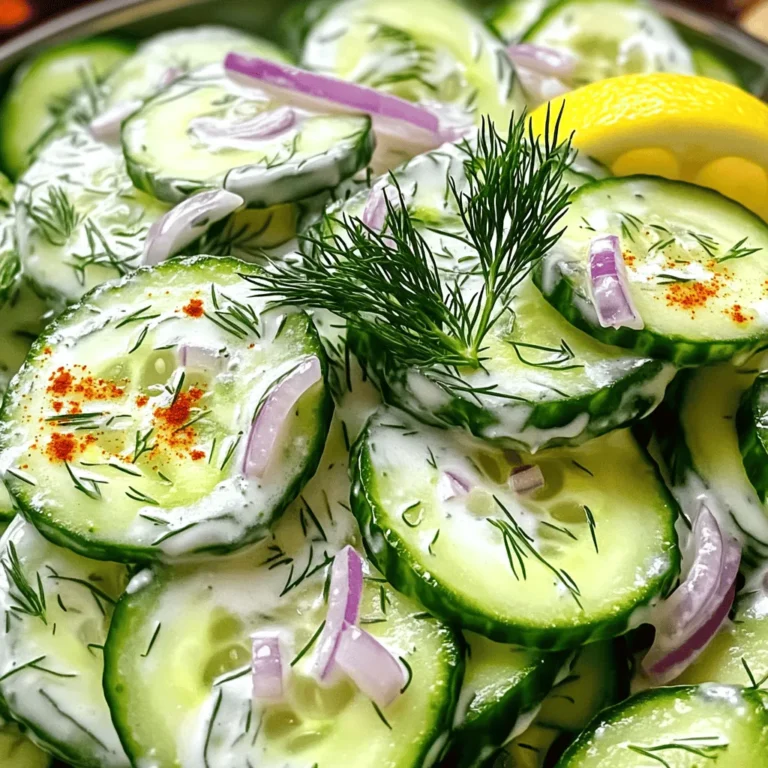
Creamy Cucumber Salad Fresh and Crisp Delight
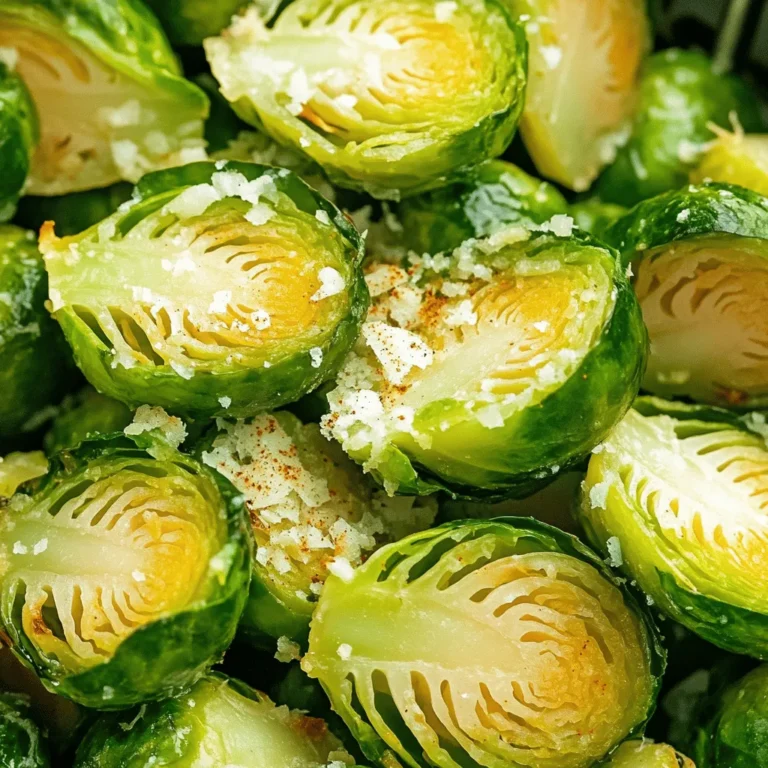
Crispy Air Fryer Brussels Sprouts Simple Flavor Boost
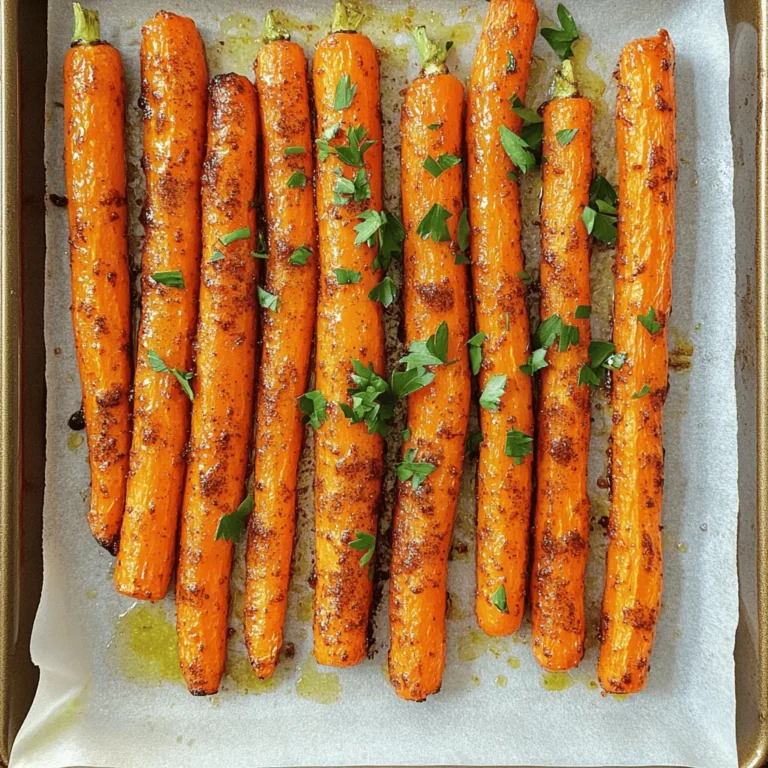
Simple Roasted Carrots Easy and Flavorful Recipe
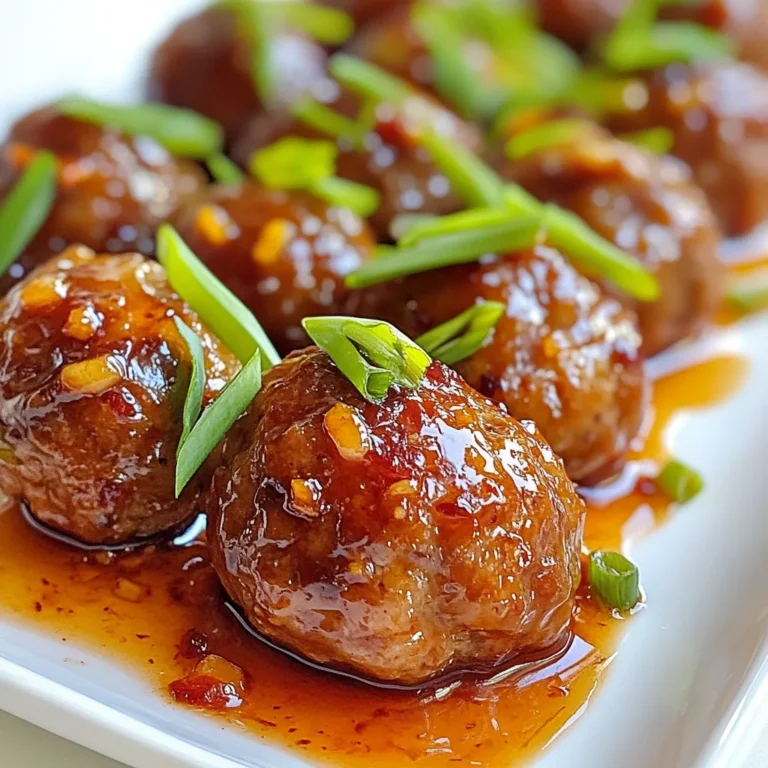
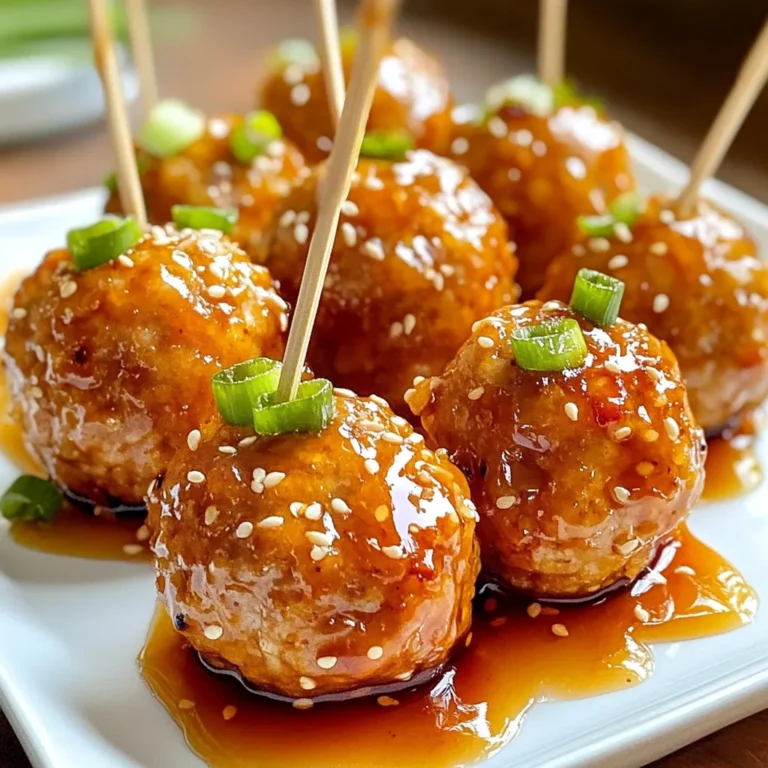
Sweet Chili Glazed Meatballs Quick and Flavorful Delight
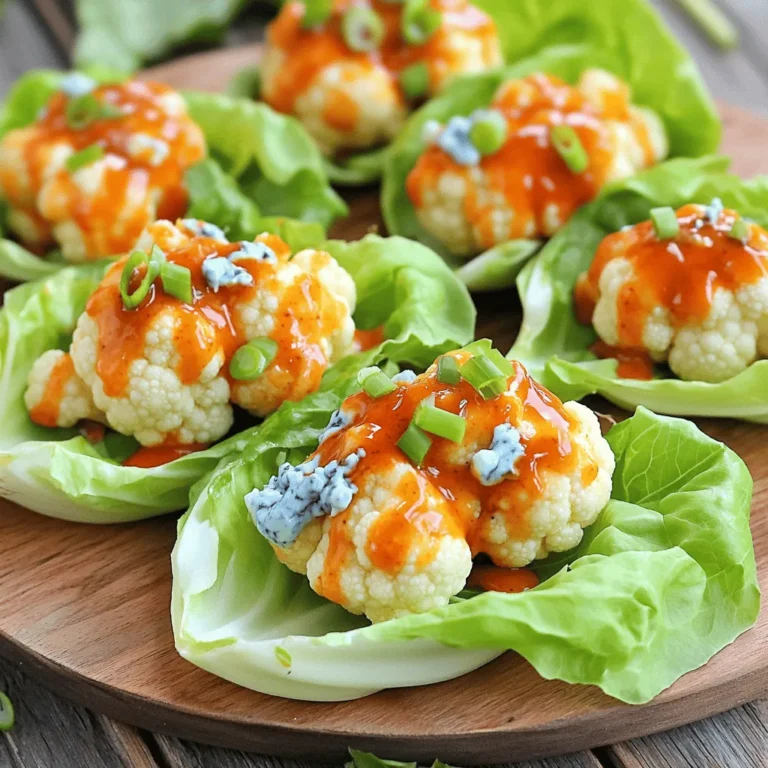
Buffalo Cauliflower Lettuce Wraps Flavorful and Easy Dish
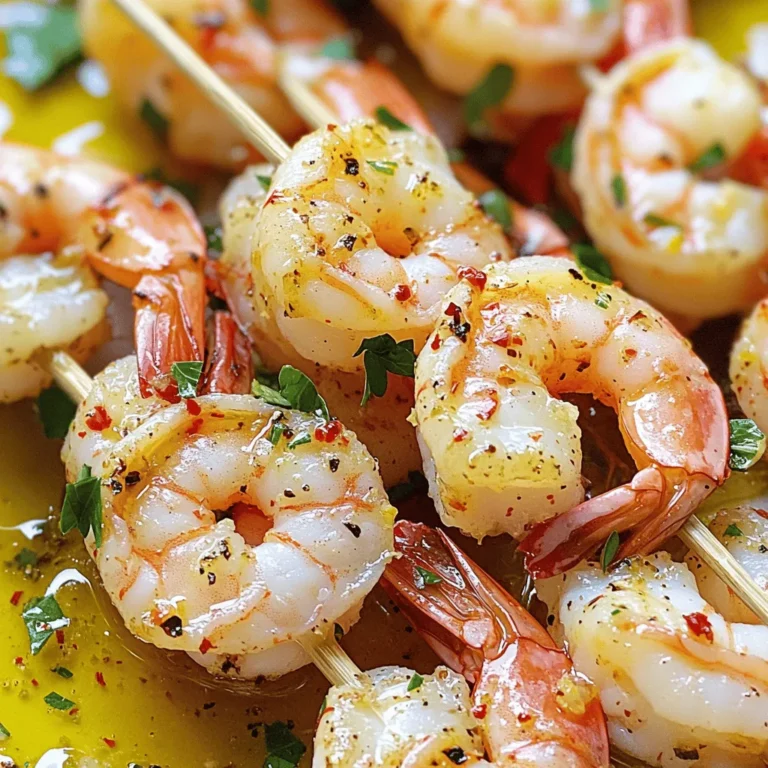
Lemon Garlic Shrimp Skewers Flavorful Grilled Delight
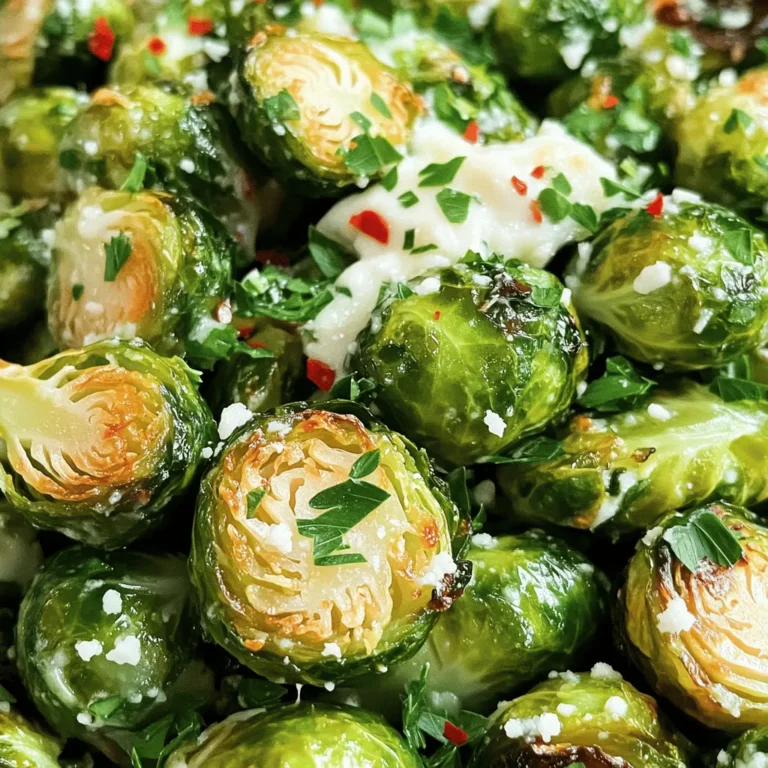
Garlic Parmesan Brussels Sprouts Tasty and Easy Recipe
Honey Sriracha Turkey Meatballs Savory and Simple Meal
Cucumber Melon Salad Fresh and Flavorful Delight
Page navigation
Previous Page
Previous
1
…
16
17
18
19
20
…
26
Next Page
Next
Home
Dinner
Appetizer
Desserts
Drinks
About
Contact
Privacy Policy
Toggle Menu Close
Search for:
Search

. This blog post covered how to make a refreshing cucumber melon salad. You learned about fresh ingredients like cucumbers, cantaloupe, and mint. I explained how to make a simple dressing with lemon juice and honey. I also shared tips for perfect texture and flavor. In closing, this salad is easy to make and tastes great. It’s perfect for warm days or gatherings. Experiment with different melons, nuts, or dressings. Enjoy your fresh salad today!](https://dailydishlab.com/wp-content/uploads/2025/06/ed53bf68-b888-45dc-b451-2bcae5e86f09-768x768.webp)