Skip to content
About
Contact
Cookie Policy
Copyright Policy
Disclaimer
Search
Home
Dinner
Appetizer
Desserts
Drinks
About
Contact
Privacy Policy
Toggle Menu
Home
/
Appetizer
- Page 2
Appetizer
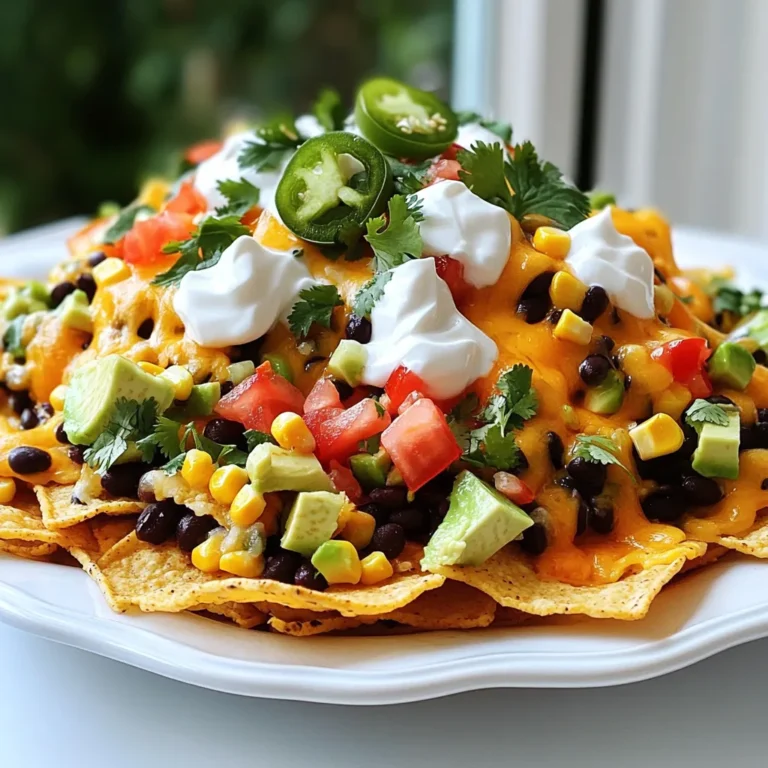
Loaded Veggie Nachos Flavorful and Easy Delight
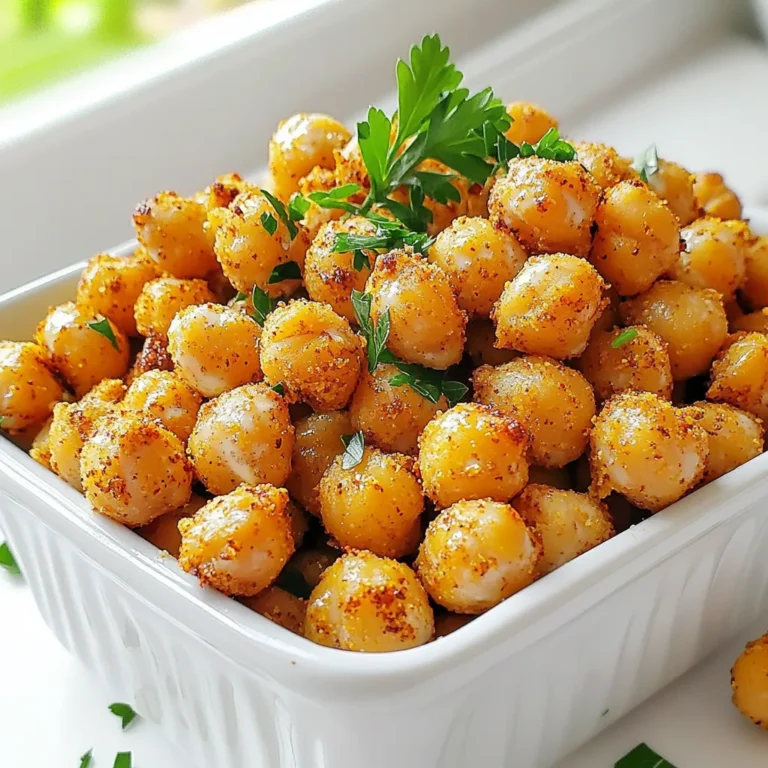
Ranch Roasted Chickpeas Crispy and Flavorful Snack
Mediterranean Chickpea Salad Fresh and Nutritious Dish
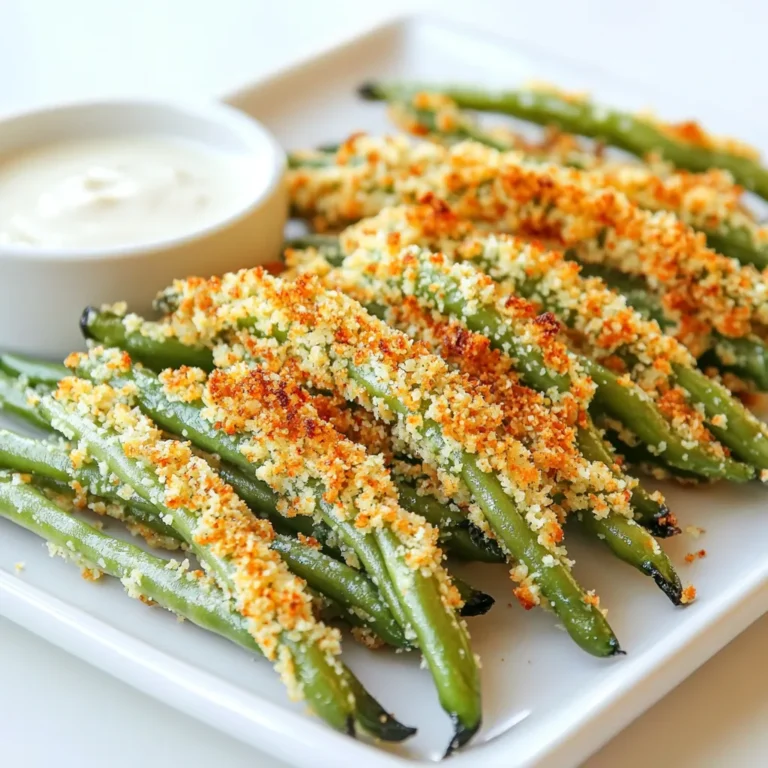
Crispy Air Fryer Green Bean Fries Quick and Easy Recipe
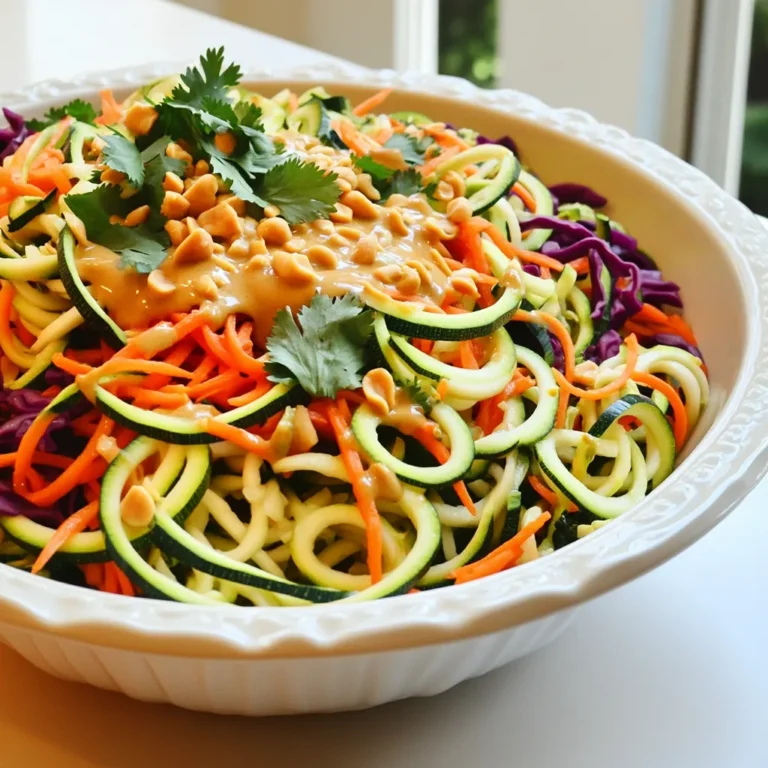
Thai Peanut Zoodle Salad Fresh and Flavorful Meal
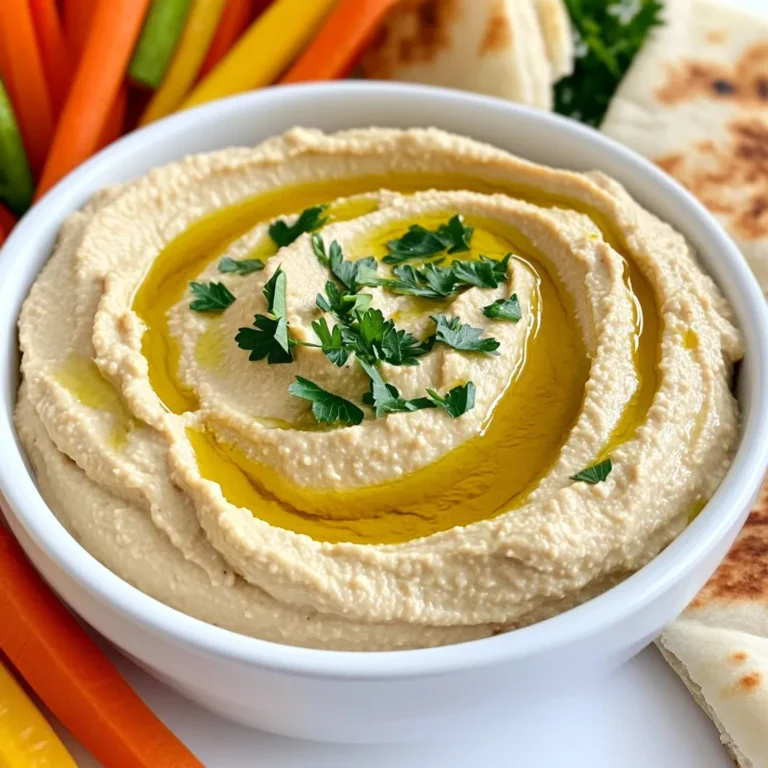
Creamy Roasted Garlic Hummus Easy and Flavorful Dip
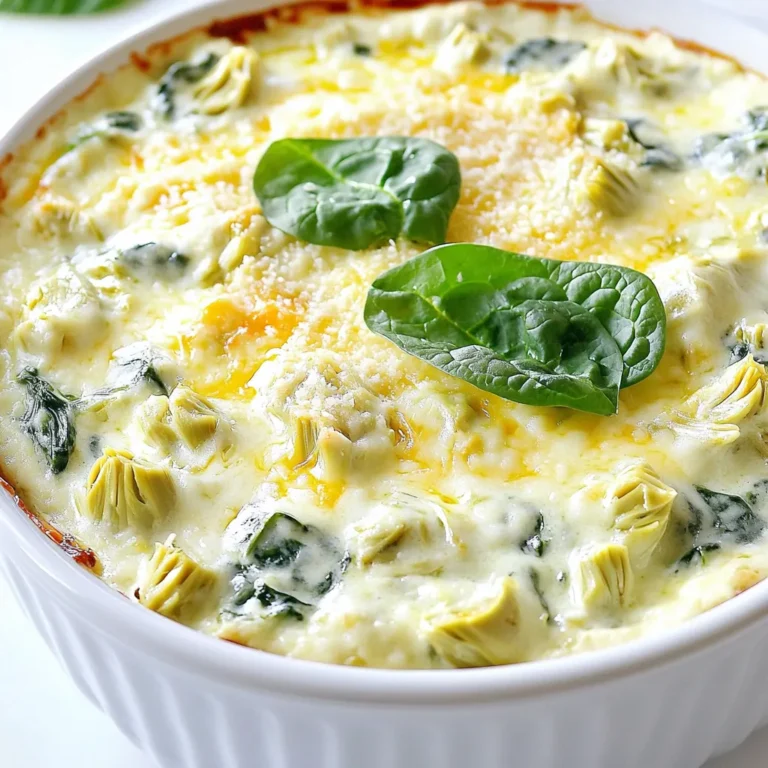
Slow Cooker Spinach Artichoke Dip Creamy Delight
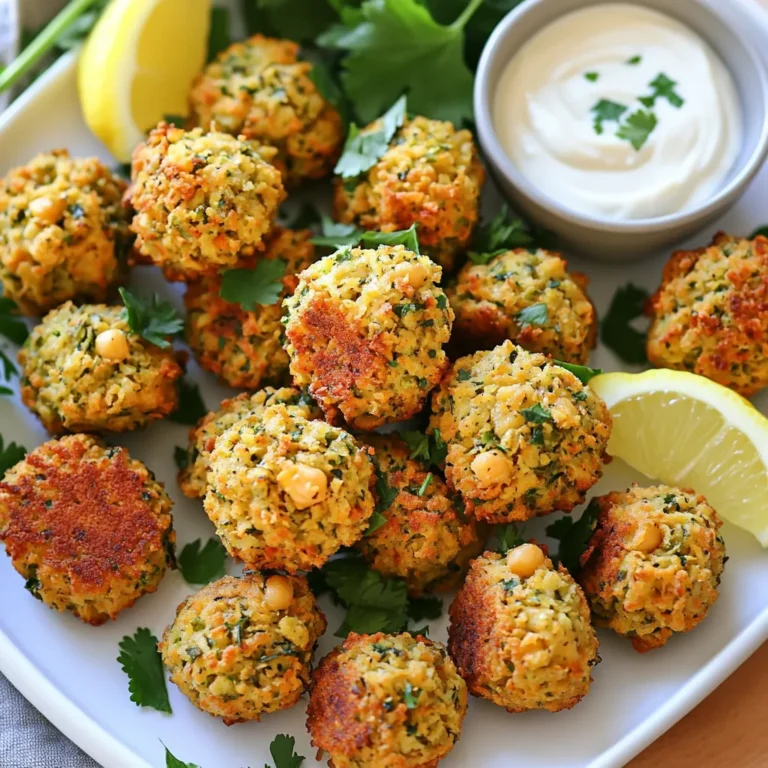
Crispy Air Fryer Falafel Bites Simple and Flavorful Snack
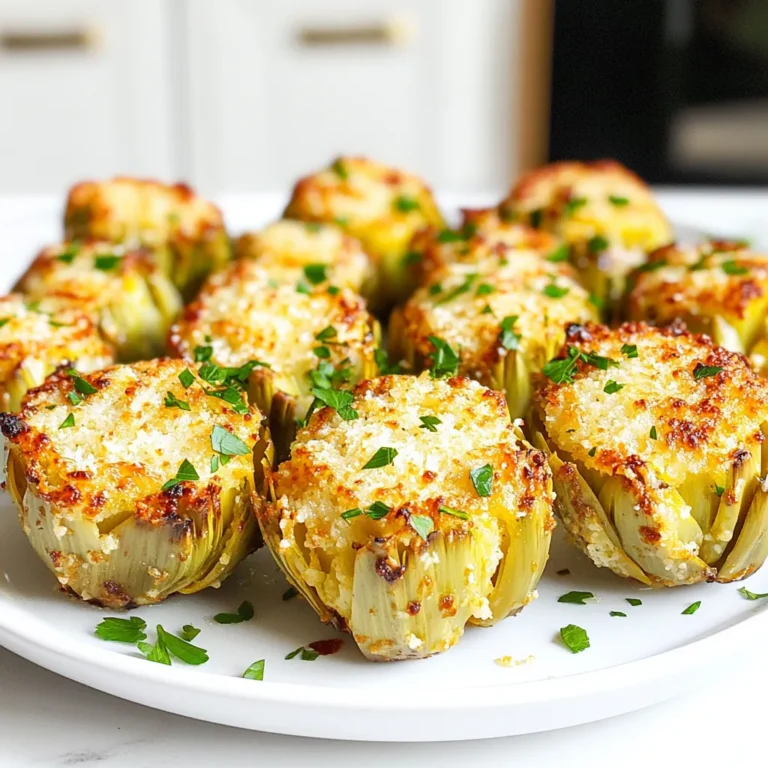
Air Fryer Garlic Parmesan Artichoke Hearts Delight
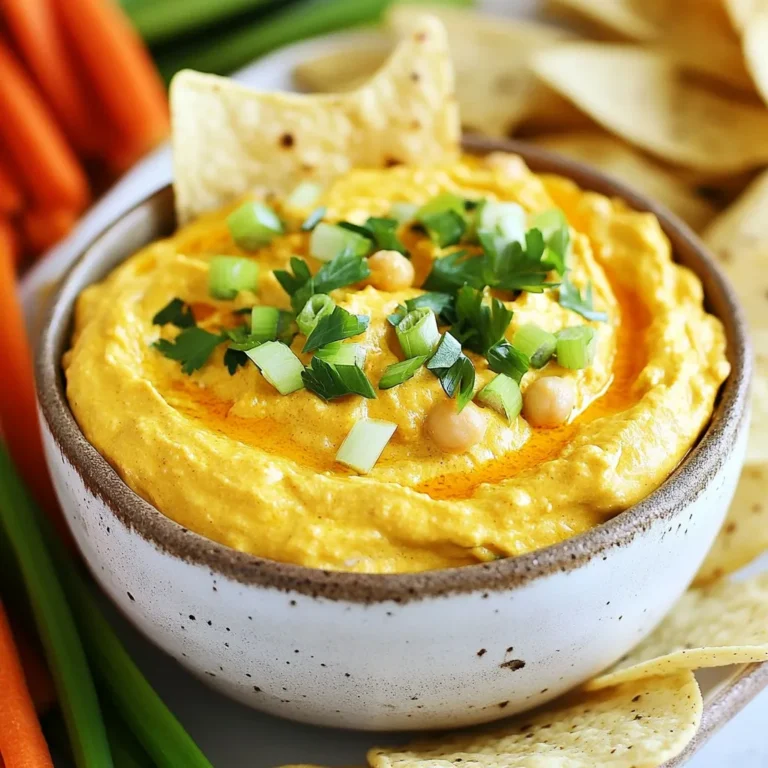
Vegan Buffalo Chickpea Dip Zesty and Flavorful Treat
Page navigation
Previous Page
Previous
1
2
3
4
…
26
Next Page
Next
Home
Dinner
Appetizer
Desserts
Drinks
About
Contact
Privacy Policy
Toggle Menu Close
Search for:
Search