Skip to content
About
Contact
Cookie Policy
Copyright Policy
Disclaimer
Search
Home
Dinner
Appetizer
Desserts
Drinks
About
Contact
Privacy Policy
Toggle Menu
Home
/
Appetizer
- Page 23
Appetizer
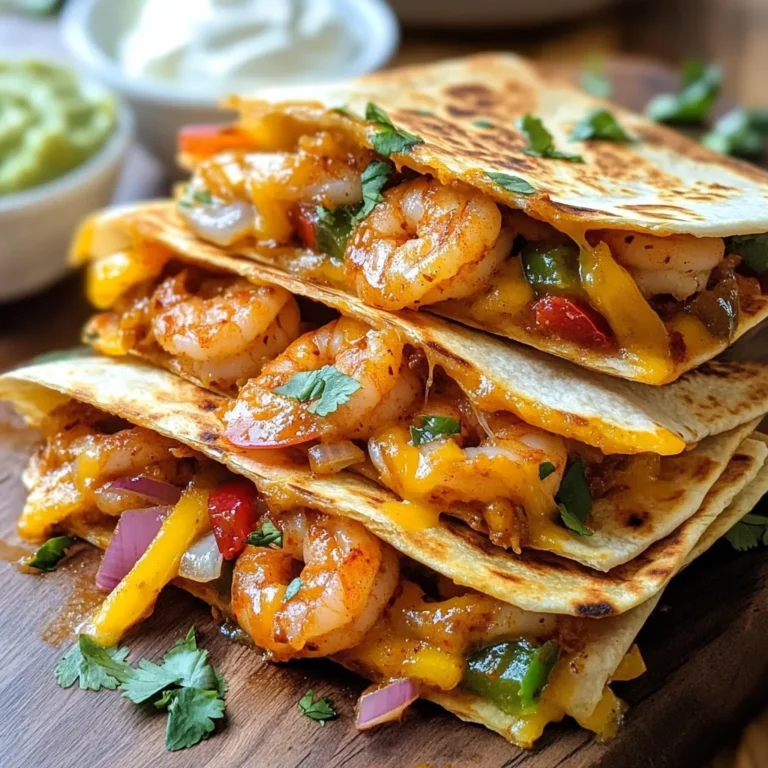
Spicy Chipotle Shrimp Quesadillas Flavorful Recipe
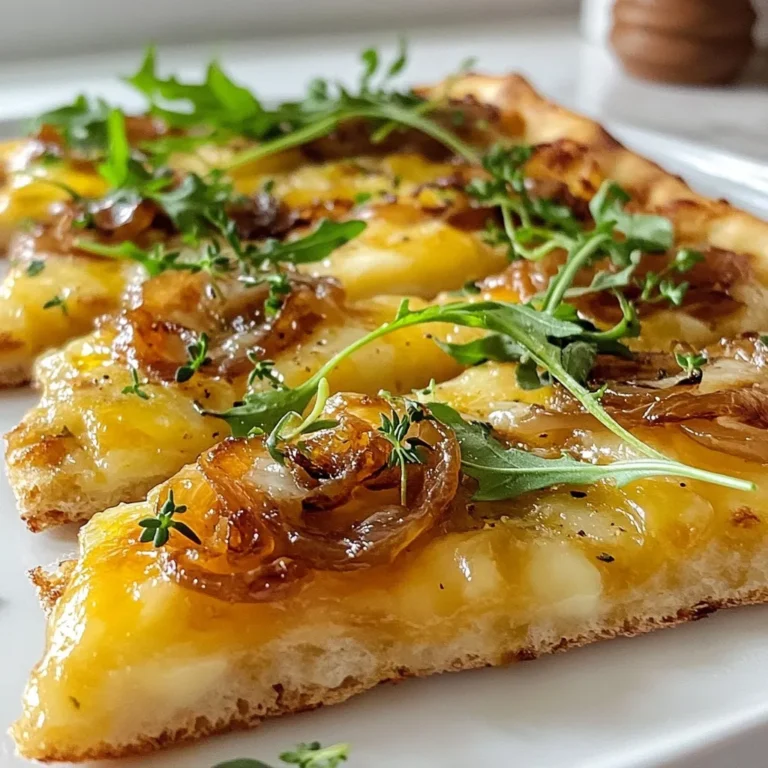
Caramelized Onion Gruyère Flatbread Tasty Treat
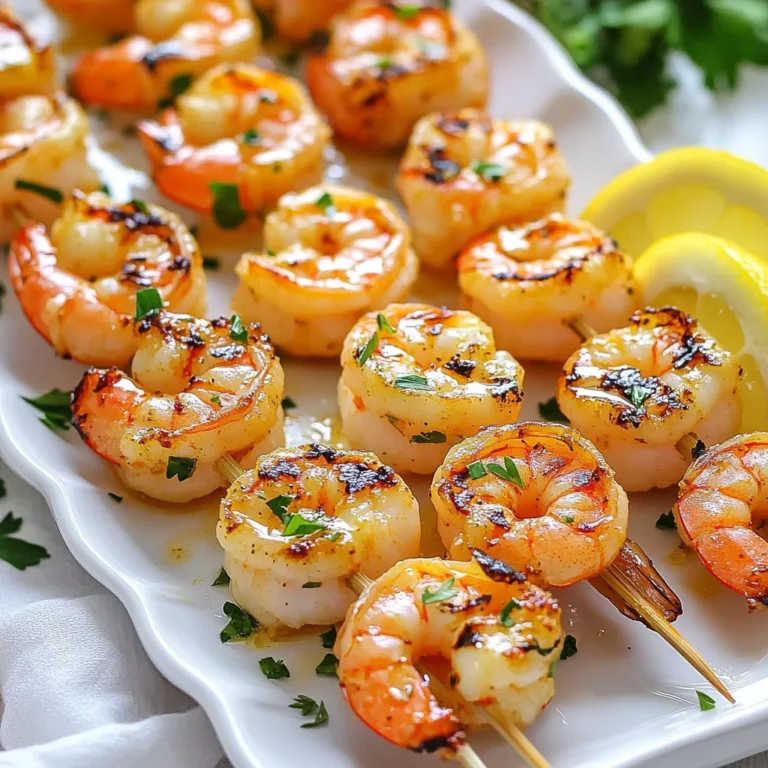
Garlic Butter Shrimp Skewers Tasty Grilled Delight
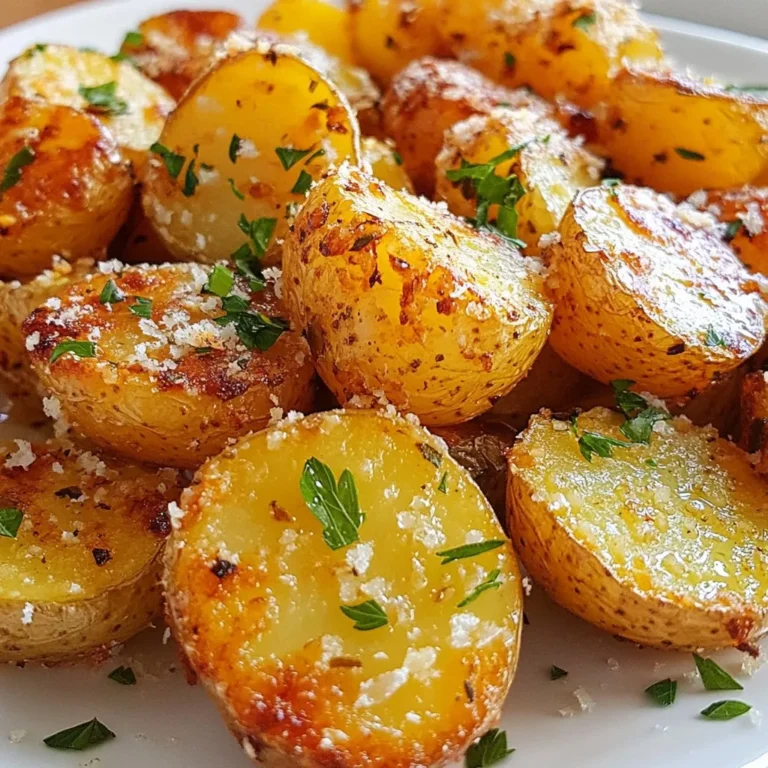
Garlic Parmesan Roasted Potatoes Crisp and Tasty Dish
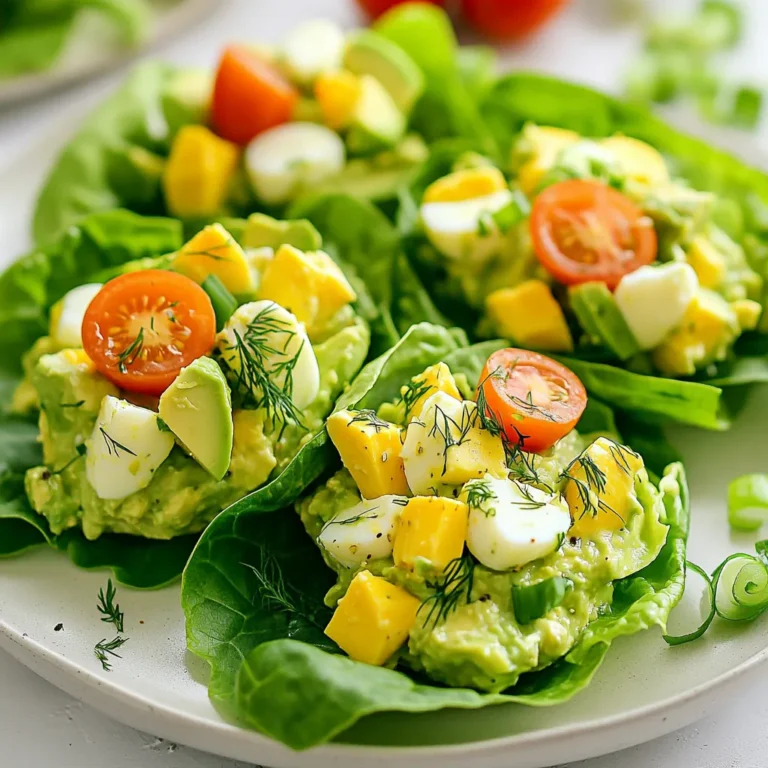
Avocado Egg Salad Lettuce Wraps Fresh and Tasty Meal
Honey Garlic Shrimp Skewers Tasty Grilled Delight
Garlic Parmesan Stuffed Biscuits Fluffy and Tasty Treat
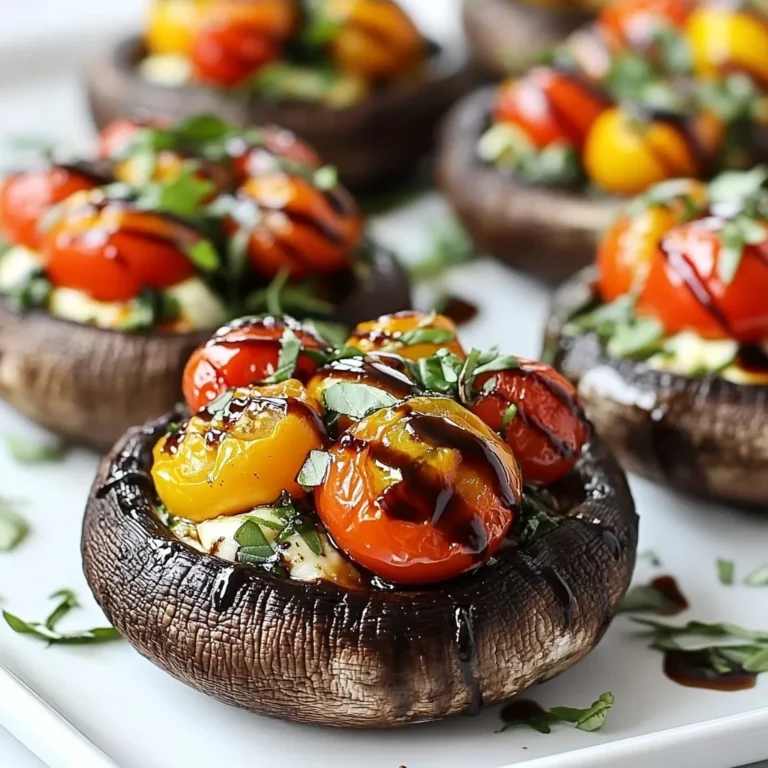
Caprese Stuffed Portobellos Flavorful and Easy Recipe
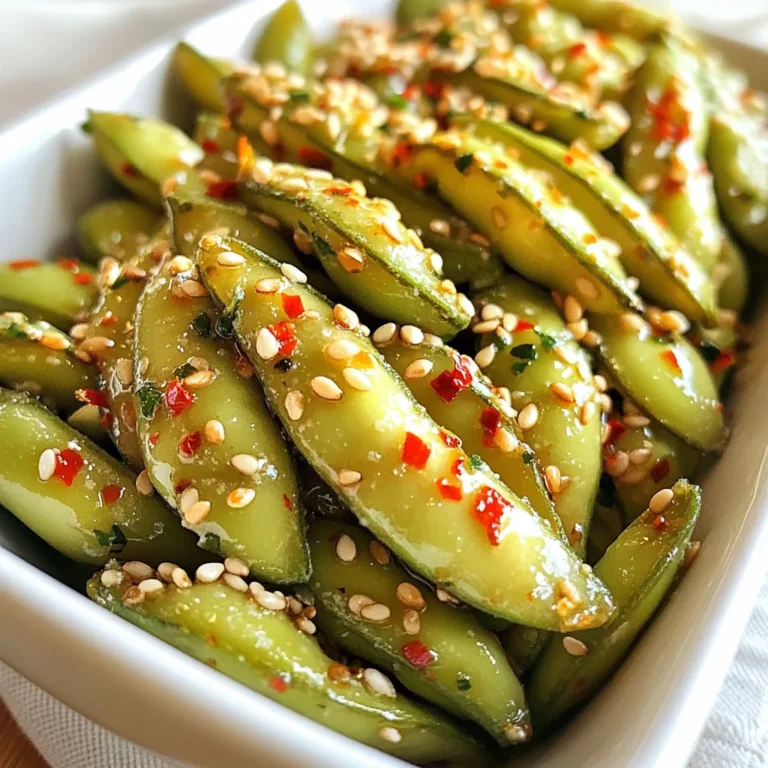
Spicy Garlic Edamame Flavorful and Easy Appetizer
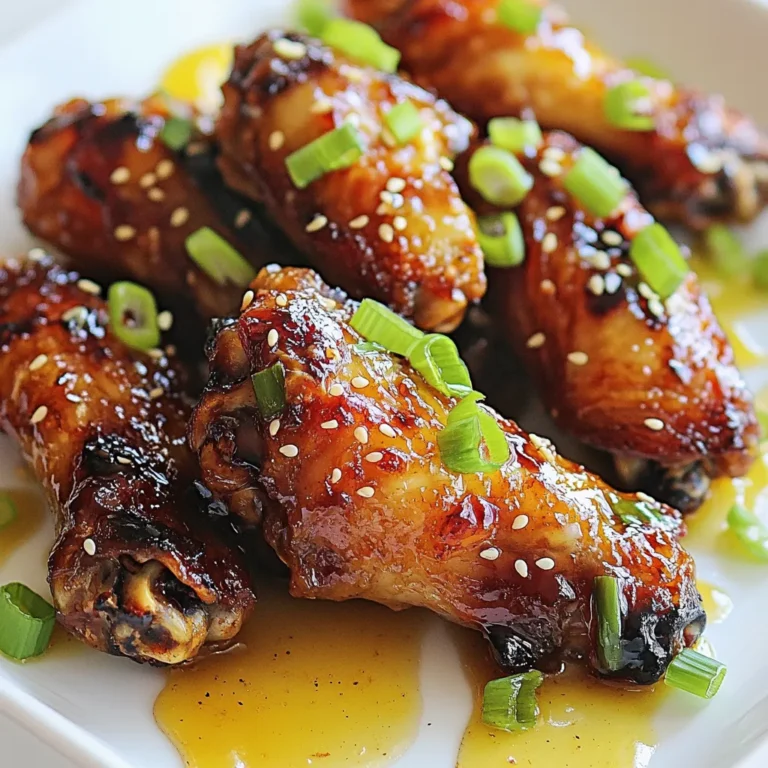
Honey Garlic Chicken Wings Perfectly Savory Delight
Page navigation
Previous Page
Previous
1
…
21
22
23
24
25
26
Next Page
Next
Home
Dinner
Appetizer
Desserts
Drinks
About
Contact
Privacy Policy
Toggle Menu Close
Search for:
Search