Skip to content
About
Contact
Cookie Policy
Copyright Policy
Disclaimer
Search
Home
Dinner
Appetizer
Desserts
Drinks
About
Contact
Privacy Policy
Toggle Menu
Home
/
Appetizer
- Page 24
Appetizer
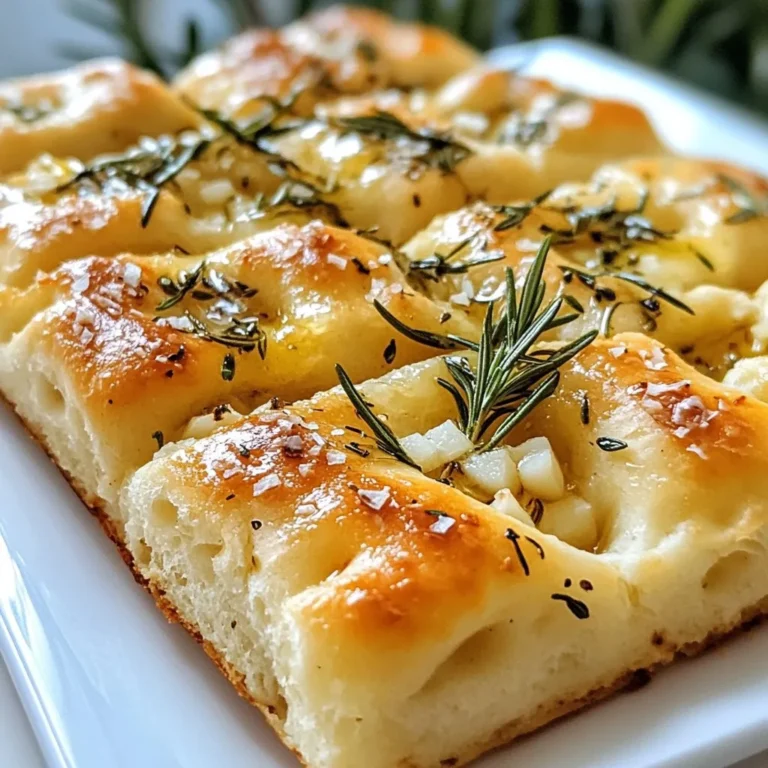
Garlic Herb Focaccia Bread Simple and Tasty Recipe
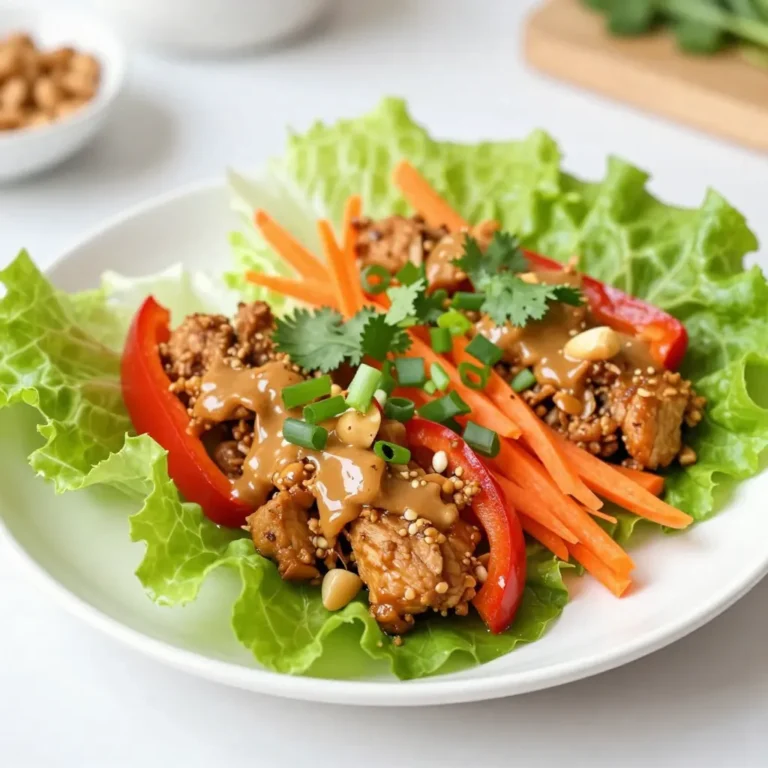
Thai Peanut Chicken Lettuce Wraps Easy Flavorful Meal
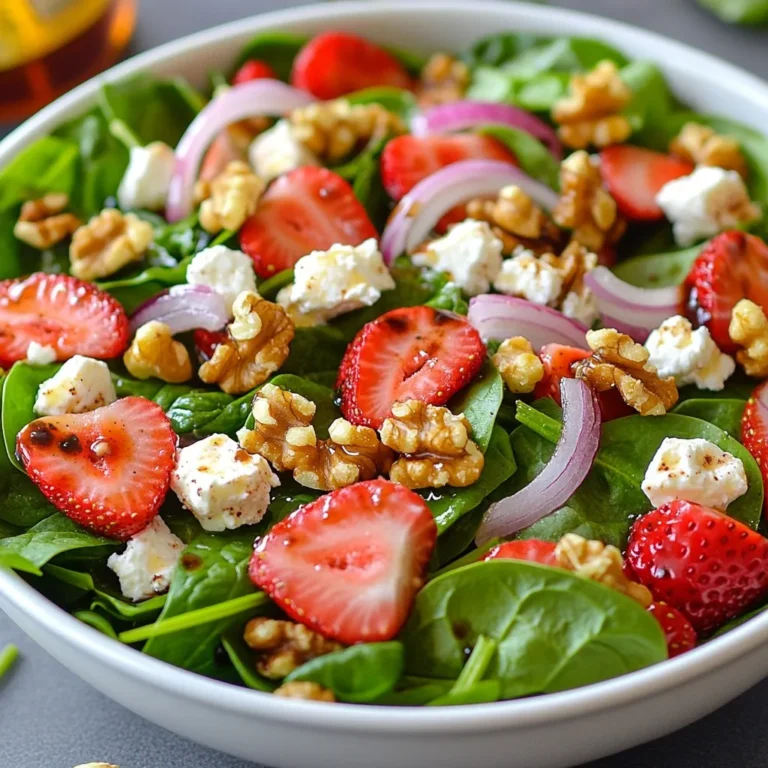
Savory Spinach Strawberry Feta Salad Treat
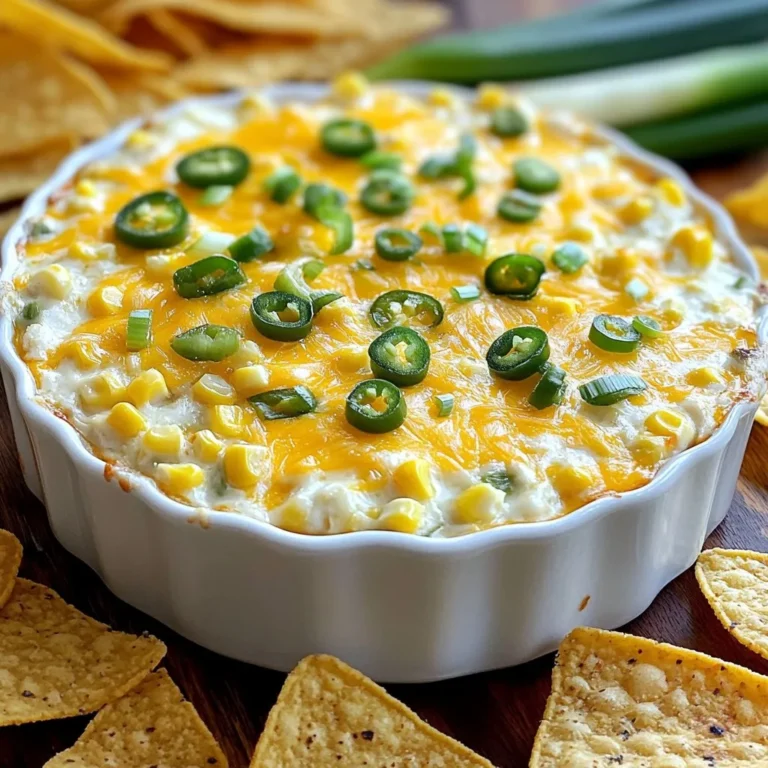
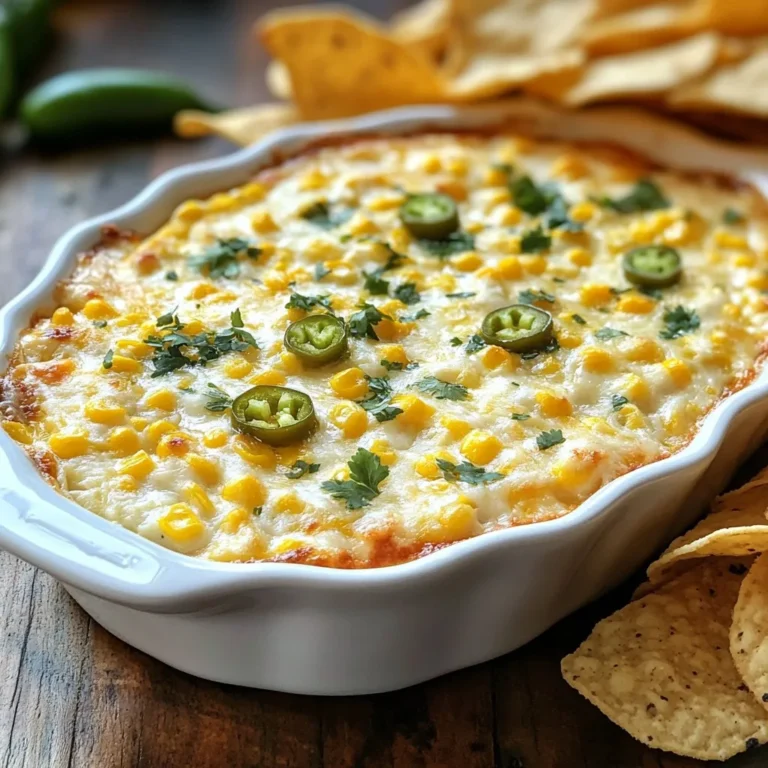
Cheesy Jalapeño Corn Dip Irresistible Party Treat
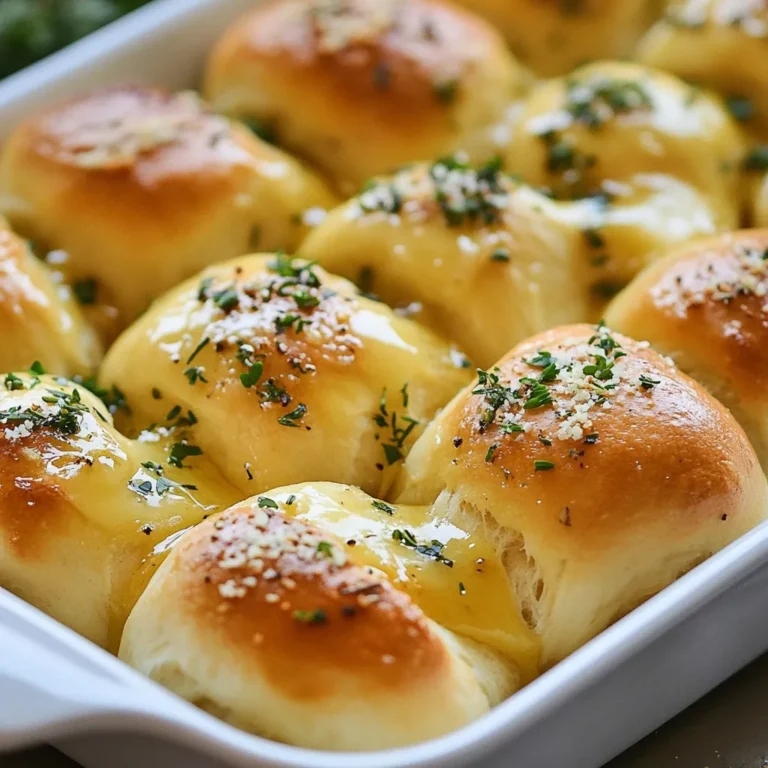
Garlic Herb Pull Apart Rolls Festive and Flavorful Delight
Rosemary Garlic Focaccia Bread Savory and Simple Delight
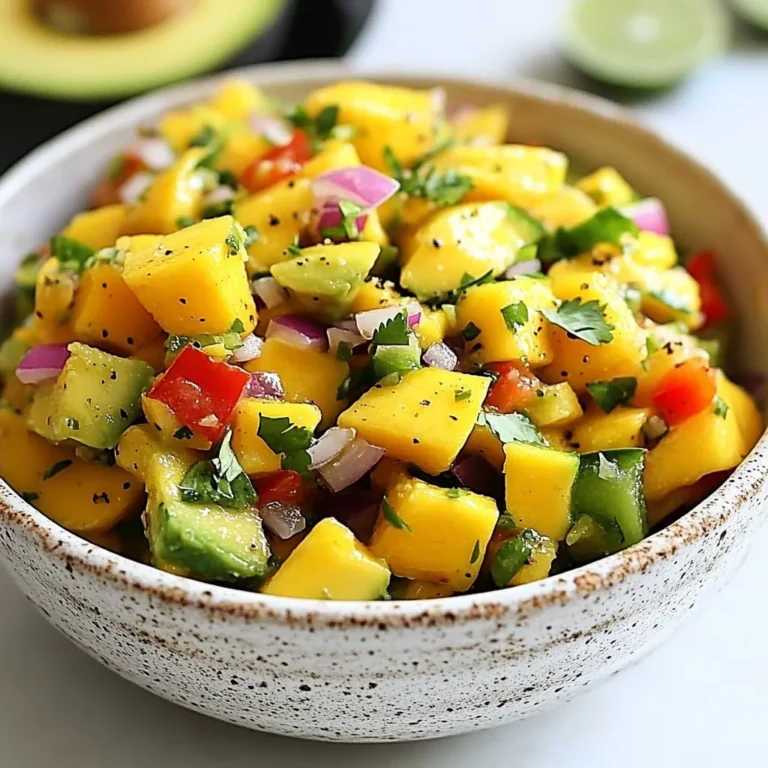
Mango Avocado Salsa Fresh and Flavorful Delight
Savory Sesame Peanut Noodle Salad Recipe Delight
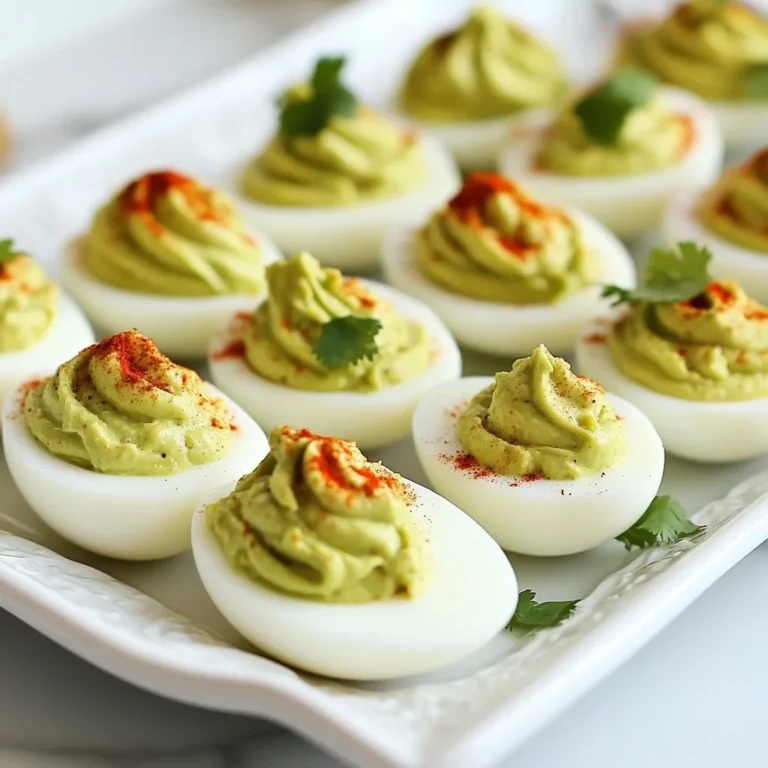
Avocado Deviled Eggs Simple and Flavorful Recipe
Cheesy Jalapeño Corn Dip Flavorful Party Treat
Page navigation
Previous Page
Previous
1
…
22
23
24
25
26
Next Page
Next
Home
Dinner
Appetizer
Desserts
Drinks
About
Contact
Privacy Policy
Toggle Menu Close
Search for:
Search