Skip to content
About
Contact
Cookie Policy
Copyright Policy
Disclaimer
Search
Home
Dinner
Appetizer
Desserts
Drinks
About
Contact
Privacy Policy
Toggle Menu
Home
/
Appetizer
- Page 4
Appetizer
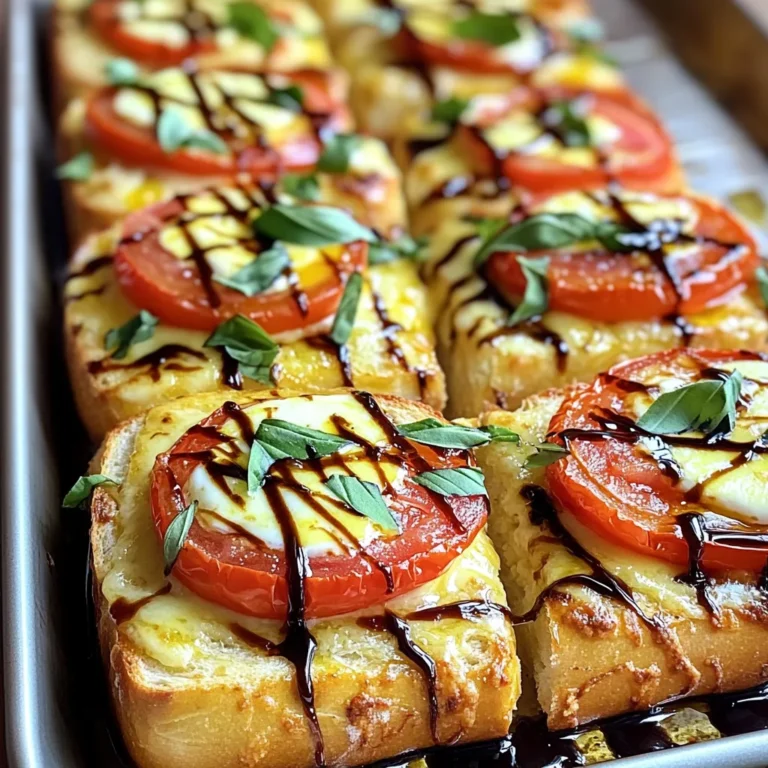
Sheet Pan Caprese Garlic Bread Simple and Tasty Dish
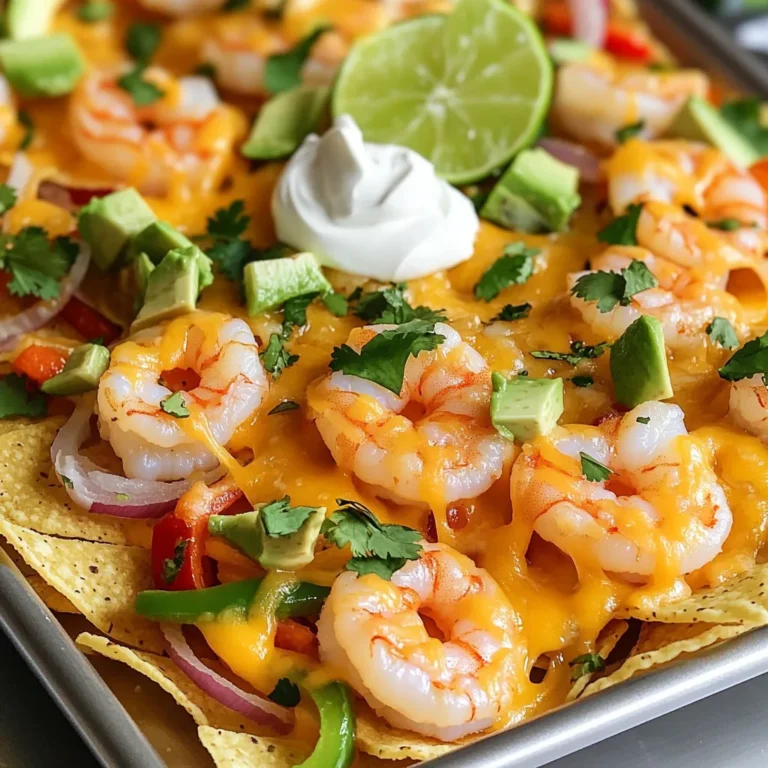
Sheet Pan Fajita Shrimp Nachos Flavorful and Fun Dish
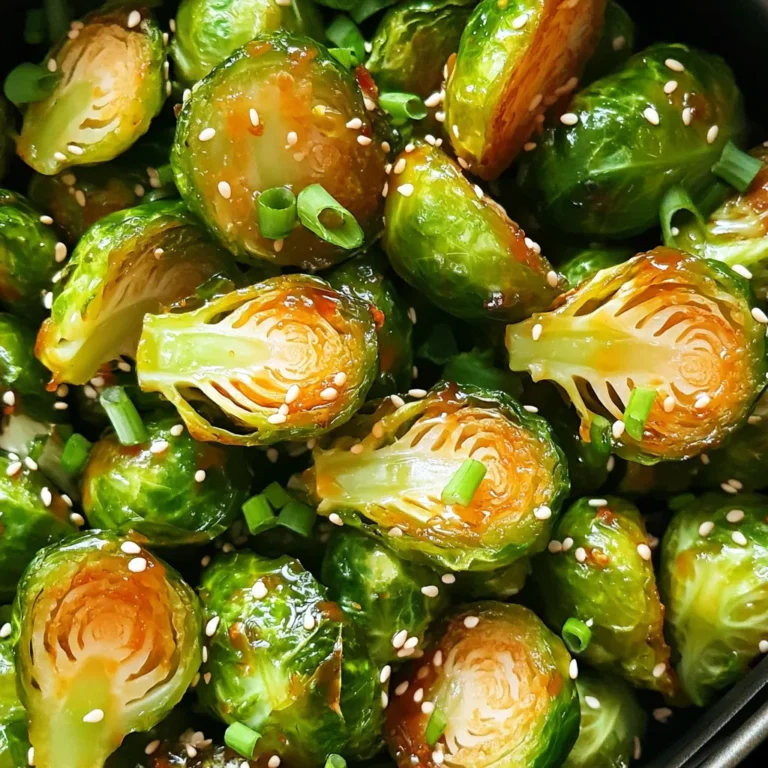
Air Fryer Honey Sriracha Brussels Sprouts Delight
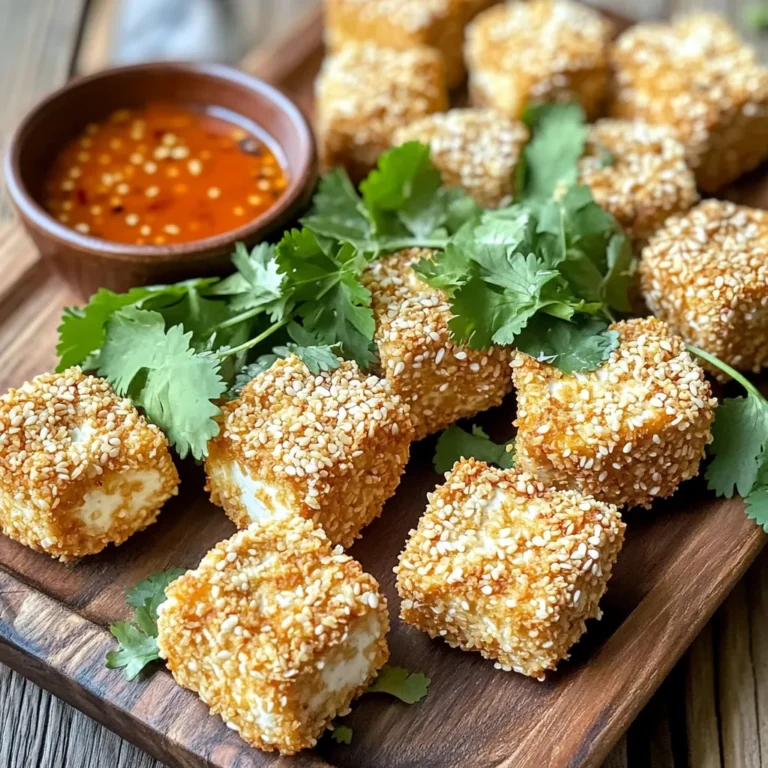
Air Fryer Sesame Crusted Tofu Bites Crispy Delight
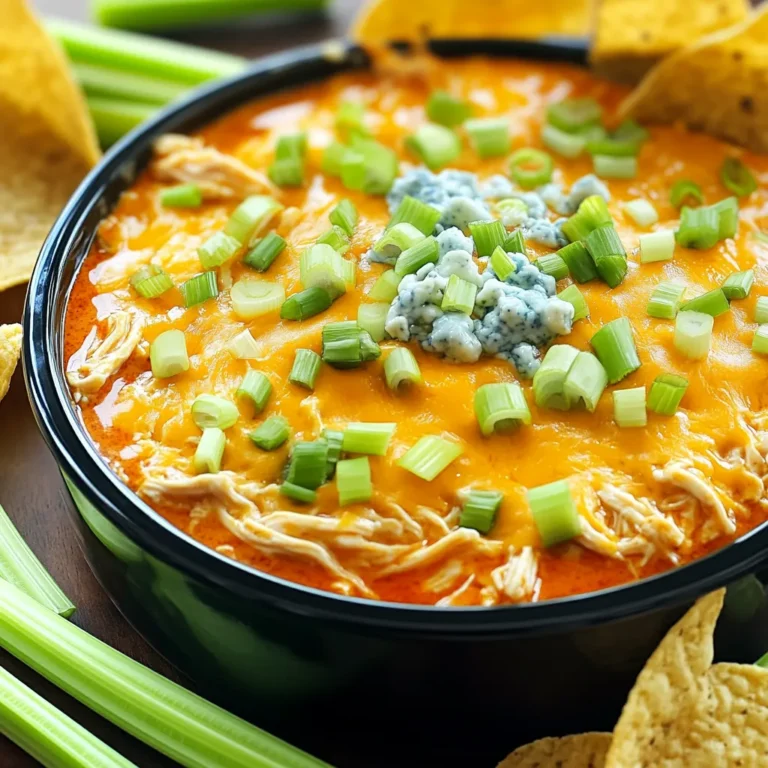
Creamy Buffalo Chicken Dip Slow Cooker Delight
Maple Cinnamon Roasted Pecans Tasty Snack Treat
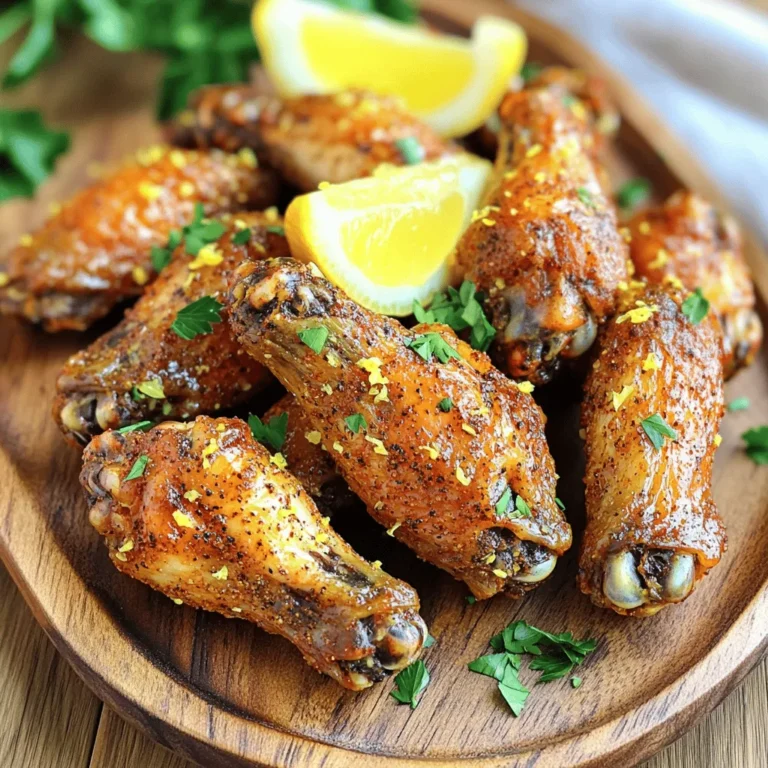
Air Fryer Lemon Pepper Wings Crispy and Flavorful Dish
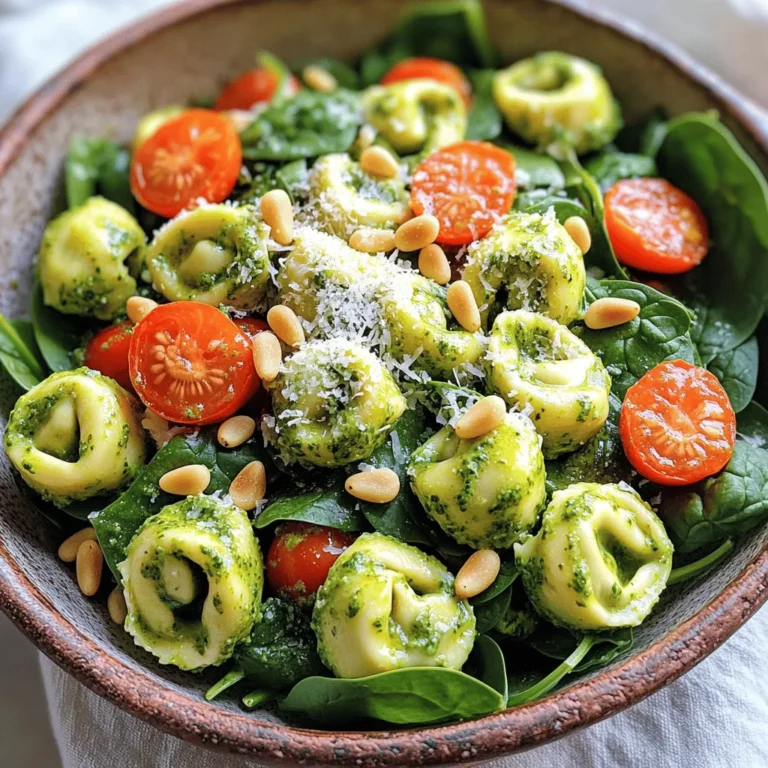
Creamy Pesto Tortellini Salad Fresh and Flavorful Dish
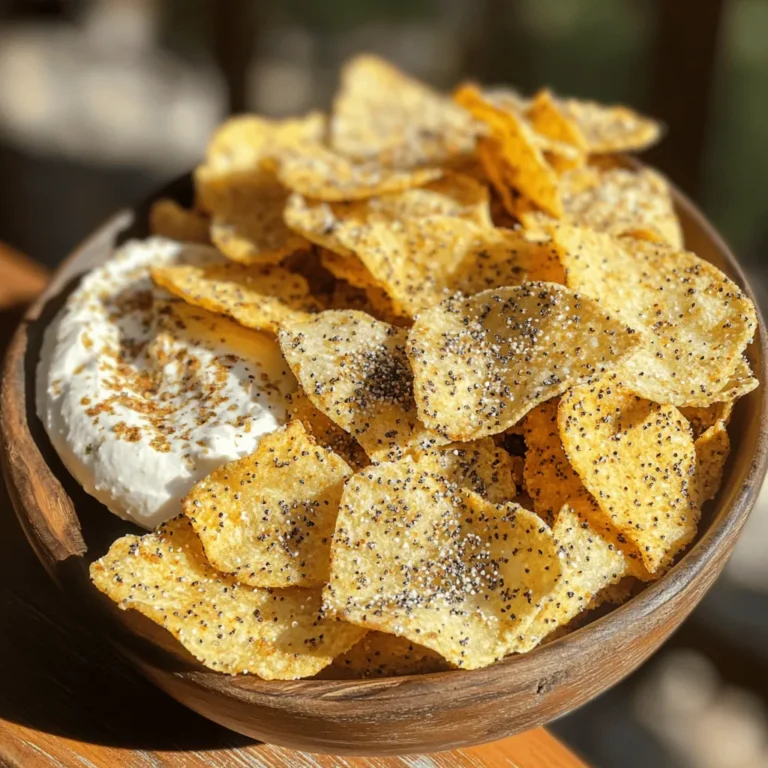
Sourdough Everything Bagel Chips Crunchy Snack Delight
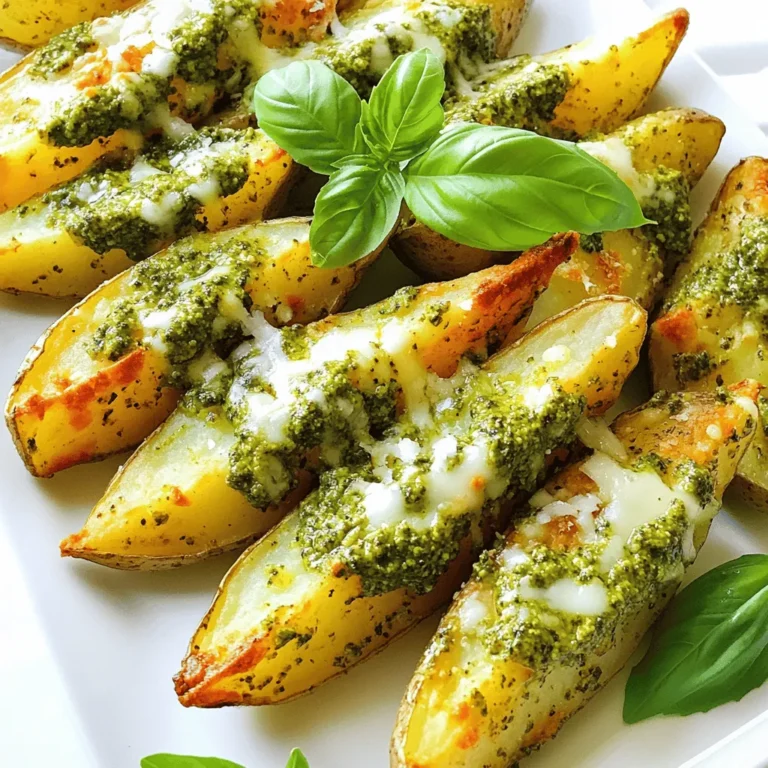
Pesto Roasted Potato Wedges Crispy and Flavorful Treat
Page navigation
Previous Page
Previous
1
2
3
4
5
6
…
26
Next Page
Next
Home
Dinner
Appetizer
Desserts
Drinks
About
Contact
Privacy Policy
Toggle Menu Close
Search for:
Search