Skip to content
About
Contact
Cookie Policy
Copyright Policy
Disclaimer
Search
Home
Dinner
Appetizer
Desserts
Drinks
About
Contact
Privacy Policy
Toggle Menu
Home
/
Appetizer
- Page 5
Appetizer
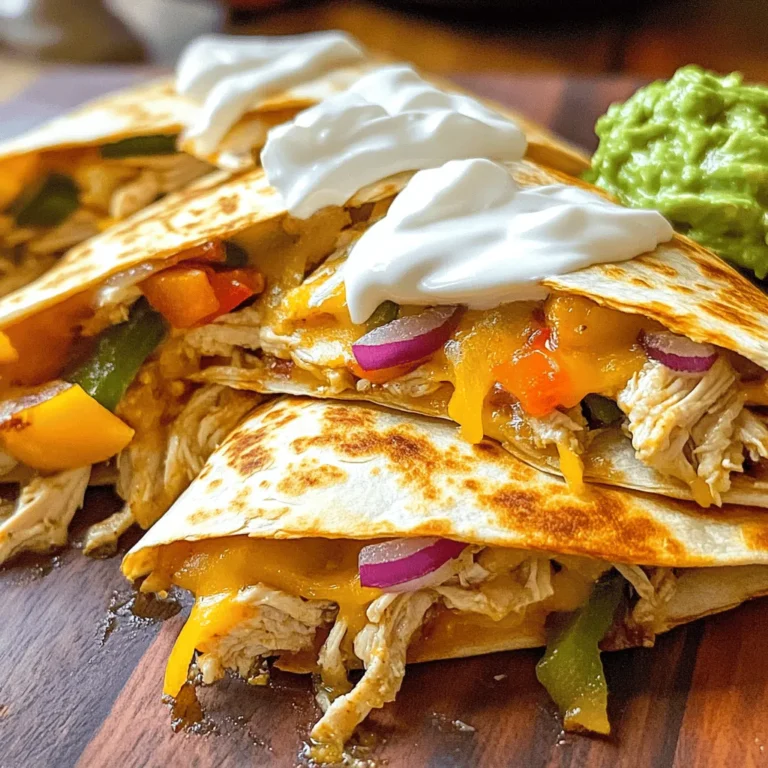
Smoky Chipotle Chicken Quesadillas Flavorful Treat
Spicy Honey Garlic Shrimp Skewers Delightful Recipe
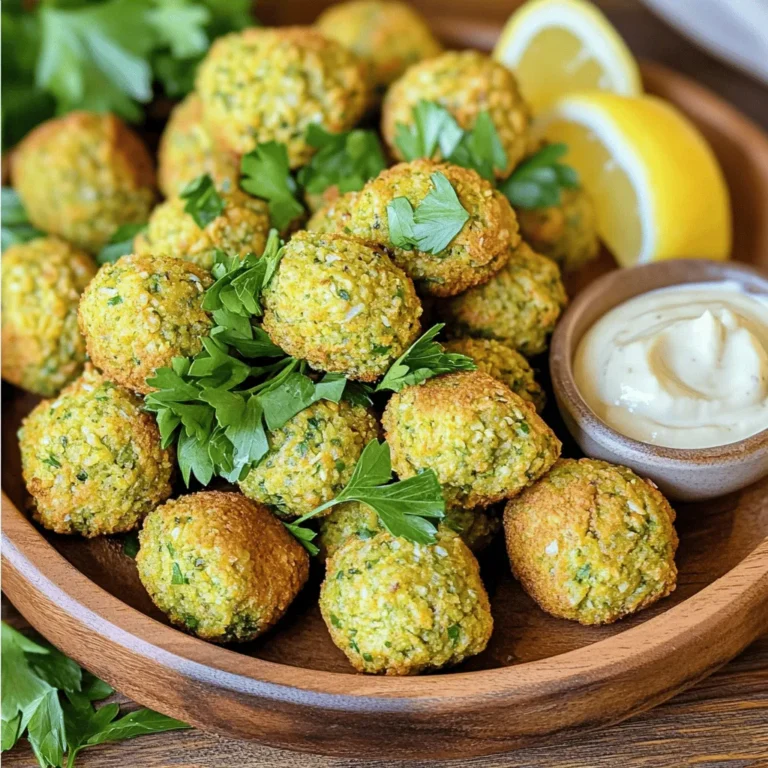
Air Fryer Crispy Falafel Bites Flavorful Snack Recipe
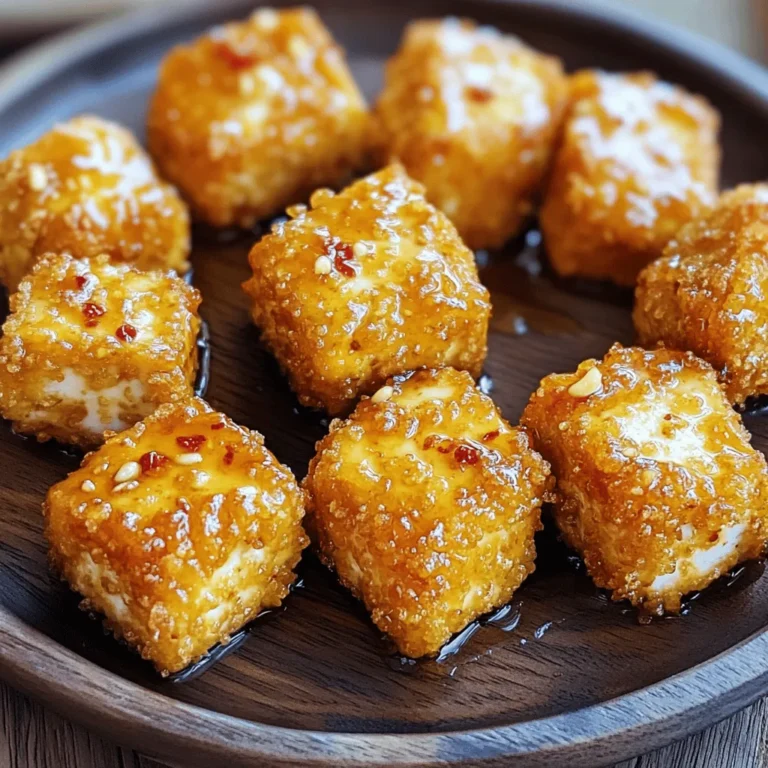
Air Fryer Honey Garlic Tofu Nuggets Tasty Vegan Treat
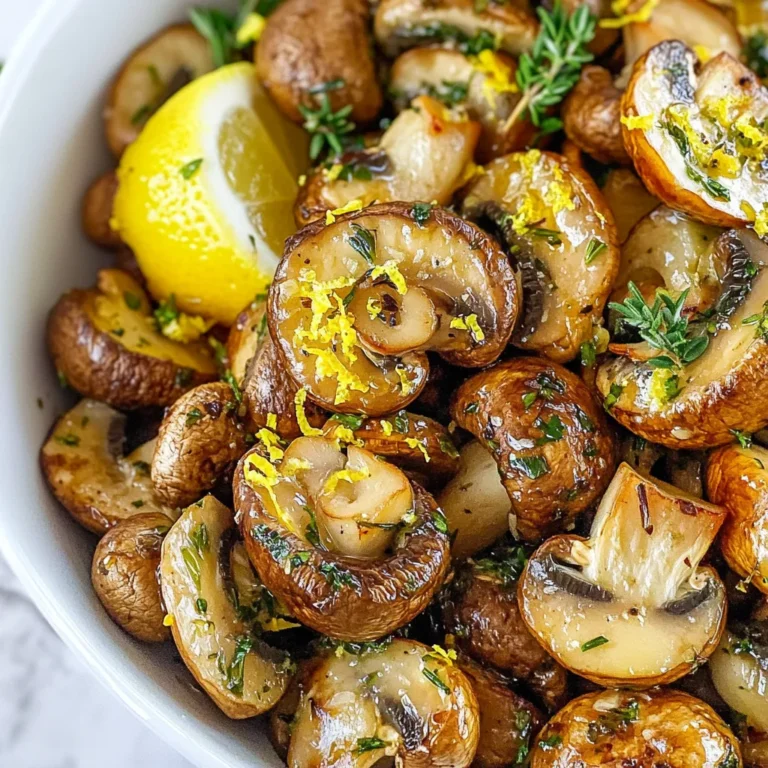
Garlic Herb Roasted Mushrooms Flavorful Side Dish
Air Fryer Veggie Spring Rolls Crunchy and Crisp Treat
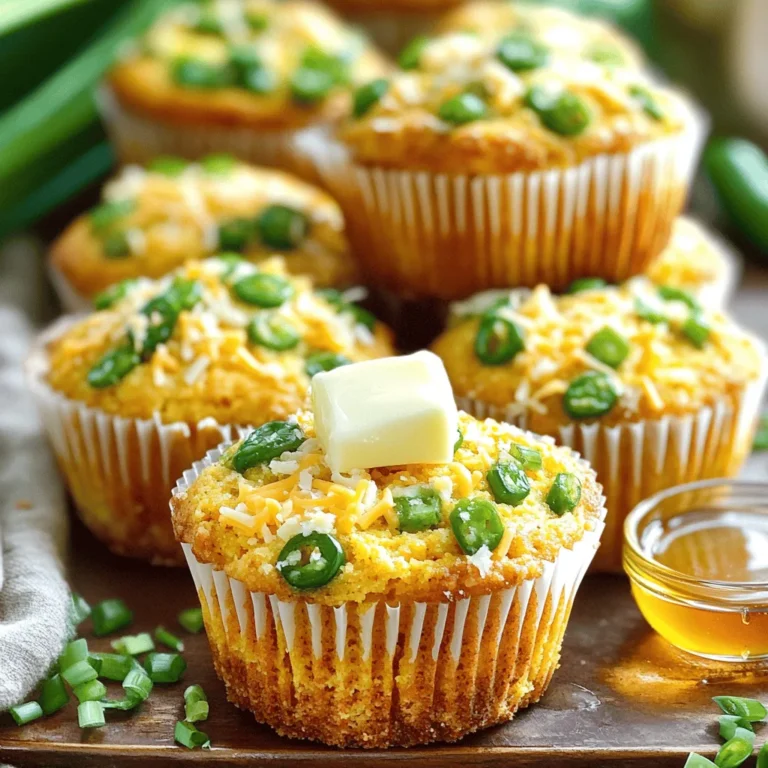
Jalapeño Cheddar Cornbread Muffins Easy and Flavorful
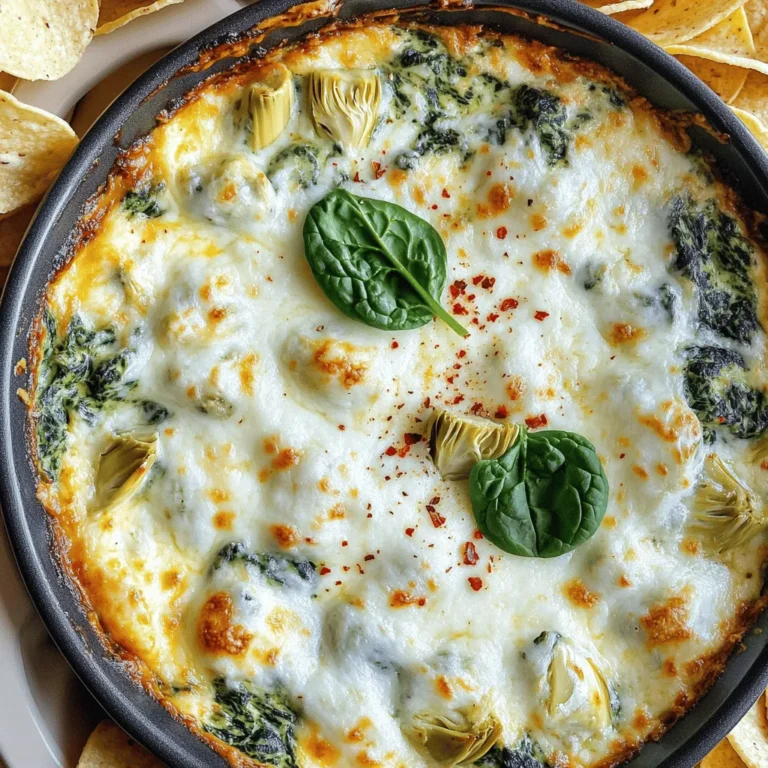
Creamy Spinach Artichoke Dip Skillet Irresistible Treat
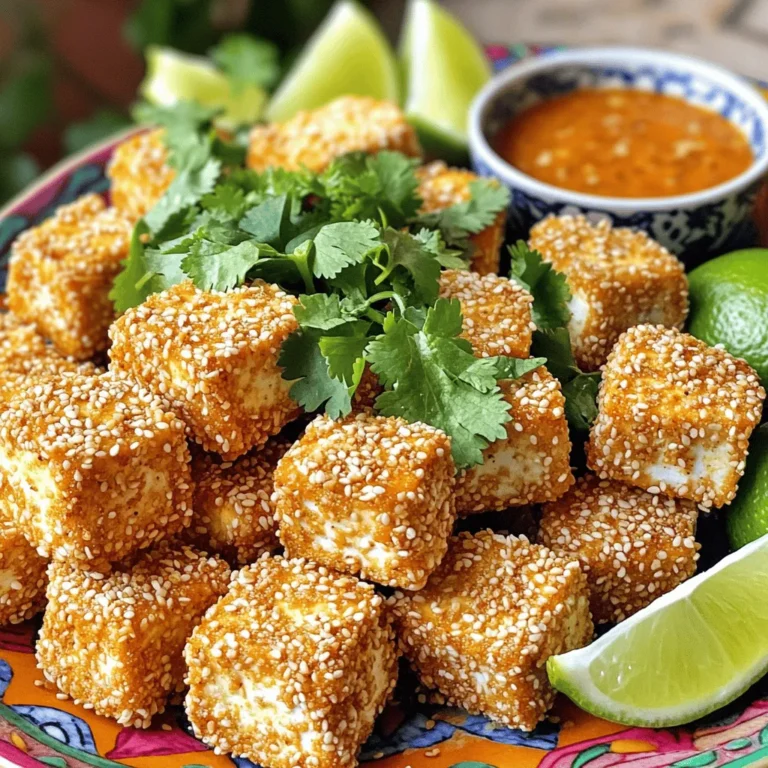
Air Fryer Sesame Tofu Bites Crispy and Flavorful Snack
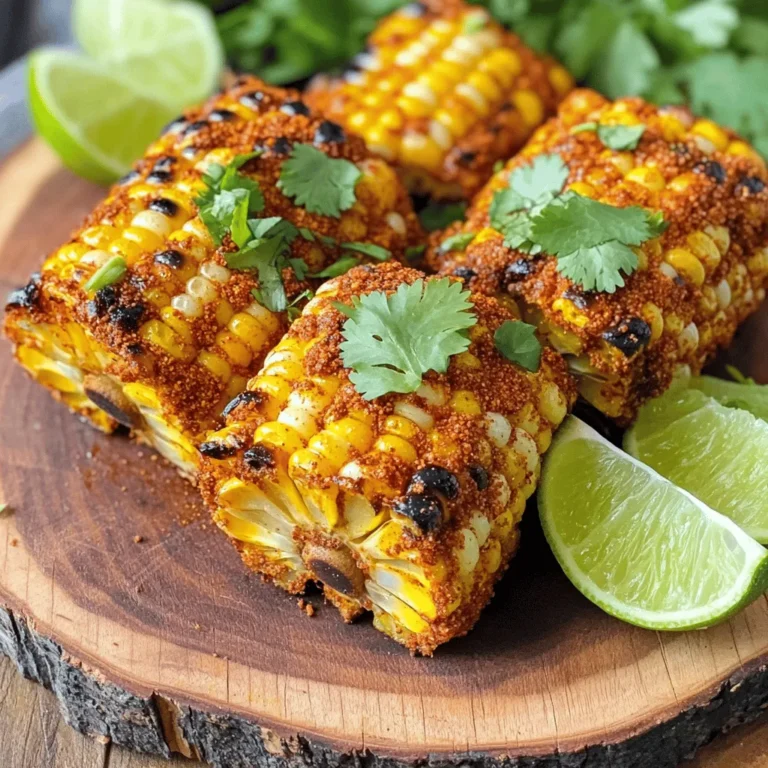
Air Fryer Corn Ribs with Chili Lime Flavor Burst
Page navigation
Previous Page
Previous
1
…
3
4
5
6
7
…
26
Next Page
Next
Home
Dinner
Appetizer
Desserts
Drinks
About
Contact
Privacy Policy
Toggle Menu Close
Search for:
Search