Skip to content
About
Contact
Cookie Policy
Copyright Policy
Disclaimer
Search
Home
Dinner
Appetizer
Desserts
Drinks
About
Contact
Privacy Policy
Toggle Menu
Home
/
Appetizer
- Page 6
Appetizer
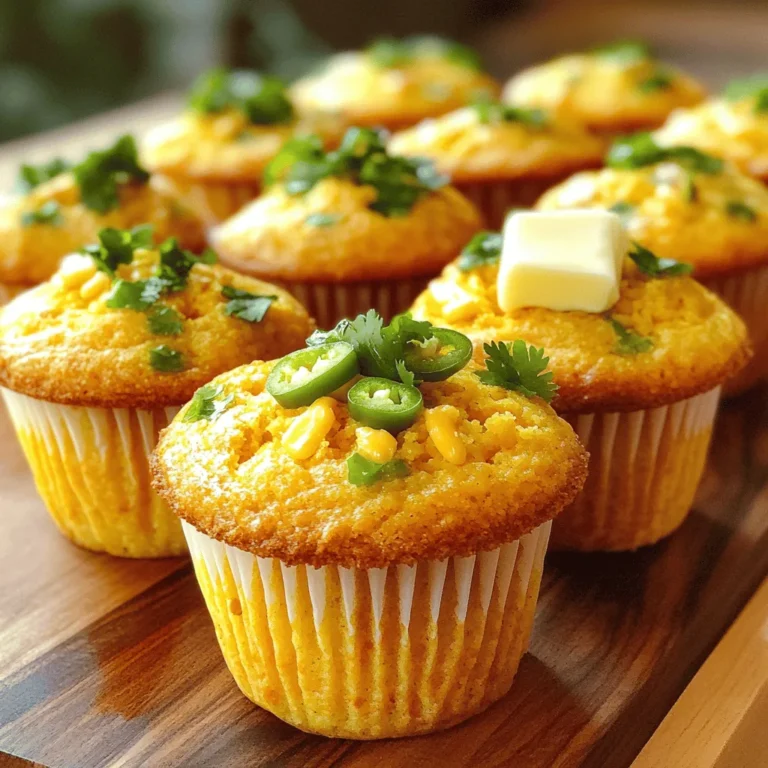
Jalapeño Cheddar Cornbread Muffins Irresistible Treat
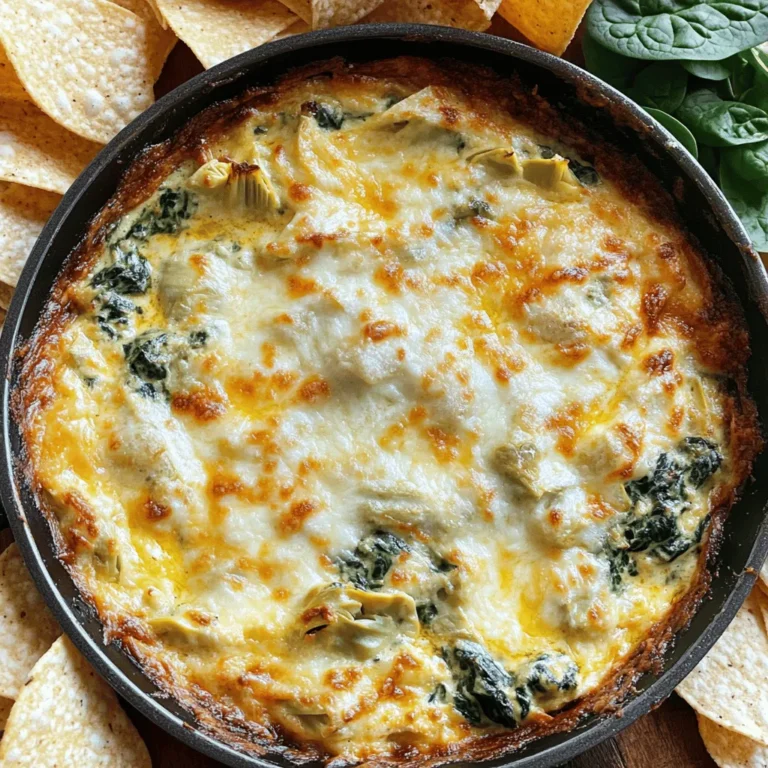
Creamy Spinach Artichoke Dip Skillet Delight
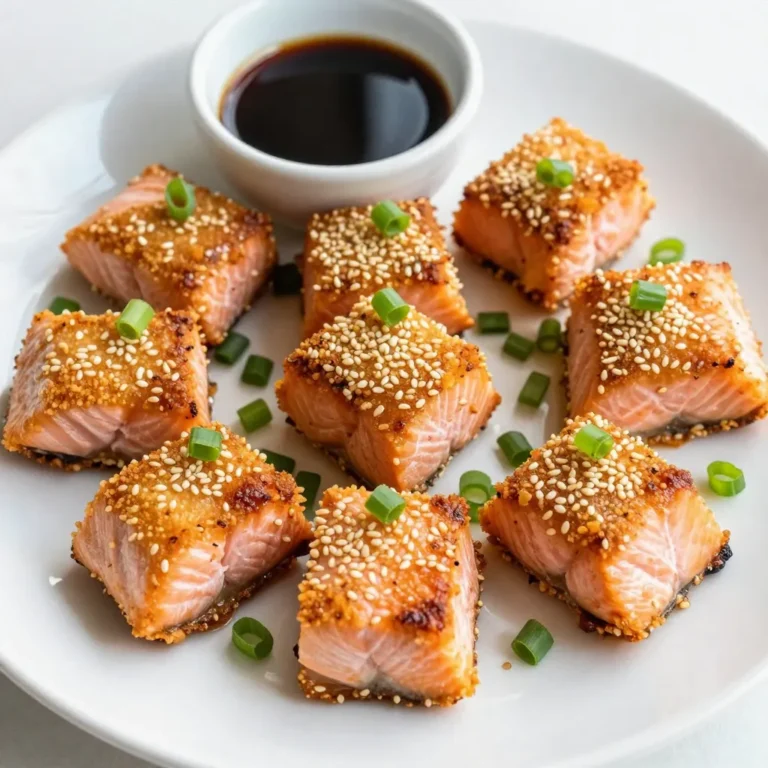
Sesame Crusted Salmon Bites Flavorful and Crunchy Treat
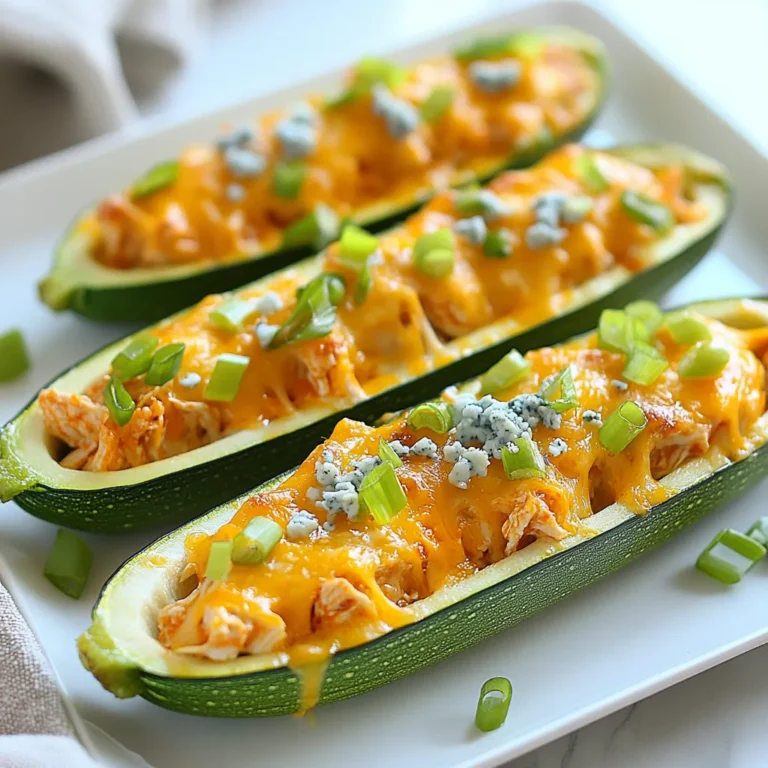
Buffalo Chicken Zucchini Boats Tasty Weeknight Meal
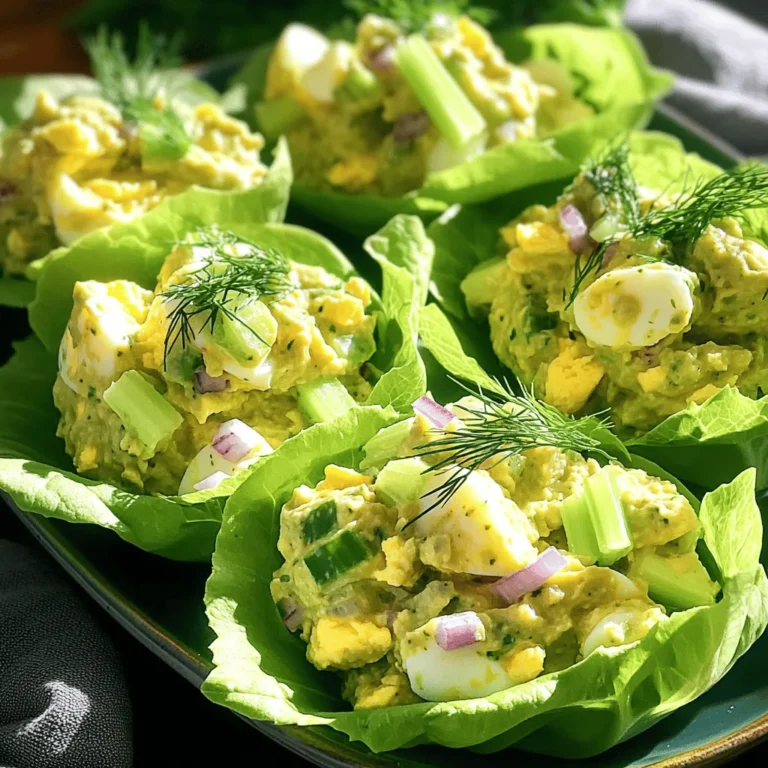
Avocado Egg Salad Lettuce Wraps Healthy and Fresh Meal
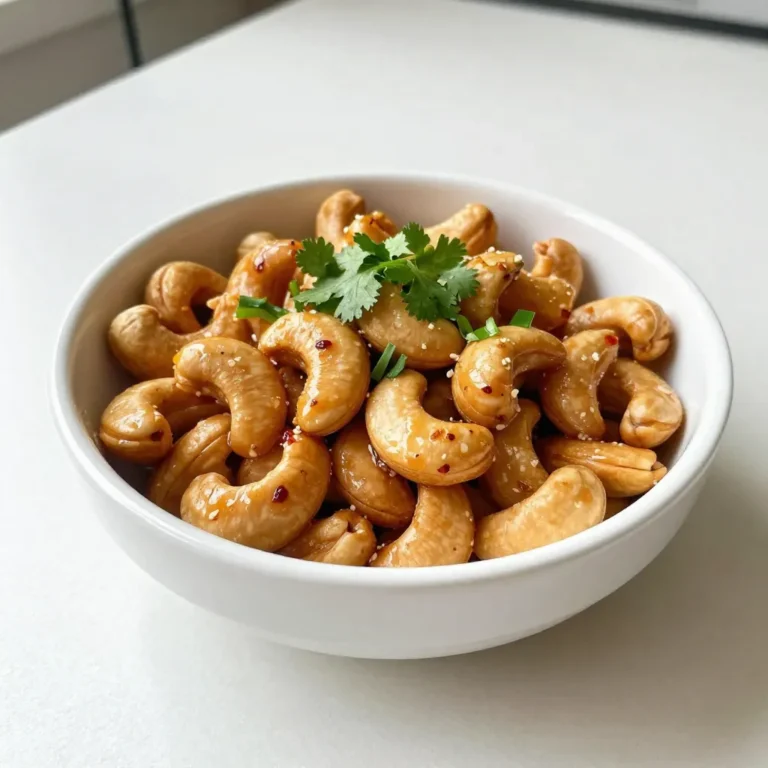
Sweet Chili Garlic Roasted Cashews Tasty Snack Delight
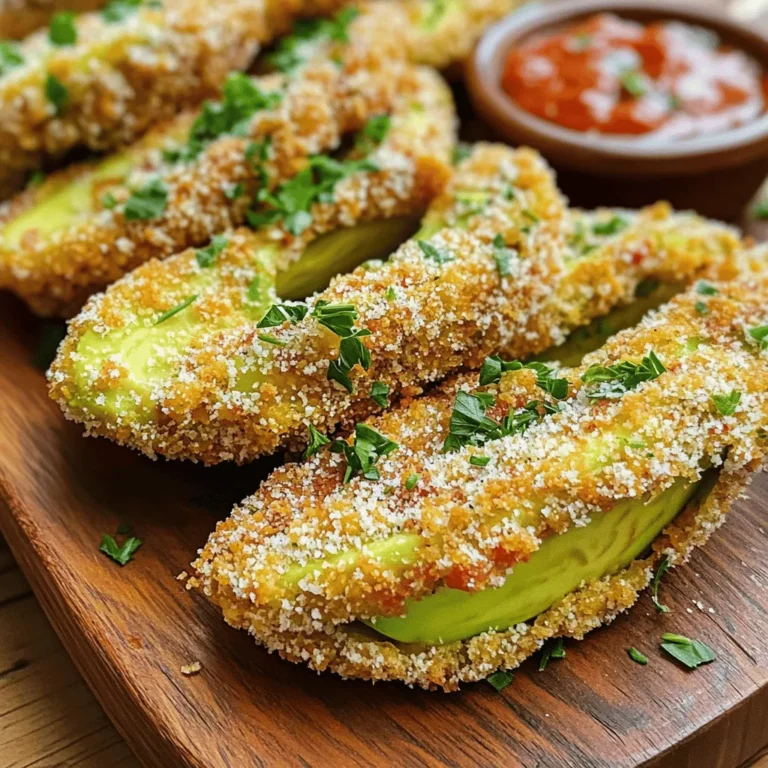
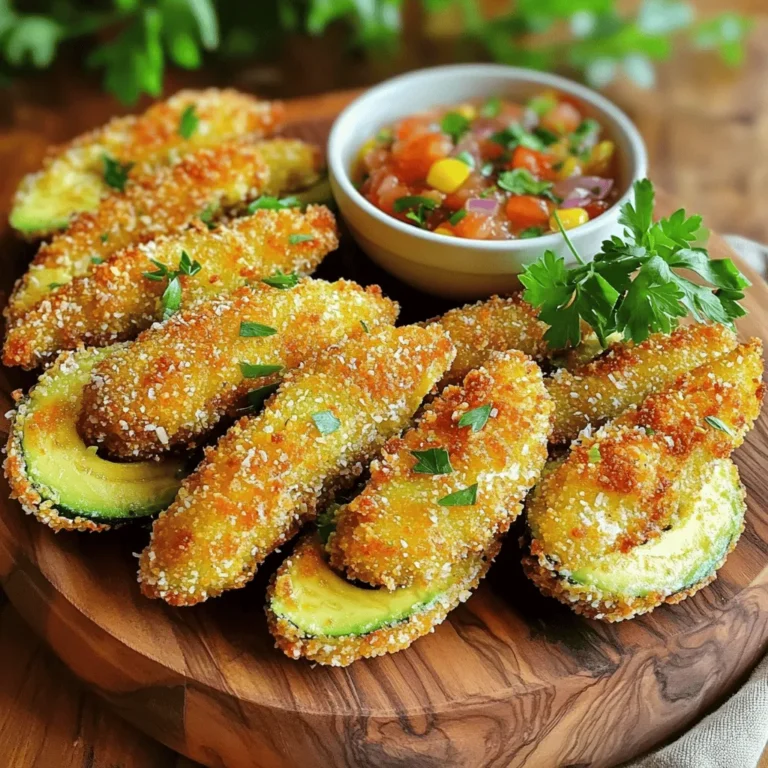
Parmesan Avocado Fries Air Fryer Crispy Delight
Honey Sriracha Brussels Sprouts Tasty and Simple Dish
Crispy Parmesan Crusted Avocado Fries Recipe
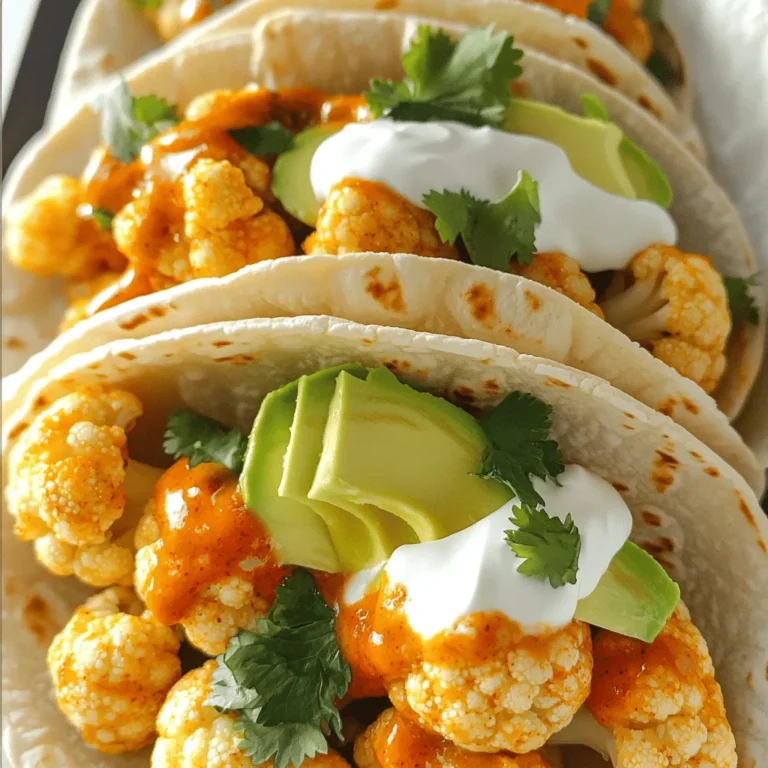
Air Fryer Buffalo Cauliflower Tacos Flavorful and Easy
Page navigation
Previous Page
Previous
1
…
4
5
6
7
8
…
26
Next Page
Next
Home
Dinner
Appetizer
Desserts
Drinks
About
Contact
Privacy Policy
Toggle Menu Close
Search for:
Search