Skip to content
About
Contact
Cookie Policy
Copyright Policy
Disclaimer
Search
Home
Dinner
Appetizer
Desserts
Drinks
About
Contact
Privacy Policy
Toggle Menu
Home
/
Appetizer
- Page 7
Appetizer
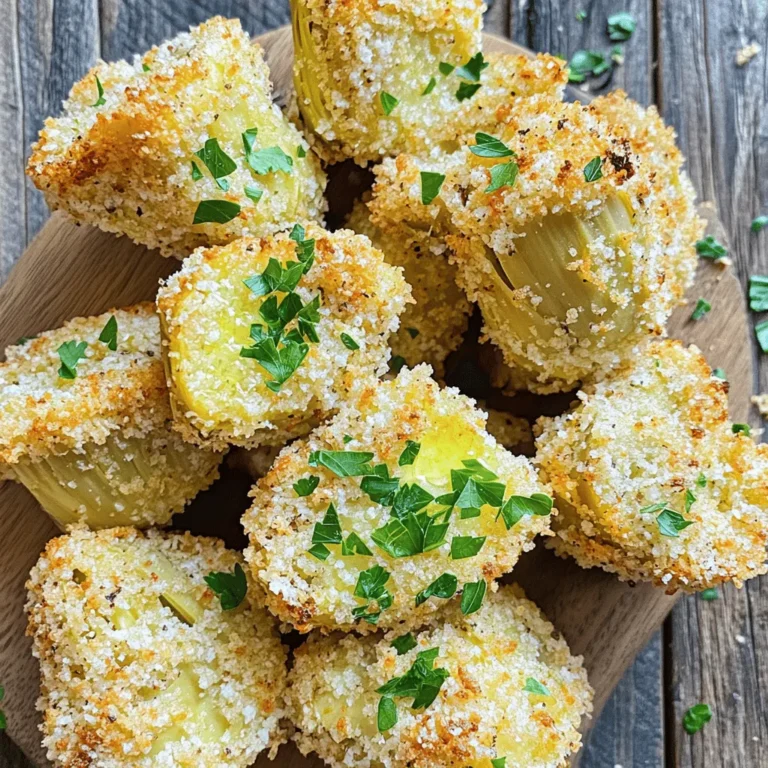
Air Fryer Crispy Garlic Parmesan Artichoke Hearts Delight
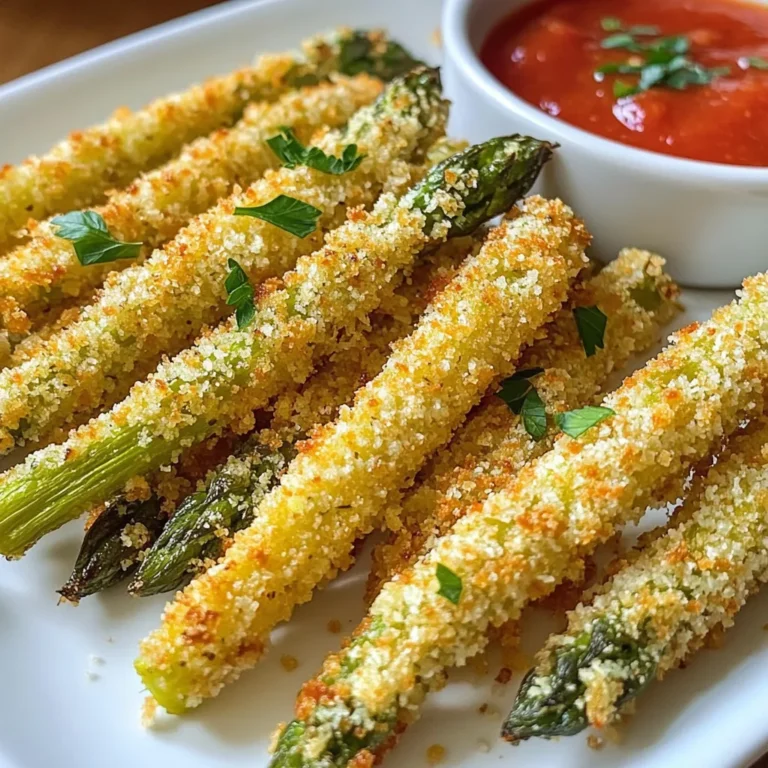
Parmesan Crusted Asparagus Fries Crispy and Tasty Snack
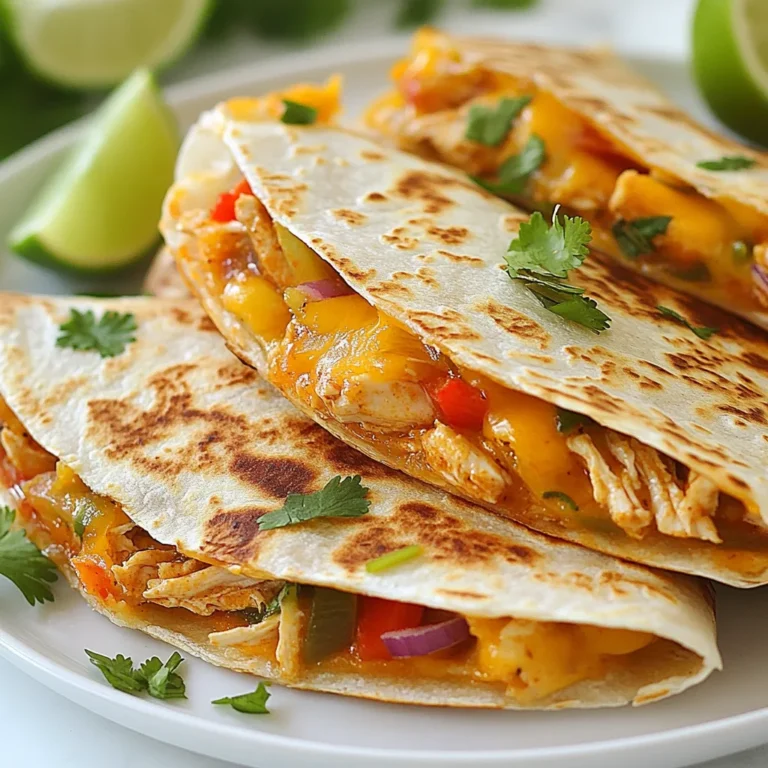
Spicy Chipotle Chicken Quesadillas Flavorful Delight
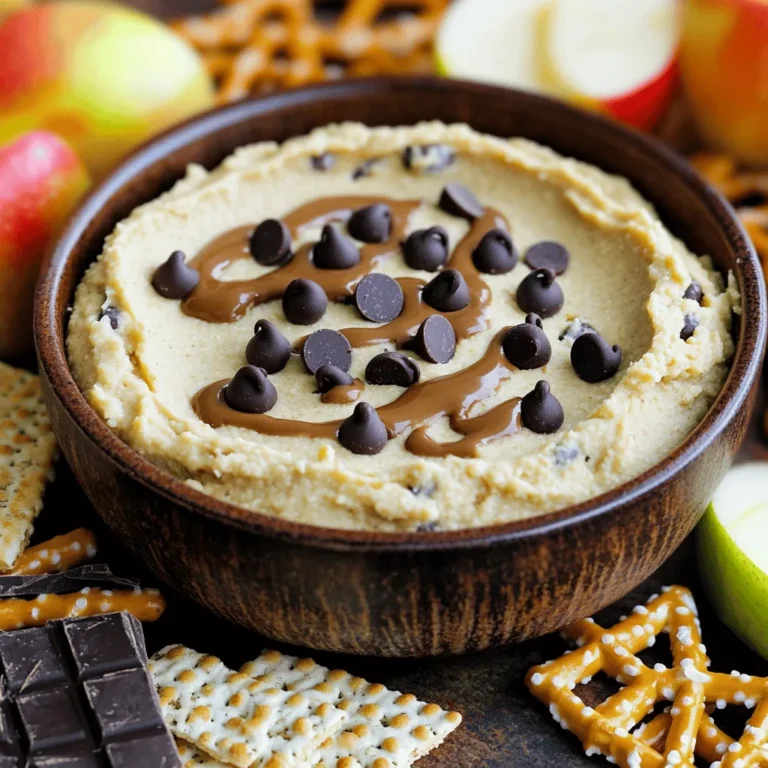
High-Protein Chocolate Chip Cookie Dough Dip Delight
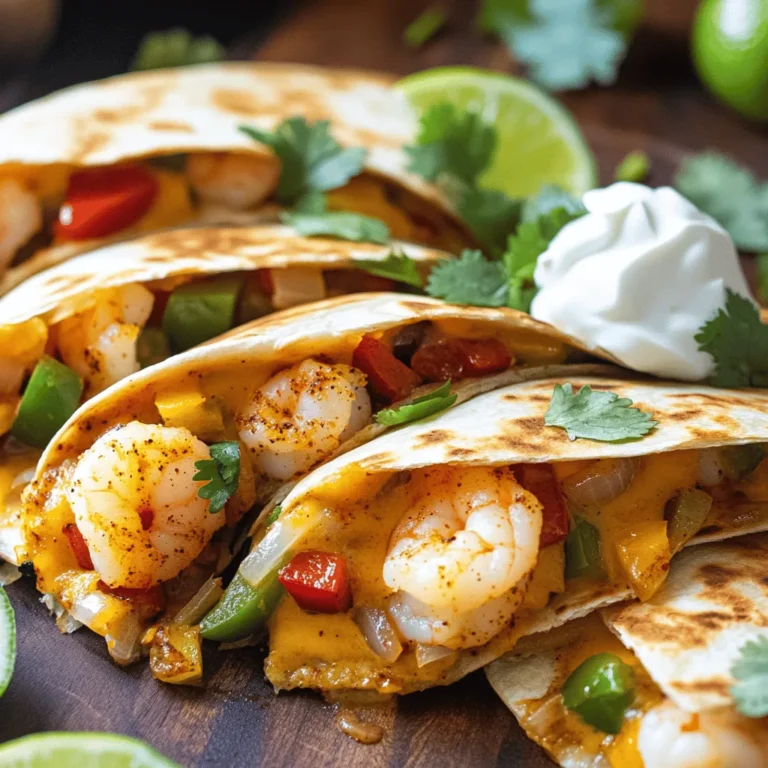
Spicy Cajun Shrimp Quesadillas Savory Weeknight Treat
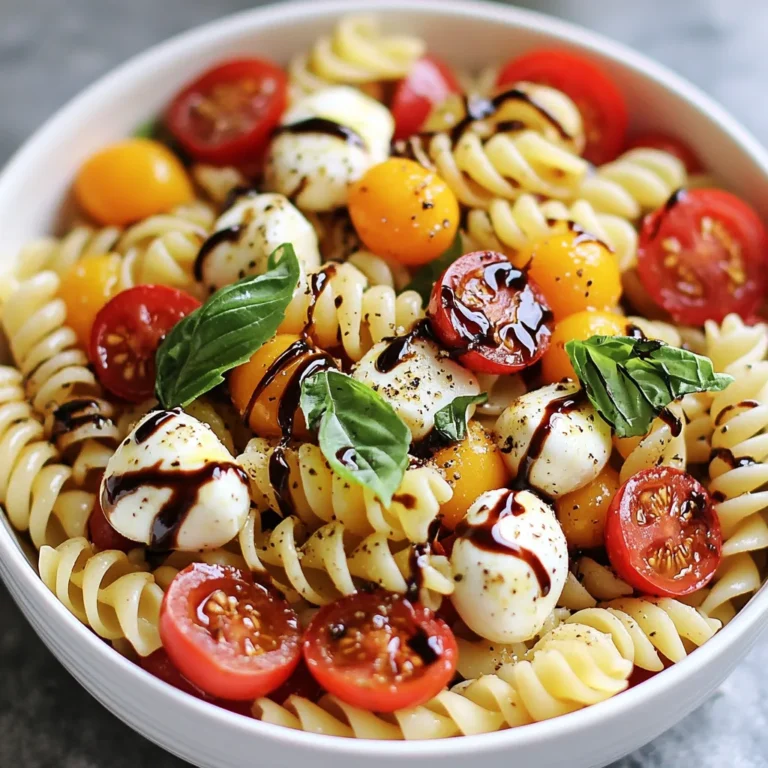
Balsamic Caprese Pasta Salad Fresh and Flavorful Dish
Garlic Butter Mushroom Skillet Simple and Tasty Meal
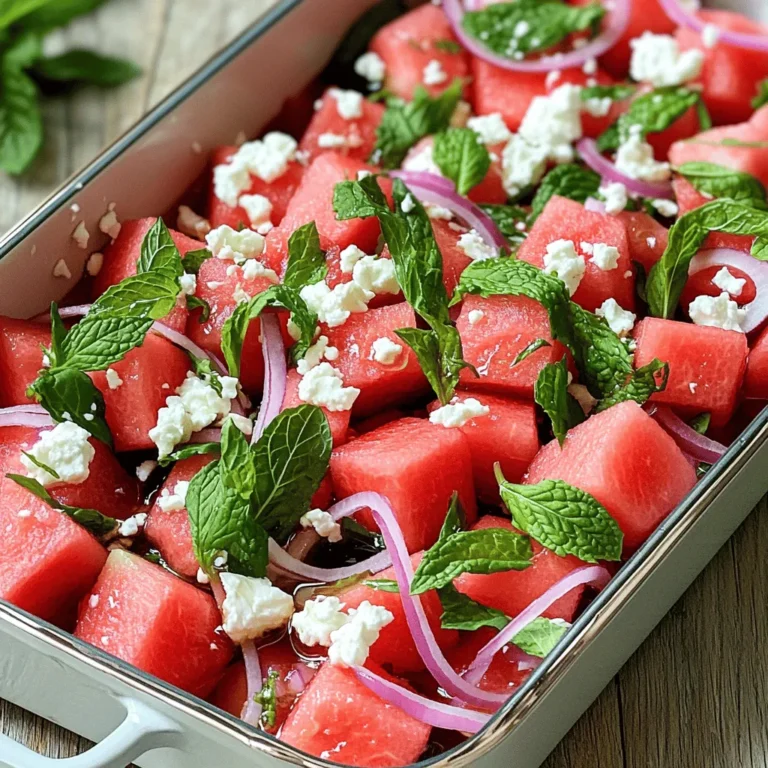
Watermelon Feta Mint Salad Fresh and Tasty Delight
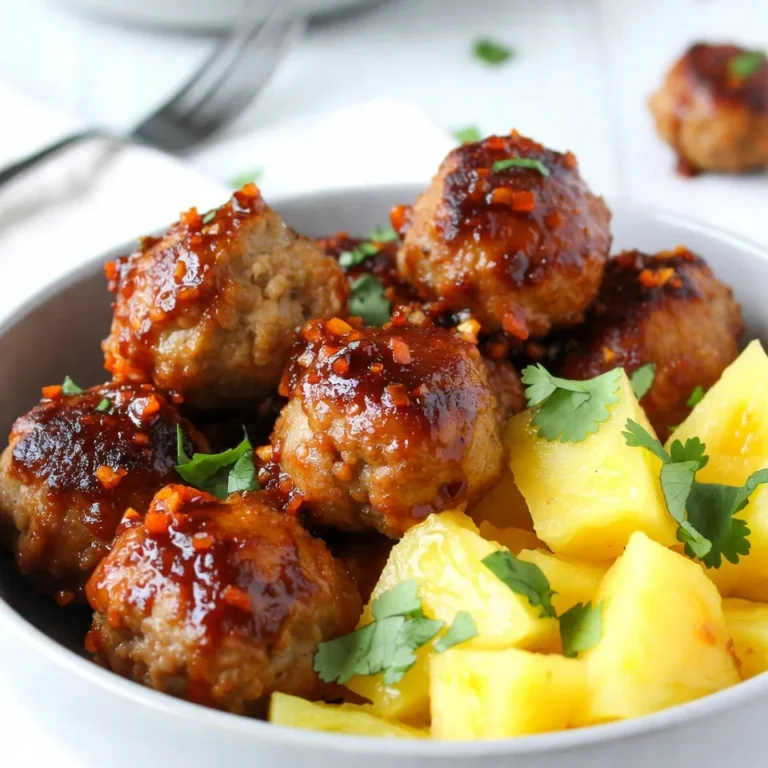
Sweet Chili Pineapple Meatballs Flavorful Party Treat
Creamy Cajun Shrimp Dip Delicious Party Treat
Page navigation
Previous Page
Previous
1
…
5
6
7
8
9
…
26
Next Page
Next
Home
Dinner
Appetizer
Desserts
Drinks
About
Contact
Privacy Policy
Toggle Menu Close
Search for:
Search