Skip to content
About
Contact
Cookie Policy
Copyright Policy
Disclaimer
Search
Home
Dinner
Appetizer
Desserts
Drinks
About
Contact
Privacy Policy
Toggle Menu
Home
/
Appetizer
- Page 8
Appetizer
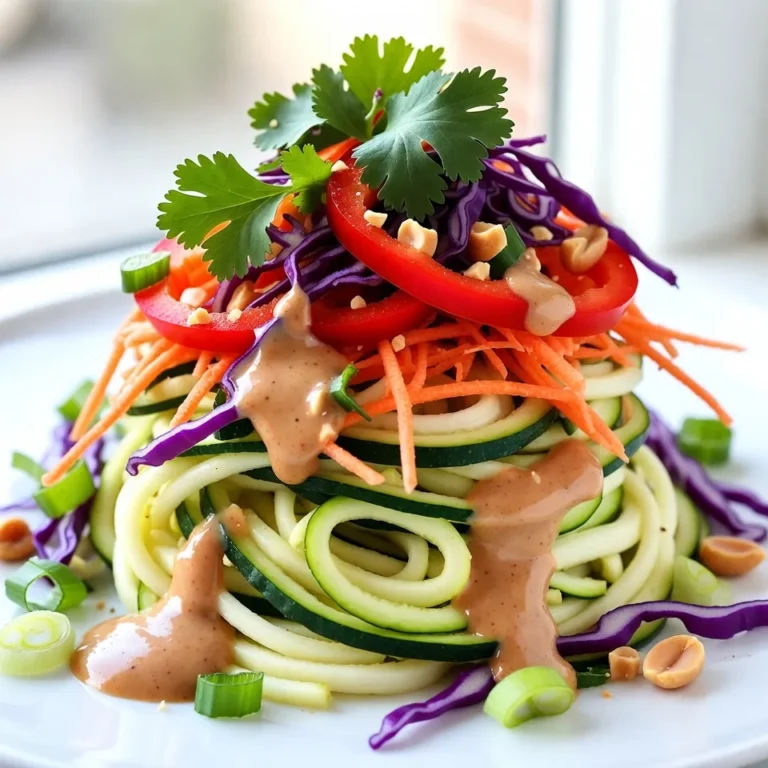
Spicy Thai Peanut Zoodle Salad Crunchy and Fresh
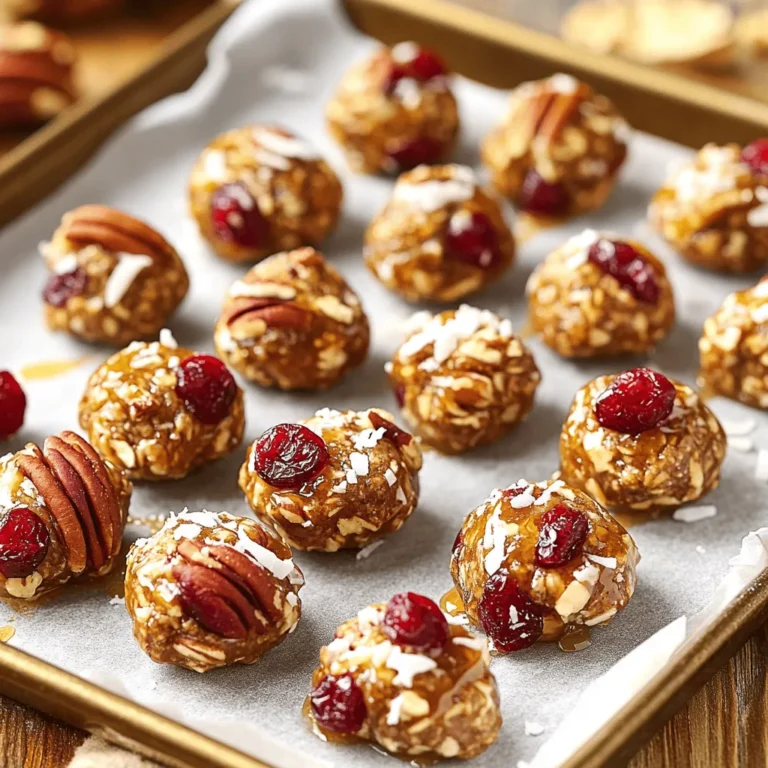
Cranberry Pecan Energy Bites Quick and Tasty Snack
Air Fryer Falafel Tasty and Easy Chickpea Snack
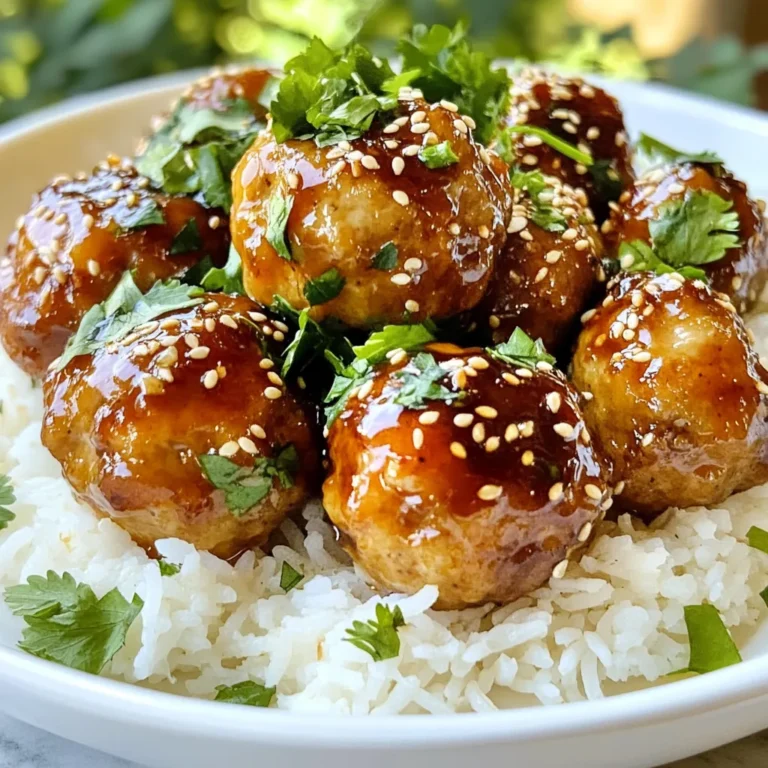
Teriyaki Chicken Meatballs Flavorful and Easy Recipe
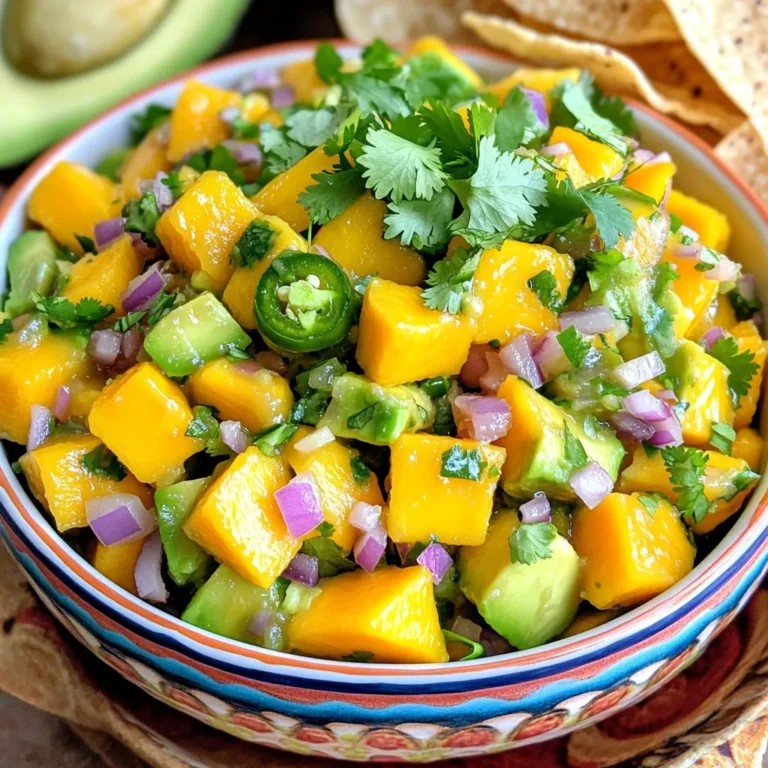
Mango Avocado Salsa Fresh and Flavorful Recipe
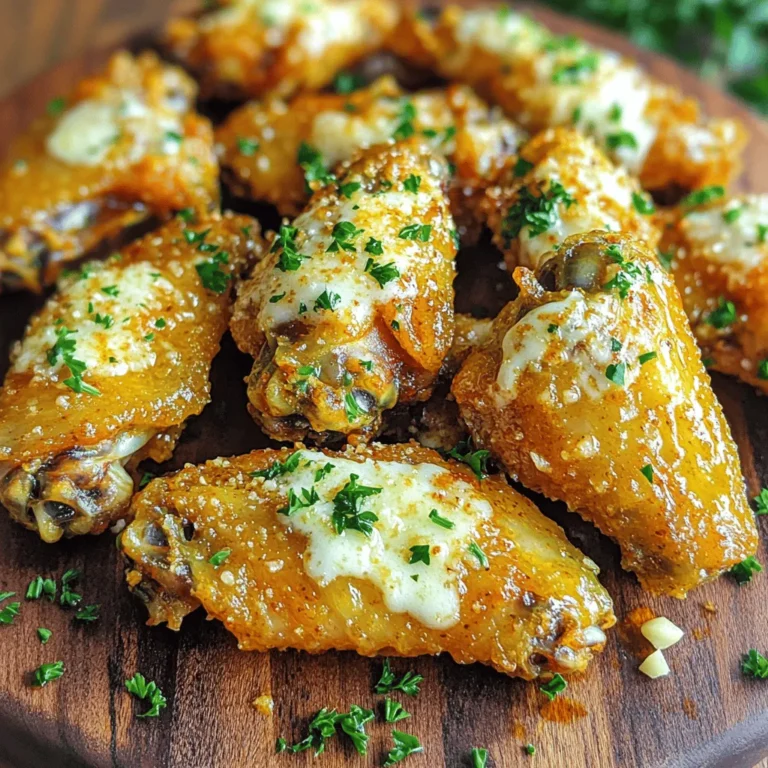
Garlic Parmesan Air Fryer Wings Crispy and Flavorful
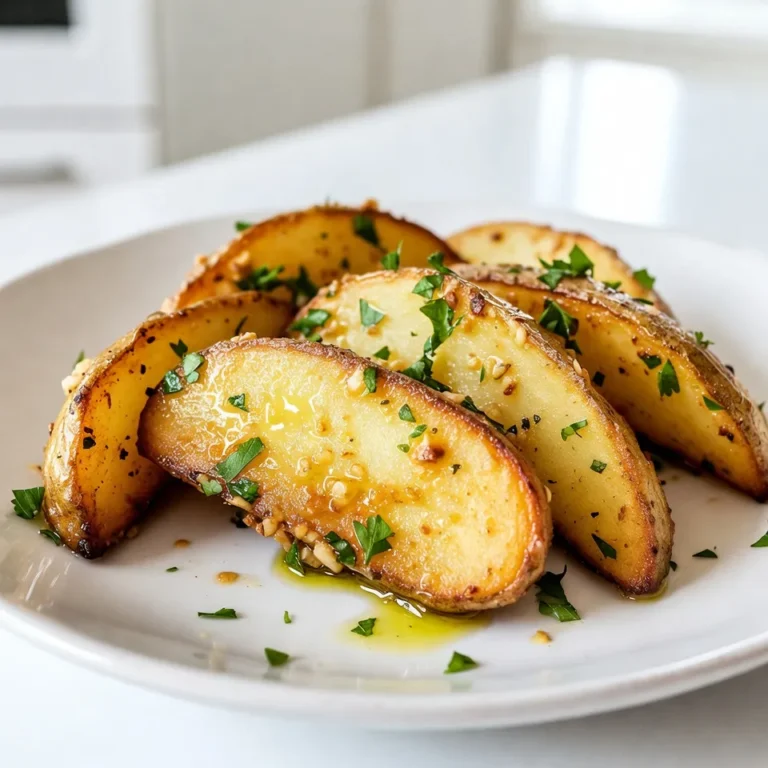
Garlic Herb Potato Wedges Crispy and Flavorful Snack
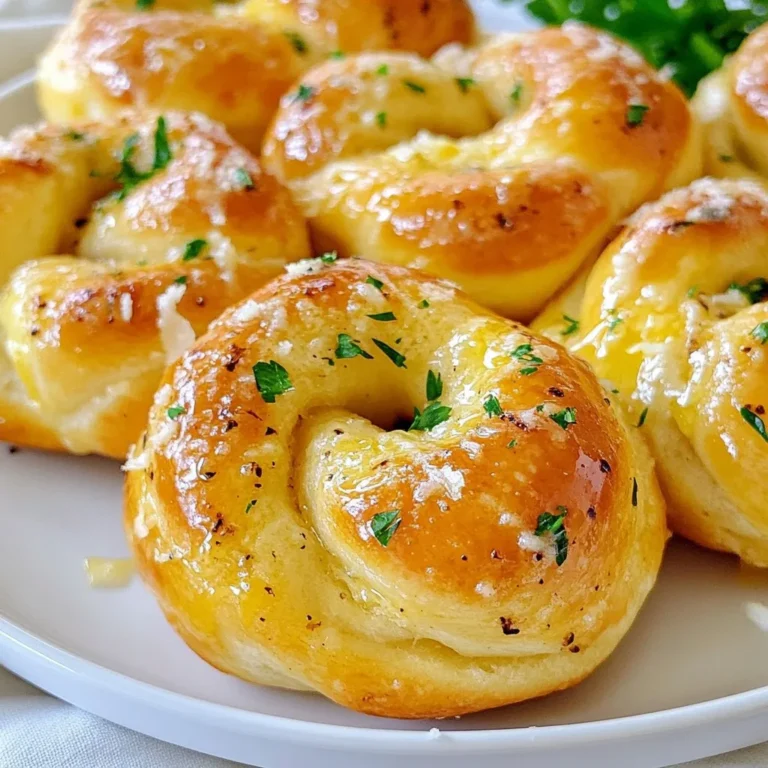
Buttery Garlic Knots Flavorful and Simple Recipe
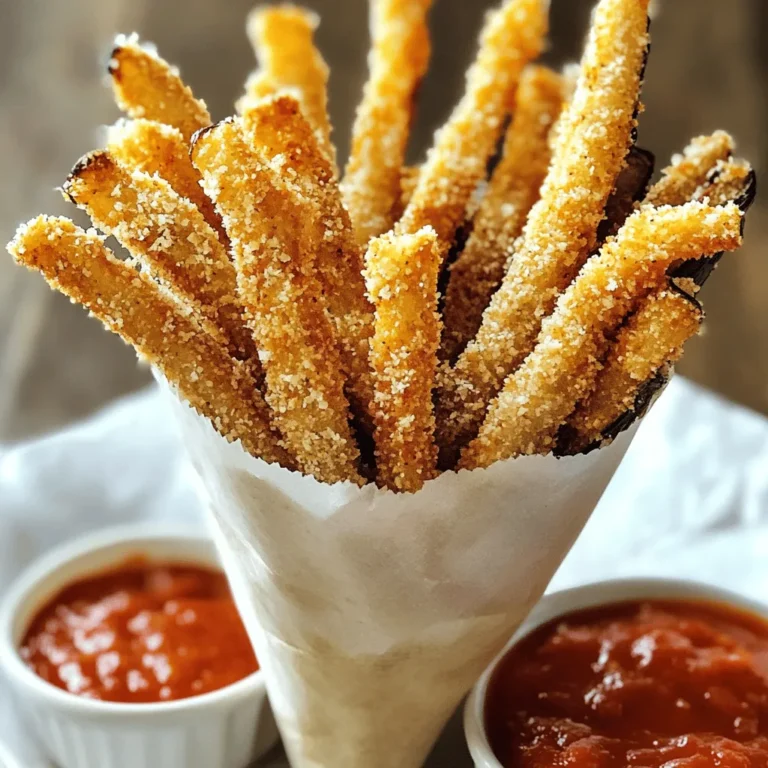
Crispy Parmesan Eggplant Fries Irresistible Snack Recipe
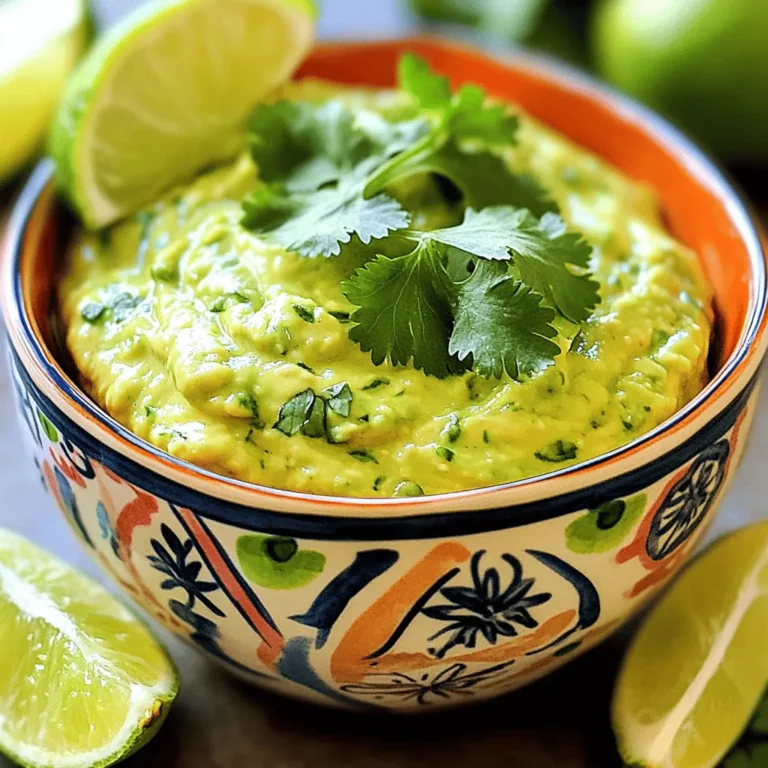
Avocado Cilantro Lime Dip Fresh and Flavorful Recipe
Page navigation
Previous Page
Previous
1
…
6
7
8
9
10
…
26
Next Page
Next
Home
Dinner
Appetizer
Desserts
Drinks
About
Contact
Privacy Policy
Toggle Menu Close
Search for:
Search