Skip to content
About
Contact
Cookie Policy
Copyright Policy
Disclaimer
Search
Home
Dinner
Appetizer
Desserts
Drinks
About
Contact
Privacy Policy
Toggle Menu
Home
/
Appetizer
- Page 9
Appetizer
Spicy Sesame Cucumber Salad Fresh and Zesty Delight
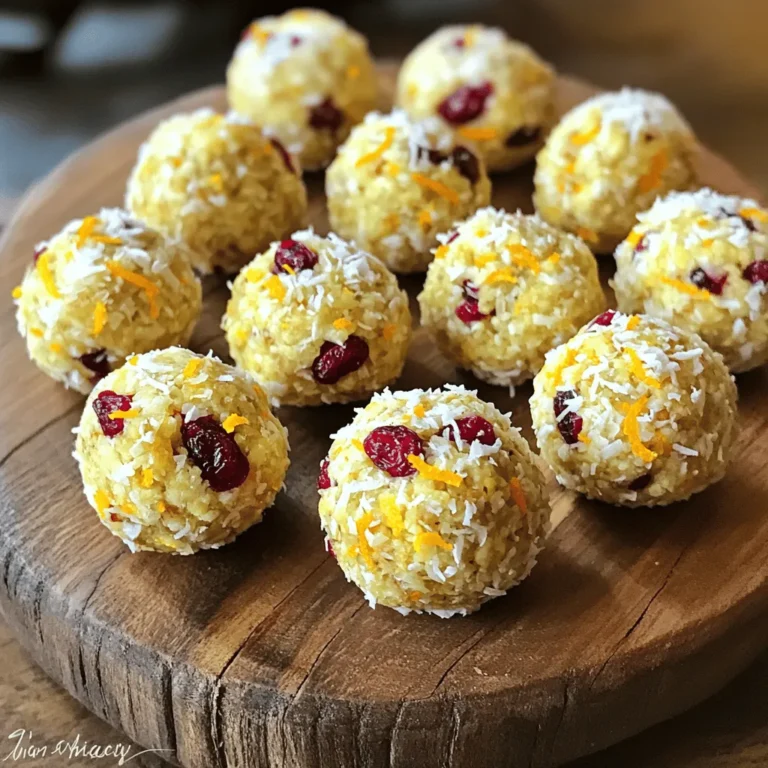
Cranberry Orange Energy Bites Fuel Your Day Easily
Creamy Roasted Garlic Hummus Flavorful Easy Dip
Roasted Garlic Parmesan Broccoli Tasty and Healthy Dish
Classic Deviled Eggs with Sweet Relish Delight
Spicy Mango Habanero Wings Irresistibly Delicious Meal
Classic Deviled Eggs with Sweet Relish Simple Recipe
Spicy Mango Habanero Wings Flavorful and Zesty Treat
Roasted Red Pepper Hummus Easy and Delicious Recipe
Cheesy Garlic Breadsticks Simple and Tasty Recipe
Page navigation
Previous Page
Previous
1
…
7
8
9
10
11
…
26
Next Page
Next
Home
Dinner
Appetizer
Desserts
Drinks
About
Contact
Privacy Policy
Toggle Menu Close
Search for:
Search


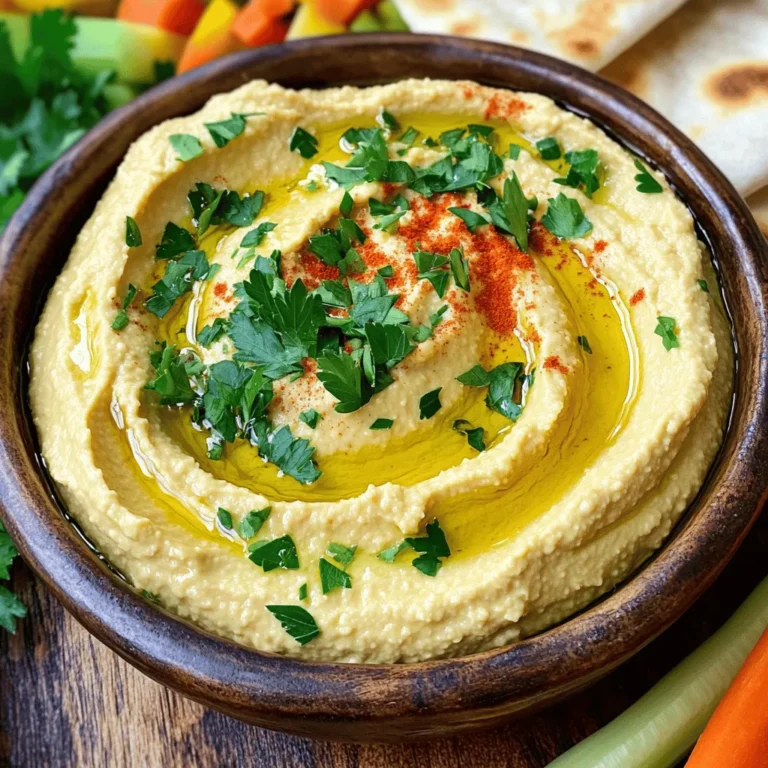


![- 1 cup canned chickpeas, rinsed and drained - 1 large red bell pepper - 2 tablespoons tahini - 3 tablespoons olive oil - 2 tablespoons fresh lemon juice - 2 cloves garlic, minced - 1 teaspoon ground cumin - Salt and black pepper to taste - 2 tablespoons water (adjust for consistency) - Fresh parsley, chopped (for garnish) - Pita chips or fresh vegetables (for serving) To make the best roasted red pepper hummus, you need a few simple ingredients. The chickpeas form the base. They are creamy and full of protein. A large red bell pepper adds a sweet taste and vibrant color. Tahini, made from sesame seeds, gives a rich, nutty flavor. You will also need olive oil to make it smooth. Fresh lemon juice adds a tart kick. Garlic brings a strong taste that pairs well. Ground cumin adds warmth. Don't forget salt and black pepper to enhance all the flavors. You can adjust the hummus's texture with water. This helps it become creamy or thick, depending on your liking. For a lovely finish, use chopped parsley to garnish. Serve with pita chips or fresh vegetables for dipping. You can find the full recipe in the earlier section. 1. Preheat your oven to 450°F (230°C). 2. Cut the large red bell pepper in half. Remove the seeds and stems. 3. Place the pepper halves skin-side up on a baking sheet. 4. Roast them in the oven for about 20-25 minutes. The skin should blister and blacken. 5. Once done, remove the peppers and let them cool for about 10 minutes. 6. Peel off the skin and chop the flesh. This adds a sweet and smoky taste to your hummus. 1. In a food processor, combine: - 1 cup canned chickpeas, rinsed and drained - Chopped roasted red pepper - 2 tablespoons tahini - 3 tablespoons olive oil - 2 tablespoons fresh lemon juice - 2 cloves garlic, minced - 1 teaspoon ground cumin 2. Blend the mixture until smooth. 3. If the hummus is too thick, add water a tablespoon at a time. Adjust until you reach your desired consistency. 4. Season with salt and black pepper. Taste and adjust as needed. 1. Transfer the smooth hummus to a serving bowl. 2. Drizzle with additional olive oil for richness. 3. Garnish with chopped fresh parsley for a pop of color. This recipe is easy and a delight for your taste buds. You’ll find it perfect for parties or a healthy snack. Enjoy with pita chips or fresh veggies. For the full recipe, check out [Full Recipe]. To get the right hummus texture, adjust the water. Start with two tablespoons, then add more if needed. Blend well. The longer you blend, the smoother your hummus will be. This step is key to a creamy result. Boost the taste by adding spices or herbs. Try smoked paprika for warmth or fresh basil for a twist. Fresh lemon juice adds zing. It brightens the flavors and makes the hummus pop. Serve your hummus in a shallow bowl. Create a swirl on top with a spoon. Drizzle olive oil in the center for shine. Arrange pita chips and fresh veggies around the bowl. This makes your dish look colorful and inviting. For the full recipe, check the link above. {{image_2}} You can make this hummus even more fun. Try adding some heat with spicy roasted red pepper hummus. Just toss in a pinch of cayenne or some chopped jalapeños for that extra kick. If you love herbs, mix in fresh basil or cilantro. These add a bright flavor that makes your hummus pop. Want to keep it vegan? This recipe is already vegan-friendly! If you like, you can swap the tahini for sunflower seed butter. This change keeps the taste yummy. For those who need gluten-free options, pair your hummus with veggie sticks or gluten-free crackers. They will make a great snack! Sometimes, you just need hummus fast! When you're in a rush, grab a store-bought option. Look for brands that use real ingredients and no added preservatives. Some of the best brands are Sabra and Cedarlane. They have great roasted red pepper hummus that can save you time while still tasting good. To keep your hummus fresh, use an airtight container. Glass jars work great. Make sure the lid seals tightly. It helps to keep air out. For added freshness, drizzle a little olive oil on top. This layer forms a barrier against air. Homemade hummus lasts about a week in the fridge. Store it at a temperature below 40°F (4°C). If you want to keep it longer, you can freeze it. Hummus can stay good in the freezer for up to three months. To thaw frozen hummus, move it to the fridge overnight. If you're in a hurry, you can use the microwave. Heat it in small bursts, stirring in between. Don't overheat, as it can change the texture. Enjoy your hummus with pita chips or fresh veggies just like in the Full Recipe! If you don’t have tahini, use peanut butter or sunflower seed butter. You can also blend soaked cashews or almonds for a nutty taste. These options give your hummus a creamy texture. Each will add a unique flavor twist to the dish. Homemade hummus lasts about 5 to 7 days in the fridge. Store it in an airtight container. Check for signs of spoilage, like a sour smell or mold on top. If it smells fresh, it’s still good to eat. Yes, you can make roasted red pepper hummus a day in advance. Just store it in the fridge. Let it sit at room temperature for about 30 minutes before serving. This helps the flavors blend better. This blog post covered how to make delicious hummus with roasted red pepper. You learned about the main ingredients, step-by-step instructions, and helpful tips. We also explored fun variations and storage tips. Remember, perfecting your hummus takes practice, so don’t hesitate to experiment. Enjoy your tasty snack with pita or fresh veggies. With these methods, you can create hummus that shines at any gathering!](https://dailydishlab.com/wp-content/uploads/2025/07/83ccc056-5a58-4bcc-806c-3c7123215f8b-768x768.webp)
