
Lemon Coconut Energy Balls Easy and Tasty Snack
A healthy and delicious snack made with dates, oats, and coconut, perfect for on-the-go energy.
45 min
12-15
Delicious recipes
Sweet treats and desserts
A healthy and delicious snack made with dates, oats, and coconut, perfect for on-the-go energy.

A creamy and delicious banana ice cream made with peanut butter, perfect for a healthy dessert.

Delicious homemade donuts coated in cinnamon sugar.
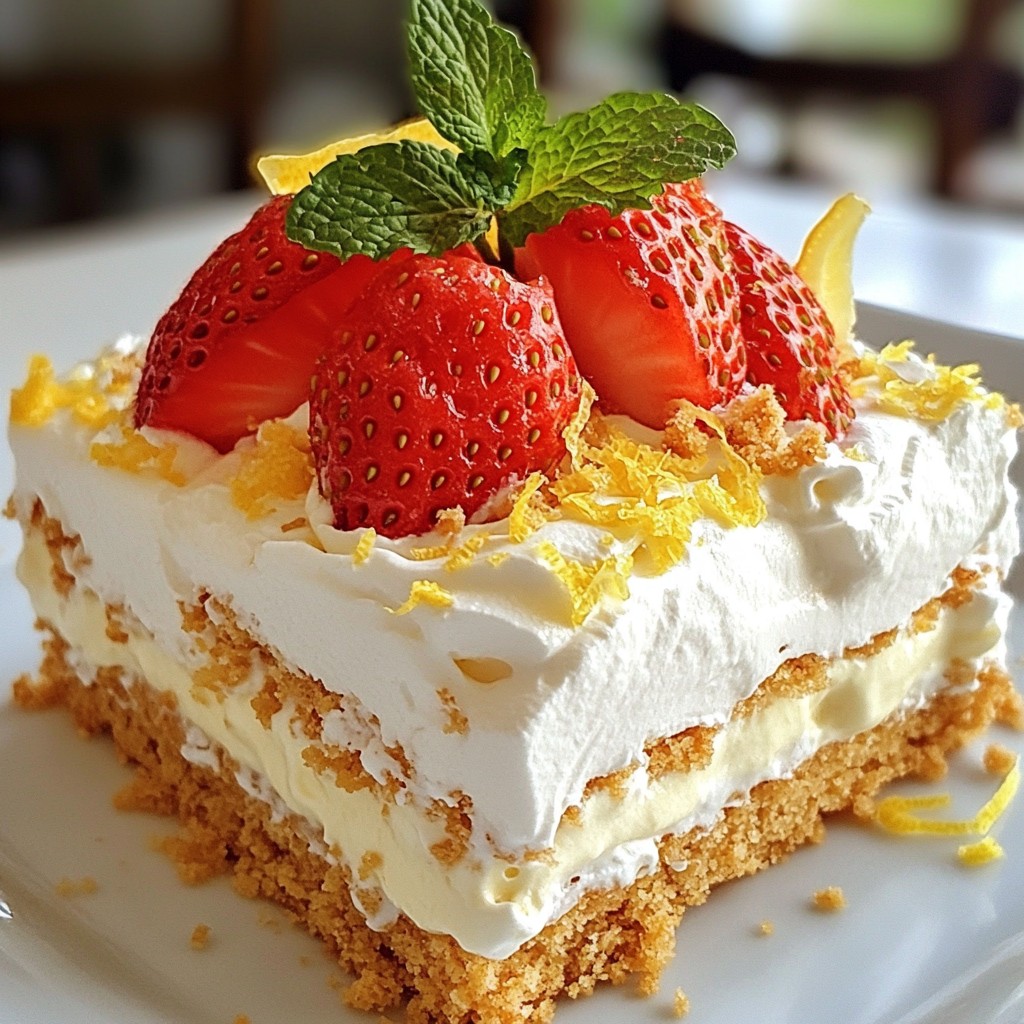
A refreshing no-bake dessert featuring layers of creamy cheesecake and fresh strawberries.

A deliciously gooey chocolate chip cookie baked in a skillet, perfect for sharing.

Delicious and healthy oatmeal cups infused with pumpkin and warm spices, perfect for breakfast or a...

A deliciously moist bread infused with lemon and blueberries, perfect for breakfast or a snack.
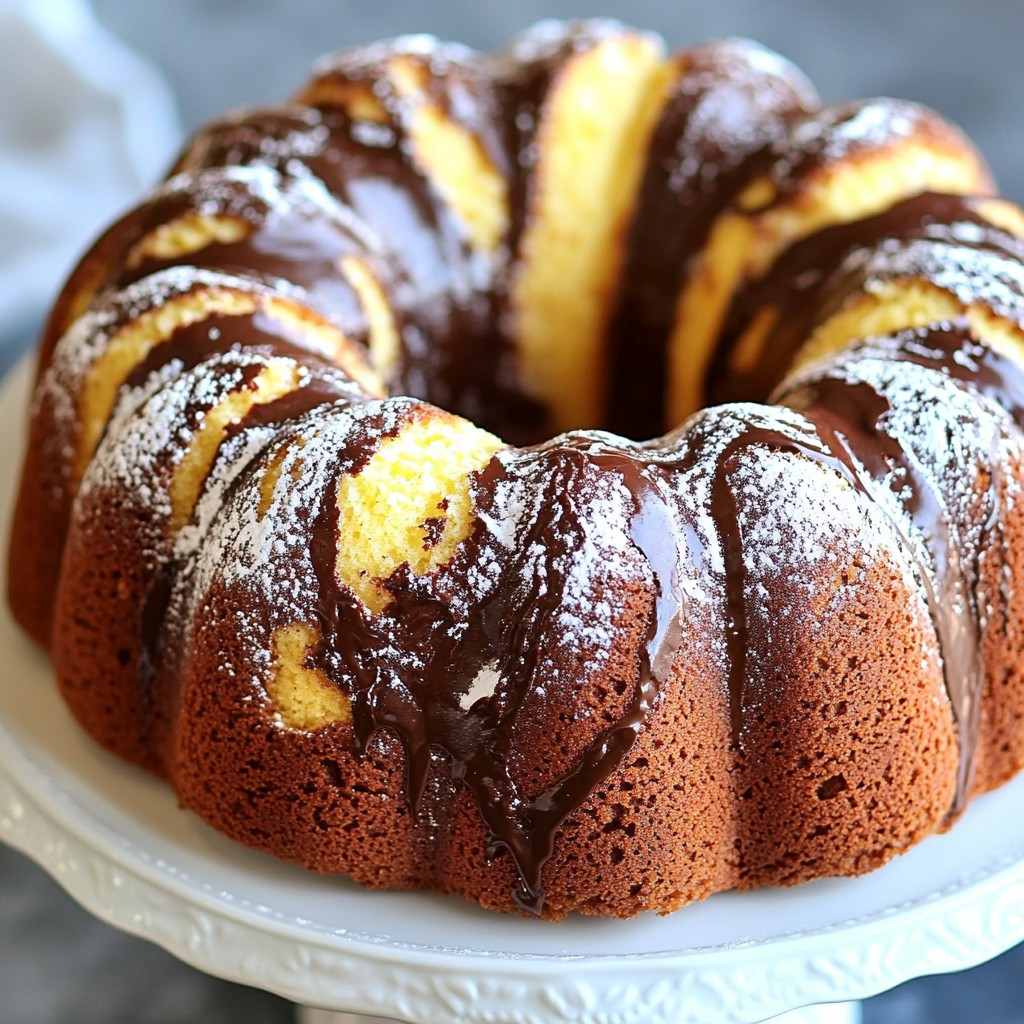
A rich and moist pound cake with a delightful marble effect of chocolate and vanilla.
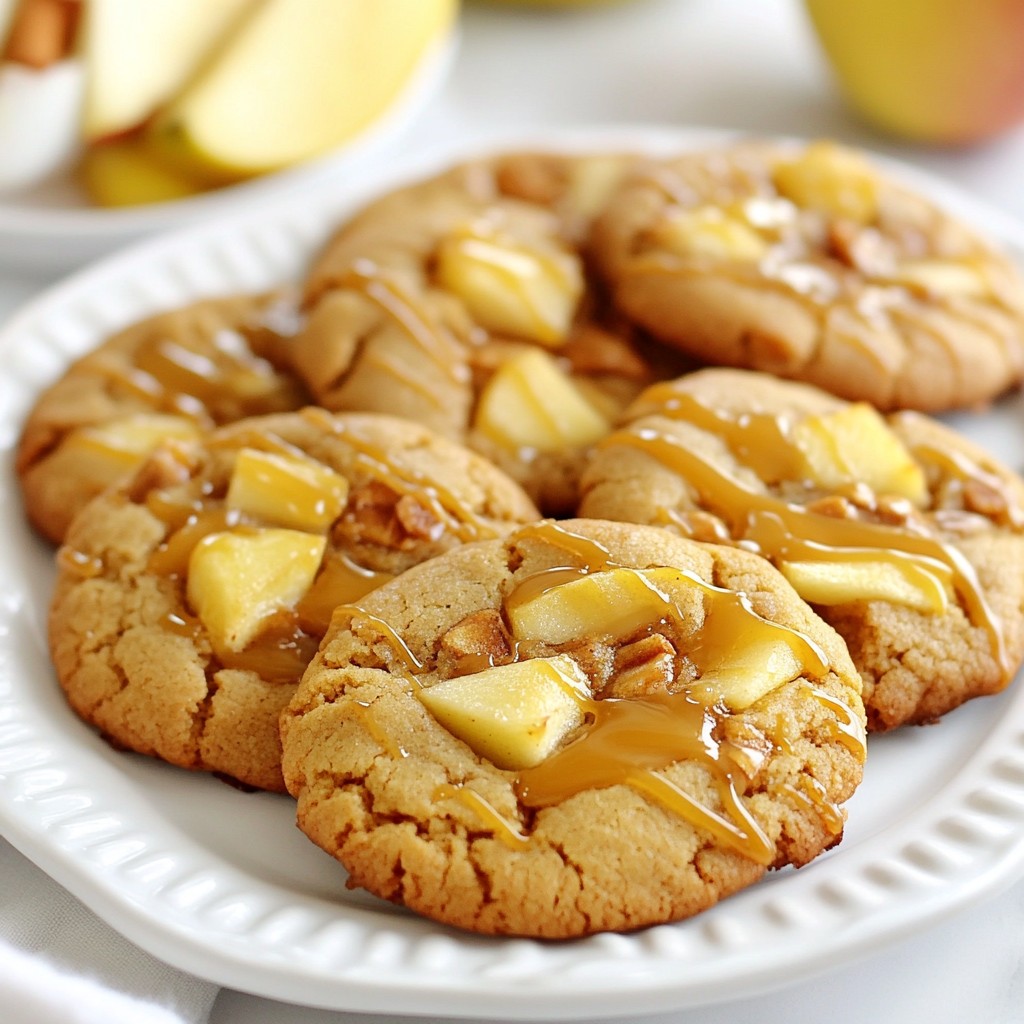
Delicious cookies infused with apple cider and caramel, perfect for fall.
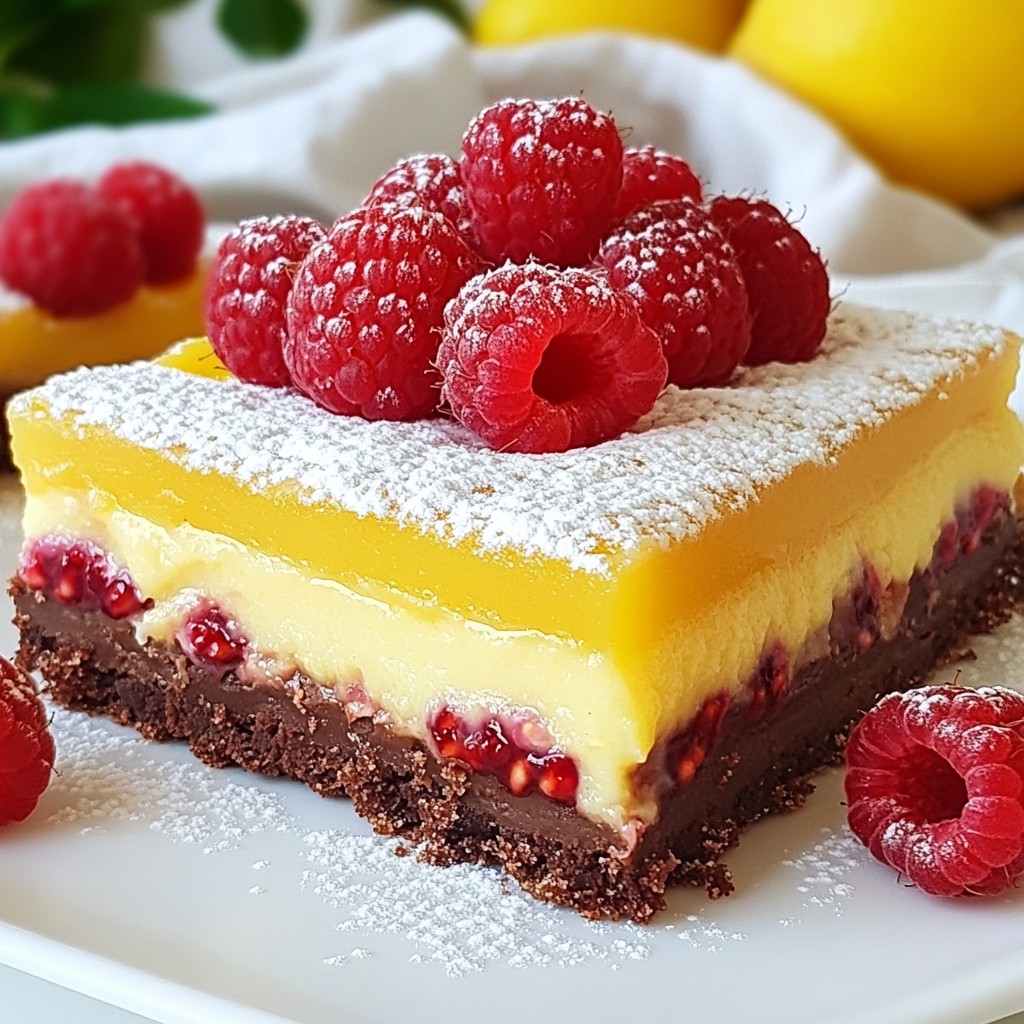
A delightful dessert combining the tartness of lemon and raspberries with a rich cocoa crust.
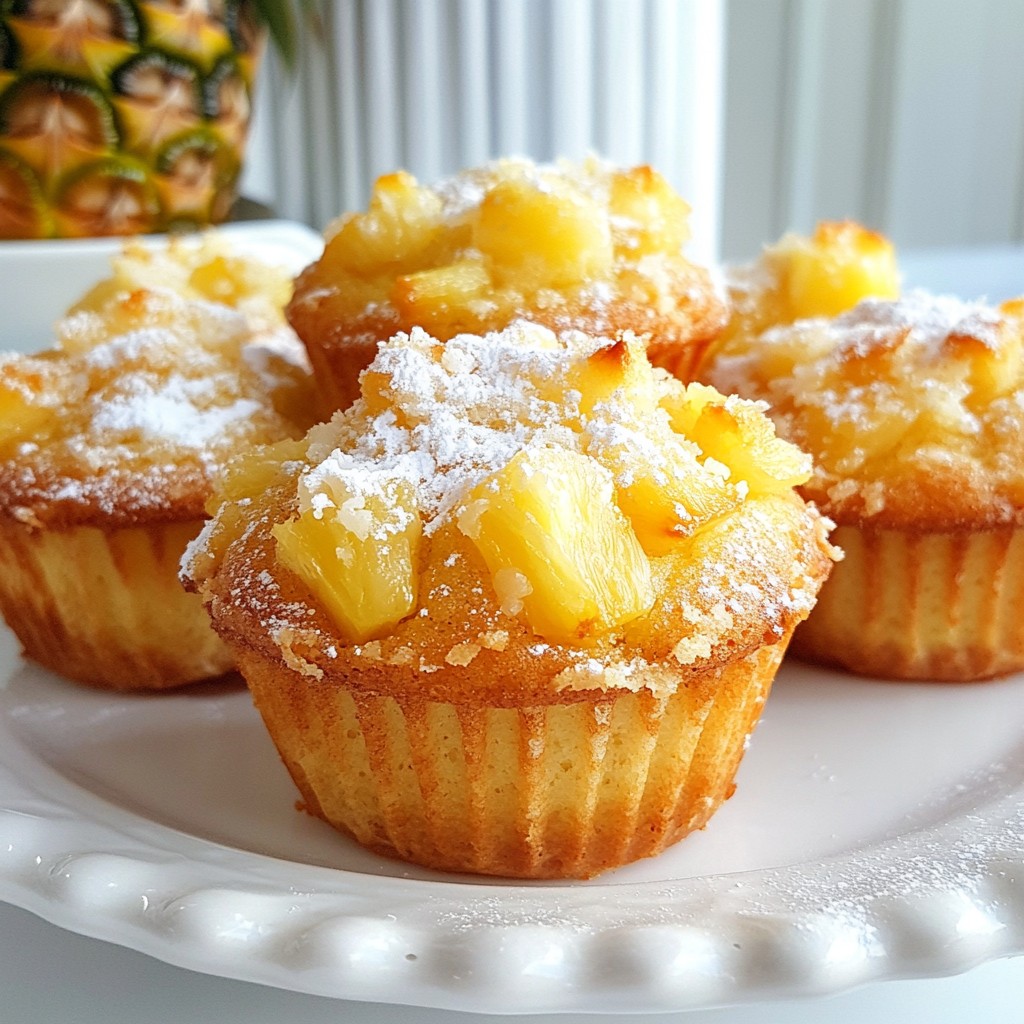
Delicious muffins infused with tropical flavors of pineapple and coconut.
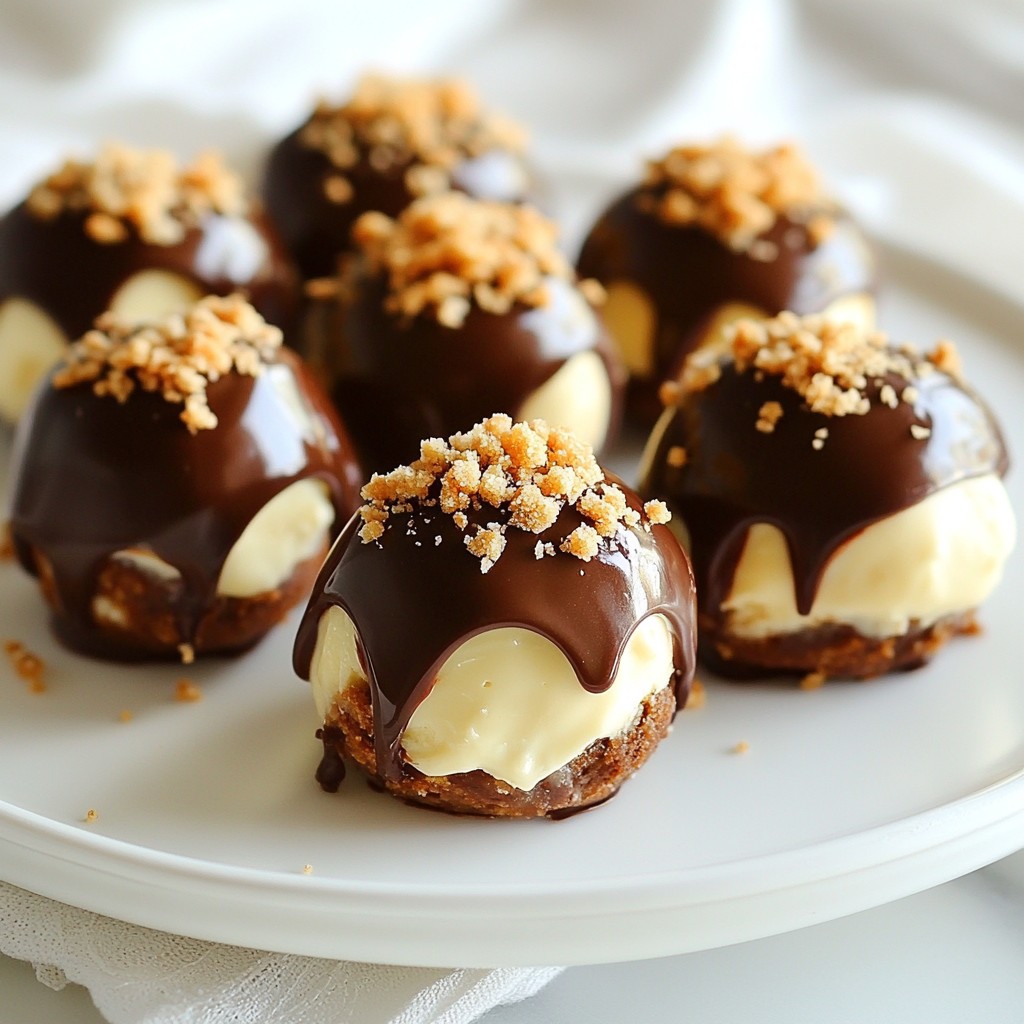
Delicious bites of cheesecake covered in chocolate, perfect for dessert.