Skip to content
About
Contact
Cookie Policy
Copyright Policy
Disclaimer
Search
Home
Dinner
Appetizer
Desserts
Drinks
About
Contact
Privacy Policy
Toggle Menu
Home
/
Desserts
- Page 12
Desserts
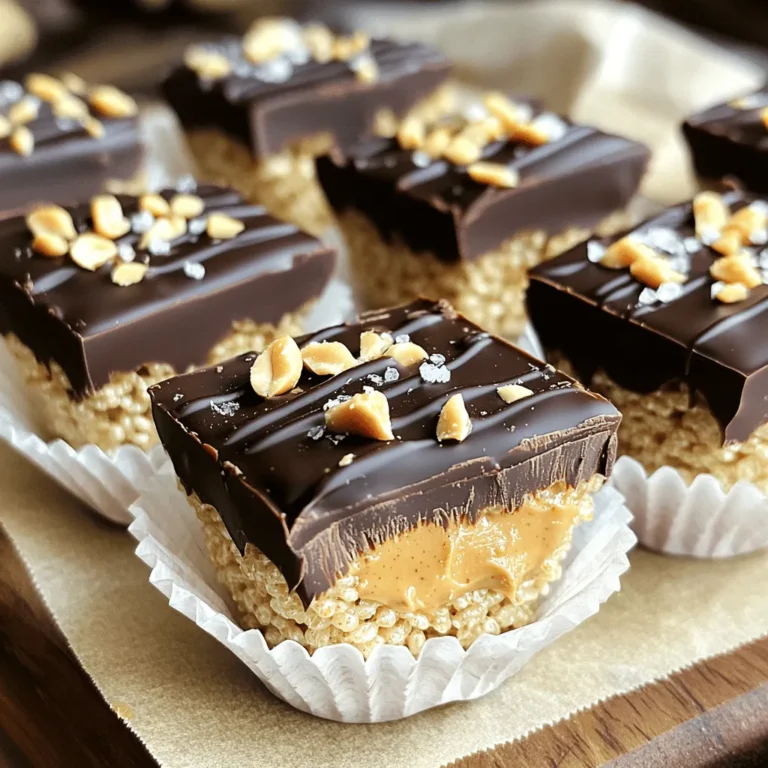
No-Bake Chocolate Peanut Butter Krispie Cups Delight
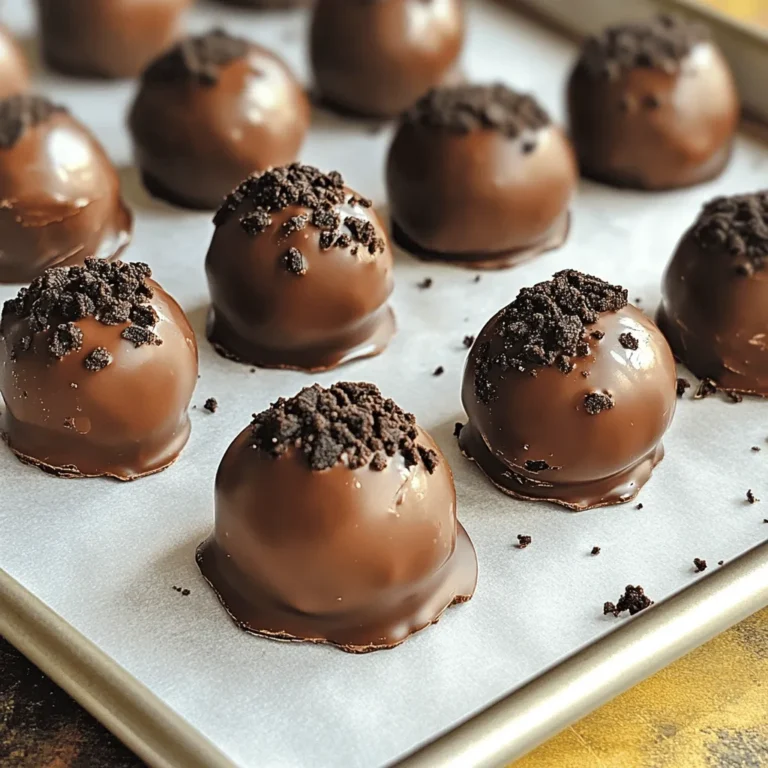
No-Bake Oreo Cookie Truffles Easy and Delicious Treat
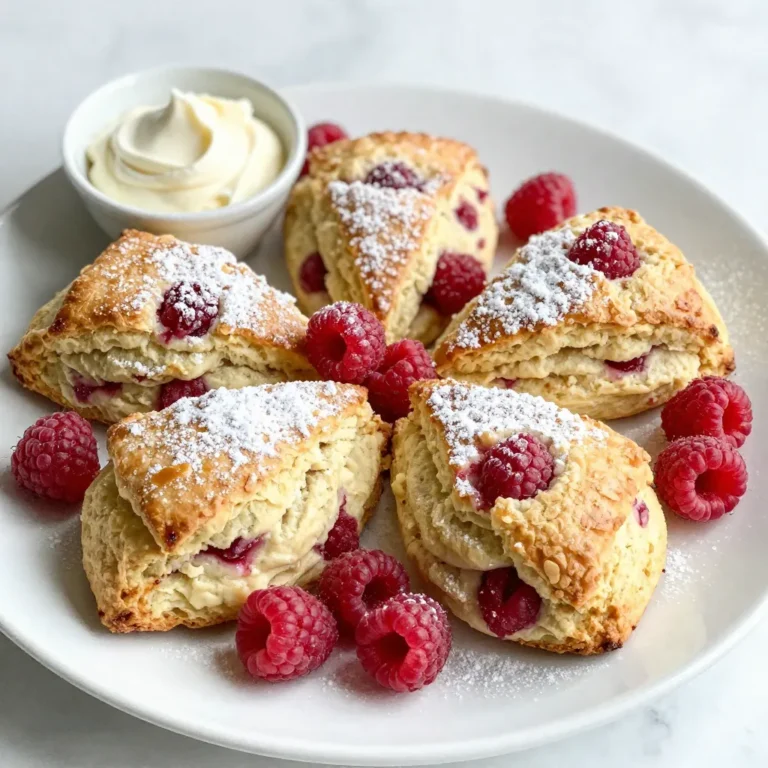
Raspberry Lemon Scones Tasty and Simple Recipe
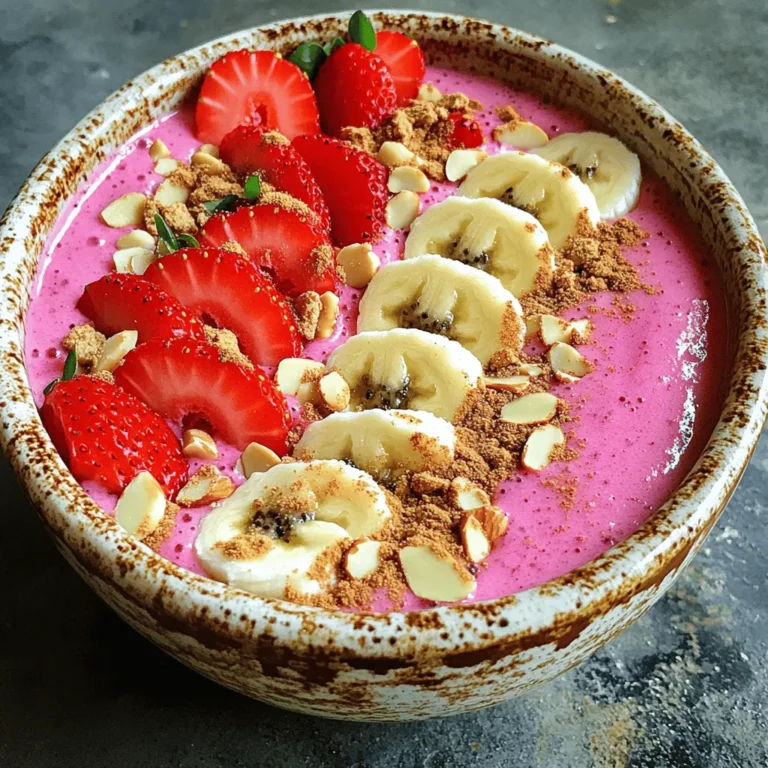
Strawberry Cheesecake Smoothie Bowl Fresh and Tasty Treat
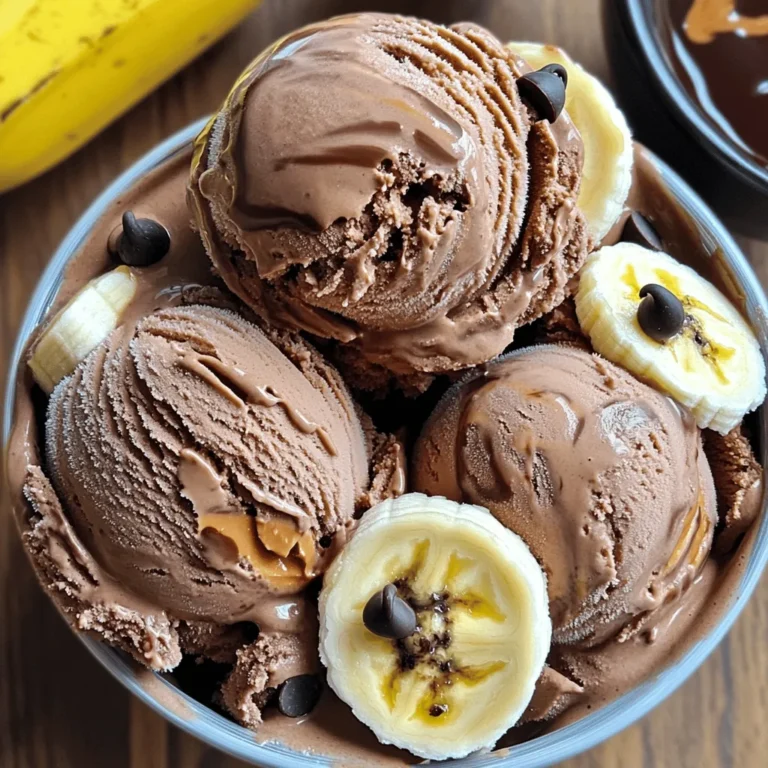
Chocolate Peanut Butter Banana Ice Cream Delightful Treat
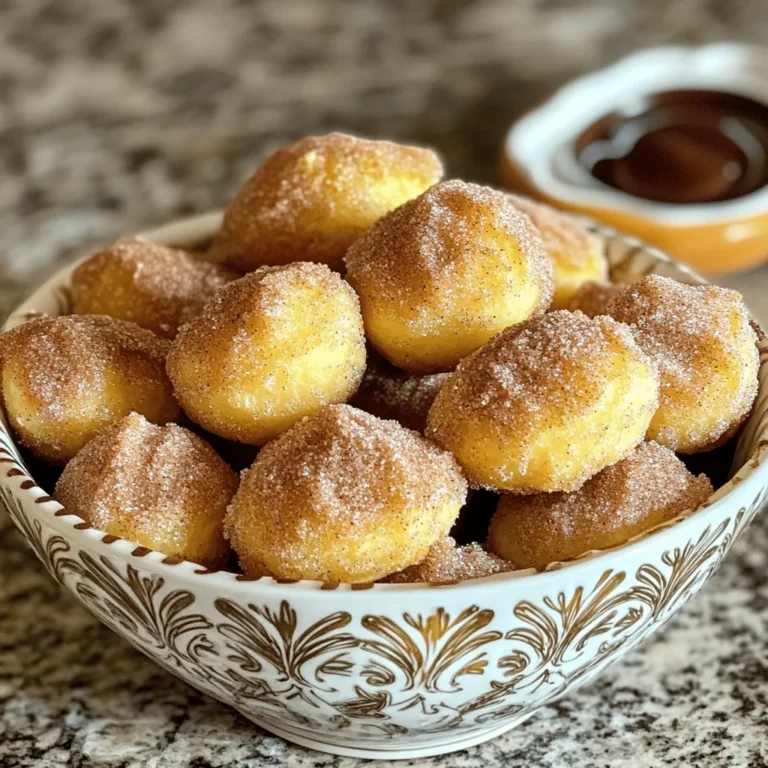
Air Fryer Cinnamon Sugar Donut Holes Delightful Treat
Pumpkin Spice Latte Pudding Cups Simple and Scrumptious
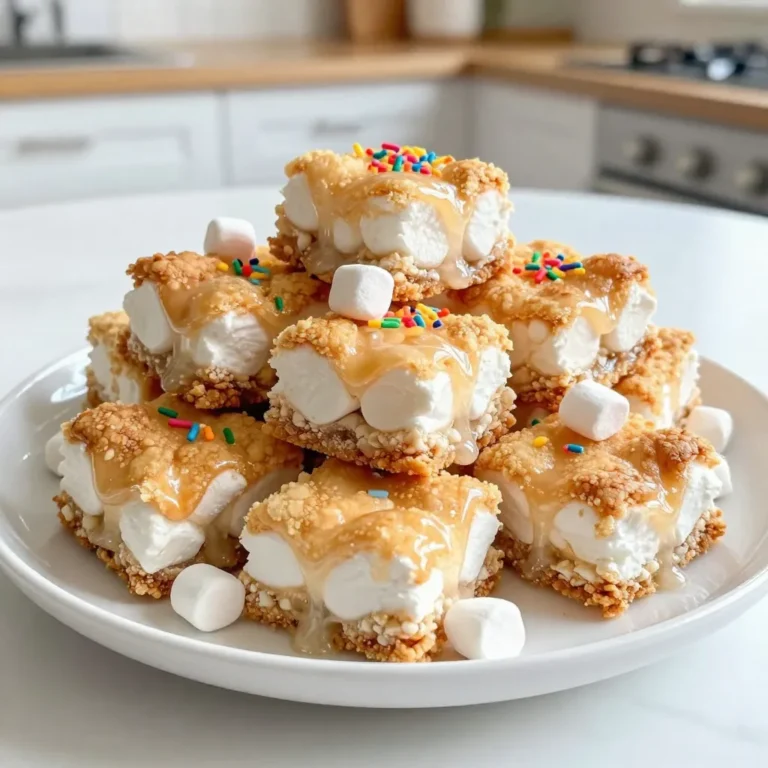
Classic Rice Krispie Treats Irresistible Easy Recipe
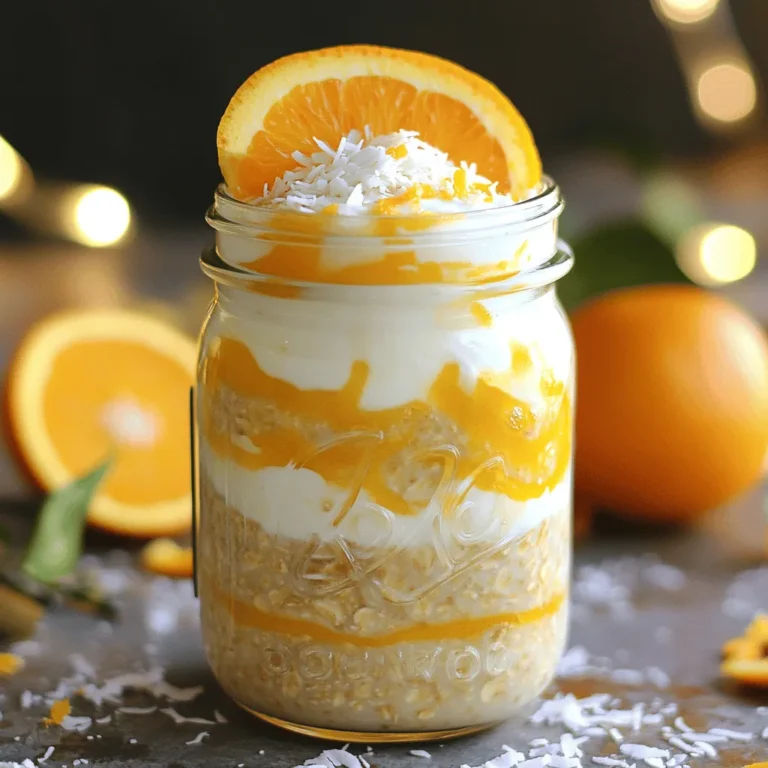
Orange Creamsicle Overnight Oats Delightful Recipe
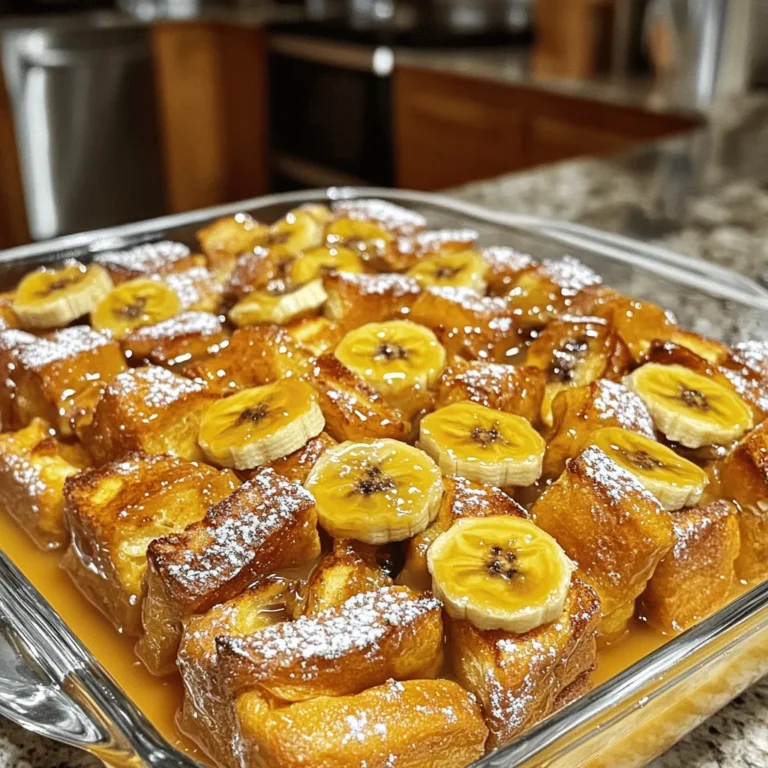
Caramelized Banana French Toast Bake Irresistible Treat
Page navigation
Previous Page
Previous
1
…
10
11
12
13
14
…
40
Next Page
Next
Home
Dinner
Appetizer
Desserts
Drinks
About
Contact
Privacy Policy
Toggle Menu Close
Search for:
Search