Skip to content
About
Contact
Cookie Policy
Copyright Policy
Disclaimer
Search
Home
Dinner
Appetizer
Desserts
Drinks
About
Contact
Privacy Policy
Toggle Menu
Home
/
Desserts
- Page 14
Desserts
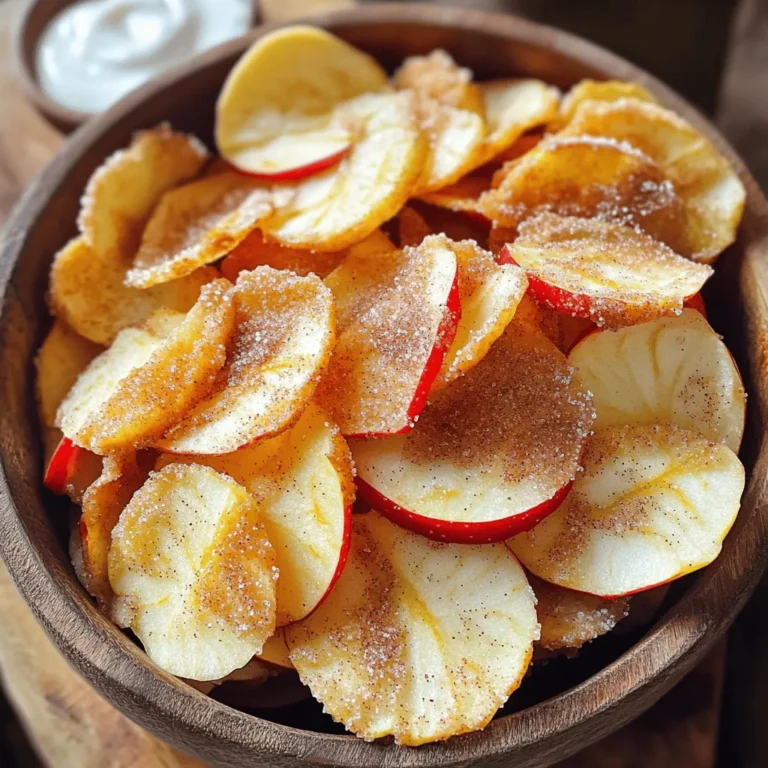
Air Fryer Cinnamon Sugar Apple Chips Crisp Treat
Brown Butter Pumpkin Spice Blondie Bars Delightfully Rich
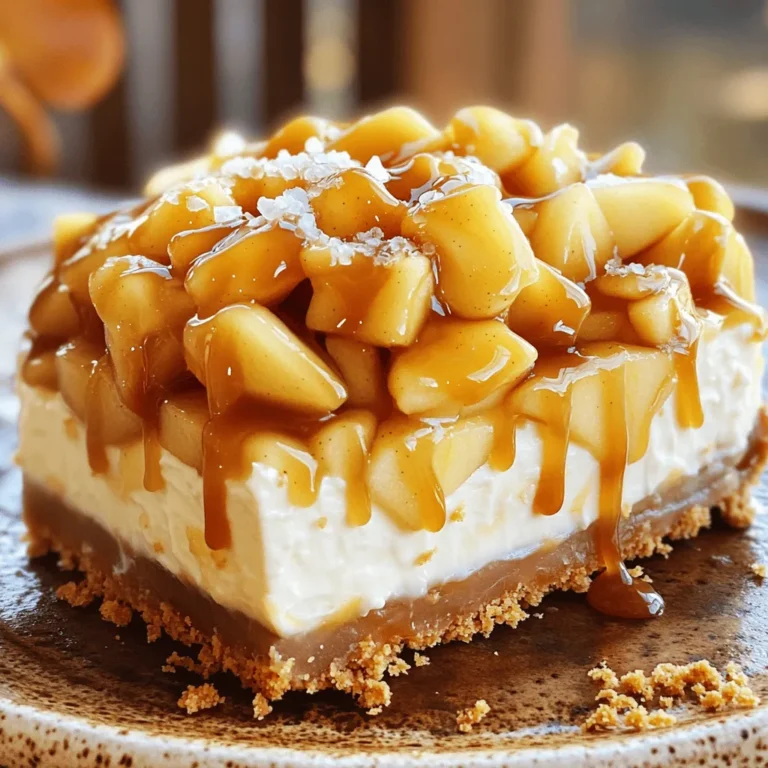
No Bake Salted Caramel Apple Pie Cheesecake Delight
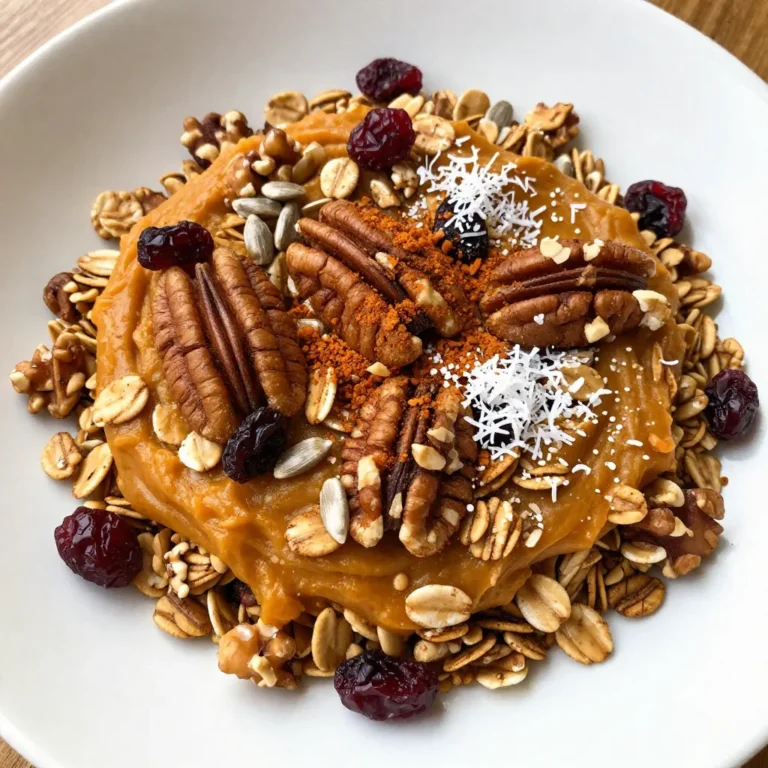
Pumpkin Spice Granola Tasty and Easy Homemade Snack
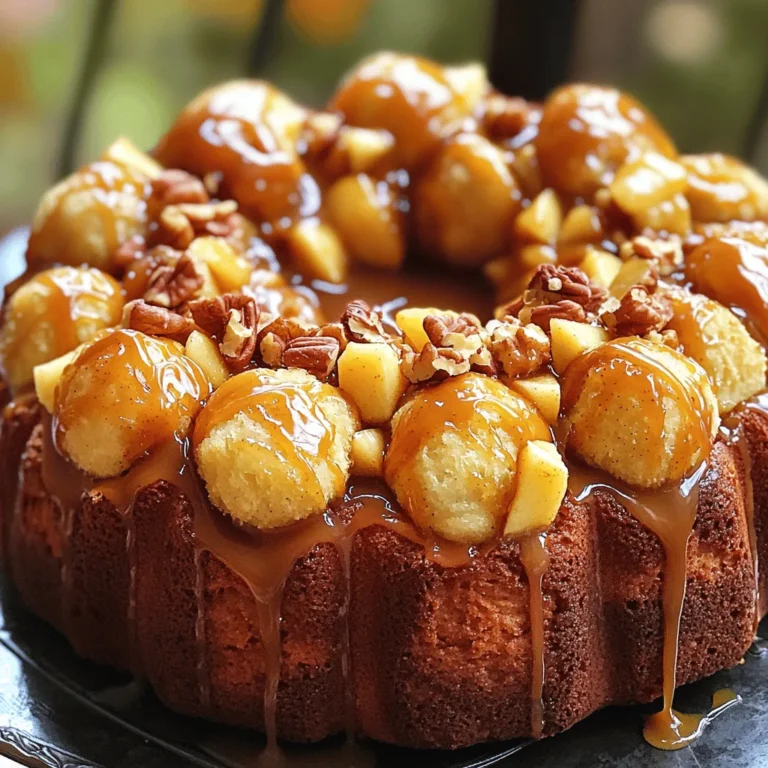
Caramel Apple Pie Monkey Bread Irresistible Dessert
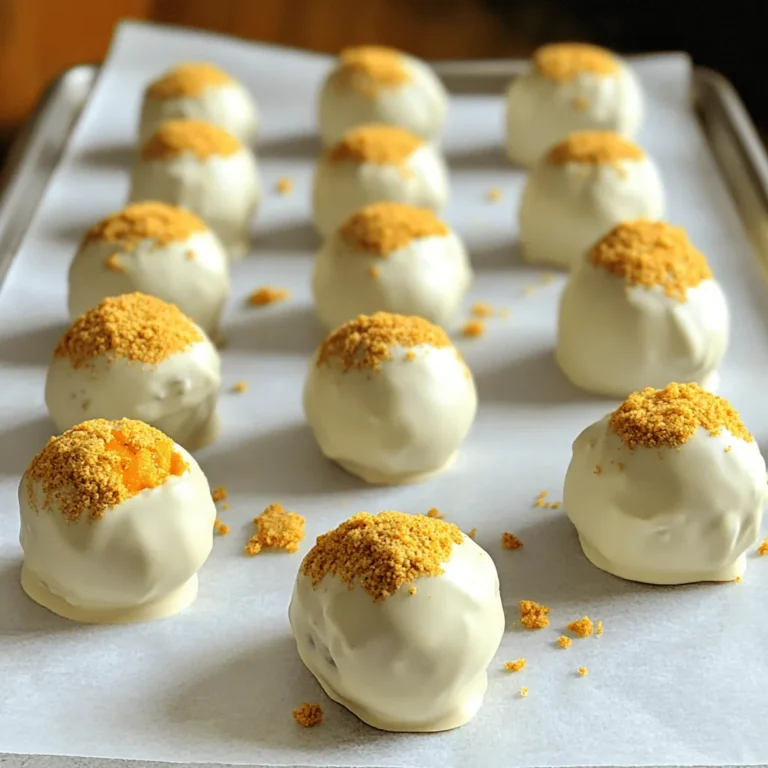
No-Bake Pumpkin Spice Oreo Truffles Easy Delight
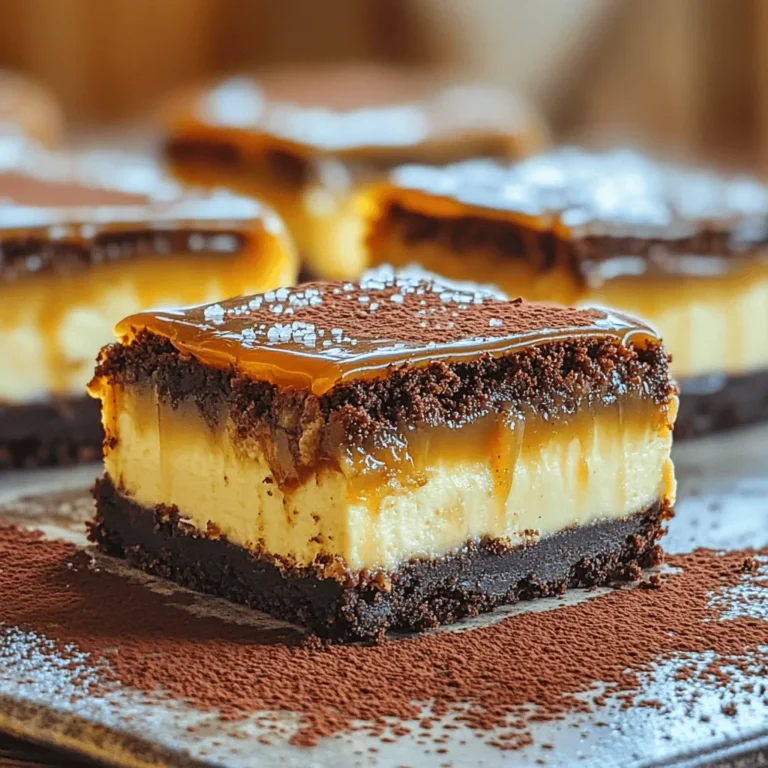
Caramel Brownie Cheesecake Bars Irresistible Delight
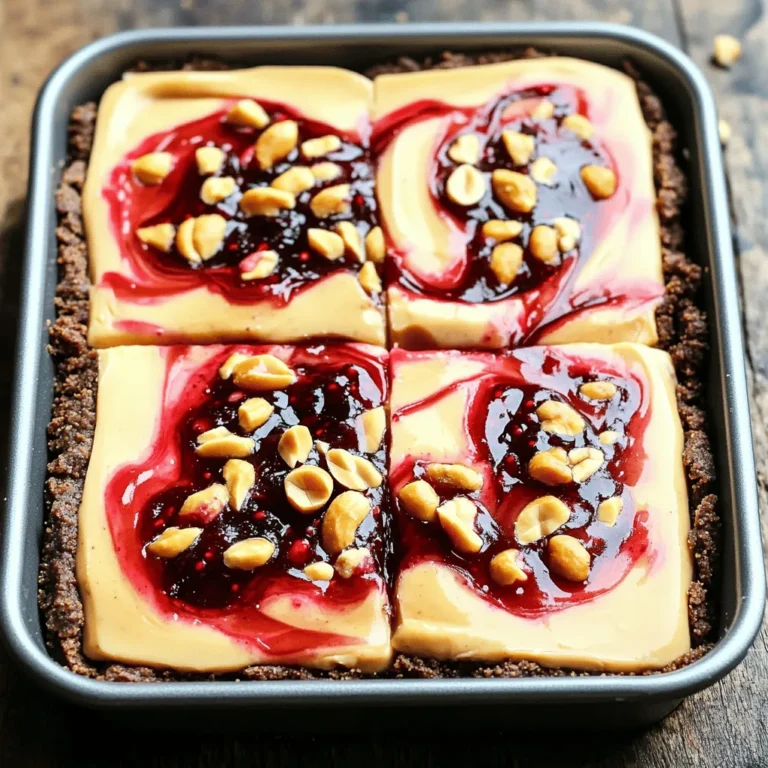
No-Bake Peanut Butter Jelly Cheesecake Bars Delight
Lemon Poppy Seed Loaf Fresh and Flavorful Delight
Vegan Chocolate Chip Cookie Dough Dip Delightful Treat
Page navigation
Previous Page
Previous
1
…
12
13
14
15
16
…
40
Next Page
Next
Home
Dinner
Appetizer
Desserts
Drinks
About
Contact
Privacy Policy
Toggle Menu Close
Search for:
Search