Skip to content
About
Contact
Cookie Policy
Copyright Policy
Disclaimer
Search
Home
Dinner
Appetizer
Desserts
Drinks
About
Contact
Privacy Policy
Toggle Menu
Home
/
Desserts
- Page 16
Desserts
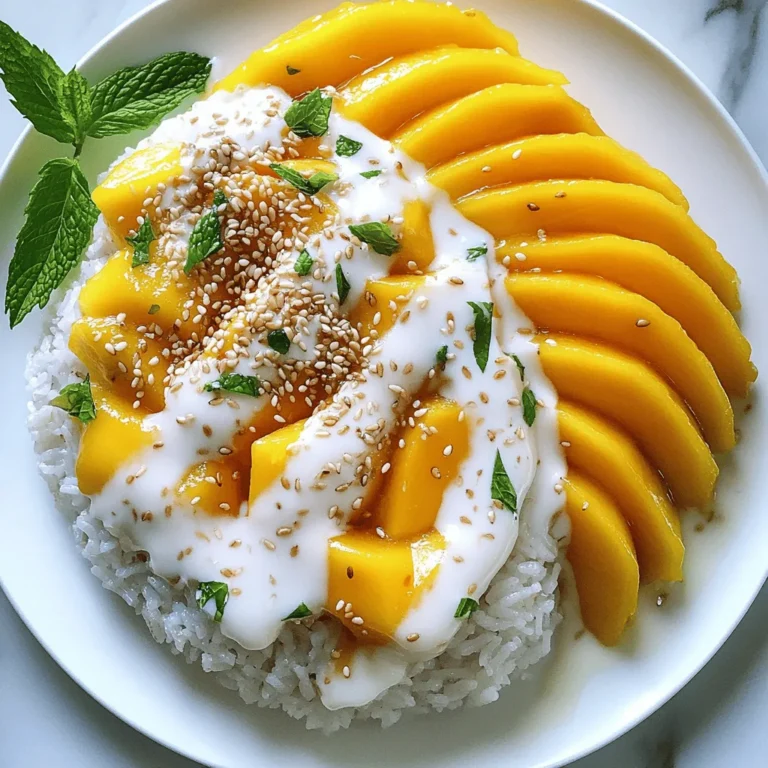
Mango Sticky Rice Delicious and Easy Dessert Recipe
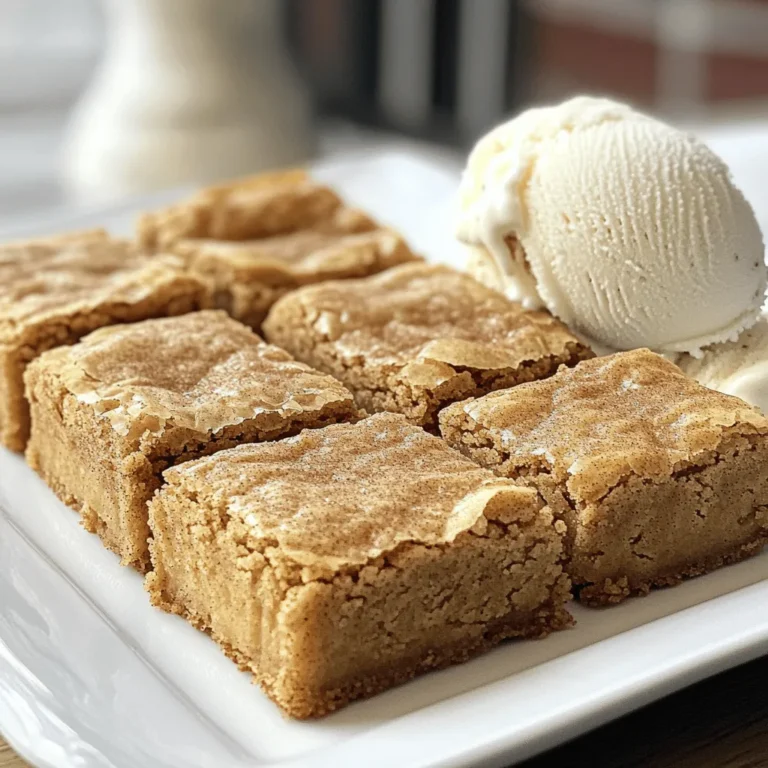
Cinnamon Snickerdoodle Blondies Scrumptious Easy Treat
Strawberry Lemonade Cupcakes Delightful and Easy Treat
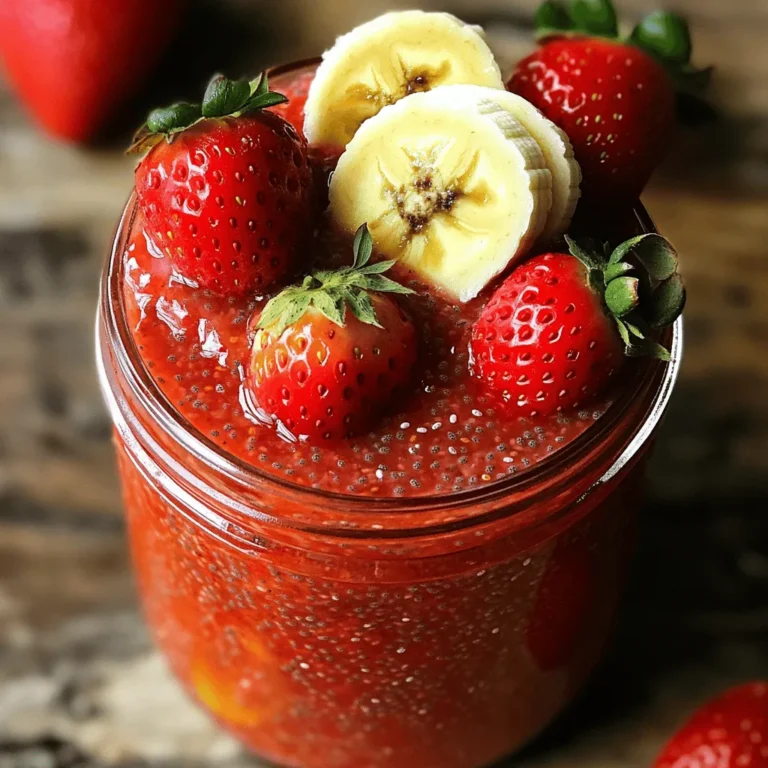
Strawberry Banana Chia Jam Flavorful and Nutritious
Pumpkin Spice Mug Cake Delicious Fall Treat Recipe
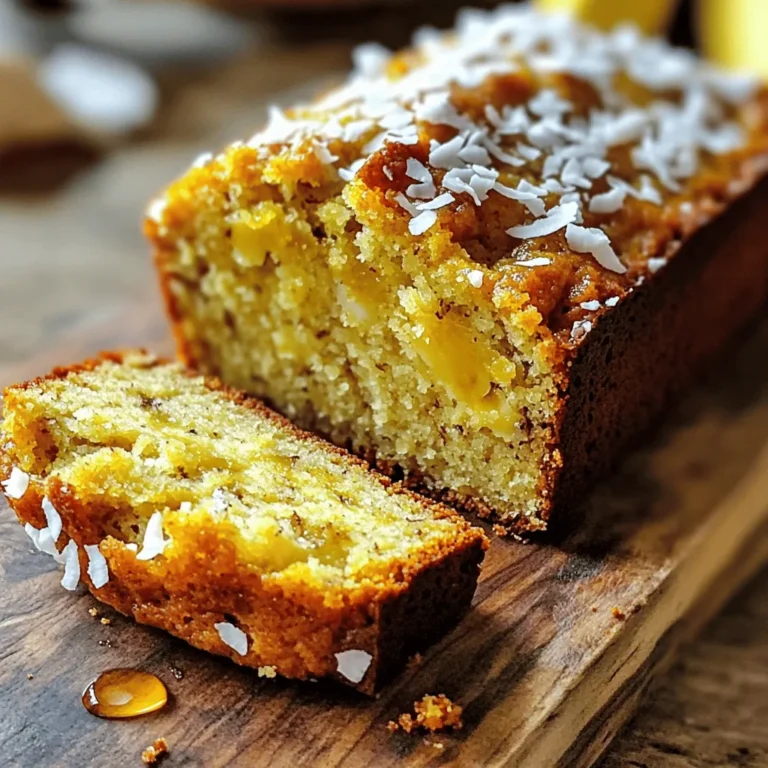
Coconut Banana Bread Delightful and Simple Recipe
Chocolate Hazelnut Cheesecake Divine Dessert Delight
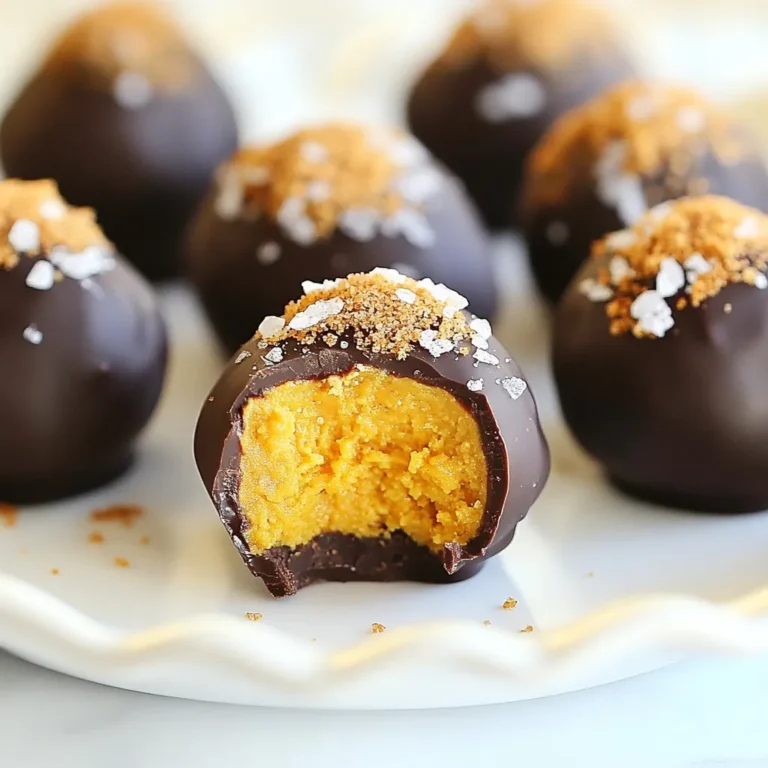
Pumpkin Cheesecake Truffles Irresistible Sweet Treat
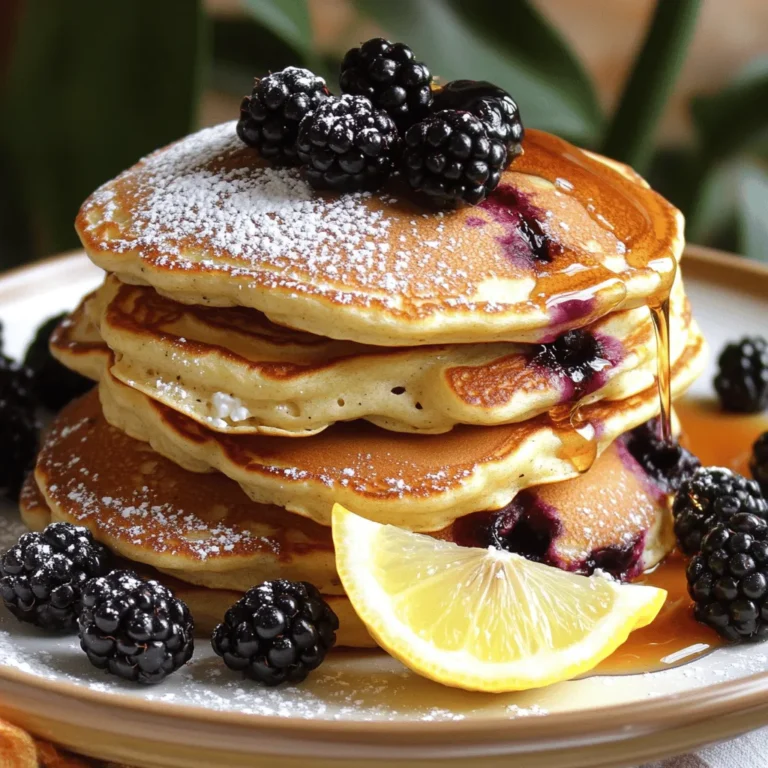
Blackberry Lemon Ricotta Pancakes Flavorful Delight
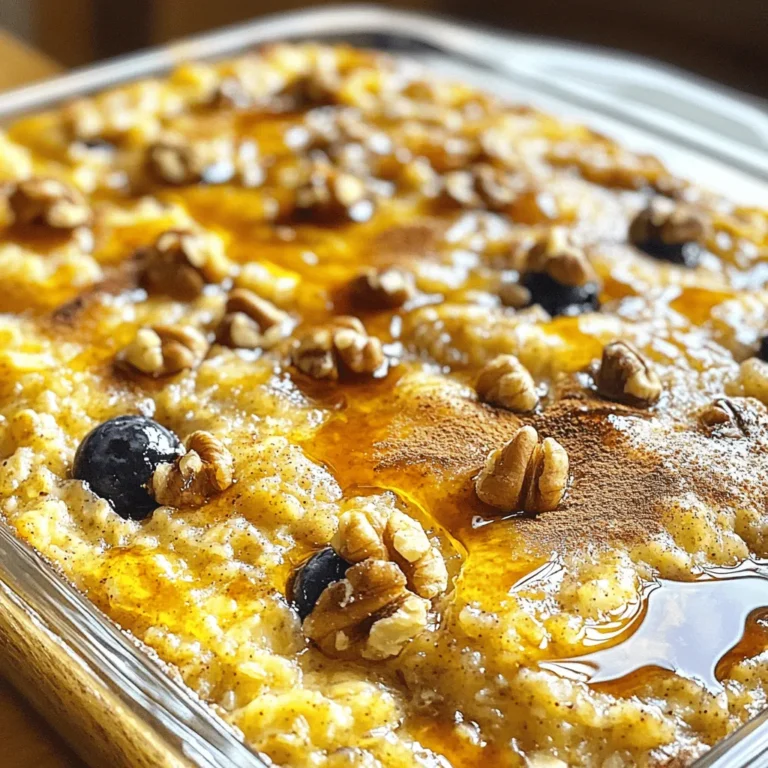
Maple Brown Sugar Baked Oatmeal Scrumptious Recipe
Page navigation
Previous Page
Previous
1
…
14
15
16
17
18
…
40
Next Page
Next
Home
Dinner
Appetizer
Desserts
Drinks
About
Contact
Privacy Policy
Toggle Menu Close
Search for:
Search