Skip to content
About
Contact
Cookie Policy
Copyright Policy
Disclaimer
Search
Home
Dinner
Appetizer
Desserts
Drinks
About
Contact
Privacy Policy
Toggle Menu
Home
/
Desserts
- Page 33
Desserts
Eggnog Mousse Delightfully Creamy Holiday Treat
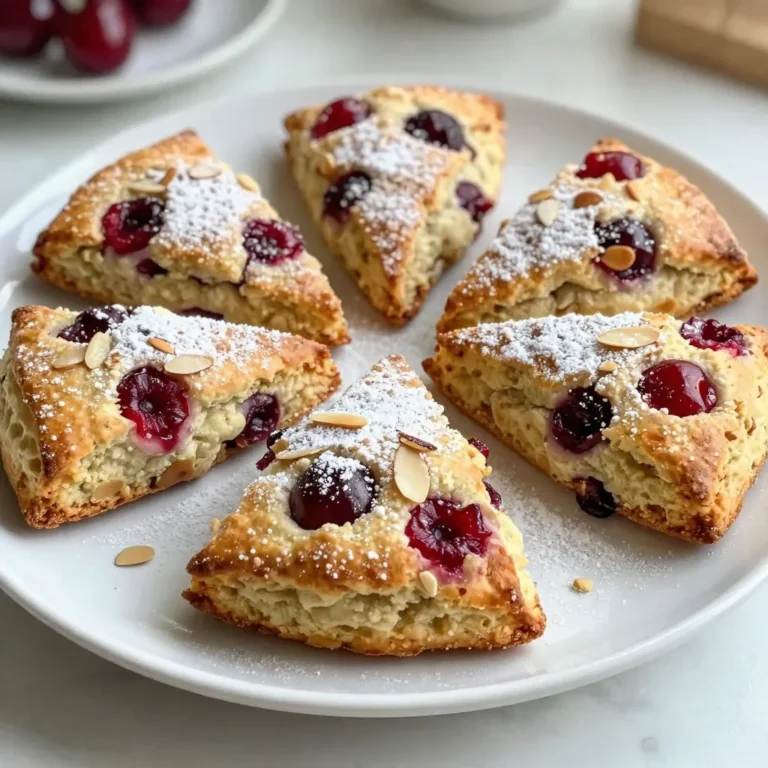
Cherry Almond Scones Irresistible Breakfast Treat
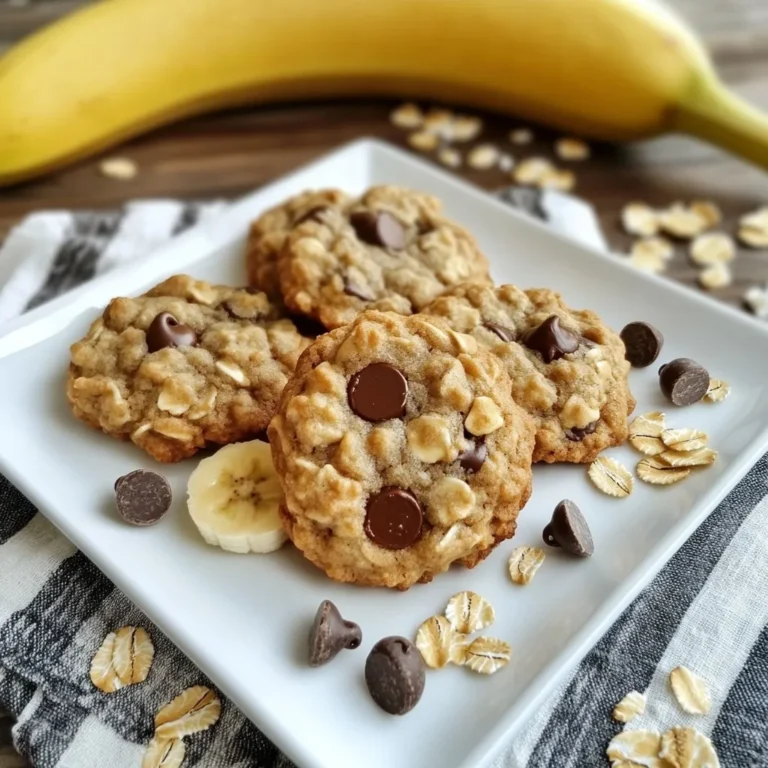
Chocolate Chip Banana Oatmeal Cookies Tasty and Simple
Vanilla Bean Crème Brûlée Simple Baking Guide
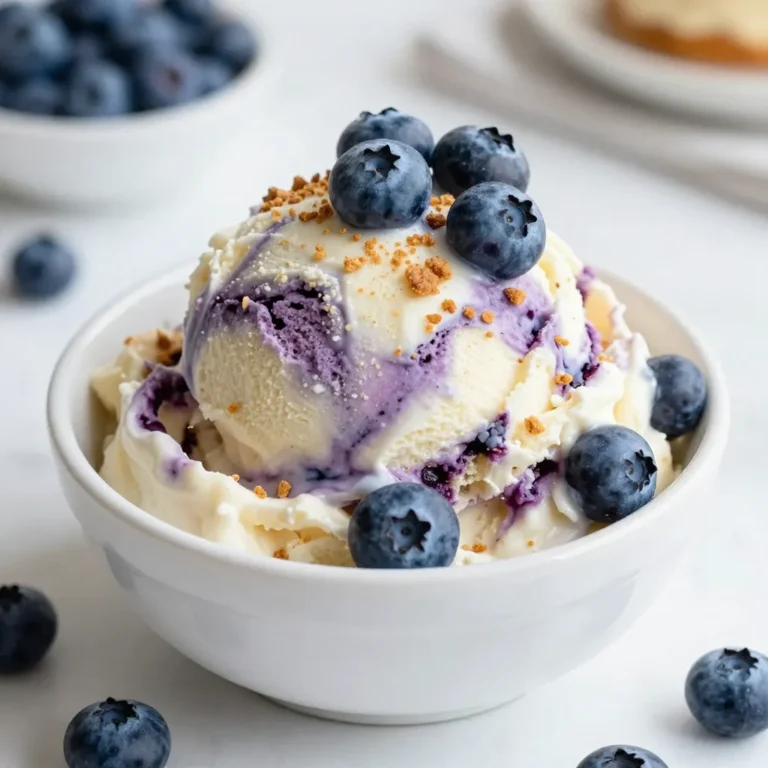
Blueberry Cheesecake Ice Cream Delightful and Creamy Treat
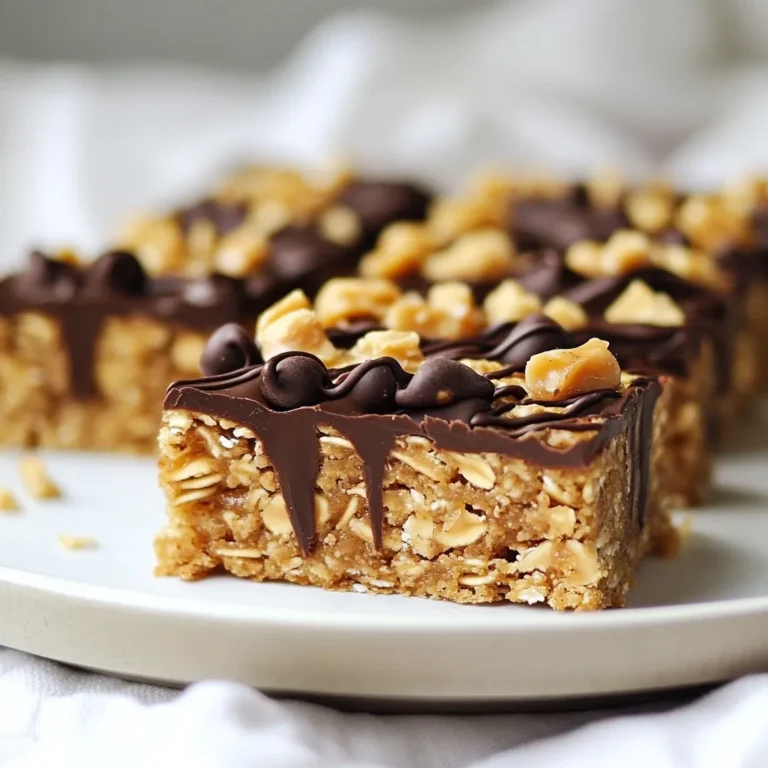
Peanut Butter Chocolate Oat Bars Quick and Easy Treat
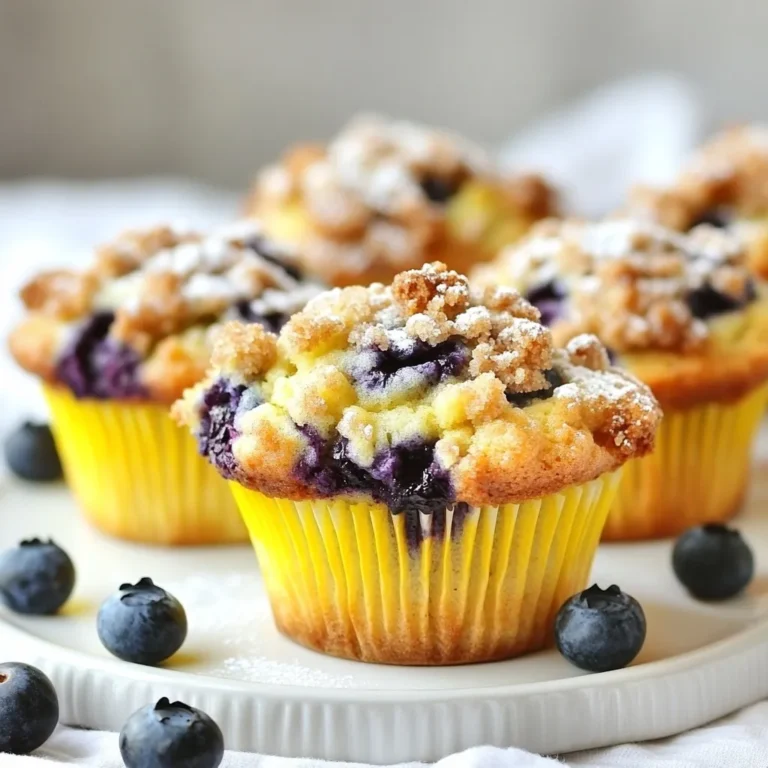
Blueberry Streusel Muffins Easy and Tasty Recipe
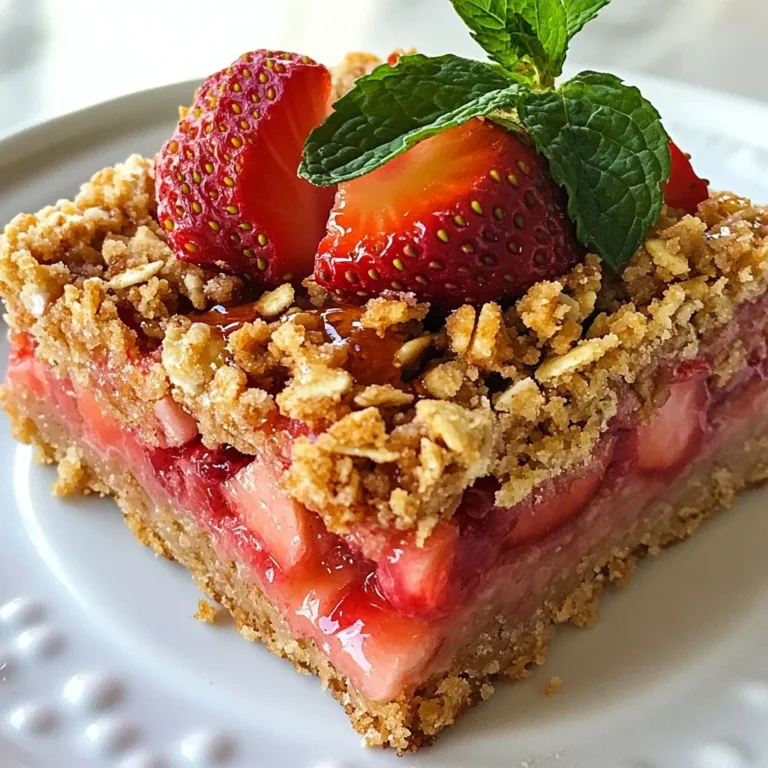
Strawberry Oatmeal Bars Irresistible Healthy Snack
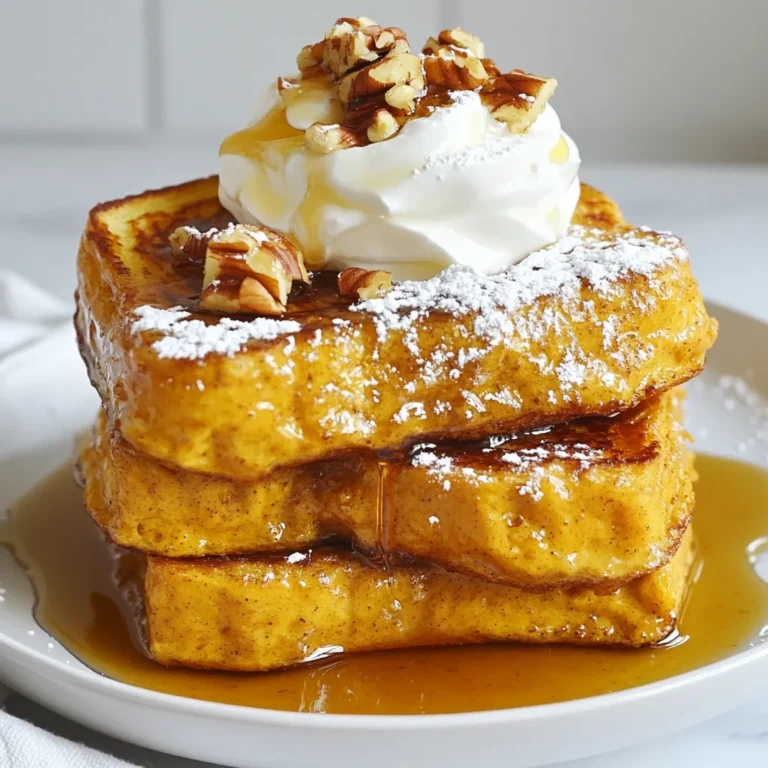
Pumpkin Spice French Toast Delicious Breakfast Delight
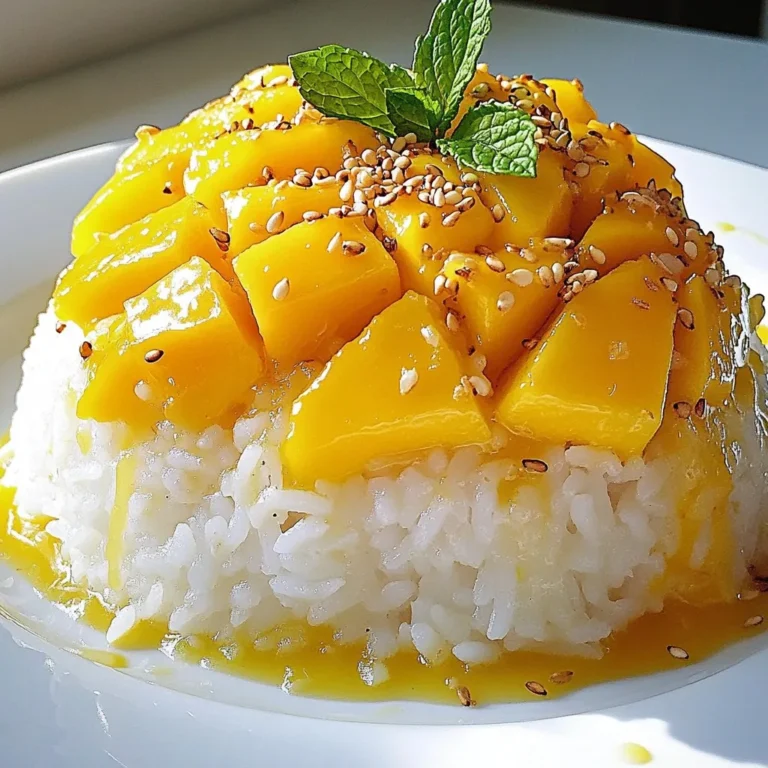
Thai Mango Sticky Rice Delightful Dessert Recipe
Page navigation
Previous Page
Previous
1
…
31
32
33
34
35
…
40
Next Page
Next
Home
Dinner
Appetizer
Desserts
Drinks
About
Contact
Privacy Policy
Toggle Menu Close
Search for:
Search