Skip to content
About
Contact
Cookie Policy
Copyright Policy
Disclaimer
Search
Home
Dinner
Appetizer
Desserts
Drinks
About
Contact
Privacy Policy
Toggle Menu
Home
/
Desserts
- Page 35
Desserts
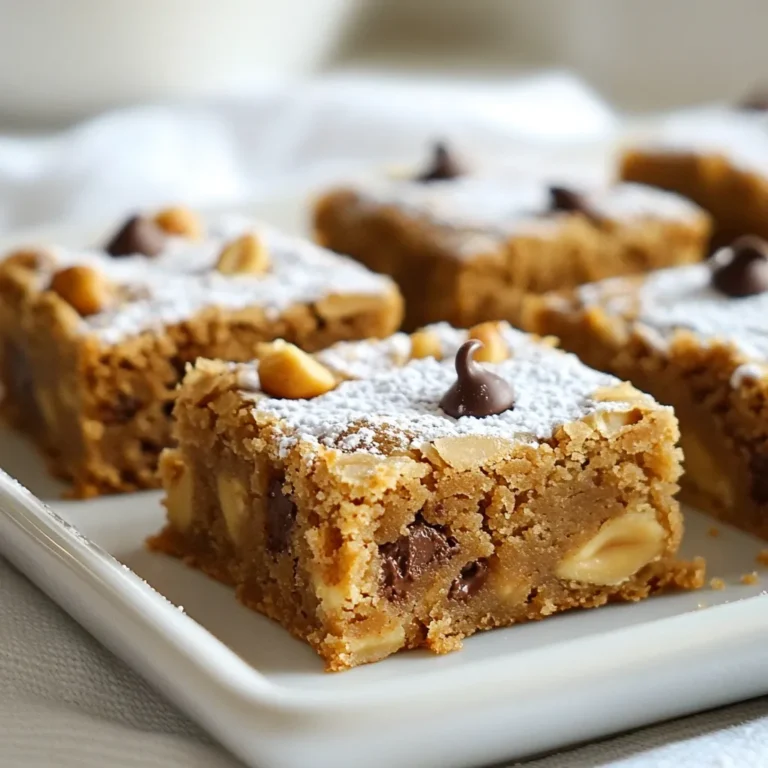
Peanut Butter Chocolate Chip Blondies Simple and Sweet
Brown Butter Chocolate Chip Cookies Delightful Recipe
Vegan Chocolate Avocado Mousse Rich and Creamy Delight
Orange Glazed Cranberry Bread Irresistibly Simple Recipe
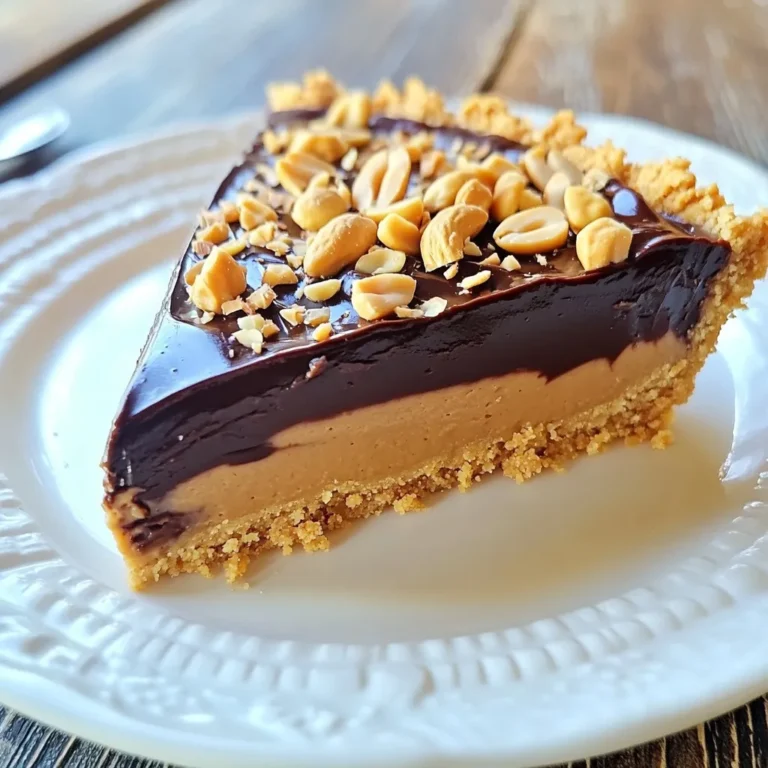
Chocolate Peanut Butter No Bake Pie Delightful Treat
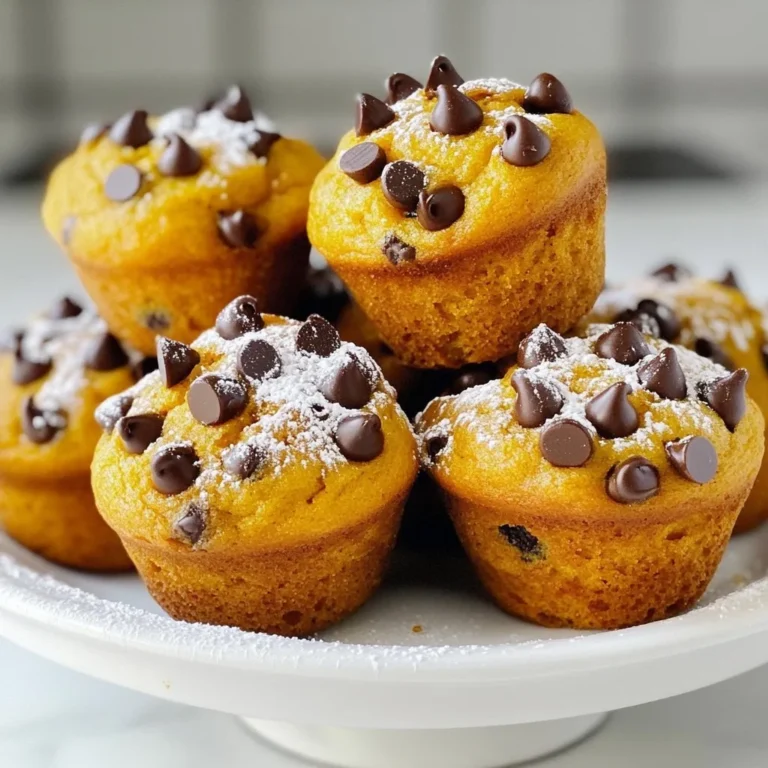
Chocolate Chip Pumpkin Muffins Scrumptious Fall Treat
Lemon Coconut Energy Bites Simple and Tasty Treat
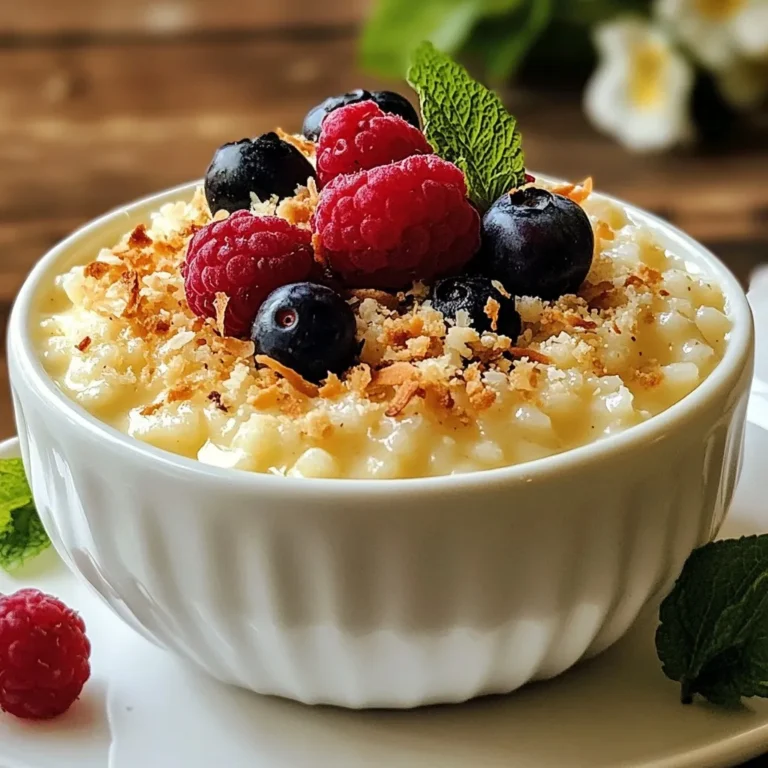
Vanilla Bean Rice Pudding Comforting Dessert Delight
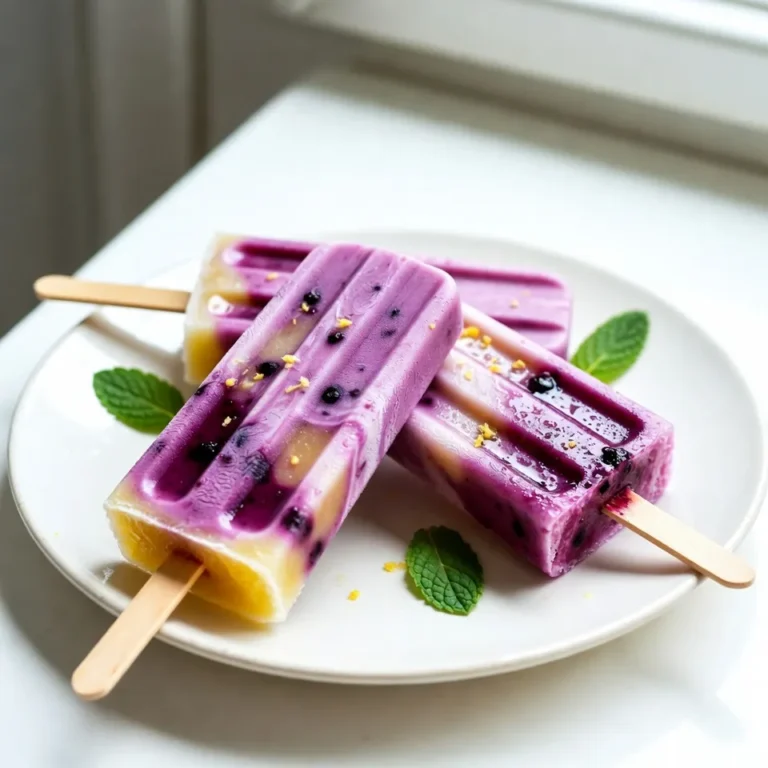
Blueberry Lemonade Popsicles Refreshing Summer Treat
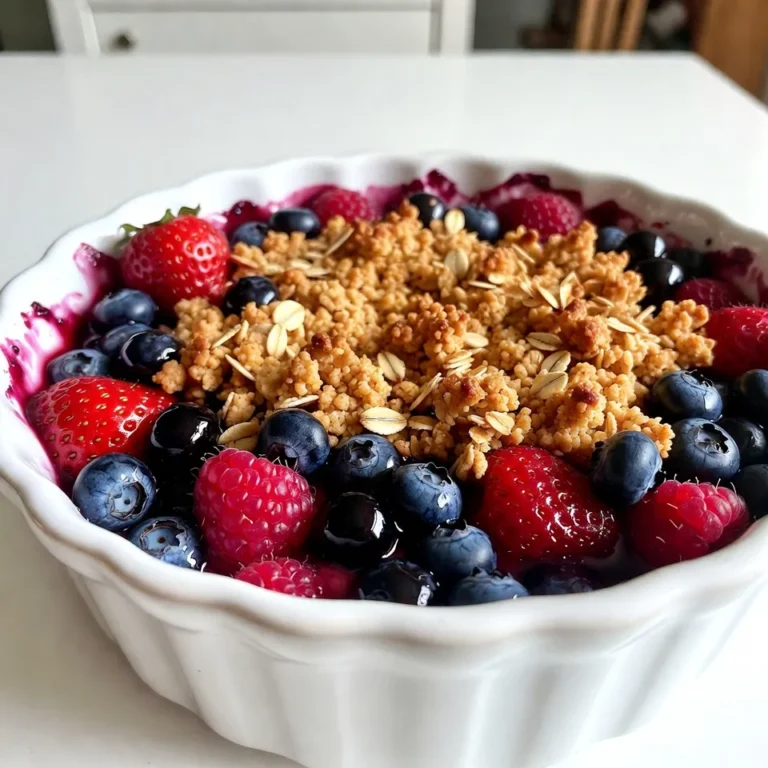
Triple Berry Crumble Irresistible and Easy Dessert
Page navigation
Previous Page
Previous
1
…
33
34
35
36
37
…
40
Next Page
Next
Home
Dinner
Appetizer
Desserts
Drinks
About
Contact
Privacy Policy
Toggle Menu Close
Search for:
Search