Skip to content
About
Contact
Cookie Policy
Copyright Policy
Disclaimer
Search
Home
Dinner
Appetizer
Desserts
Drinks
About
Contact
Privacy Policy
Toggle Menu
Home
/
Desserts
- Page 36
Desserts
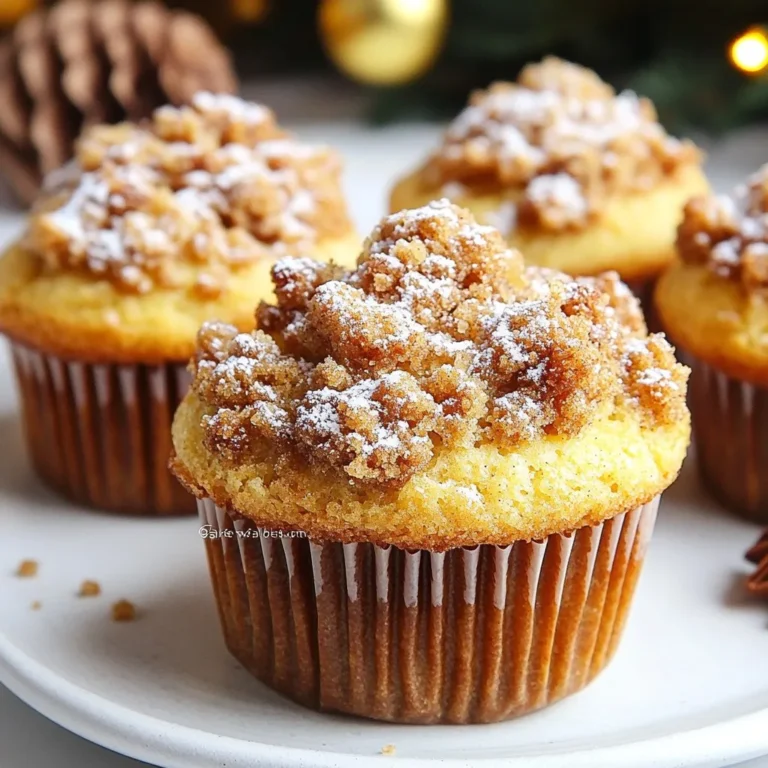
Gingerbread Streusel Muffins Festive Flavor Delight
Pumpkin Spice Oatmeal Cookies Cozy and Comforting Treat
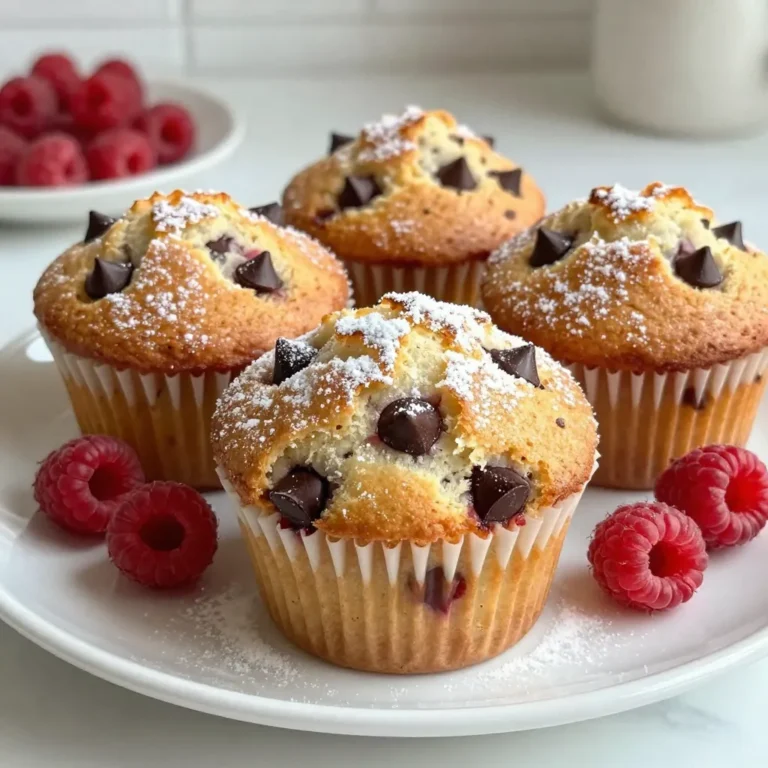
Raspberry Chocolate Chip Muffins Simple and Tasty Treat
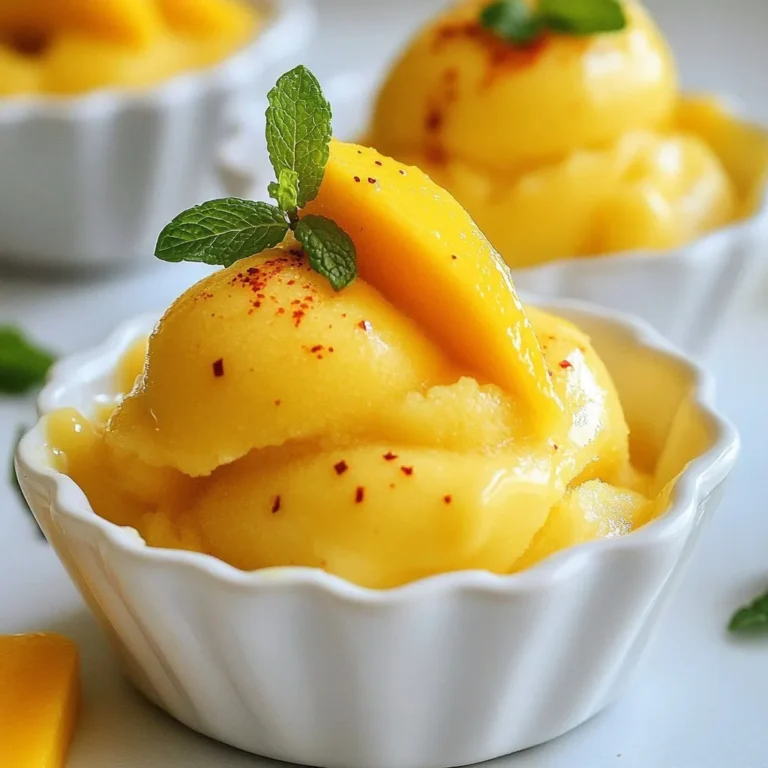
Mango Chili Sorbet Refreshing and Easy Frozen Treat
Chocolate Caramel Turtle Brownies Irresistible Delight
Blueberry Pancake Bites Tasty and Easy Recipe
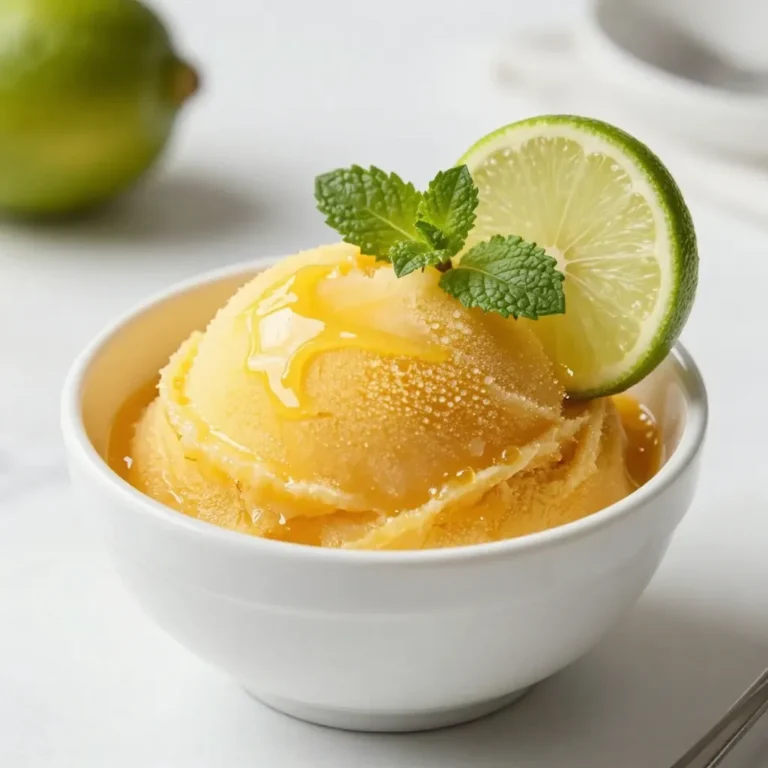
Mango Lime Sorbet Fresh and Flavorful Delight
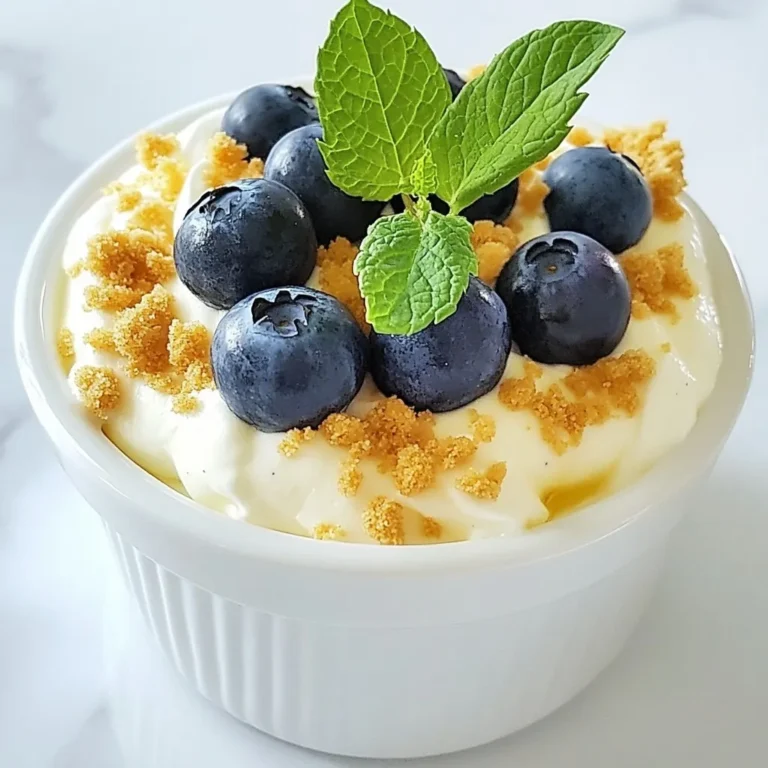
Lemon Blueberry Cheesecake Dip Tasty and Simple Treat
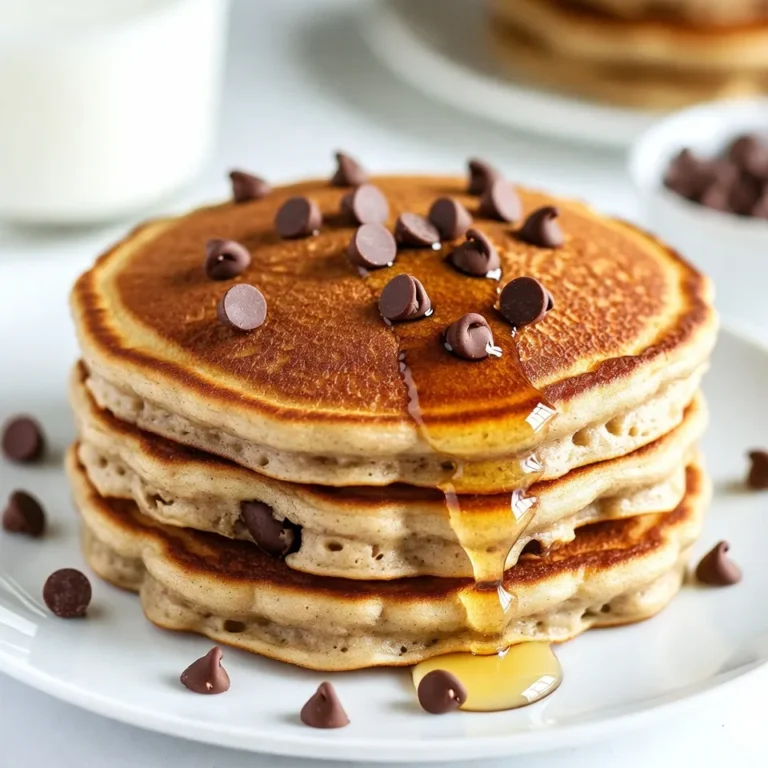
Banana Chocolate Chip Protein Pancakes Simple Recipe
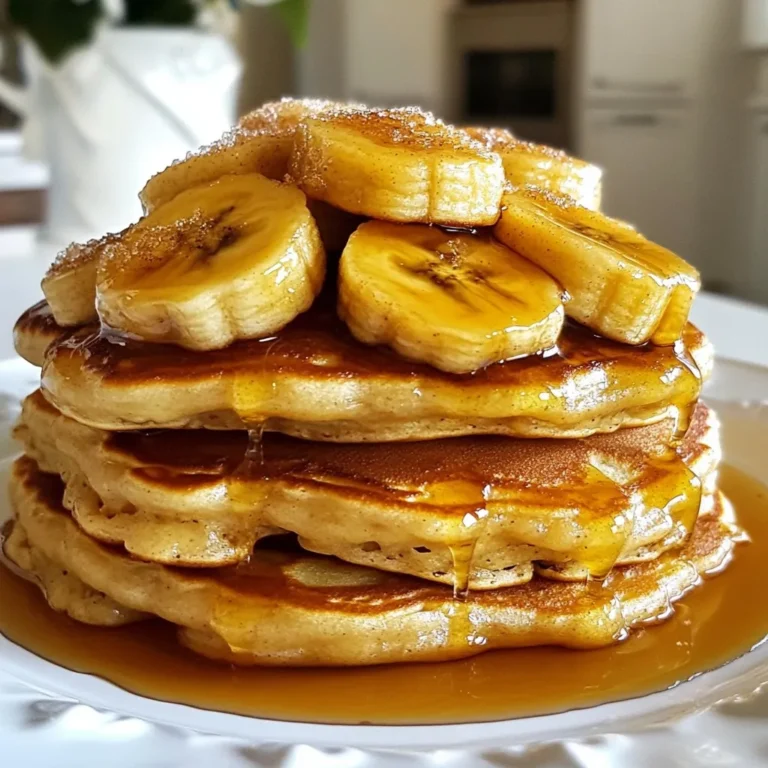
Caramelized Banana Pancakes Delightful and Easy Recipe
Page navigation
Previous Page
Previous
1
…
34
35
36
37
38
…
40
Next Page
Next
Home
Dinner
Appetizer
Desserts
Drinks
About
Contact
Privacy Policy
Toggle Menu Close
Search for:
Search