Skip to content
About
Contact
Cookie Policy
Copyright Policy
Disclaimer
Search
Home
Dinner
Appetizer
Desserts
Drinks
About
Contact
Privacy Policy
Toggle Menu
Home
/
Desserts
- Page 38
Desserts
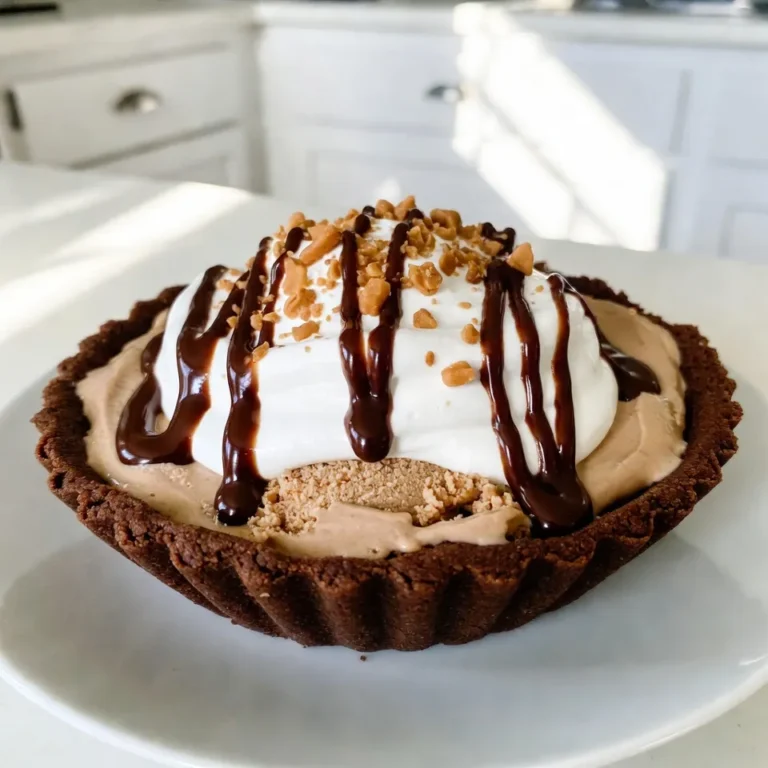
Coffee Toffee Ice Cream Pie Simple and Delicious Treat
Salted Caramel Pretzel Brownies Indulgent Chocolate Treat
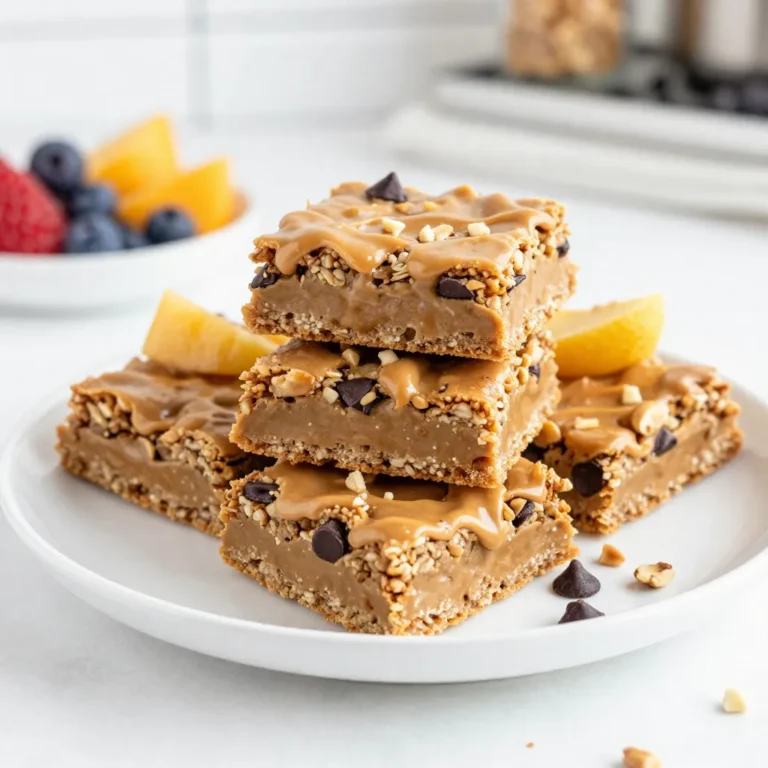
Peanut Butter Oatmeal Bars Tasty and Simple Delight
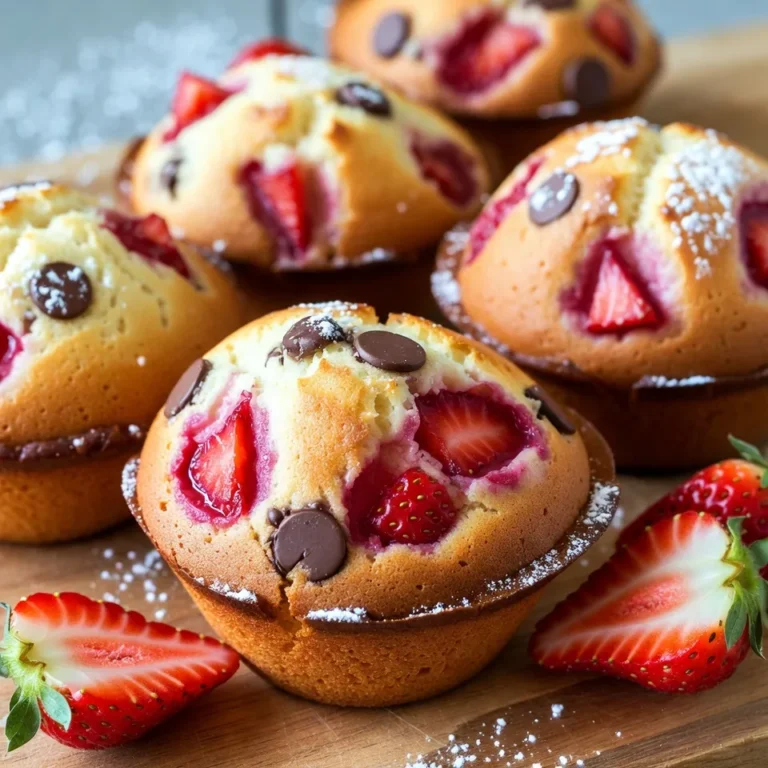
Savory Strawberry Chocolate Chip Muffins Delight
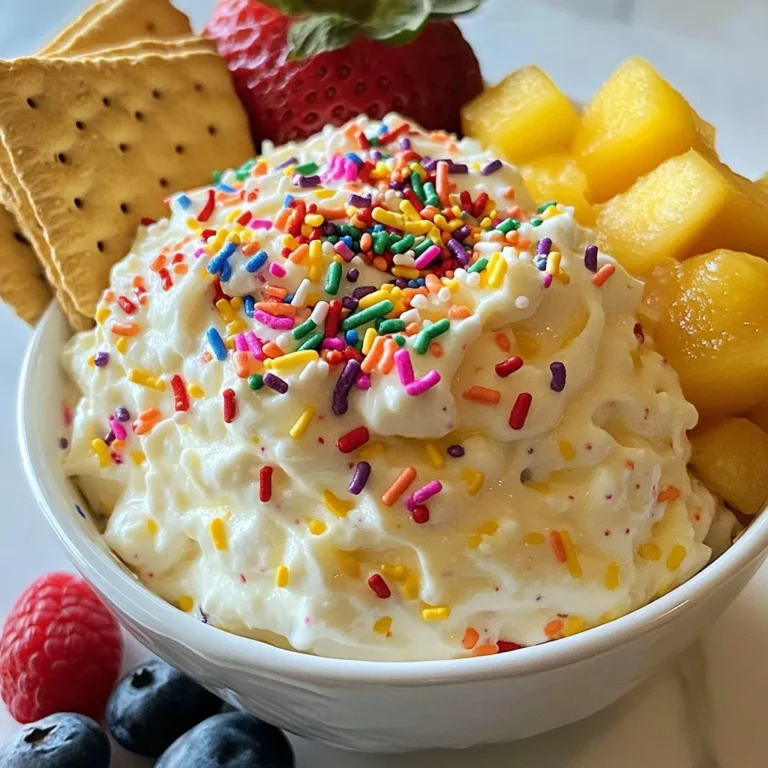
Funfetti Cake Batter Dip Delightful and Easy Treat
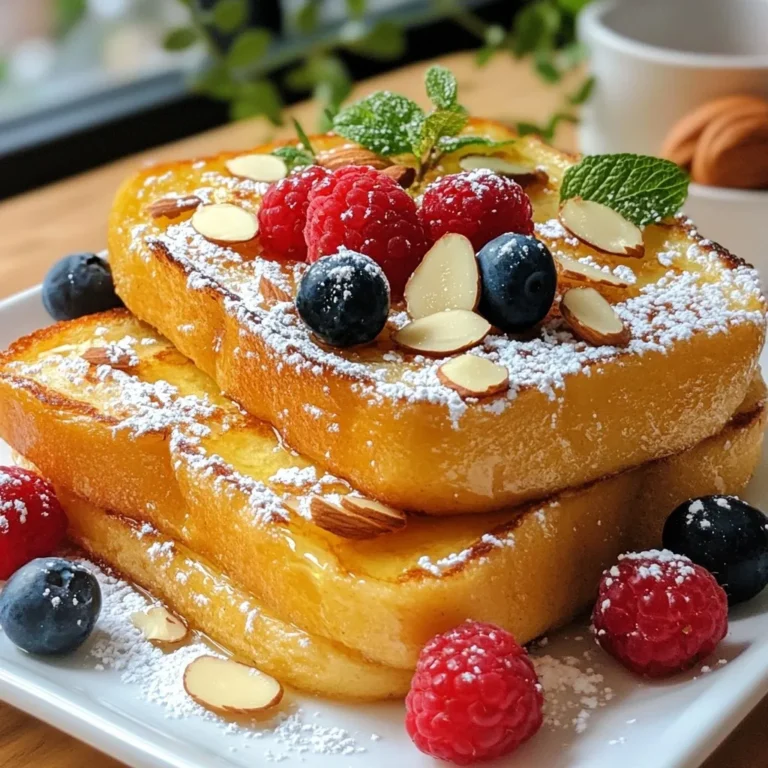
Vanilla Almond French Toast Delightful Breakfast Treat
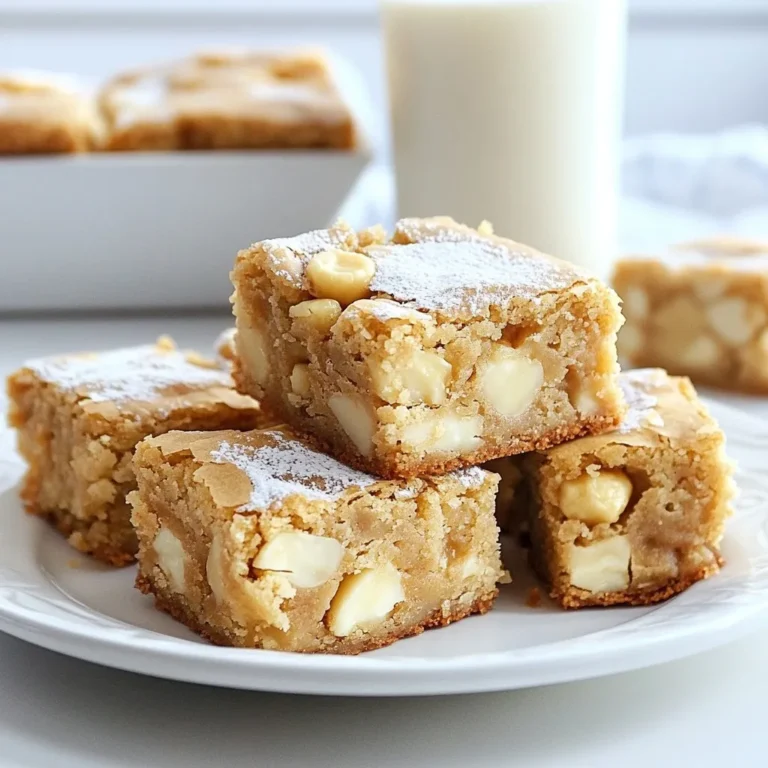
White Chocolate Macadamia Blondies Delicious Treat
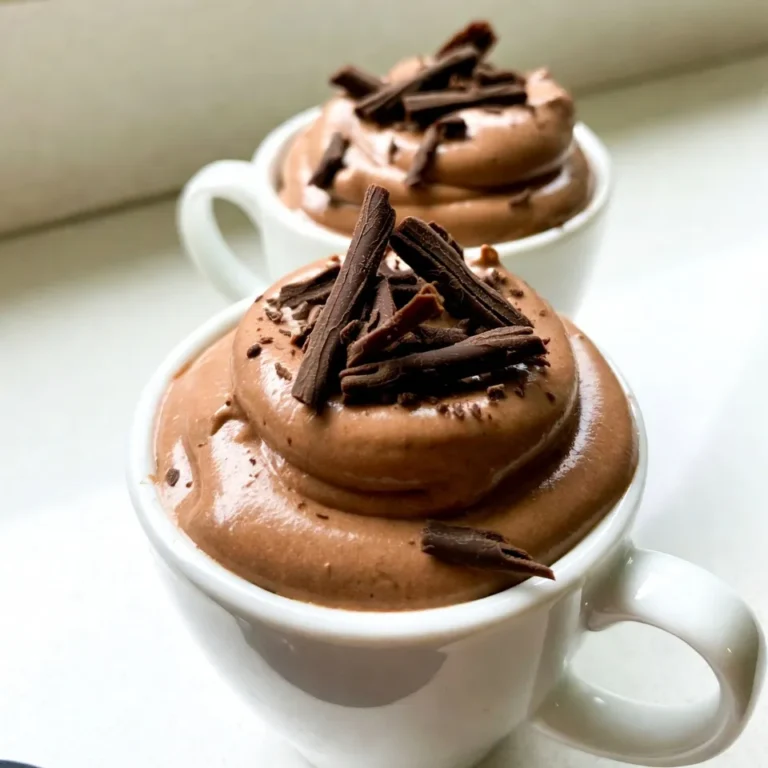
Keto Chocolate Mousse Rich and Simple Delight
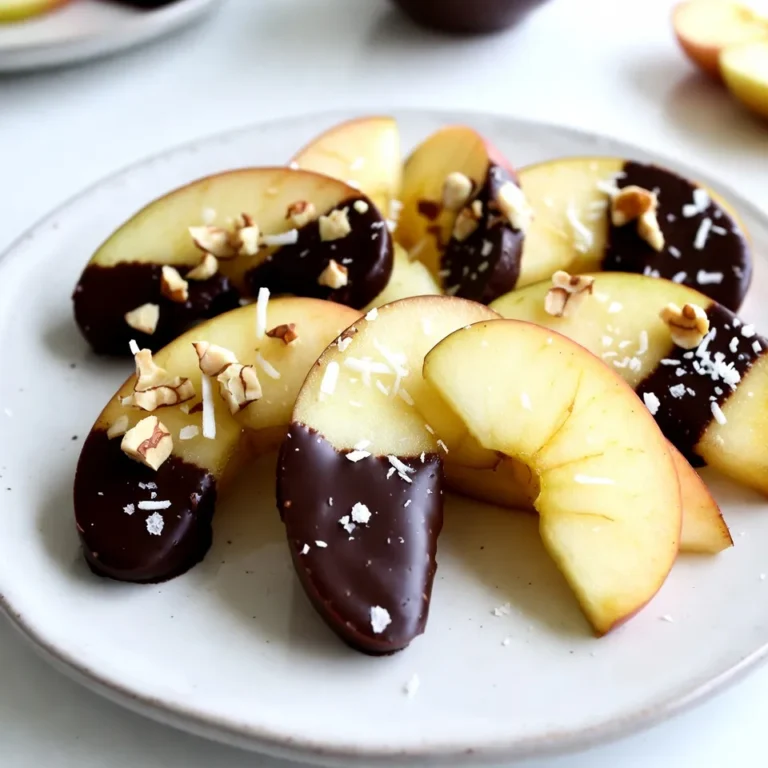
Chocolate Covered Apple Slices Simple and Tasty Treat
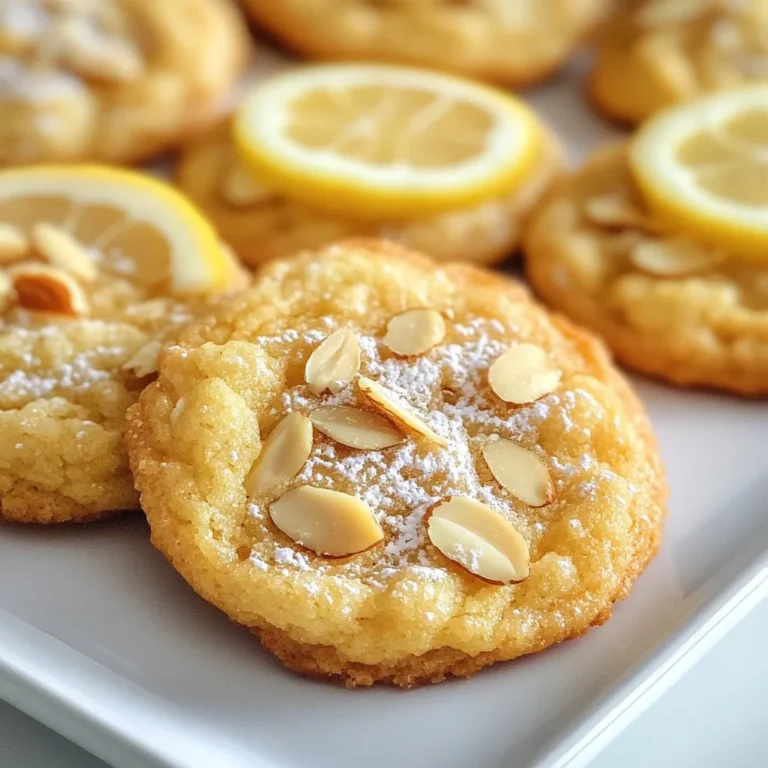
Lemon Almond Breakfast Cookies Tasty and Healthy Snack
Page navigation
Previous Page
Previous
1
…
36
37
38
39
40
Next Page
Next
Home
Dinner
Appetizer
Desserts
Drinks
About
Contact
Privacy Policy
Toggle Menu Close
Search for:
Search