Skip to content
About
Contact
Cookie Policy
Copyright Policy
Disclaimer
Search
Home
Dinner
Appetizer
Desserts
Drinks
About
Contact
Privacy Policy
Toggle Menu
Home
/
Desserts
- Page 4
Desserts
Maple Chai Spiced Granola Flavorful Crunchy Delight
Funfetti Sugar Cookie Bars Delightful Dessert Recipe
Peppermint Chocolate Bark Cups Festive and Tasty Treat
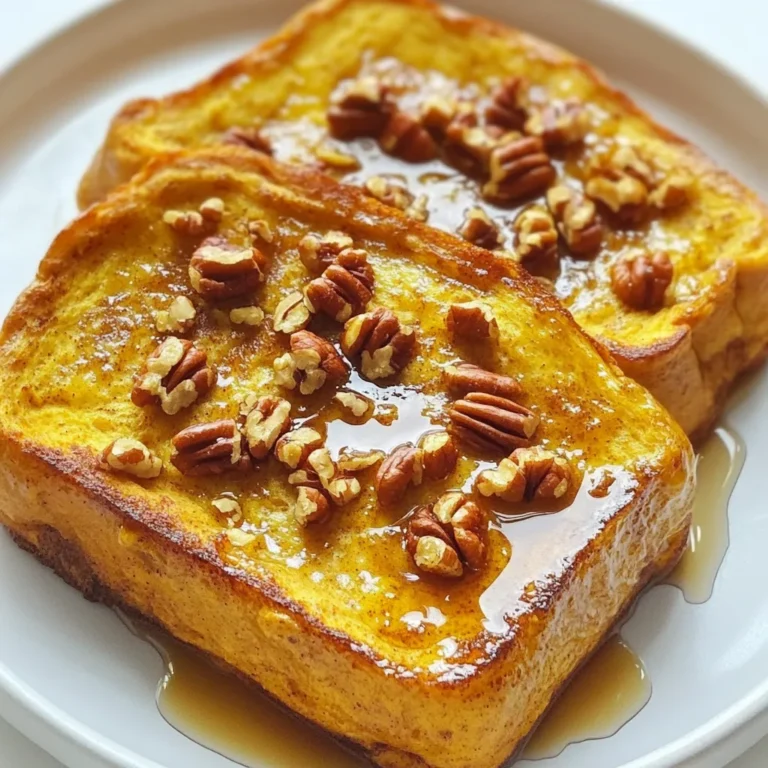
Pumpkin Spice French Toast Bake Cozy and Comforting Treat
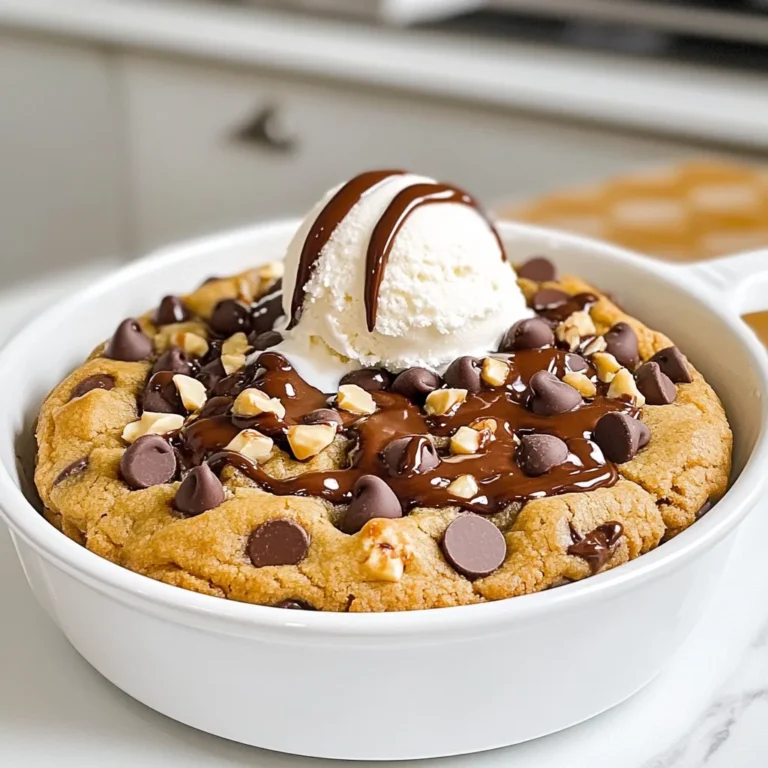
Air Fryer Chocolate Chip Skillet Cookie Delight
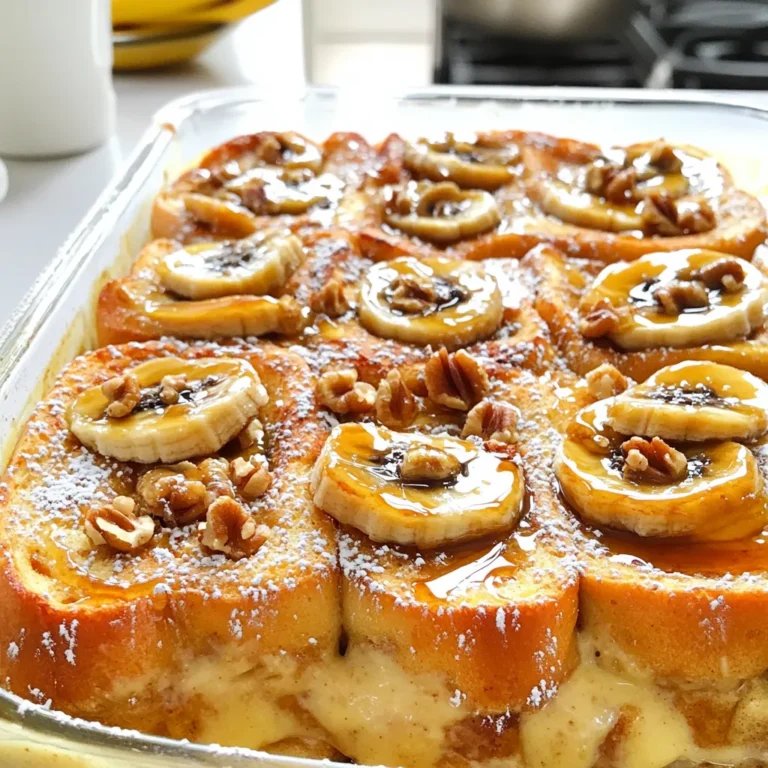
Caramelized Banana French Toast Bake Delightful Recipe
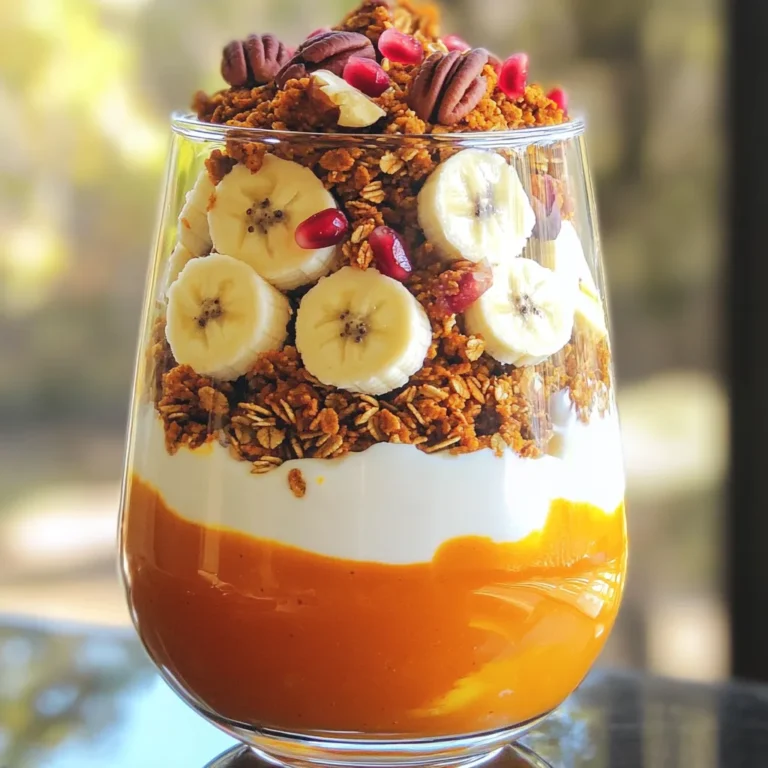
Pumpkin Spice Granola Yogurt Parfait Delight
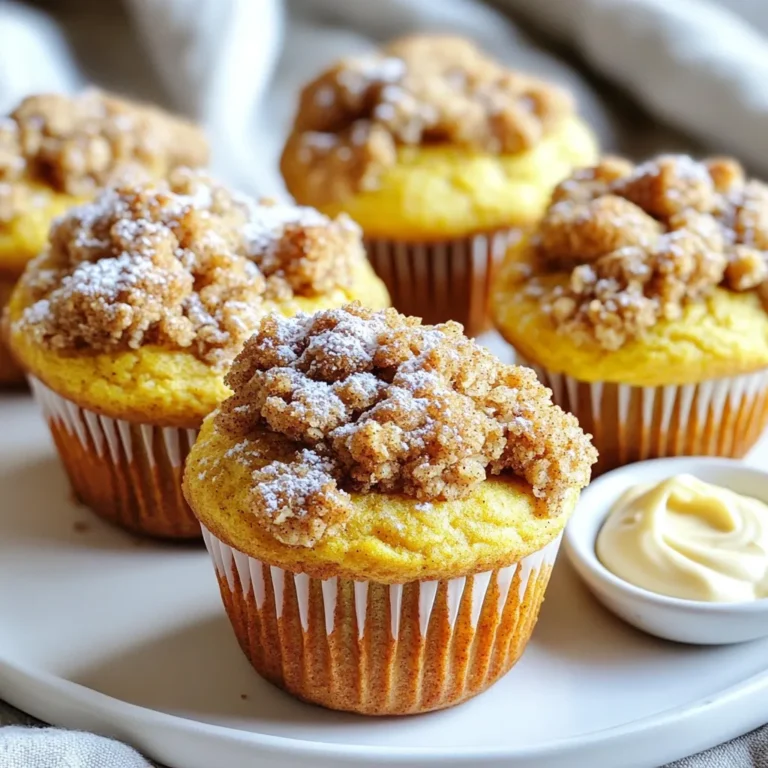
Pumpkin Spice Coffee Cake Muffins Delightful Recipe
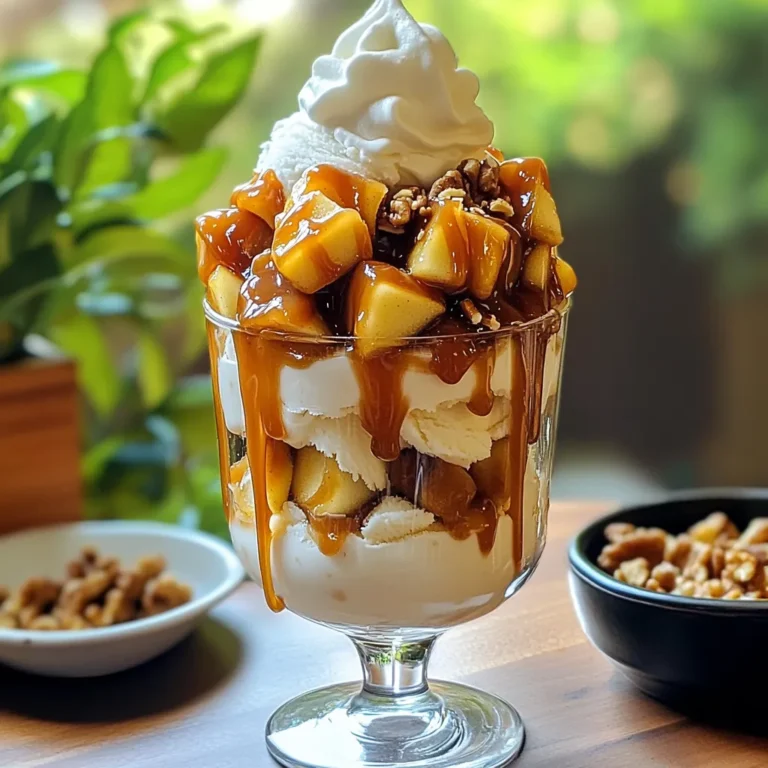
Caramel Apple Ice Cream Sundae Deliciously Crafted
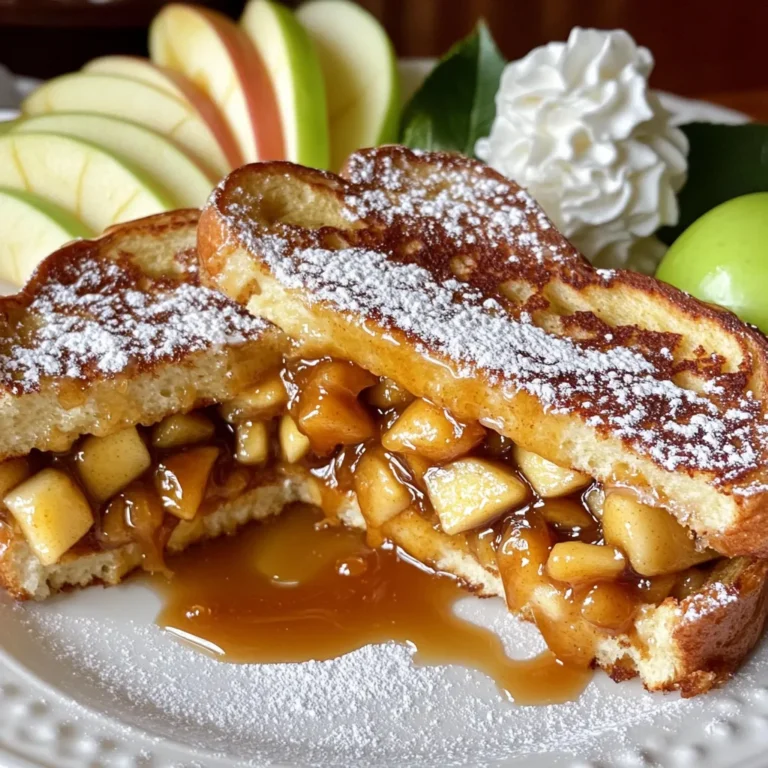
Caramel Apple Stuffed French Toast Delightful Recipe
Page navigation
Previous Page
Previous
1
2
3
4
5
6
…
40
Next Page
Next
Home
Dinner
Appetizer
Desserts
Drinks
About
Contact
Privacy Policy
Toggle Menu Close
Search for:
Search