Skip to content
About
Contact
Cookie Policy
Copyright Policy
Disclaimer
Search
Home
Dinner
Appetizer
Desserts
Drinks
About
Contact
Privacy Policy
Toggle Menu
Home
/
Desserts
- Page 40
Desserts
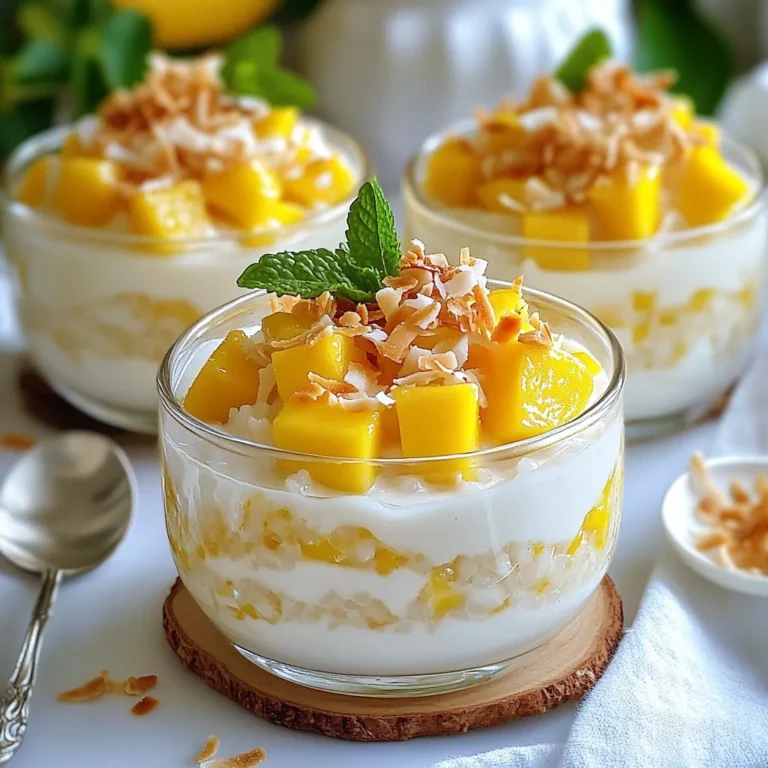
Mango Coconut Rice Pudding Creamy and Simple Dessert
Chocolate Raspberry Mug Cake Delightful and Easy Recipe
Page navigation
Previous Page
Previous
1
…
38
39
40
Home
Dinner
Appetizer
Desserts
Drinks
About
Contact
Privacy Policy
Toggle Menu Close
Search for:
Search