Skip to content
About
Contact
Cookie Policy
Copyright Policy
Disclaimer
Search
Home
Dinner
Appetizer
Desserts
Drinks
About
Contact
Privacy Policy
Toggle Menu
Home
/
Desserts
- Page 5
Desserts
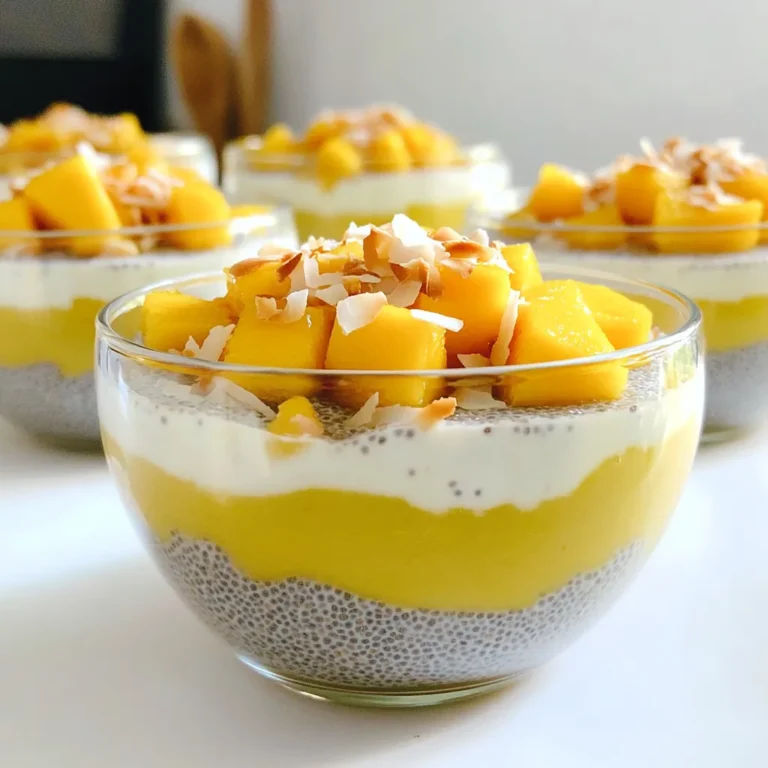
Mango Coconut Chia Pudding Easy No Cook Delight
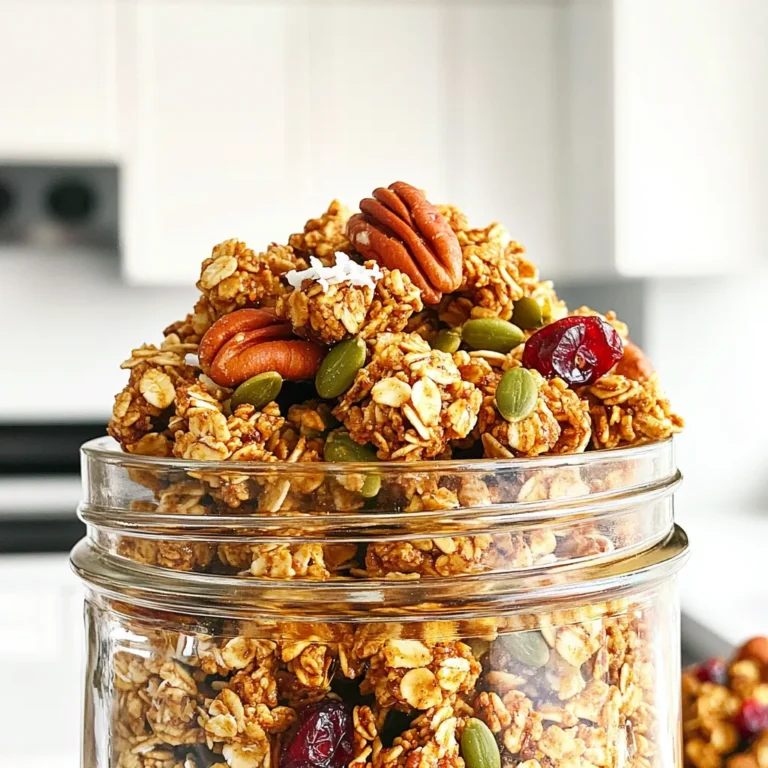
Spiced Maple Pecan Granola Clusters Healthy Snack Idea
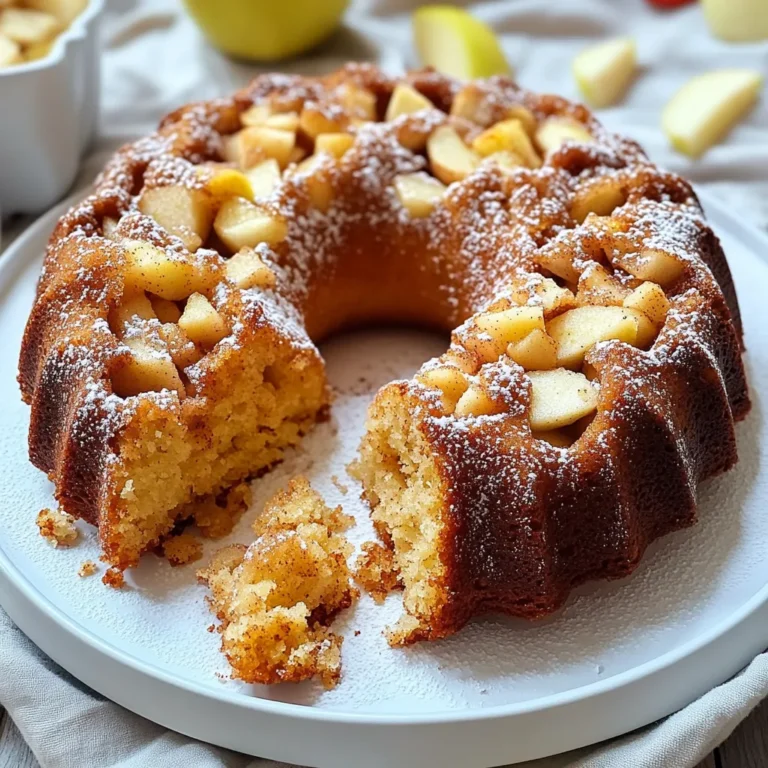
Brown Butter Apple Cider Donut Cake Cheerful Delight
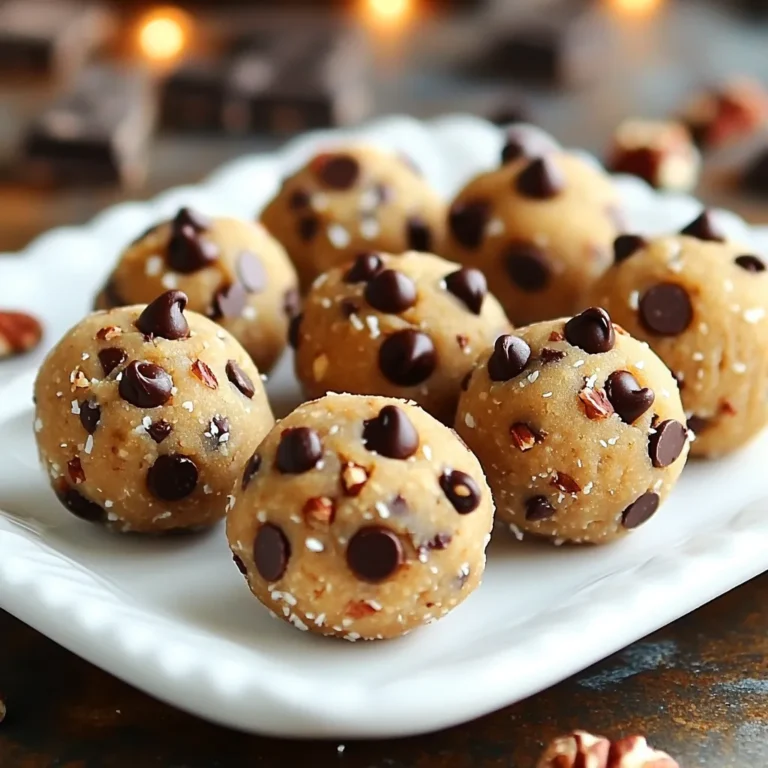
No-Bake Chocolate Chip Cookie Dough Bites Delight
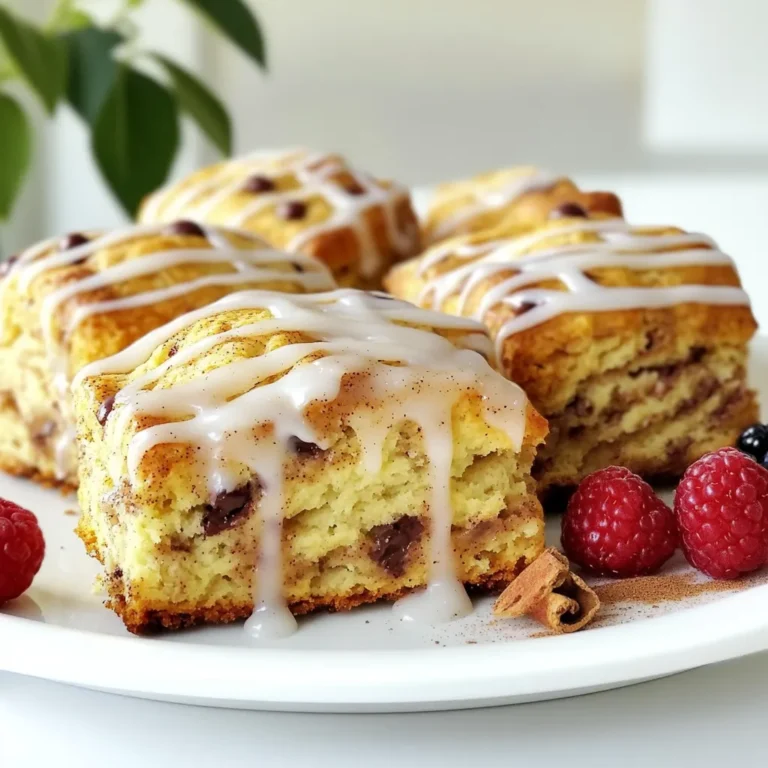
Cinnamon Roll Scones Bakery Style Easy and Delicious
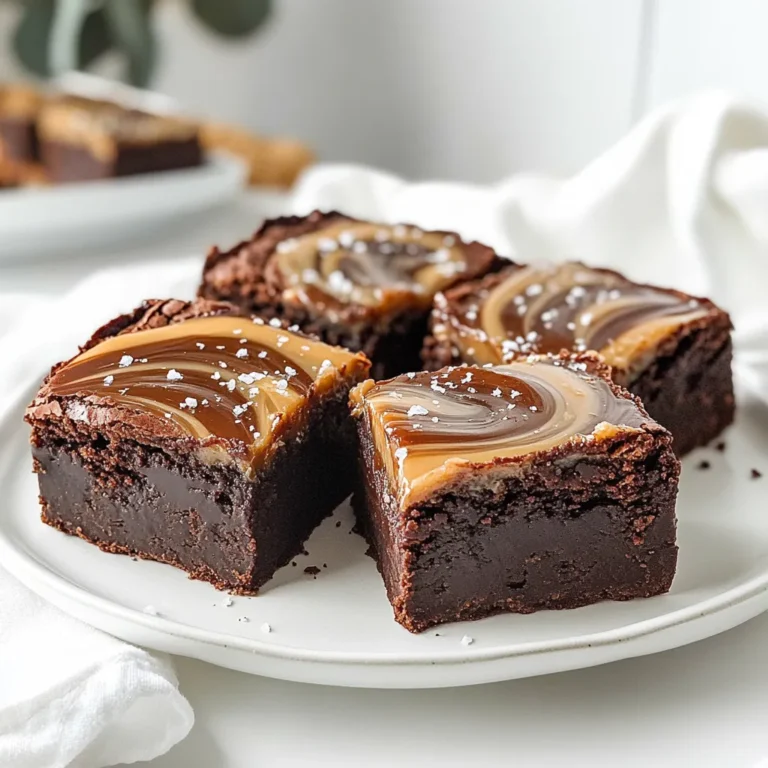
Caramel Mocha Brownie Bars Irresistible Chocolate Treat
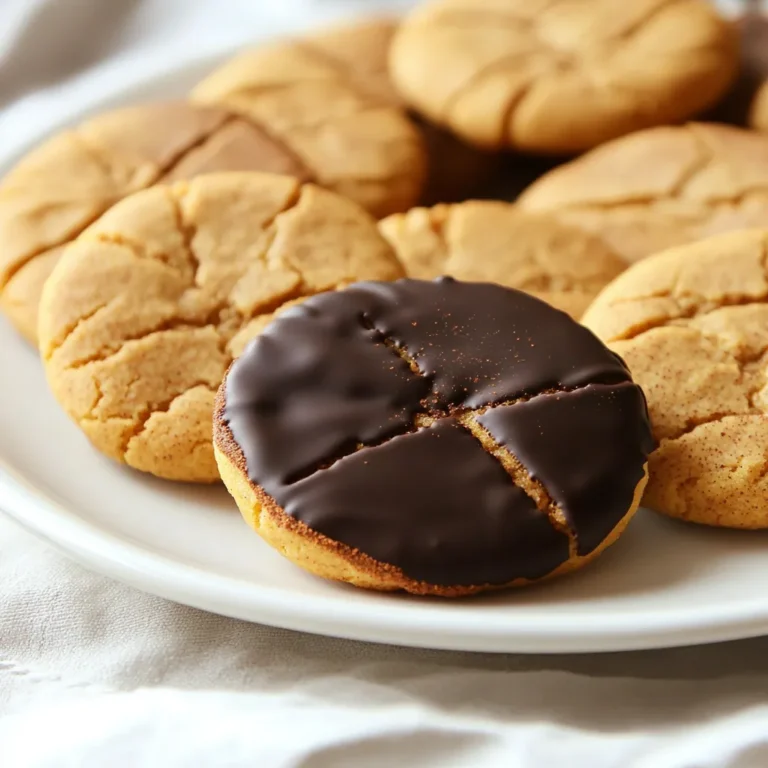
Chocolate Dipped Pumpkin Spice Cookies Delightfully Sweet
No Bake Oreo Peanut Butter Bars Easy and Delicious Treat
Coconut Chocolate Energy Balls Easy Healthy Snack
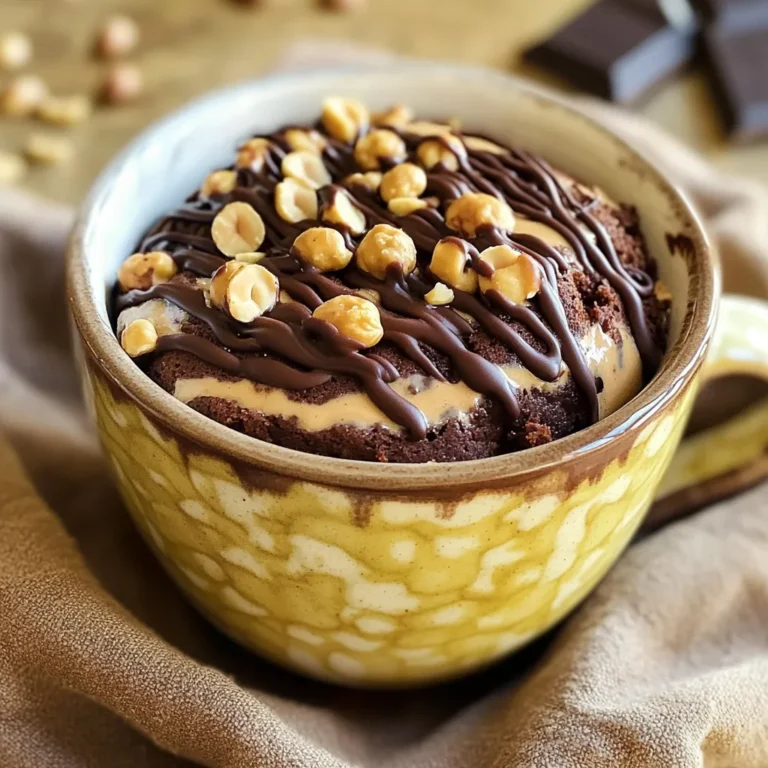
Chocolate Peanut Butter Mug Cake Quick and Easy Treat
Page navigation
Previous Page
Previous
1
…
3
4
5
6
7
…
40
Next Page
Next
Home
Dinner
Appetizer
Desserts
Drinks
About
Contact
Privacy Policy
Toggle Menu Close
Search for:
Search