Skip to content
About
Contact
Cookie Policy
Copyright Policy
Disclaimer
Search
Home
Dinner
Appetizer
Desserts
Drinks
About
Contact
Privacy Policy
Toggle Menu
Home
/
Desserts
- Page 6
Desserts
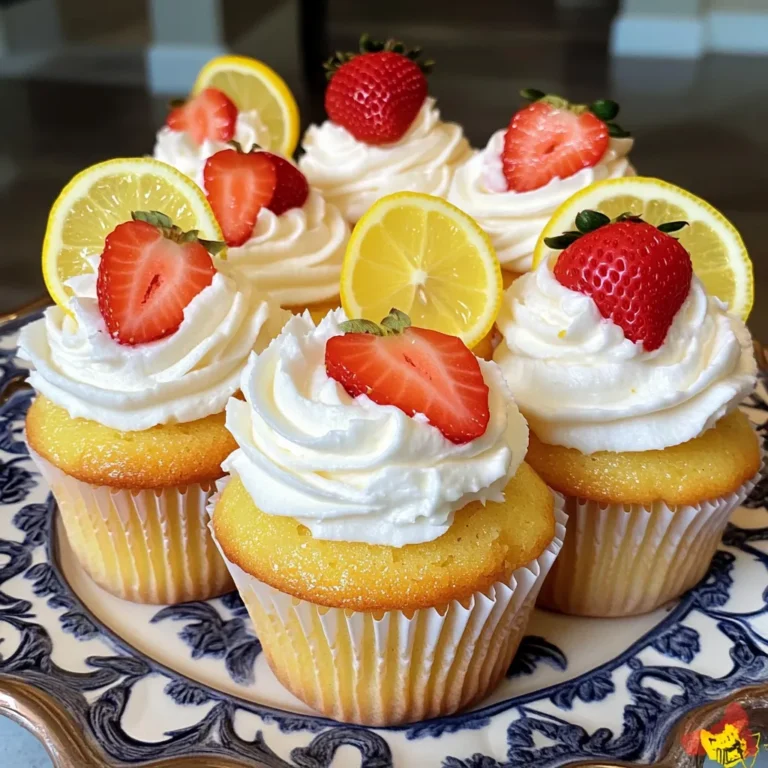
Strawberry Lemonade Cupcakes Fresh and Flavorful Treat
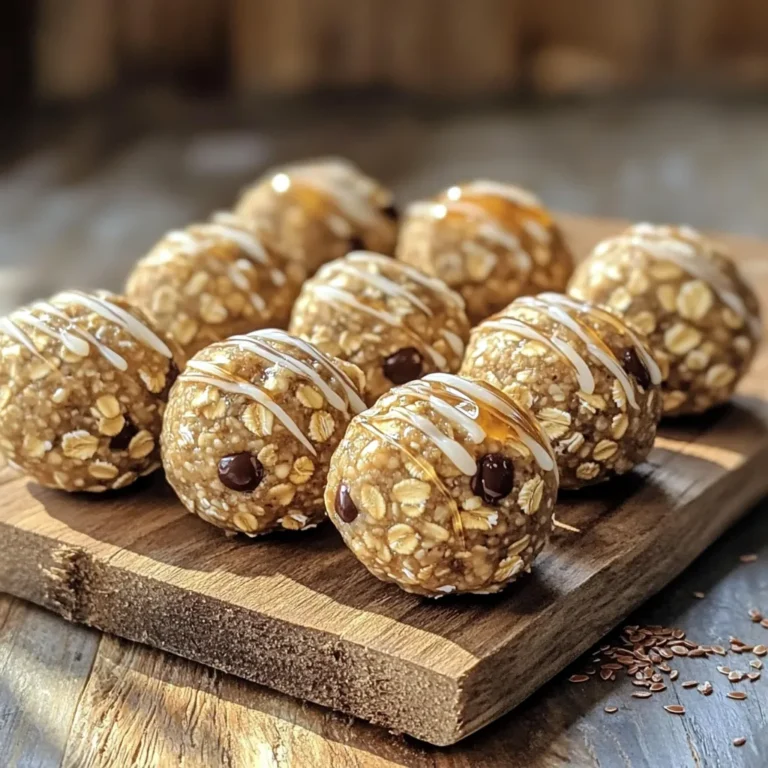
No-Bake Oatmeal Cookie Energy Balls Easy Snack Treat
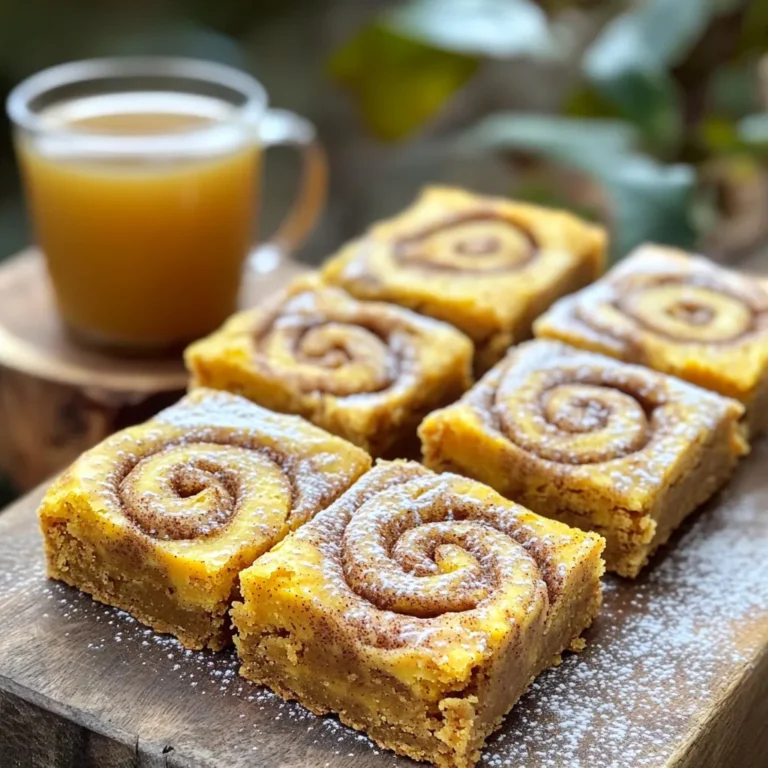
Pumpkin Spice Cinnamon Roll Blondies Delightful Treat
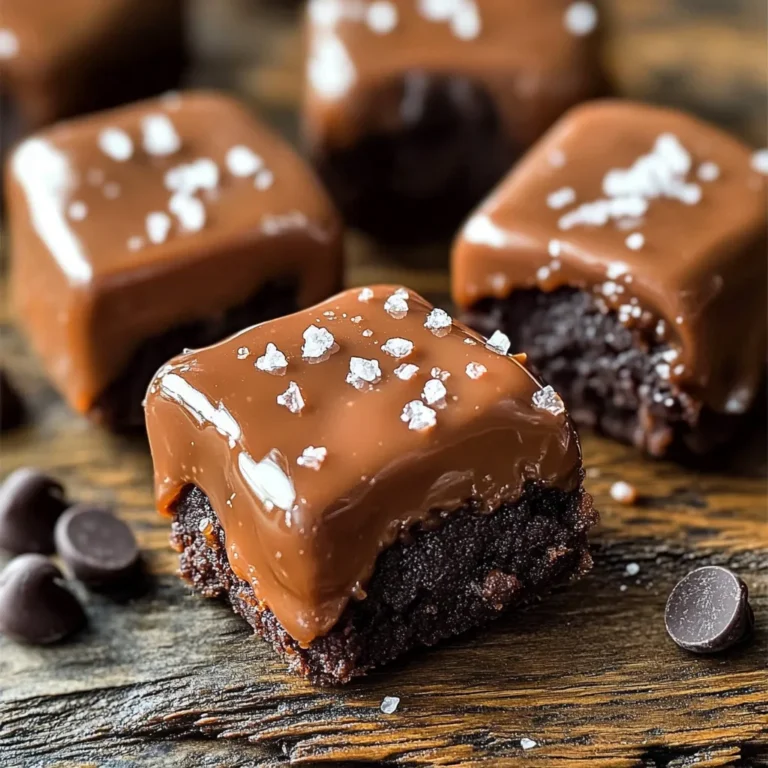
No-Bake Salted Caramel Brownie Bites Delight
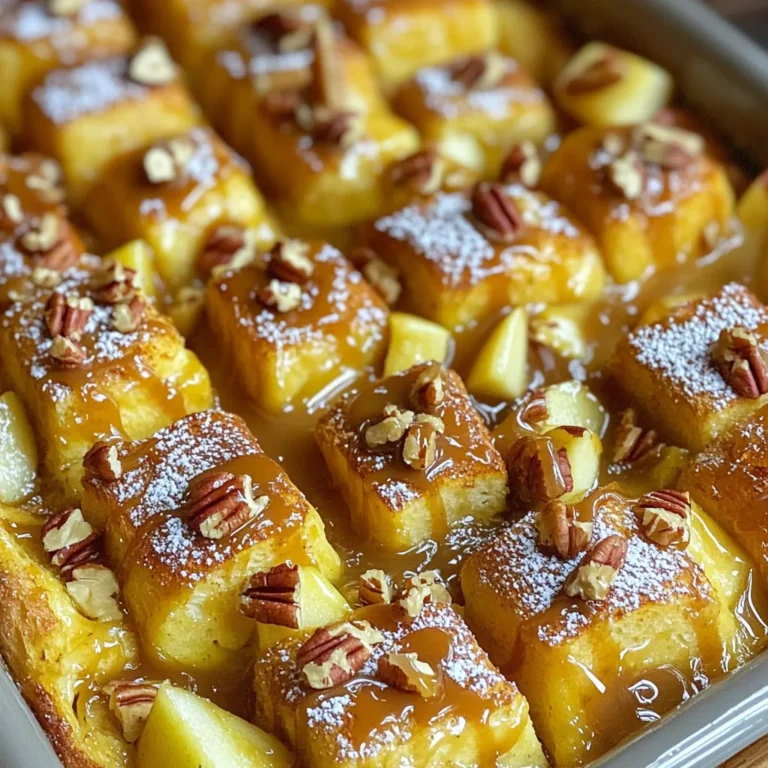
Caramel Apple French Toast Bake Easy Breakfast Recipe
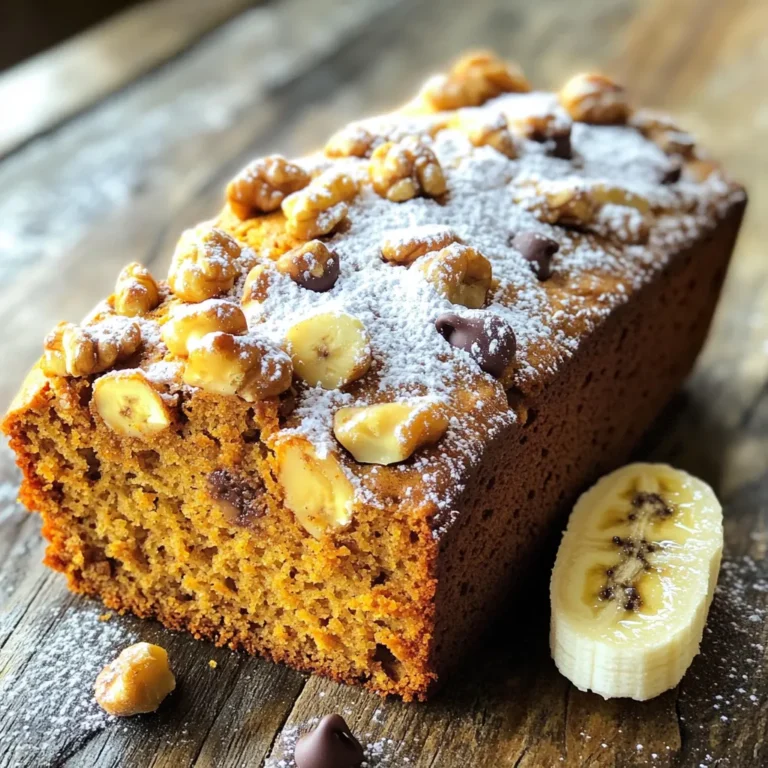
Pumpkin Spice Banana Bread Delightful and Easy Recipe
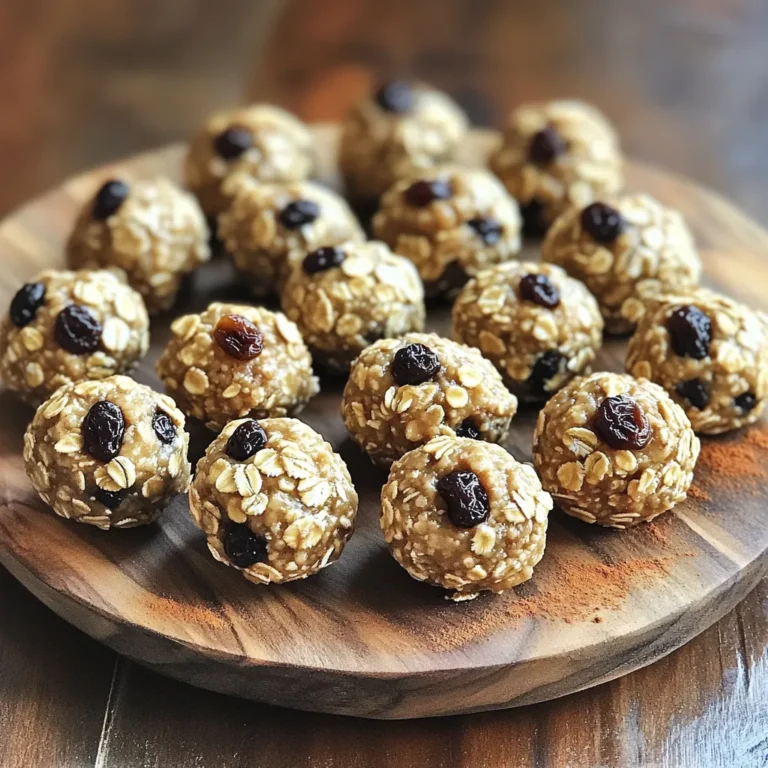
No-Bake Oatmeal Raisin Energy Bites Healthy Snack
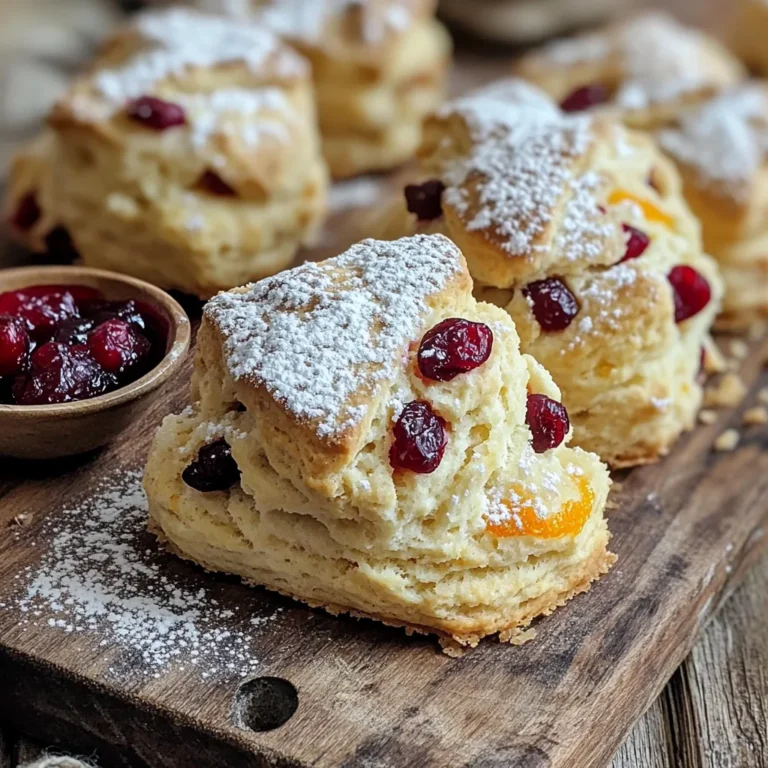
Cranberry Orange Scones Fresh and Flavorful Delight
Pumpkin Spice Icebox Cake Delightful No-Bake Treat
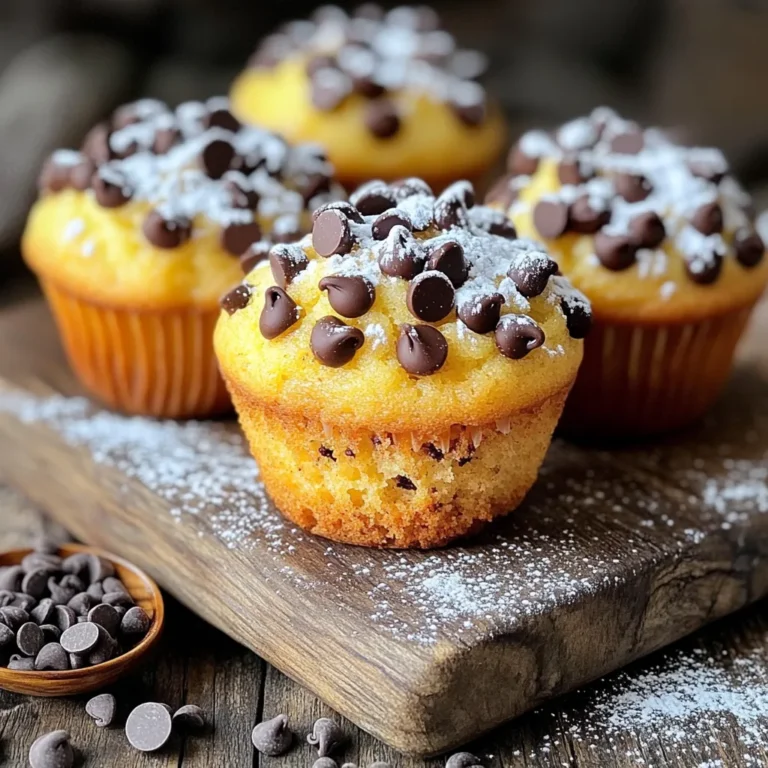
Chocolate Chip Banana Bread Muffins Delightful Treat
Page navigation
Previous Page
Previous
1
…
4
5
6
7
8
…
40
Next Page
Next
Home
Dinner
Appetizer
Desserts
Drinks
About
Contact
Privacy Policy
Toggle Menu Close
Search for:
Search