Skip to content
About
Contact
Cookie Policy
Copyright Policy
Disclaimer
Search
Home
Dinner
Appetizer
Desserts
Drinks
About
Contact
Privacy Policy
Toggle Menu
Home
/
Desserts
- Page 7
Desserts
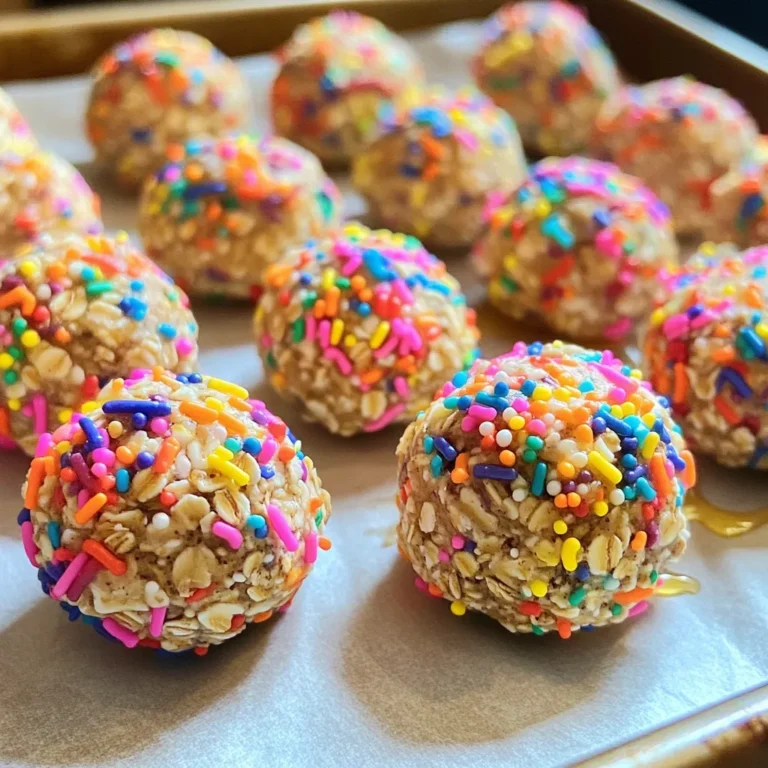
No Bake Birthday Cake Energy Bites for Easy Fun
Slow Cooker Chocolate Lava Cake Delightful Dessert Treat
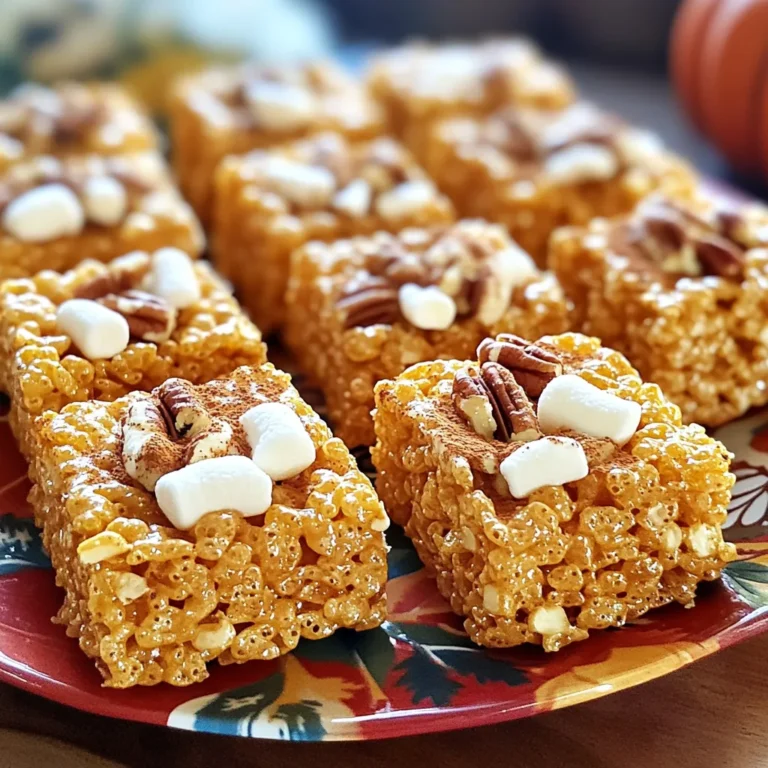
Pumpkin Spice Rice Krispie Treats Festive Fall Treats
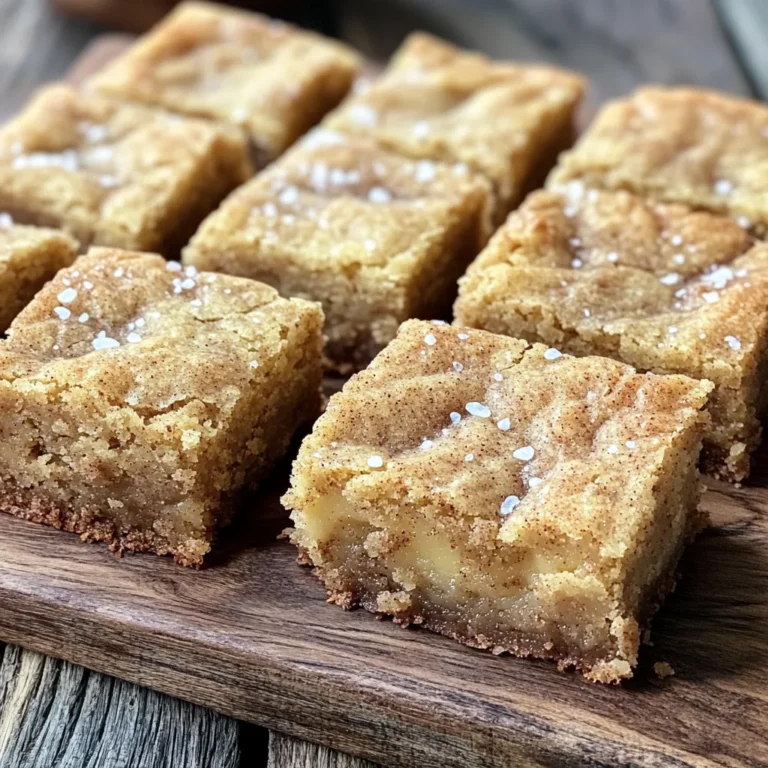
Brown Butter Snickerdoodle Blondies Easy and Delicious
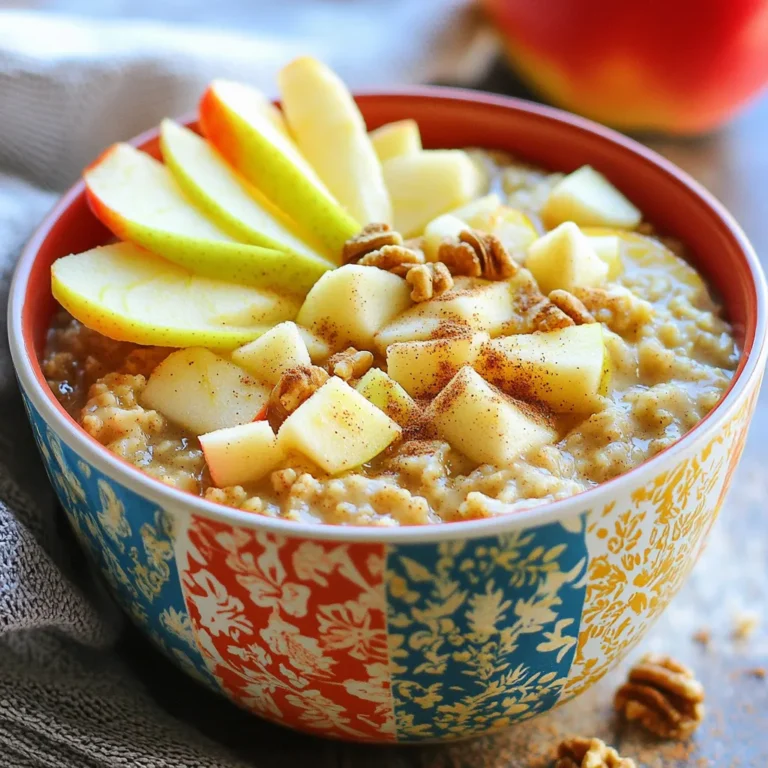
Slow Cooker Apple Cinnamon Oatmeal Warm and Comforting
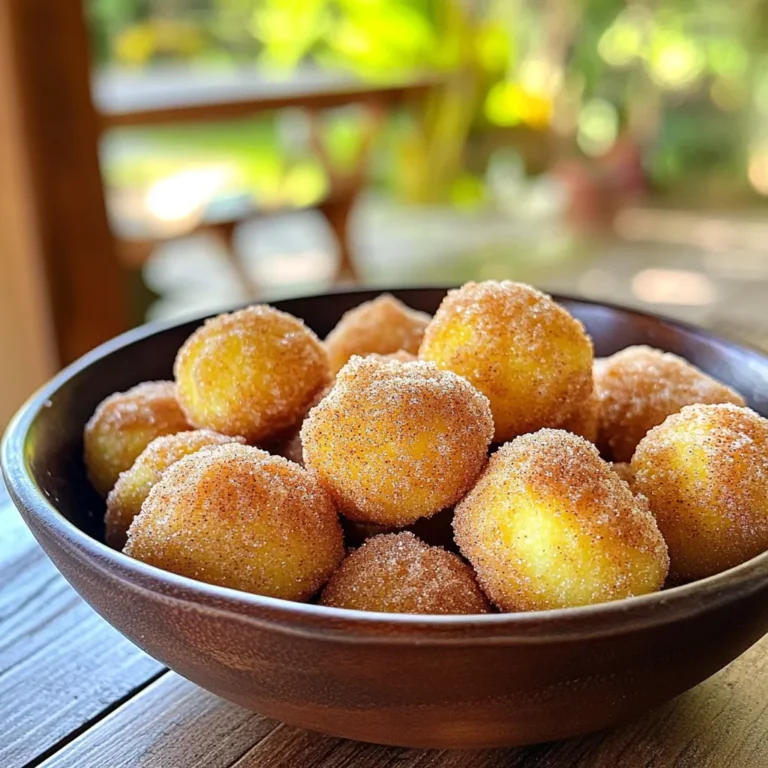
Air Fryer Cinnamon Sugar Donut Holes Delight
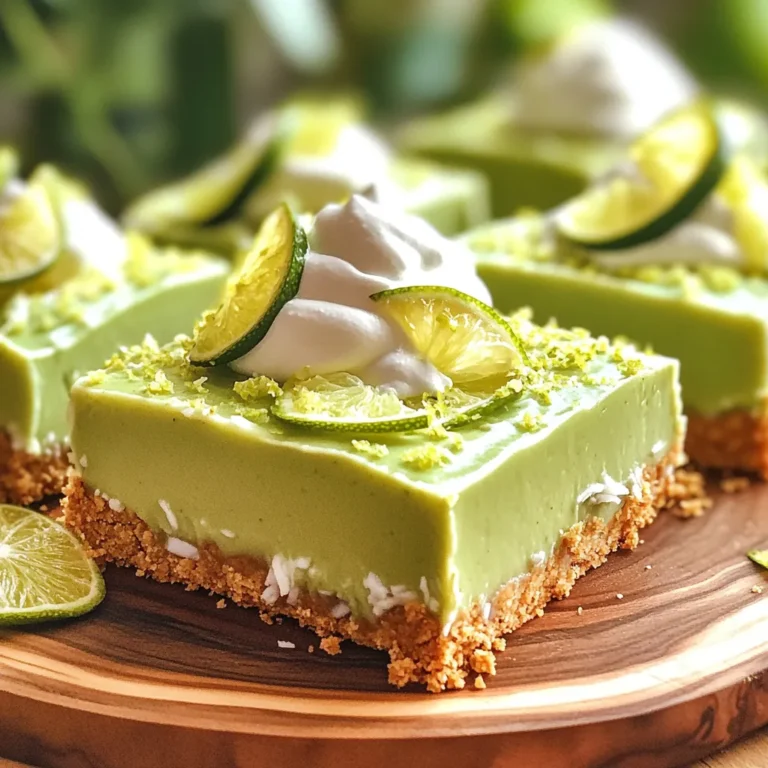
No Bake Key Lime Pie Bars Delightful and Simple Treat
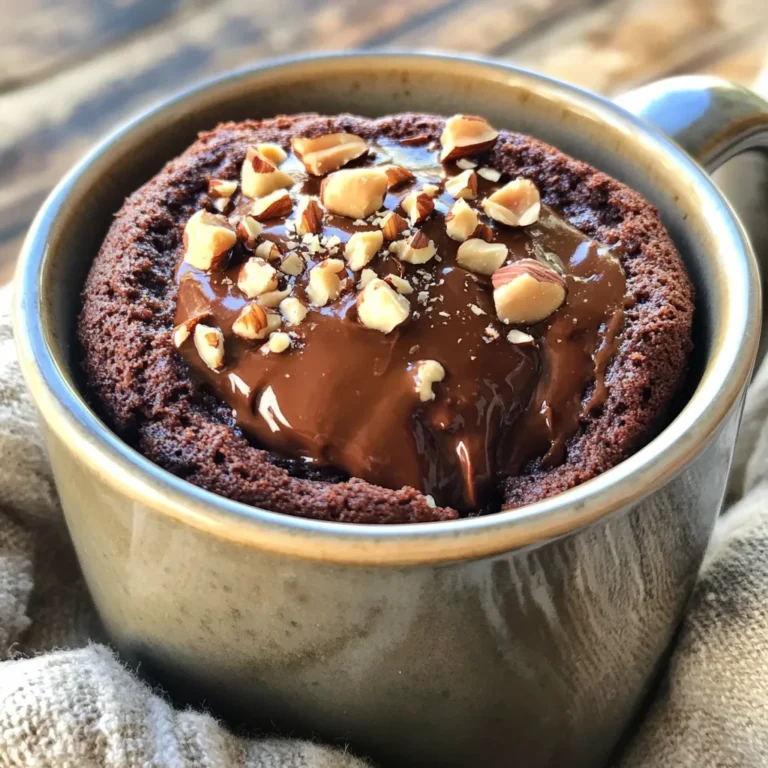
Chocolate Hazelnut Mug Cake Simple and Quick Recipe
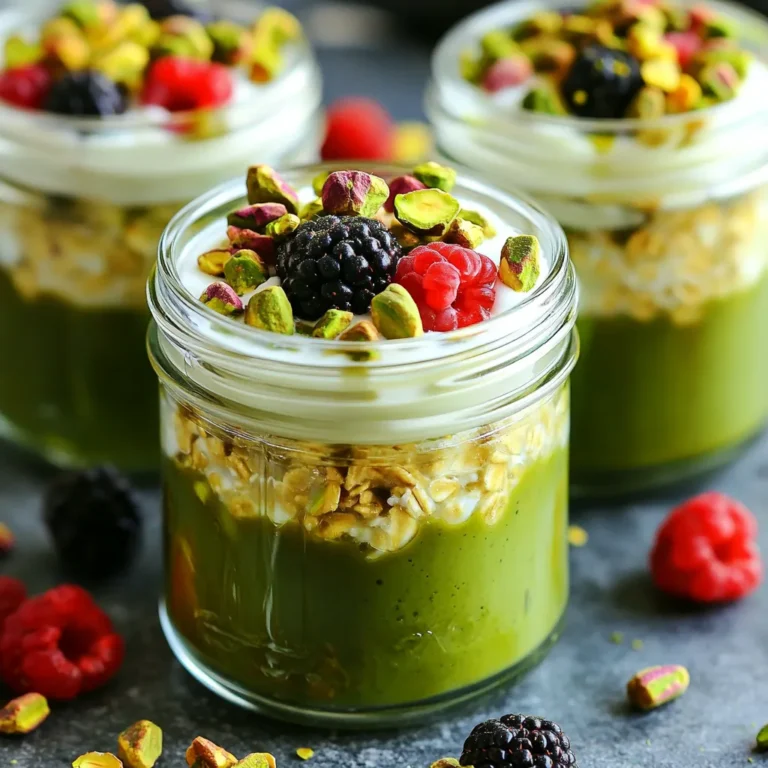
Pistachio Matcha Overnight Oats Healthy Breakfast Boost
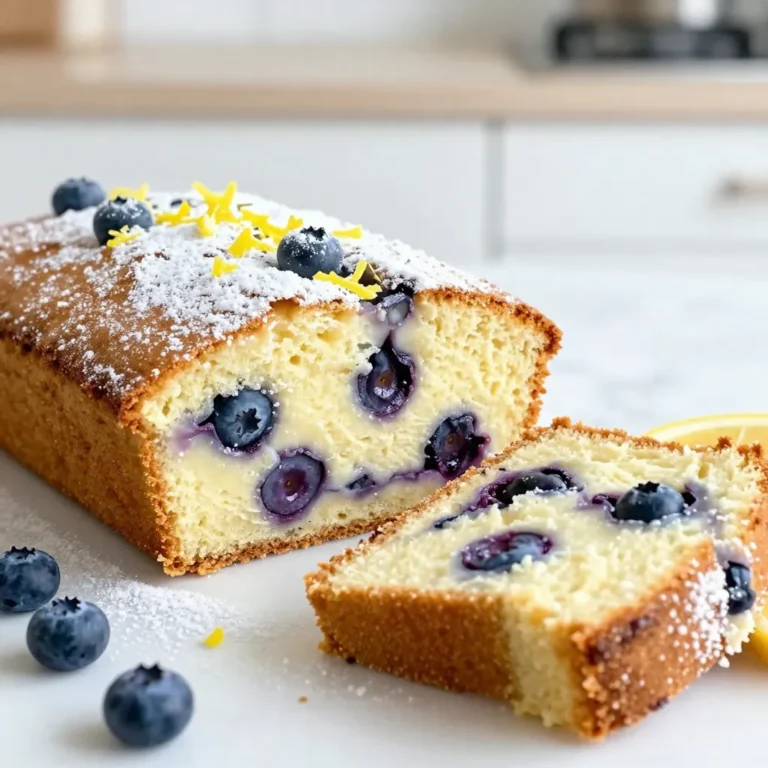
Blueberry Lemon Yogurt Cake Fresh and Flavorful Dessert
Page navigation
Previous Page
Previous
1
…
5
6
7
8
9
…
40
Next Page
Next
Home
Dinner
Appetizer
Desserts
Drinks
About
Contact
Privacy Policy
Toggle Menu Close
Search for:
Search