Skip to content
About
Contact
Cookie Policy
Copyright Policy
Disclaimer
Search
Home
Dinner
Appetizer
Desserts
Drinks
About
Contact
Privacy Policy
Toggle Menu
Home
/
Desserts
- Page 8
Desserts
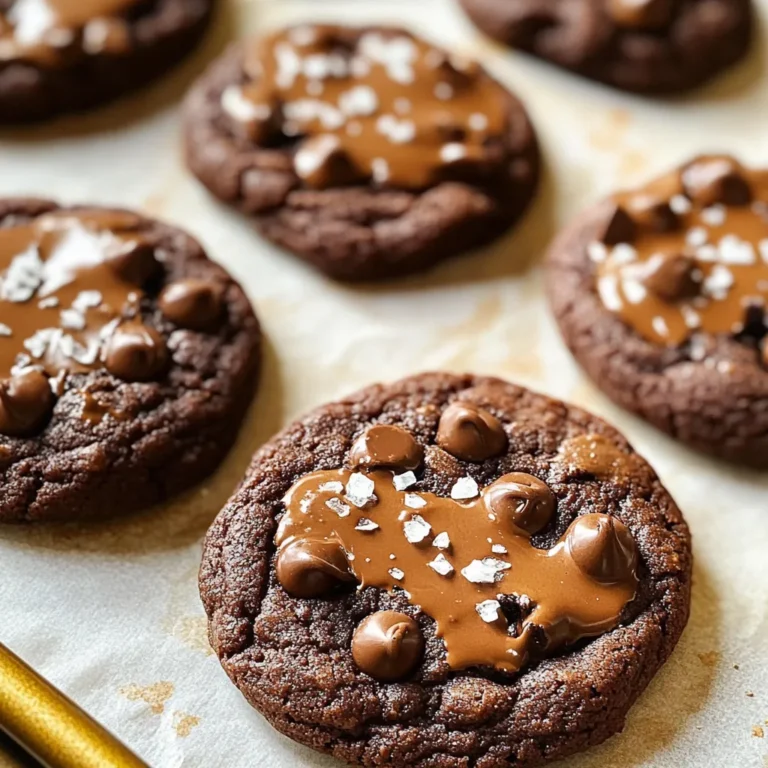
Bakery-Style Chocolate Espresso Cookies Delight
No-Bake Key Lime Pie Bars Refreshing and Easy Dessert
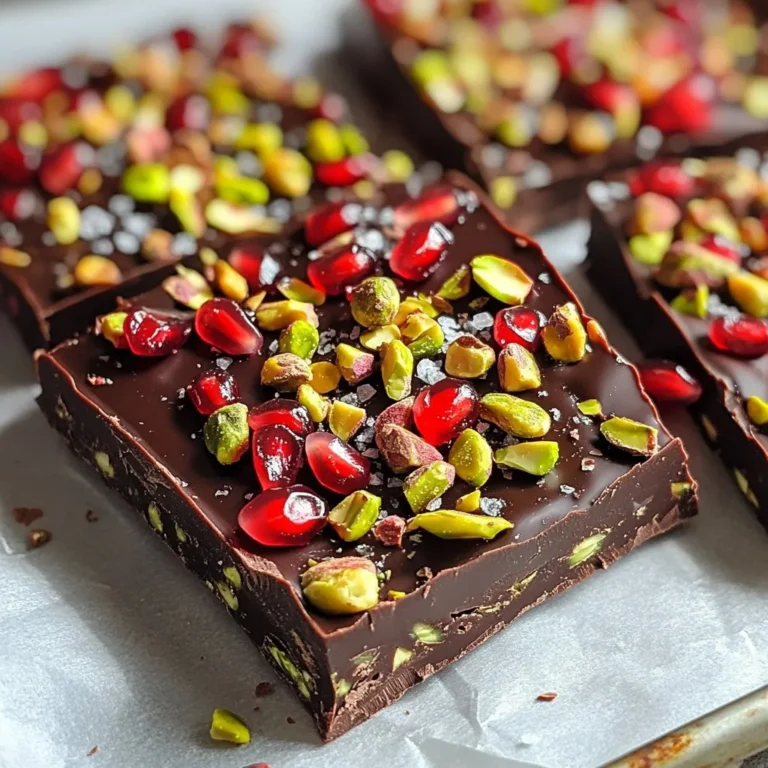
Pomegranate Pistachio Bark Delightful and Simple Treat
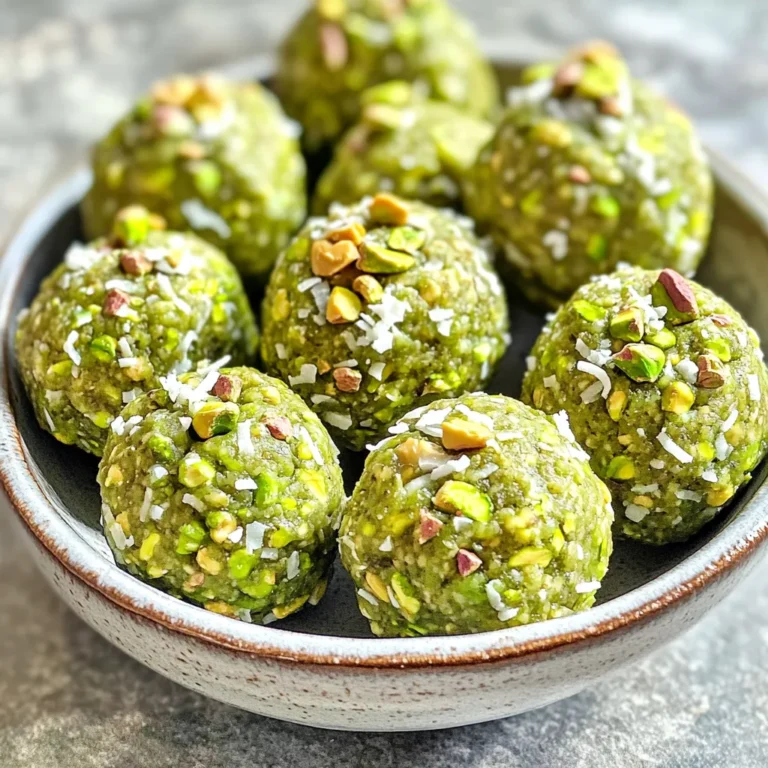
No-Bake Pistachio Energy Bites Healthy Snack Option
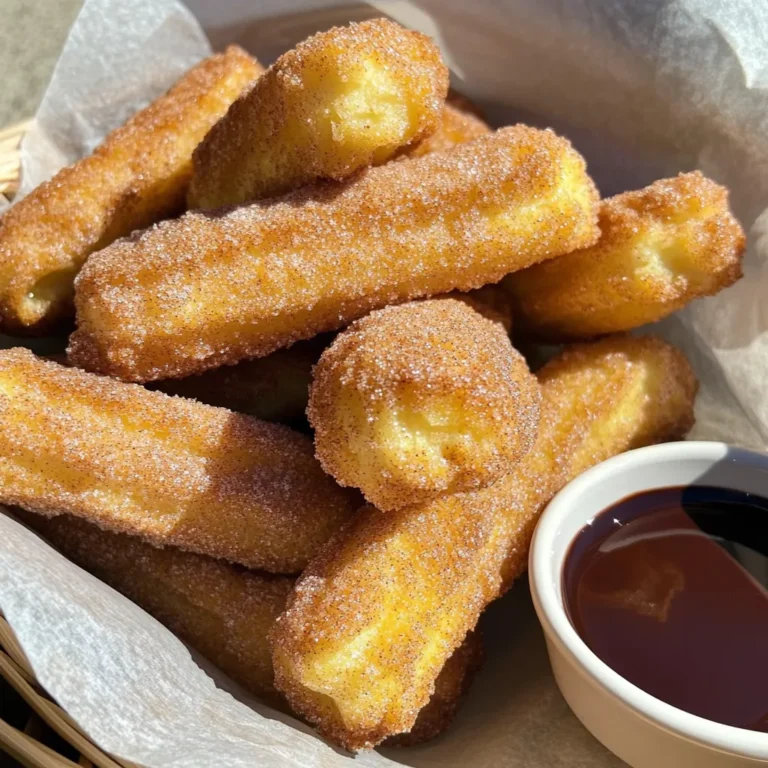
Air Fryer Cinnamon Sugar Churro Bites Delight
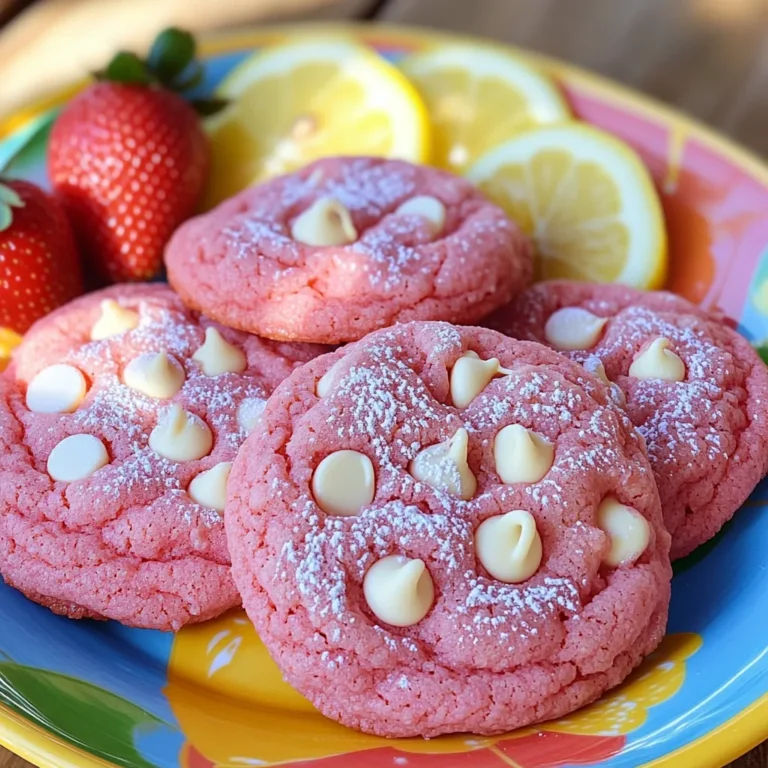
Strawberry Lemonade Cake Mix Cookies Simple Treats
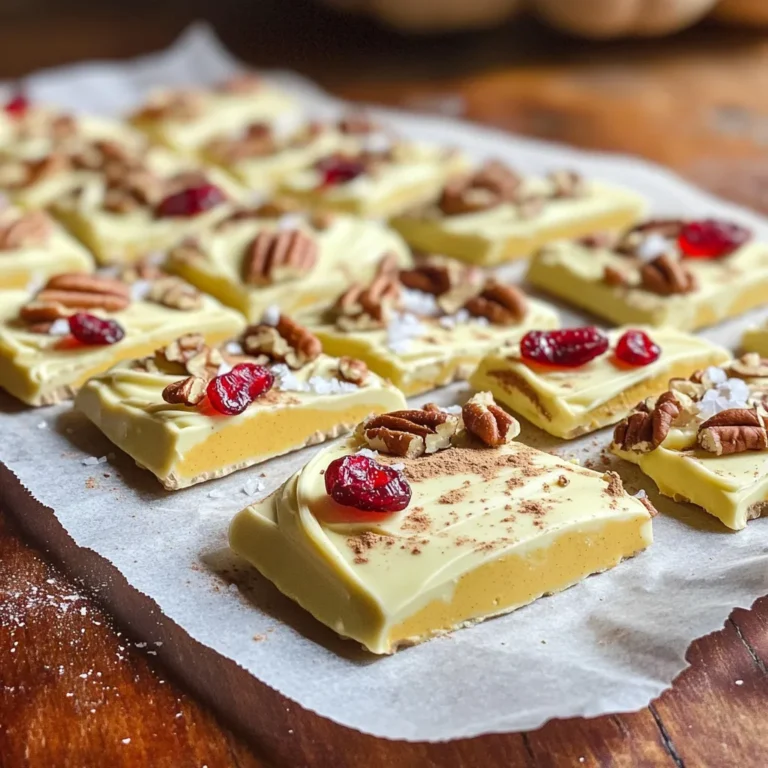
Pumpkin White Chocolate Bark No-Bake Delightful Treat
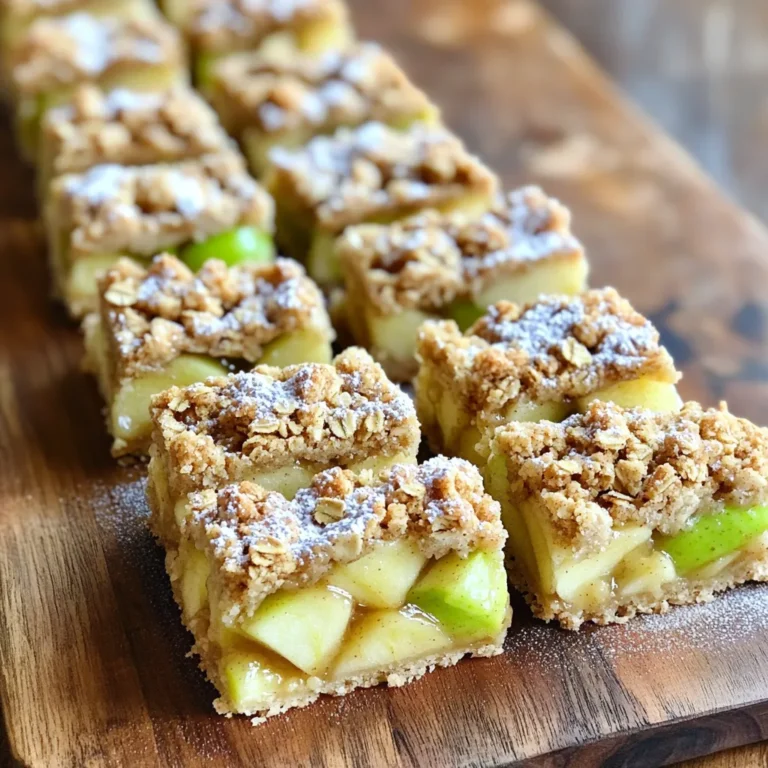
Cinnamon Apple Crumble Bars Easy and Tasty Treat
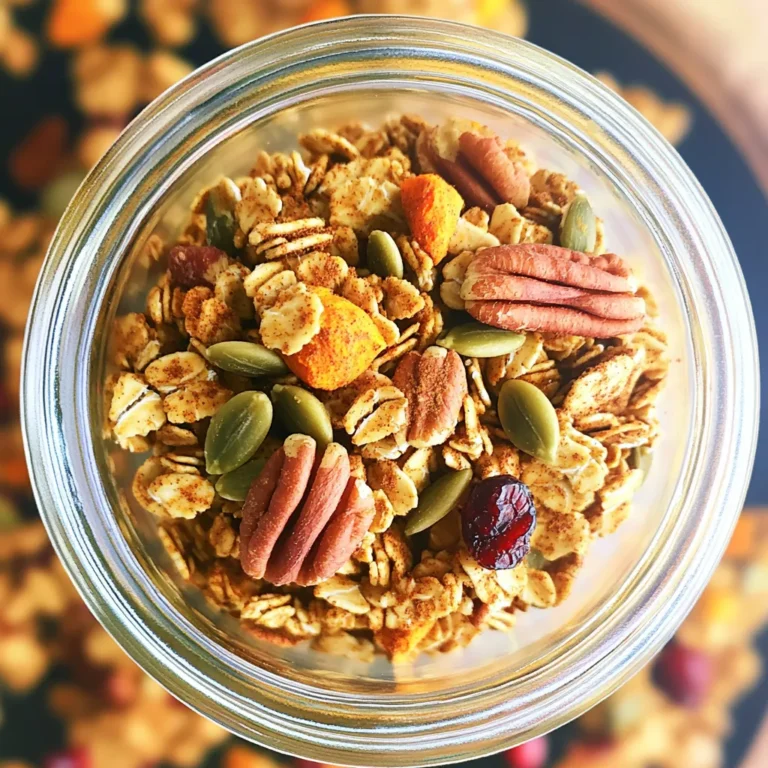
Pumpkin Spice Granola with Pecans Easy Recipe
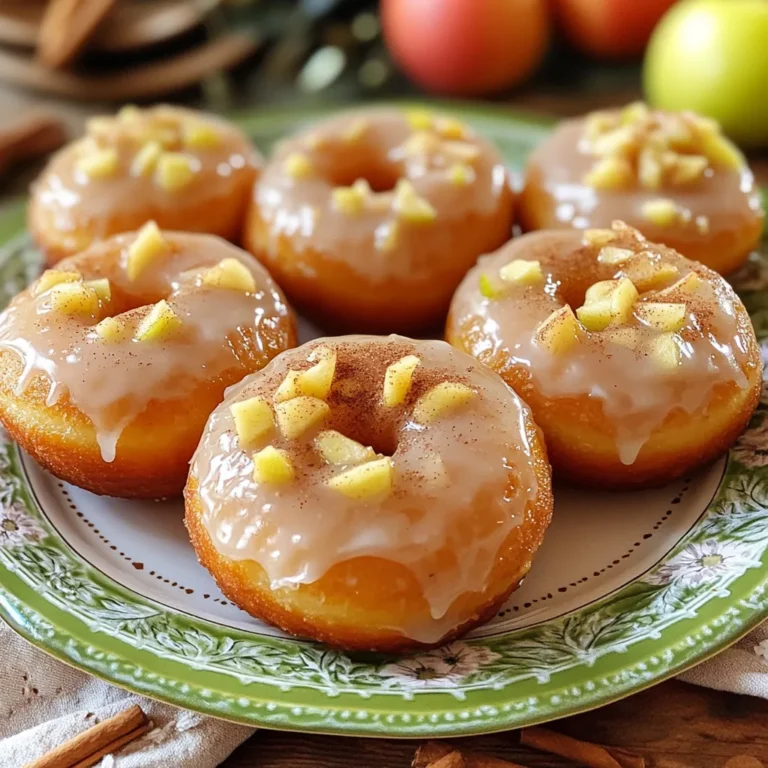
Apple Cider Donuts with Glaze Bakery Delight Recipe
Page navigation
Previous Page
Previous
1
…
6
7
8
9
10
…
40
Next Page
Next
Home
Dinner
Appetizer
Desserts
Drinks
About
Contact
Privacy Policy
Toggle Menu Close
Search for:
Search