Skip to content
About
Contact
Cookie Policy
Copyright Policy
Disclaimer
Search
Home
Dinner
Appetizer
Desserts
Drinks
About
Contact
Privacy Policy
Toggle Menu
Home
/
Desserts
- Page 9
Desserts
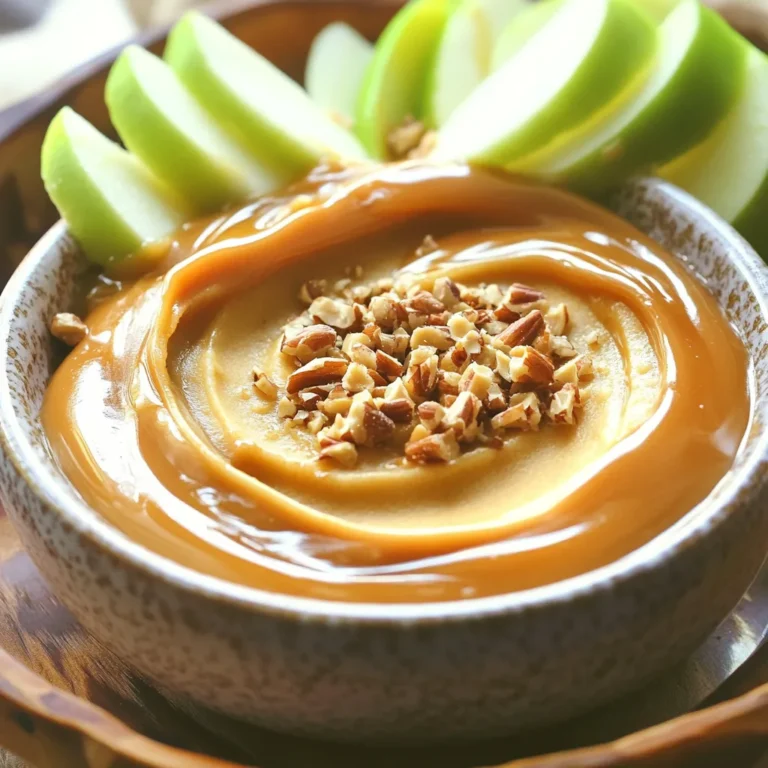
Caramel Apple Dip with Toffee Irresistible Treat
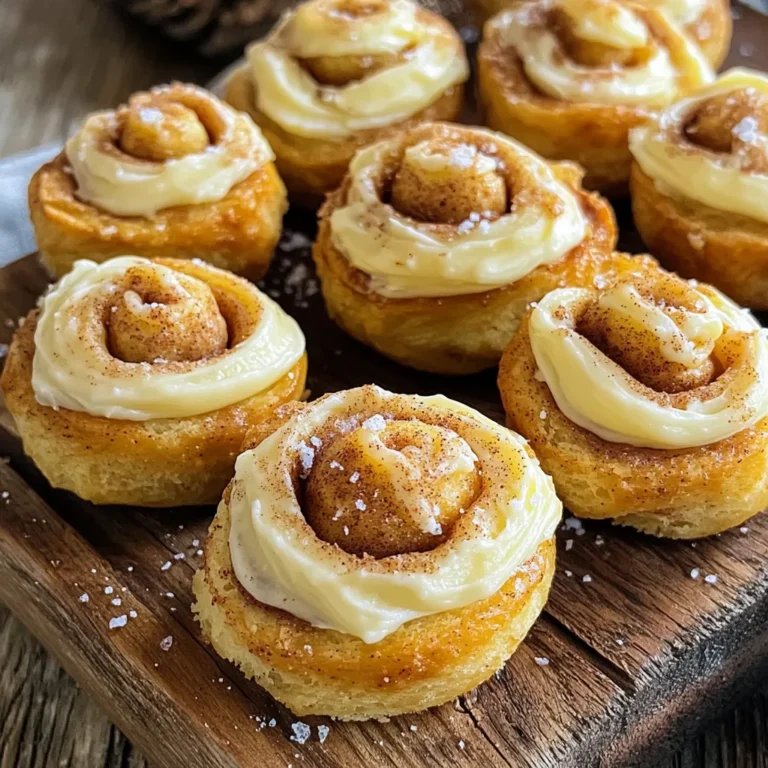
Air Fryer Cinnamon Roll Bites Tasty and Easy Treat
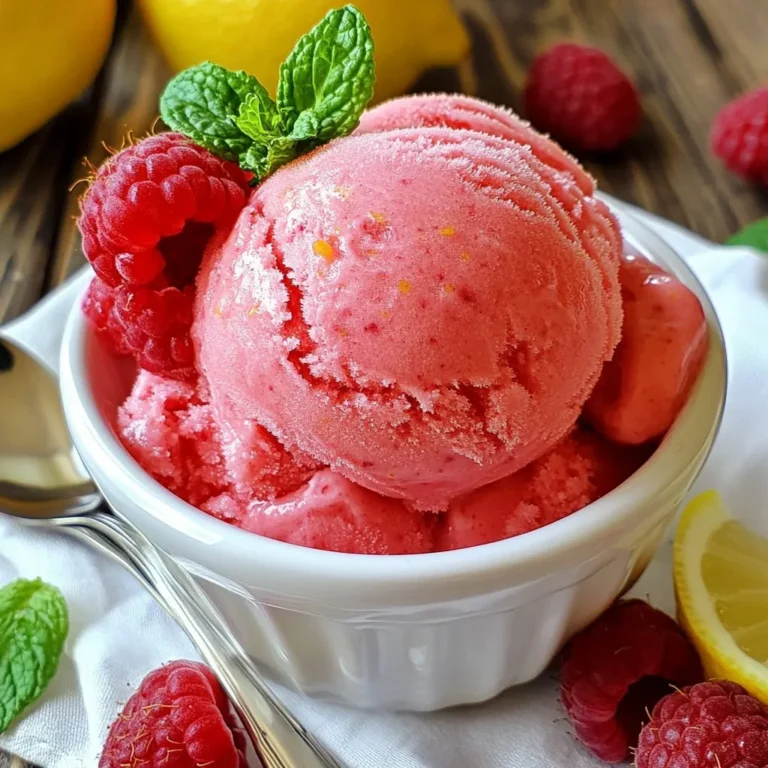
Raspberry Lemonade Sorbet Refreshing Summer Treat
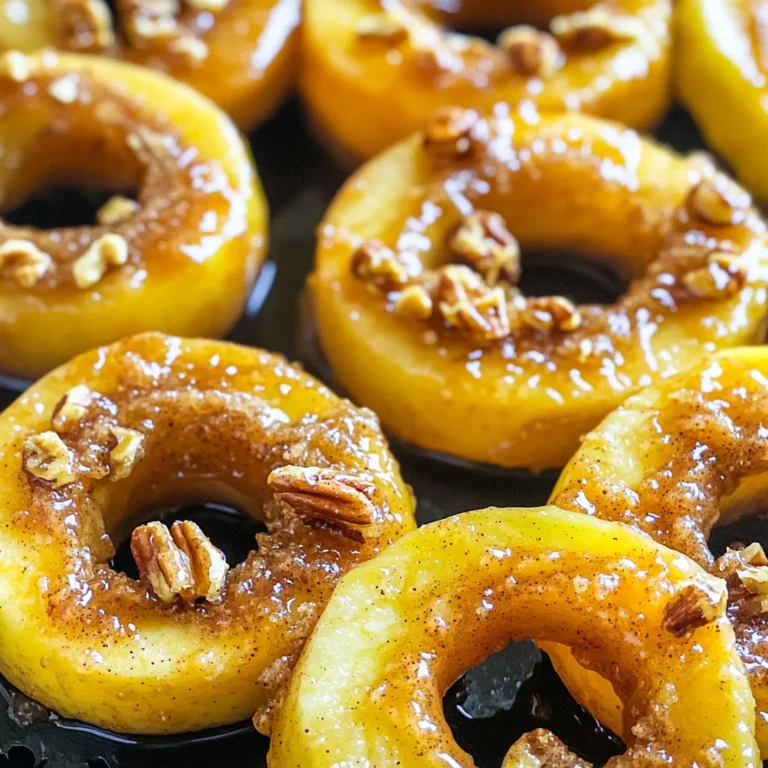
Air Fryer Sweet Cinnamon Apple Rings Delight
No-Bake Salted Caramel Turtle Bars Dessert Delight
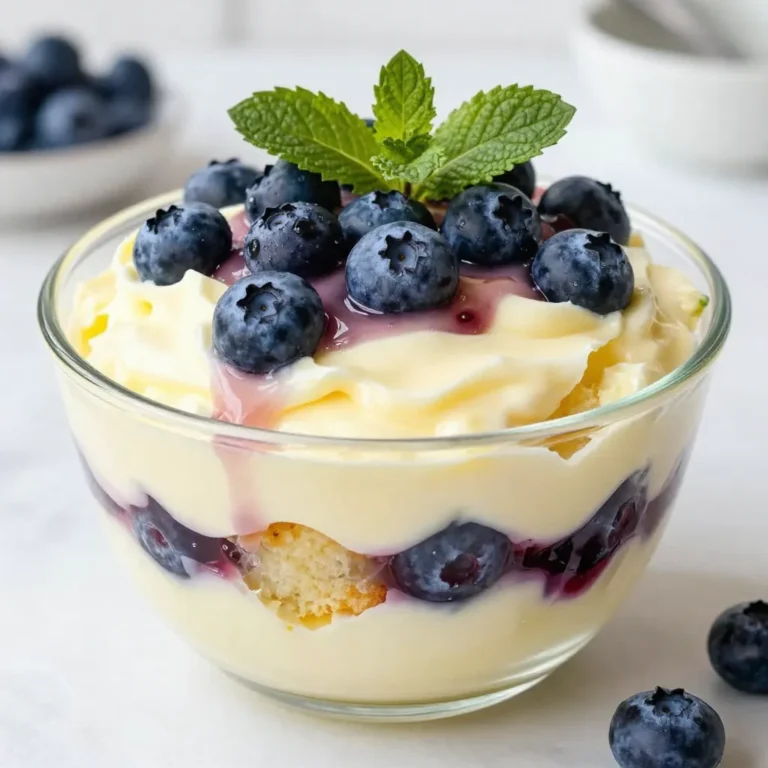
Lemon Blueberry Trifle Delightful and Easy Dessert
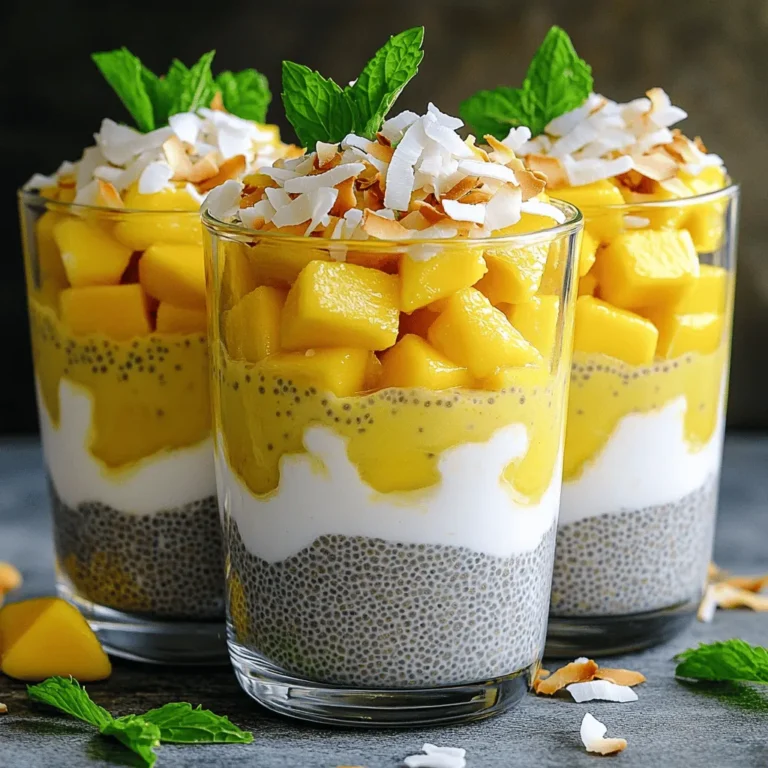
Mango Coconut Chia Pudding Simple and Healthy Recipe
Cinnamon Swirl Coffee Cake Muffins Delightfully Soft
Mango Lime Sorbet Refreshing and Easy Summer Treat
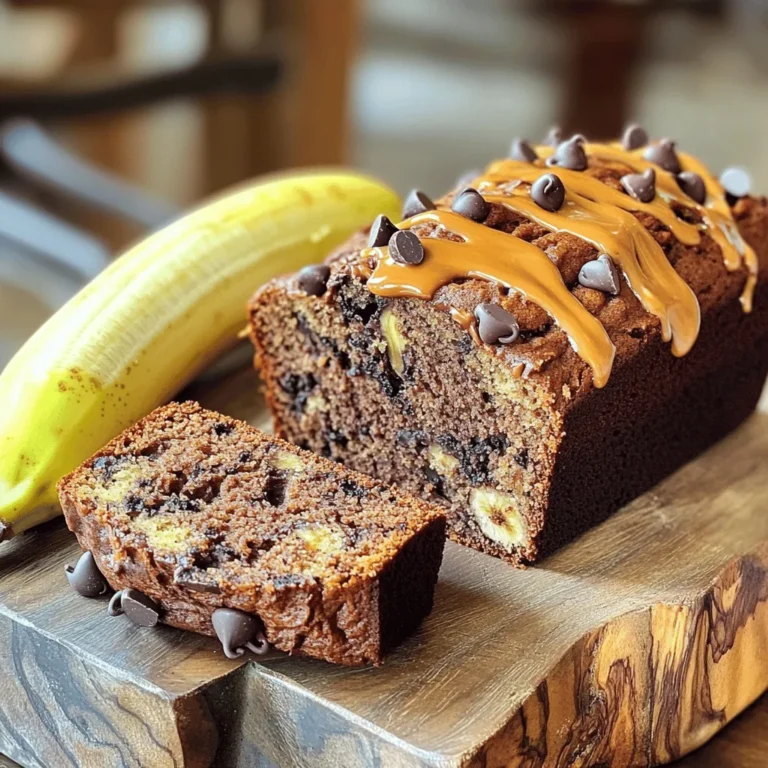
Chocolate Peanut Butter Banana Bread Deliciously Simple
Page navigation
Previous Page
Previous
1
…
7
8
9
10
11
…
40
Next Page
Next
Home
Dinner
Appetizer
Desserts
Drinks
About
Contact
Privacy Policy
Toggle Menu Close
Search for:
Search