Skip to content
About
Contact
Cookie Policy
Copyright Policy
Disclaimer
Search
Home
Dinner
Appetizer
Desserts
Drinks
About
Contact
Privacy Policy
Toggle Menu
Home
/
Dinner
- Page 10
Dinner
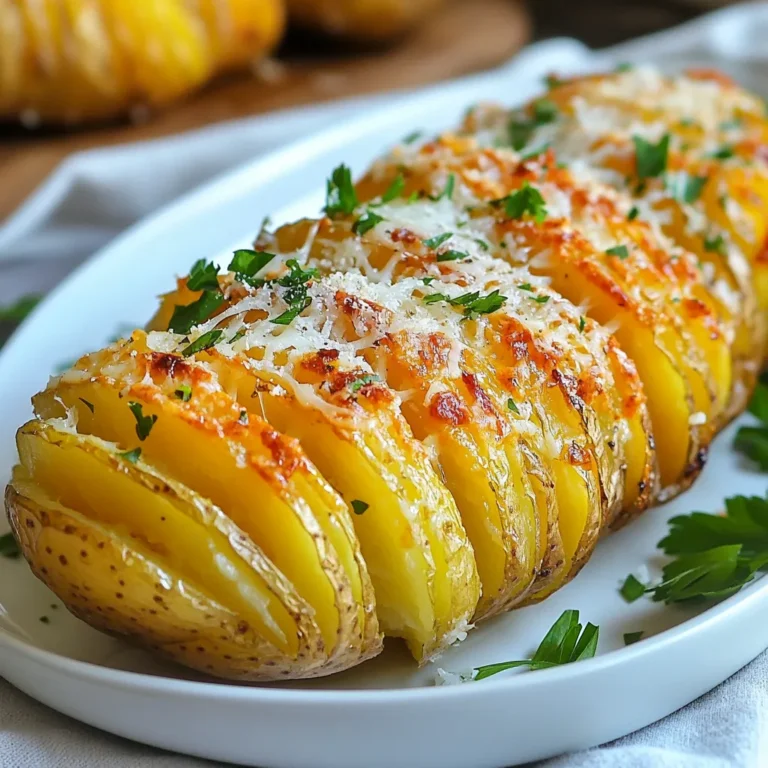
Garlic Parmesan Hasselback Potatoes Delightful Recipe
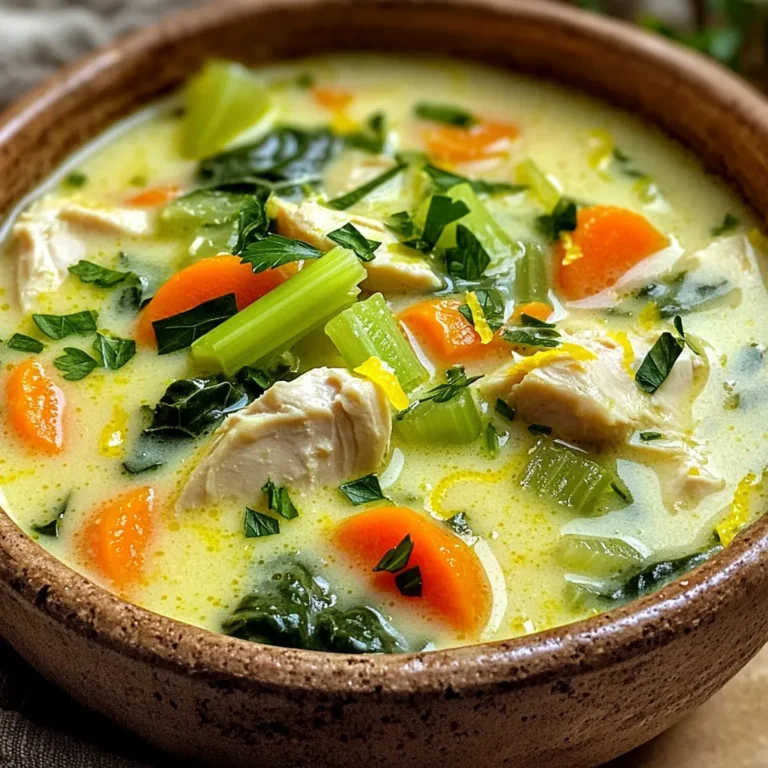
Slow Cooker Creamy Lemon Chicken Soup Delightful Dish
Savory One-Pot Alfredo Spinach Tortellini Delight
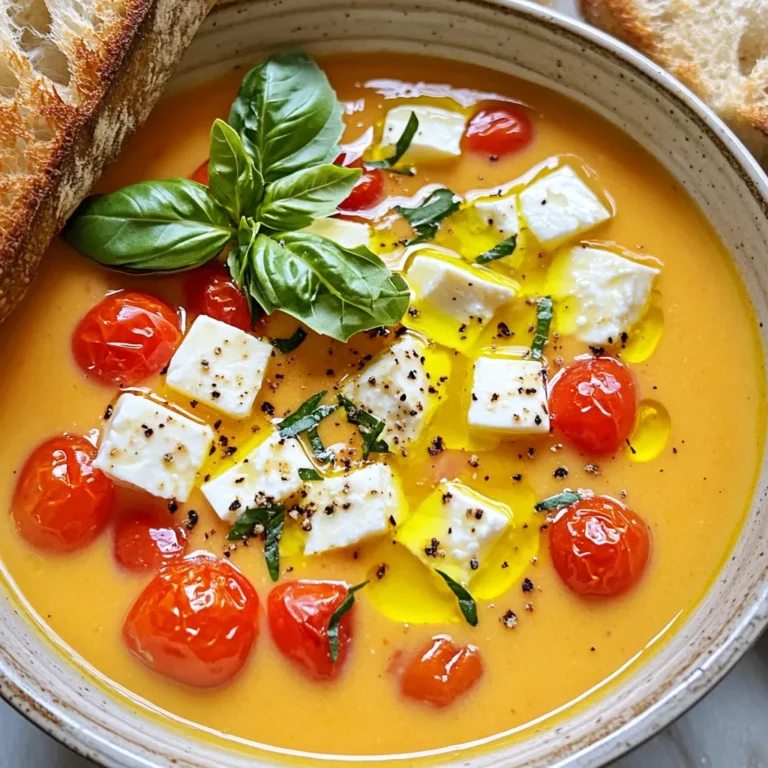
TikTok Feta and Tomato Soup Simple Flavor Boost
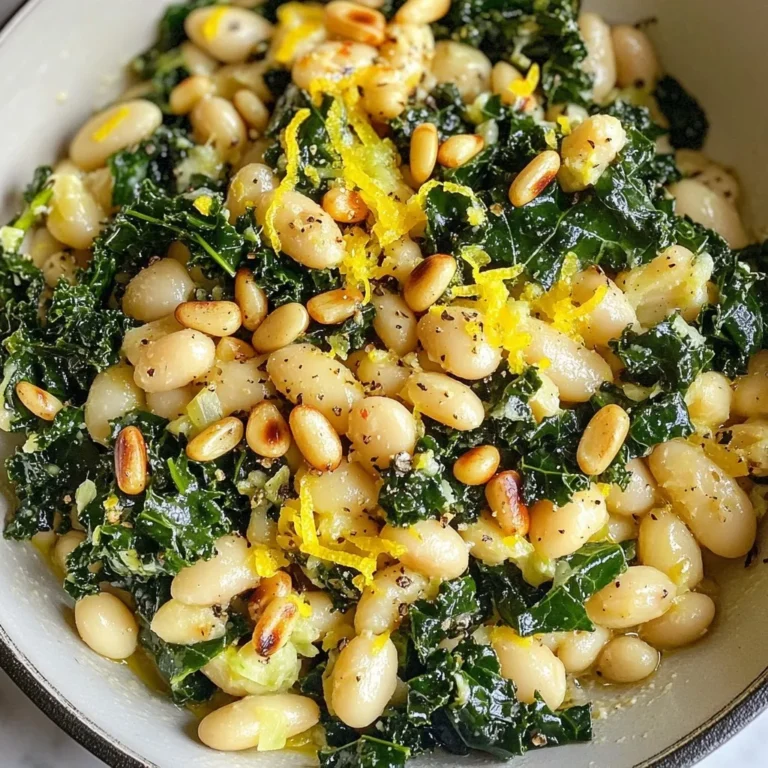
Tuscan Kale White Bean Skillet Flavorful and Easy Dish
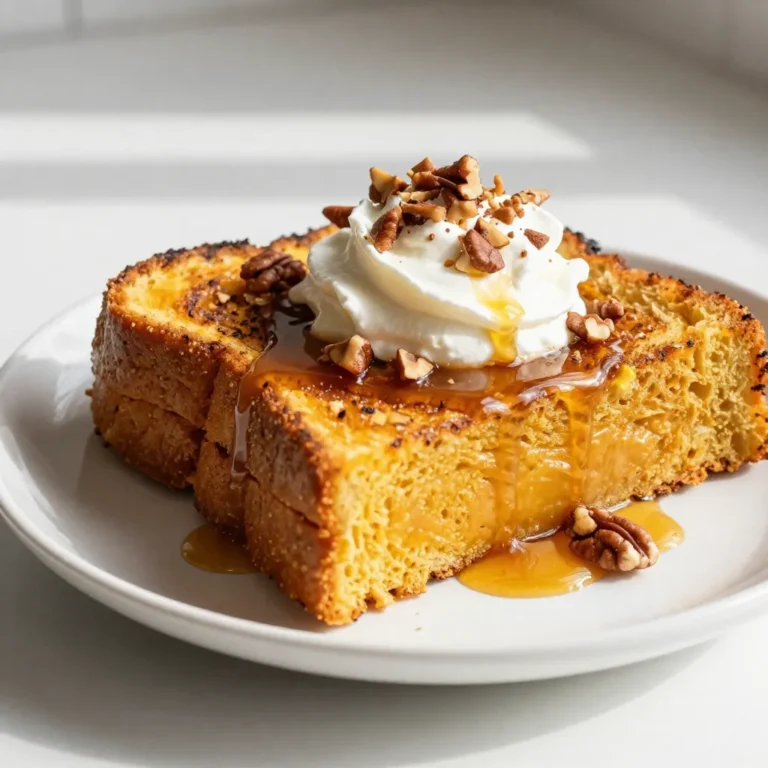
Pumpkin Spice French Toast Tasty and Cozy Recipe
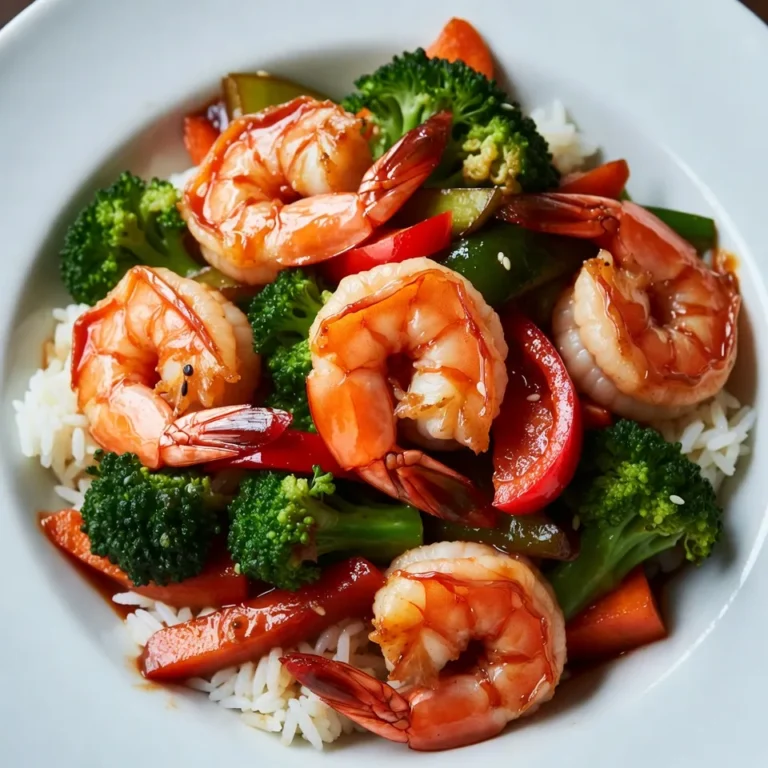
Teriyaki Shrimp Stir Fry Flavorful and Easy Dinner Recipe
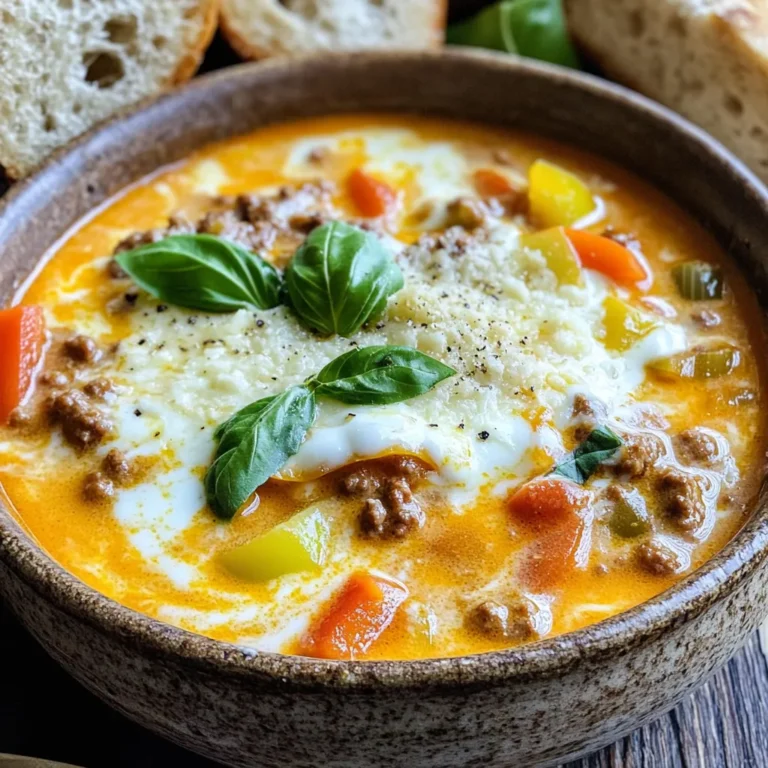
Slow Cooker Creamy Lasagna Soup Simple and Savory Dish
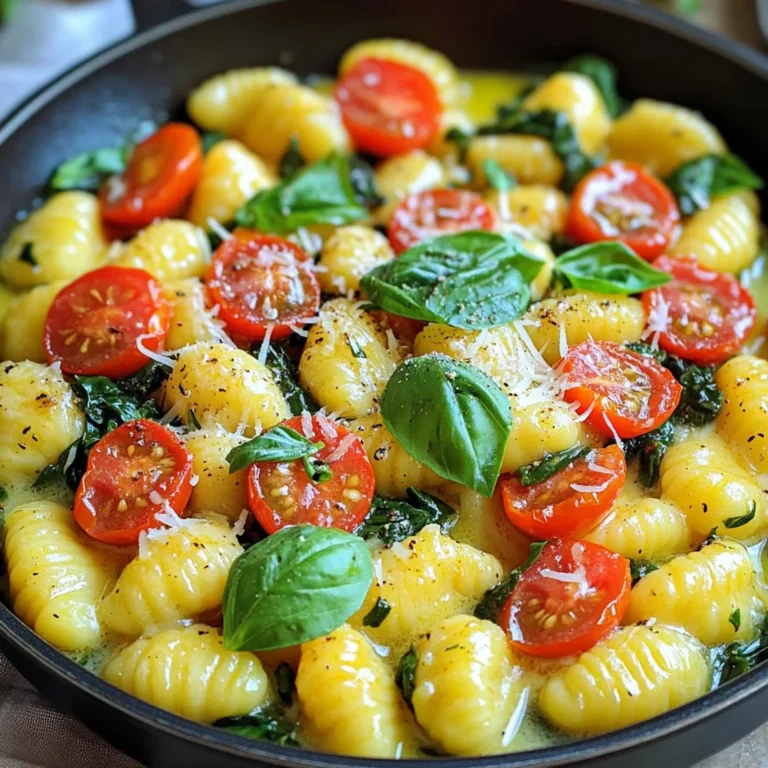
Minute Garlic Butter Gnocchi Skillet Easy Dinner Delight
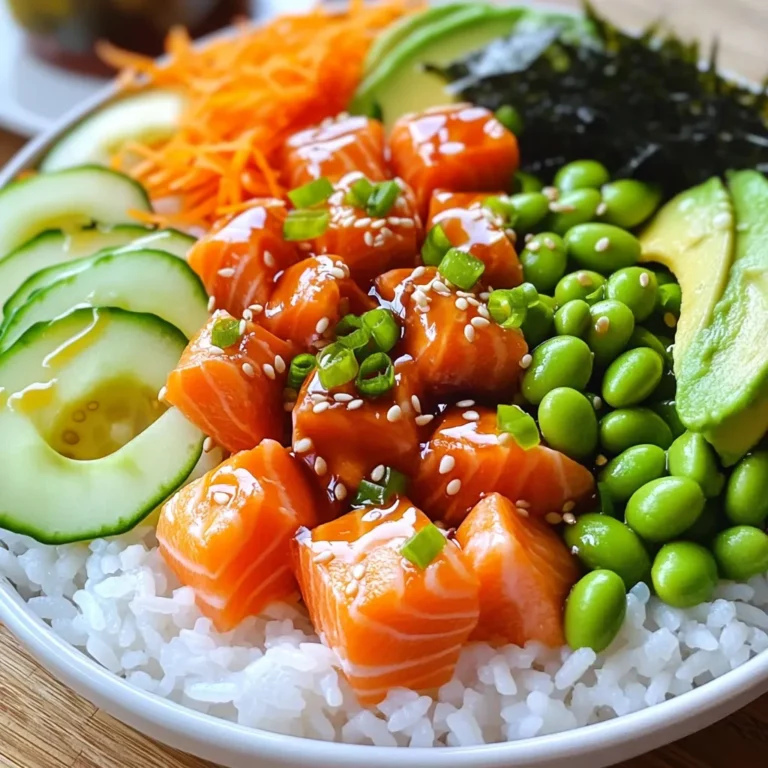
TikTok Salmon Rice Bowls Flavorful and Simple Recipe
Page navigation
Previous Page
Previous
1
…
8
9
10
11
12
…
64
Next Page
Next
Home
Dinner
Appetizer
Desserts
Drinks
About
Contact
Privacy Policy
Toggle Menu Close
Search for:
Search