Skip to content
About
Contact
Cookie Policy
Copyright Policy
Disclaimer
Search
Home
Dinner
Appetizer
Desserts
Drinks
About
Contact
Privacy Policy
Toggle Menu
Home
/
Dinner
- Page 11
Dinner
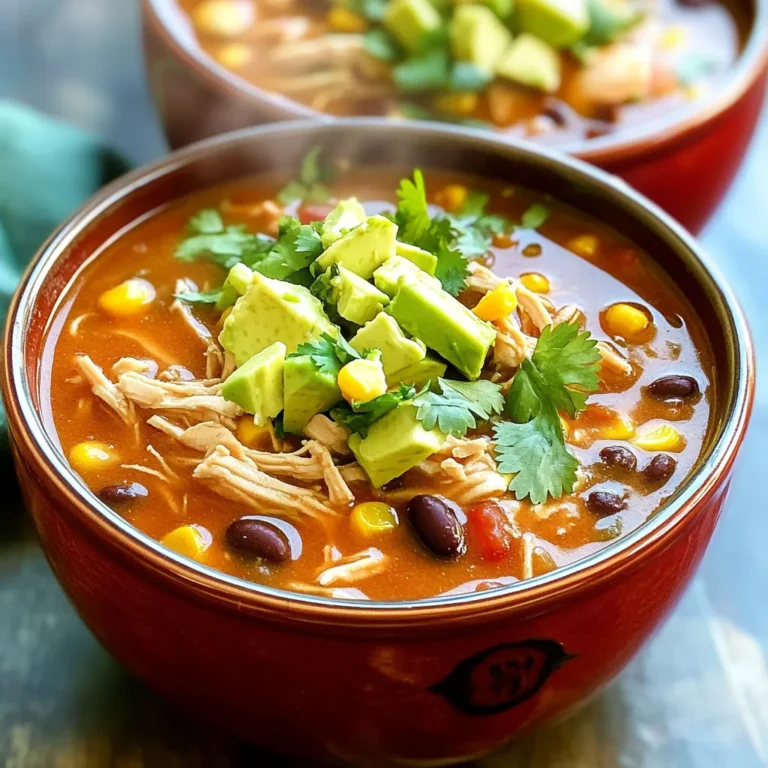
Instant Pot Chicken Taco Soup Flavorful and Satisfying
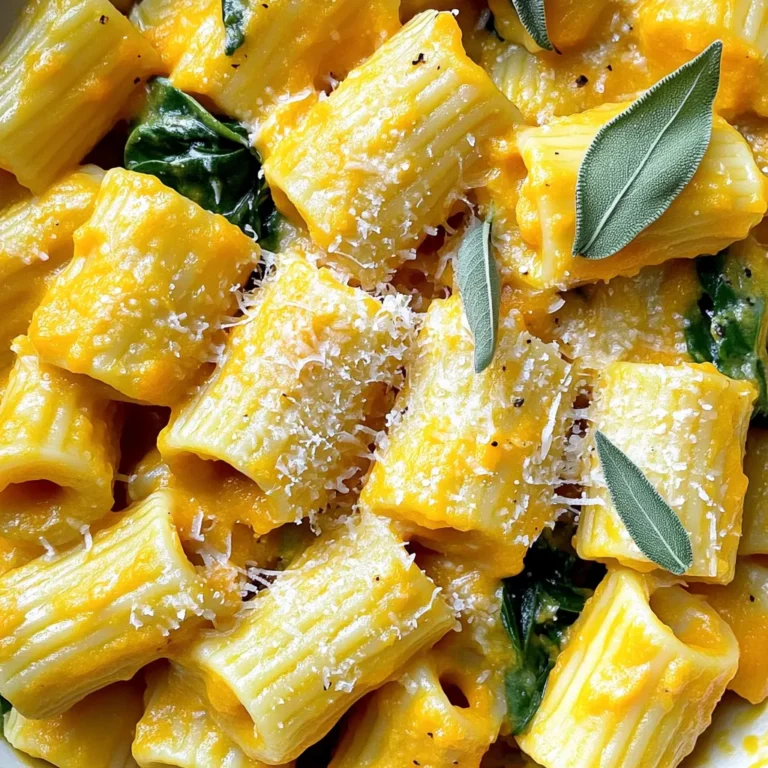
Creamy Roasted Butternut Squash Rigatoni Delight
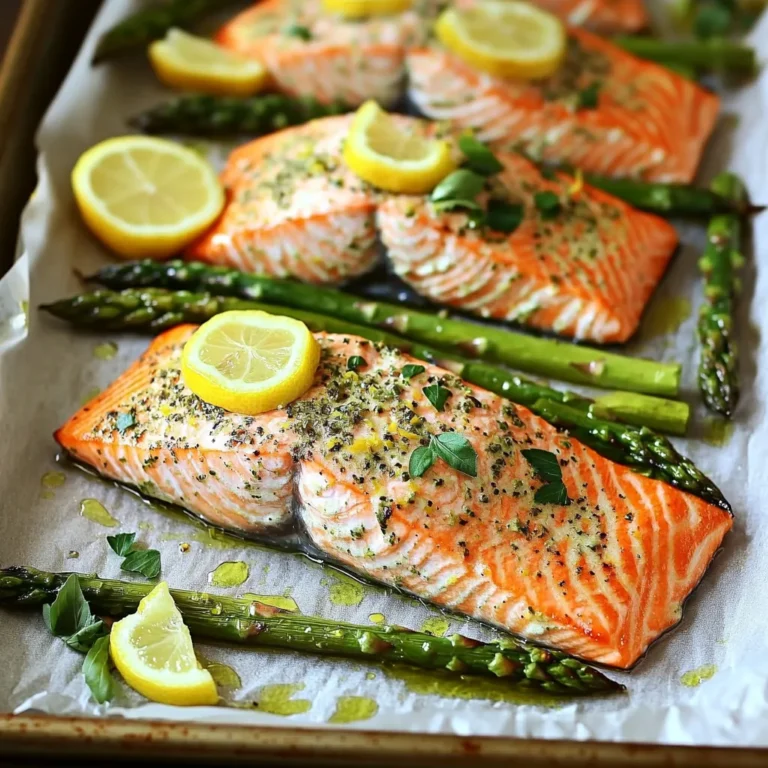
Sheet-Pan Lemon Herb Salmon and Asparagus Recipe
Spicy Korean Beef Lettuce Wraps Flavorful and Easy Dish
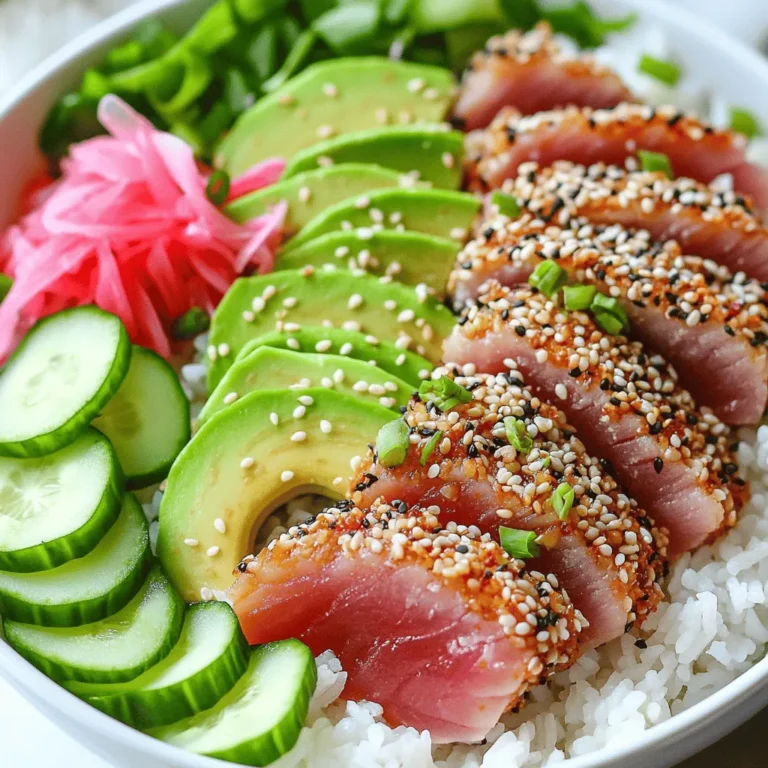
Savory Sesame Crusted Ahi Tuna Bowls Recipe
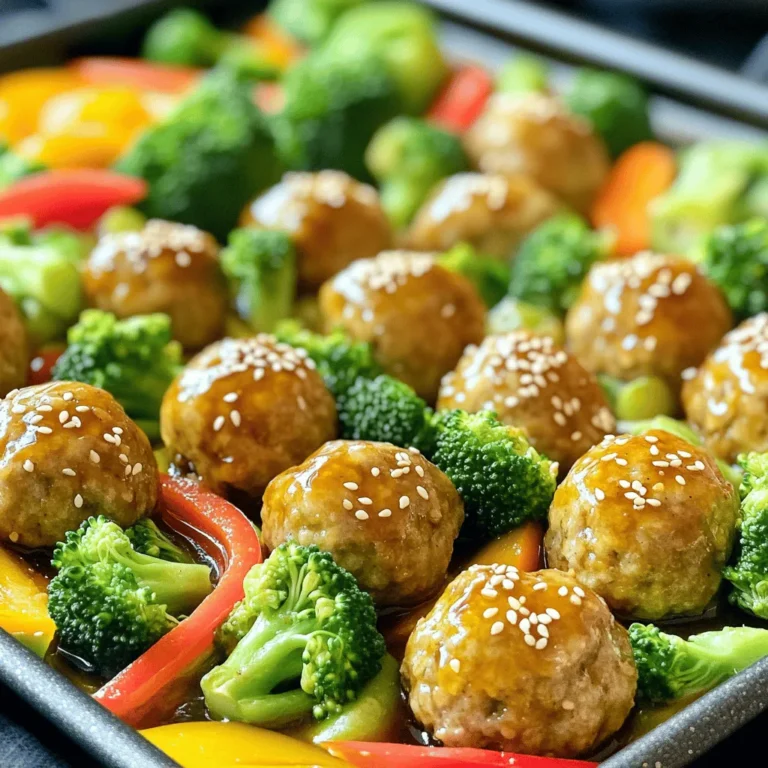
Sheet Pan Teriyaki Meatball Veggies Easy Family Meal
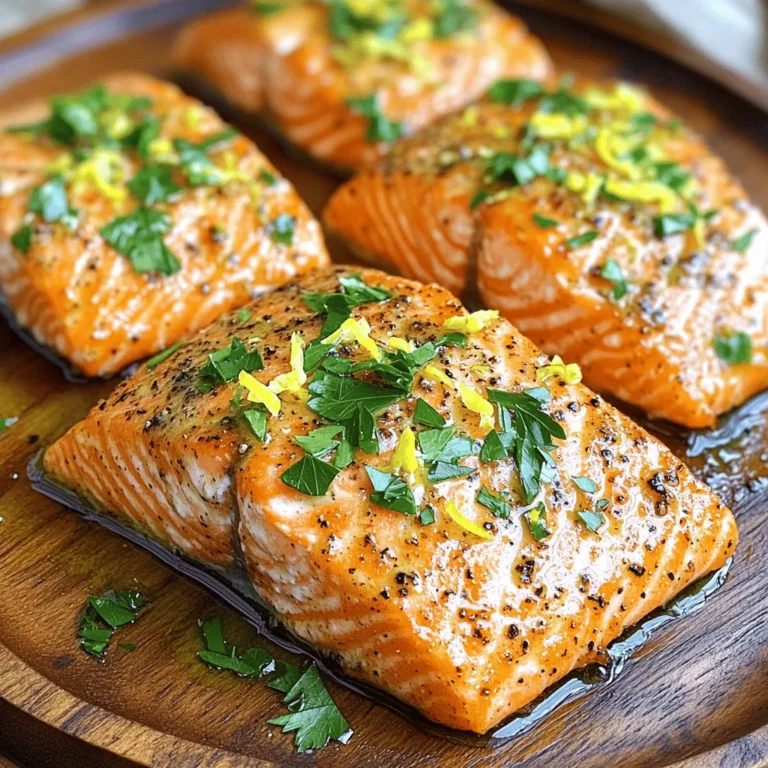
Air Fryer Lemon Pepper Salmon Juicy and Flavorful Dish
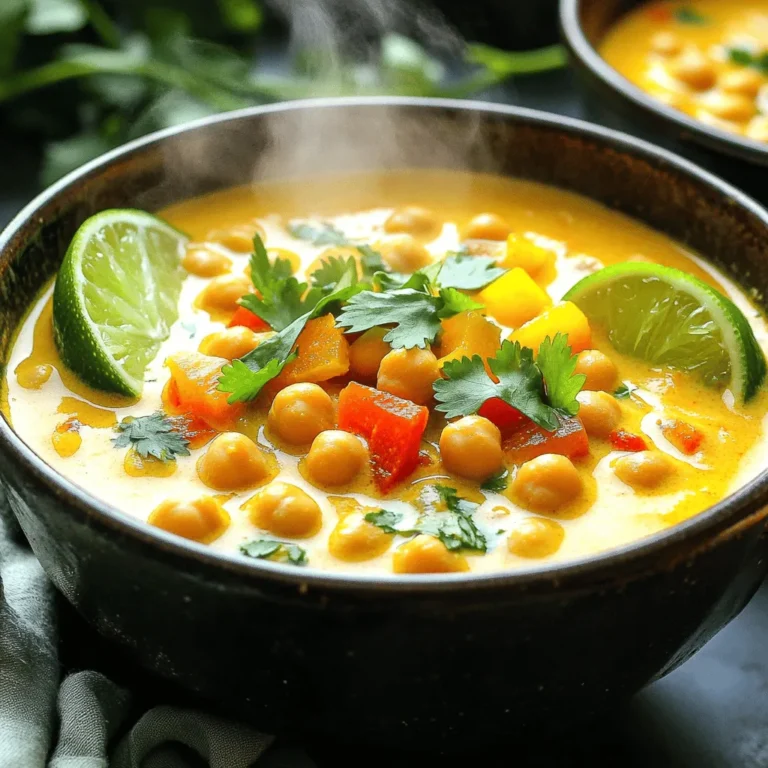
Coconut Curry Chickpea Soup Delicious and Simple Recipe
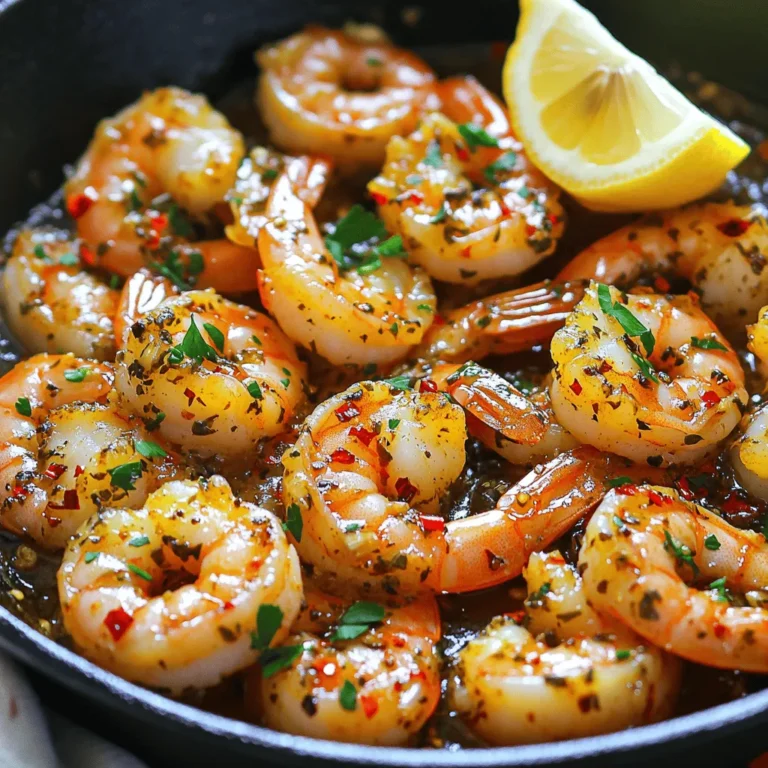
Garlic Herb Shrimp Skillet Quick and Flavorful Meal
Savory Sweet and Sour Chicken Meatballs Recipe
Page navigation
Previous Page
Previous
1
…
9
10
11
12
13
…
64
Next Page
Next
Home
Dinner
Appetizer
Desserts
Drinks
About
Contact
Privacy Policy
Toggle Menu Close
Search for:
Search