Skip to content
About
Contact
Cookie Policy
Copyright Policy
Disclaimer
Search
Home
Dinner
Appetizer
Desserts
Drinks
About
Contact
Privacy Policy
Toggle Menu
Home
/
Dinner
- Page 13
Dinner
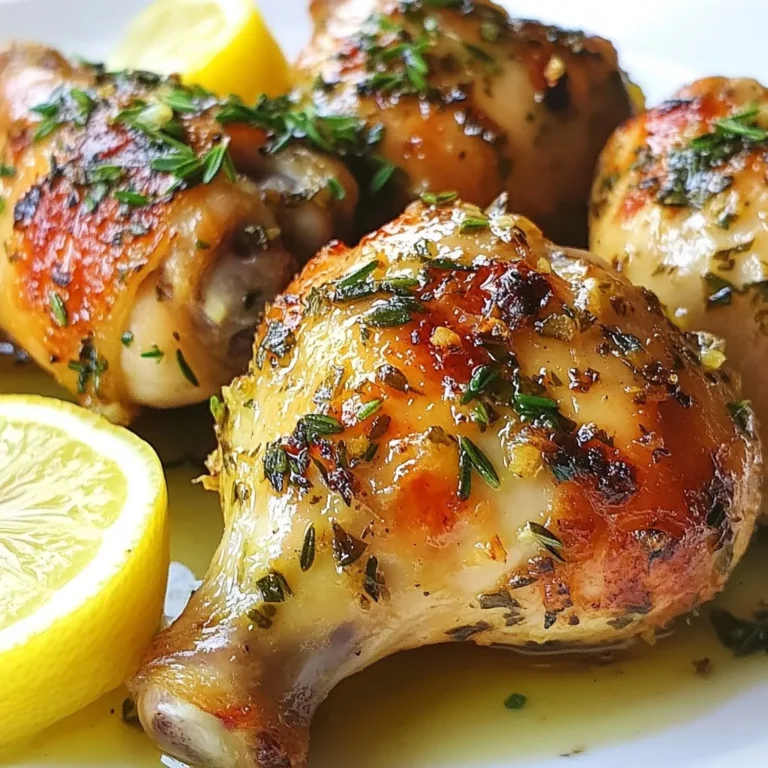
Garlic Herb Roasted Chicken Drumsticks Juicy and Delicious
BBQ Cauliflower Tacos With Slaw Crunchy Delight
Creamy Mushroom Spinach Lasagna Rolls Delight
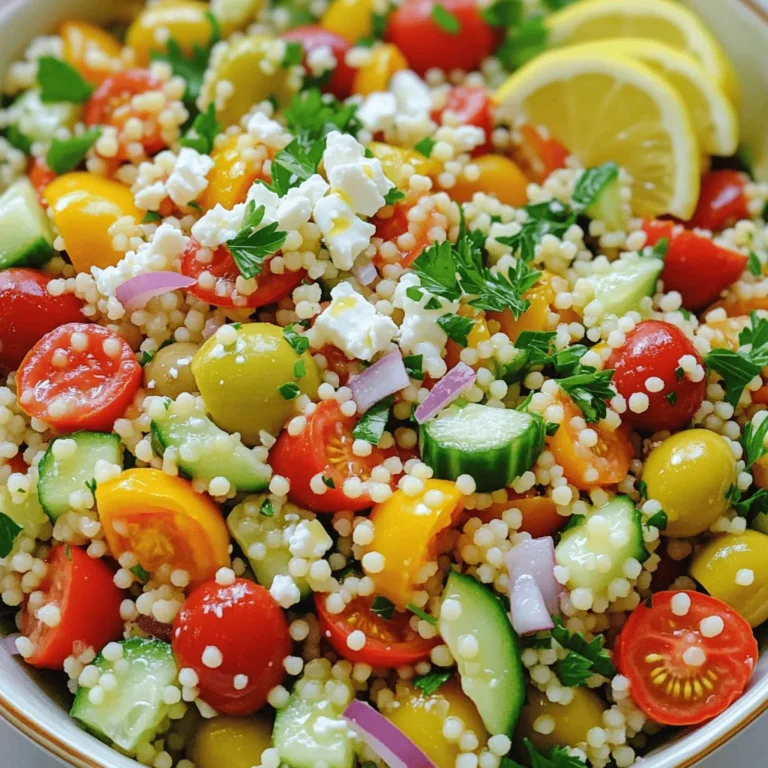
Mediterranean Couscous Salad Fresh and Flavorful Dish
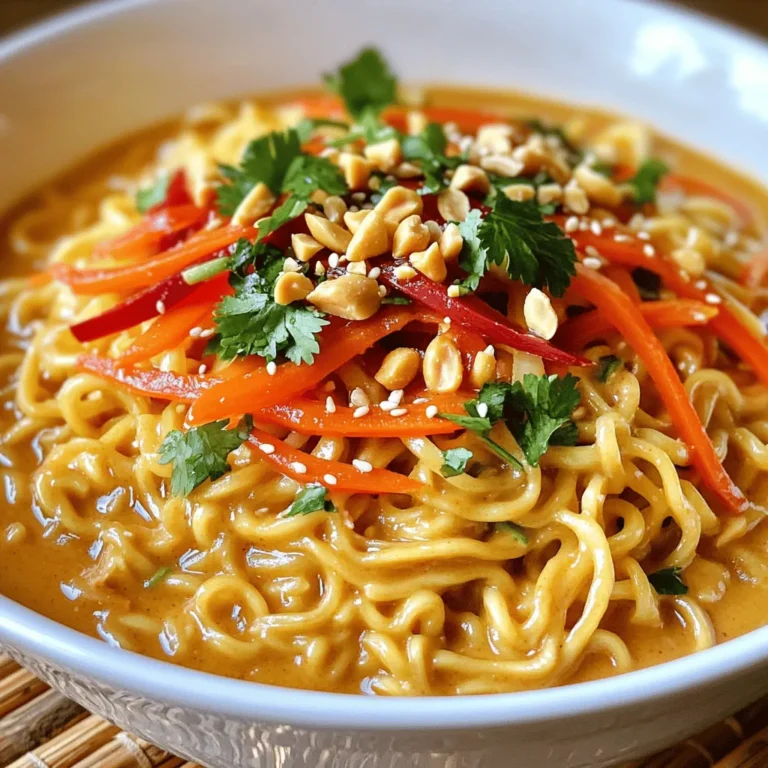
Spicy Thai Peanut Ramen Flavorful and Simple Dish
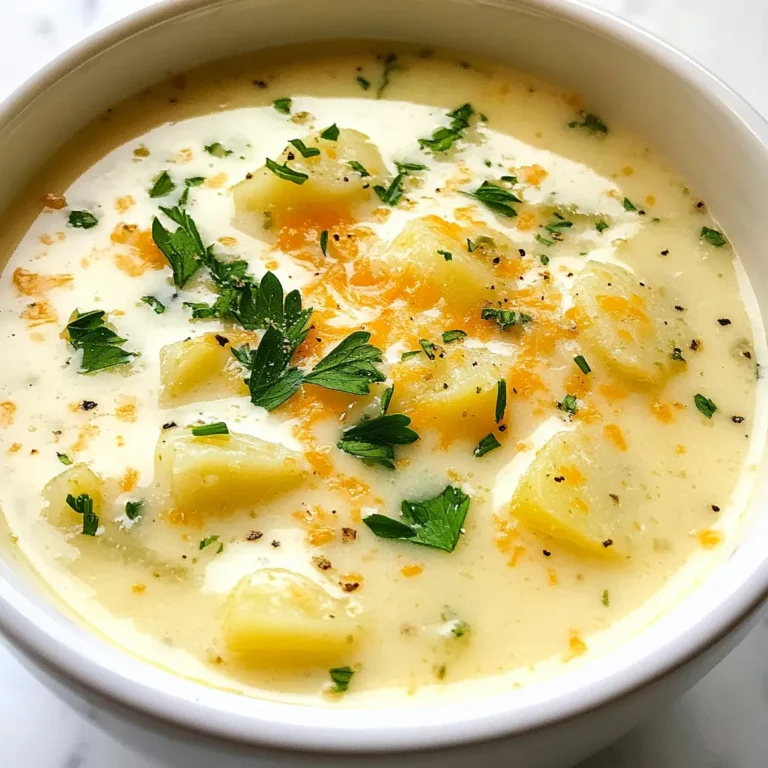
Creamy Garlic Parmesan Soup Rich and Flavorful Bowl
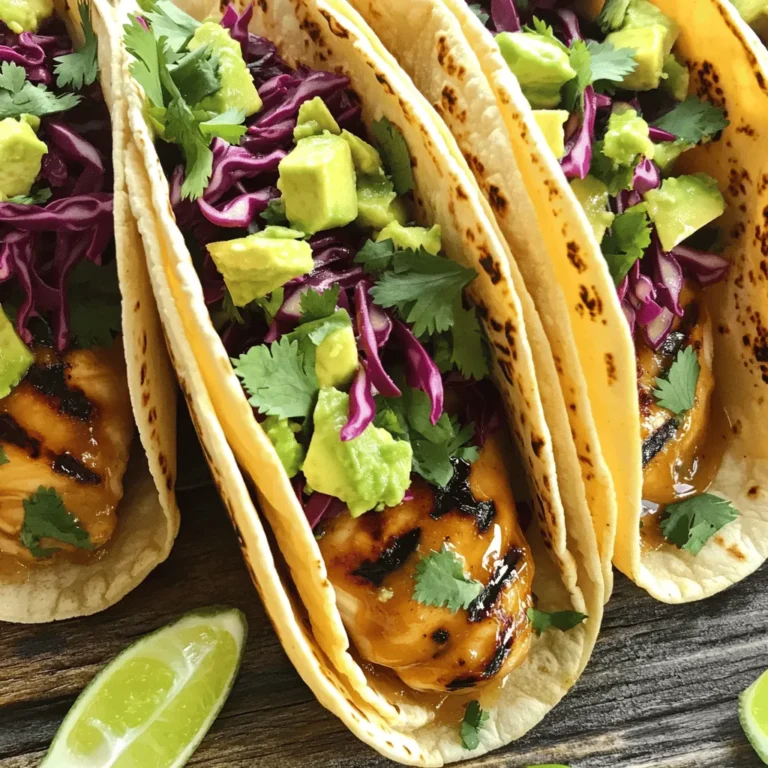
Honey Lime Chicken Street Tacos Flavor Burst Delight
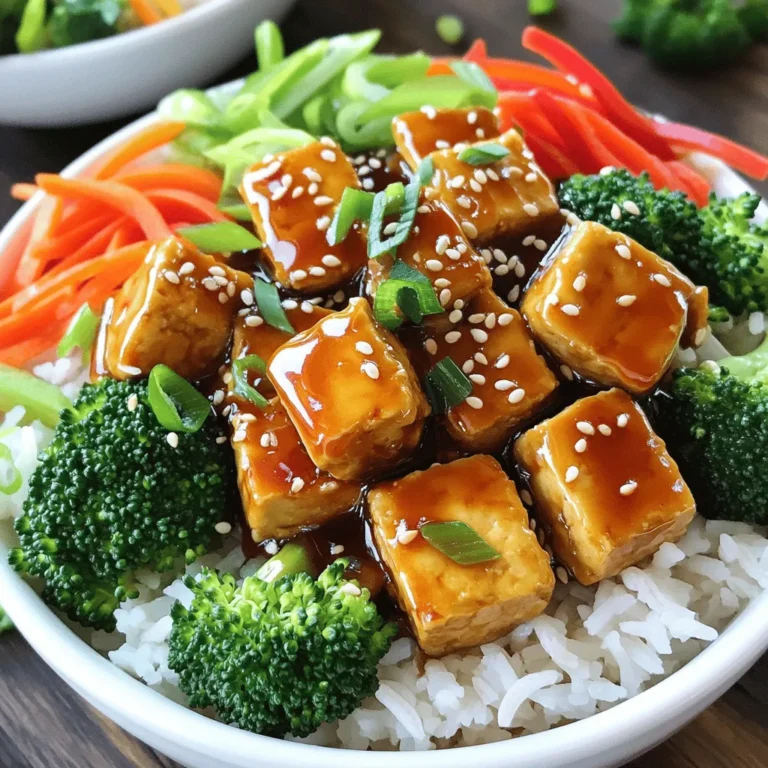
Teriyaki Glazed Tofu Bowls Flavorful and Simple Meal
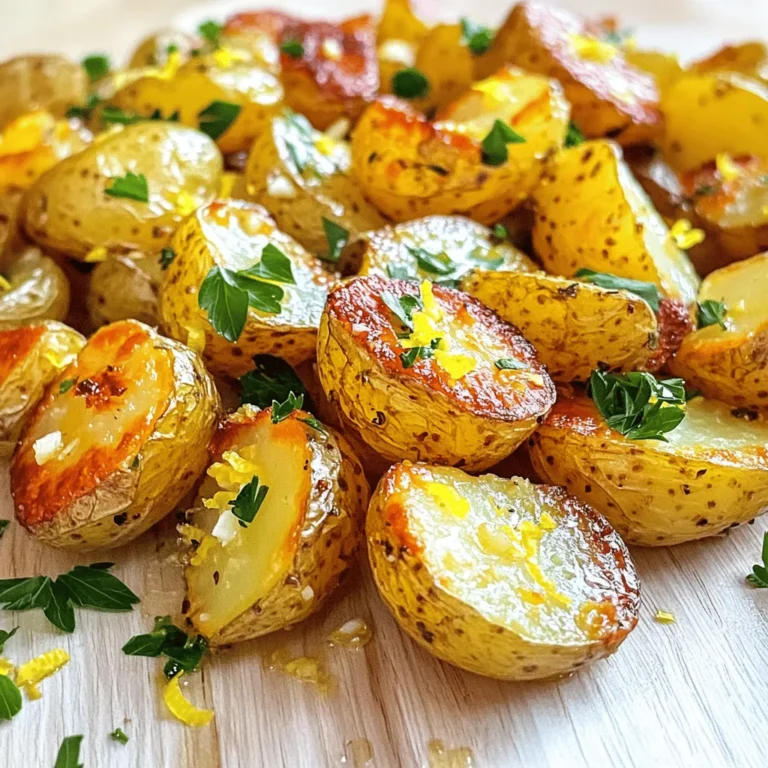
Greek Lemon Garlic Roasted Potatoes Flavorful Delight
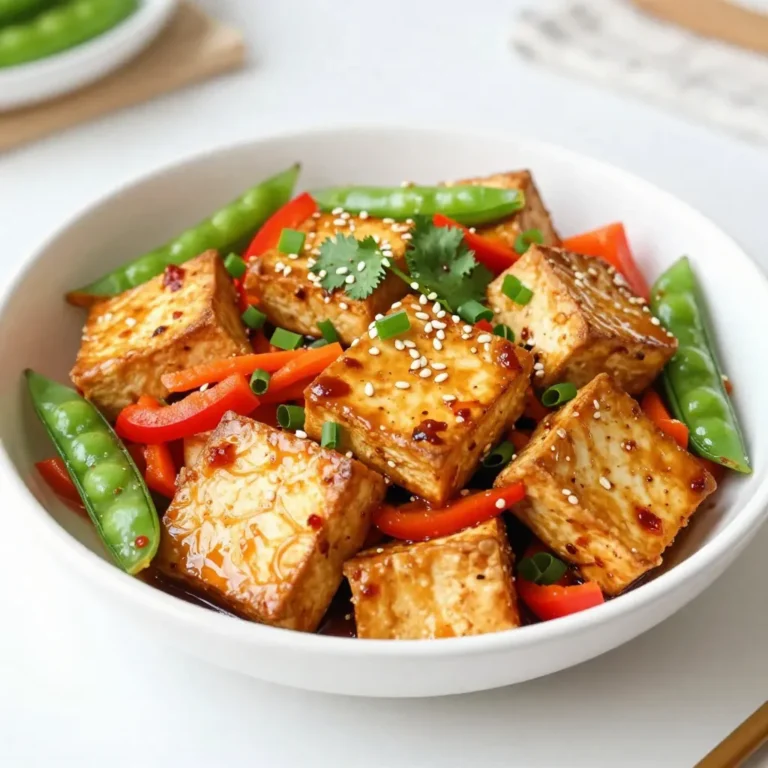
Chili Garlic Tofu Stir Fry Flavorful and Easy Recipe
Page navigation
Previous Page
Previous
1
…
11
12
13
14
15
…
64
Next Page
Next
Home
Dinner
Appetizer
Desserts
Drinks
About
Contact
Privacy Policy
Toggle Menu Close
Search for:
Search