Skip to content
About
Contact
Cookie Policy
Copyright Policy
Disclaimer
Search
Home
Dinner
Appetizer
Desserts
Drinks
About
Contact
Privacy Policy
Toggle Menu
Home
/
Dinner
- Page 15
Dinner
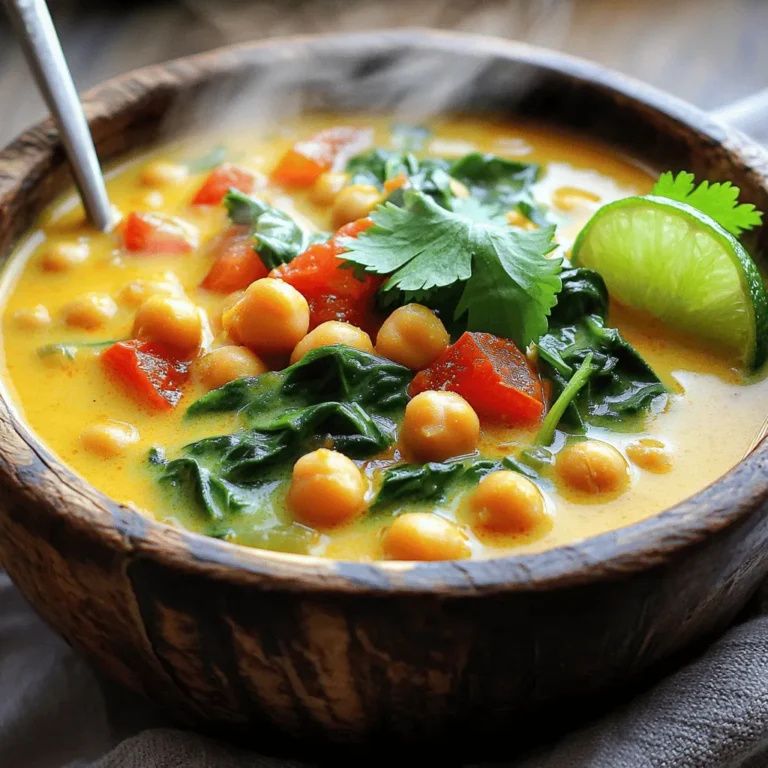
Coconut Curry Chickpea Soup Flavorful and Hearty Meal
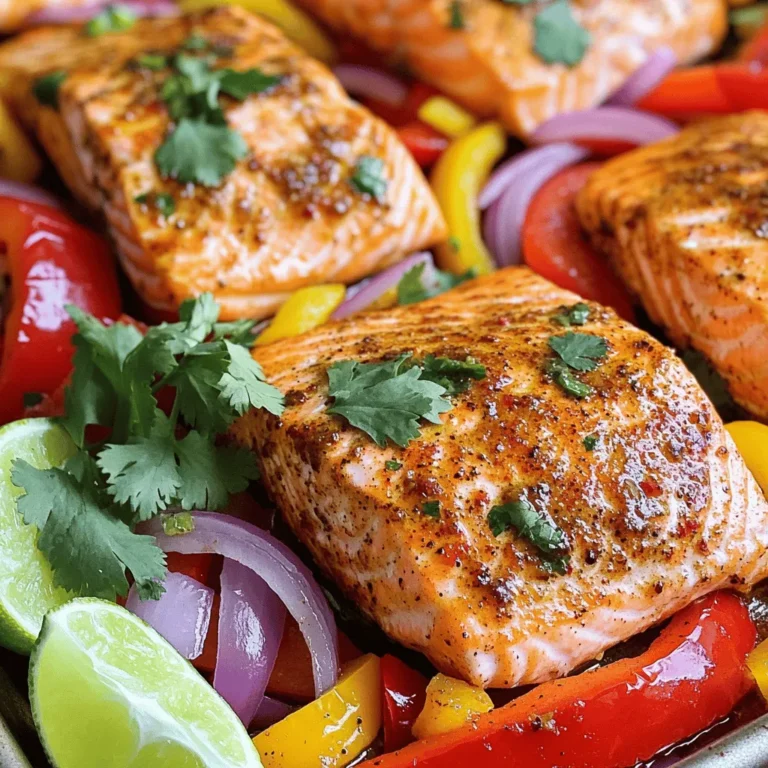
Sheet Pan Fajita Salmon Flavorful and Easy Dish
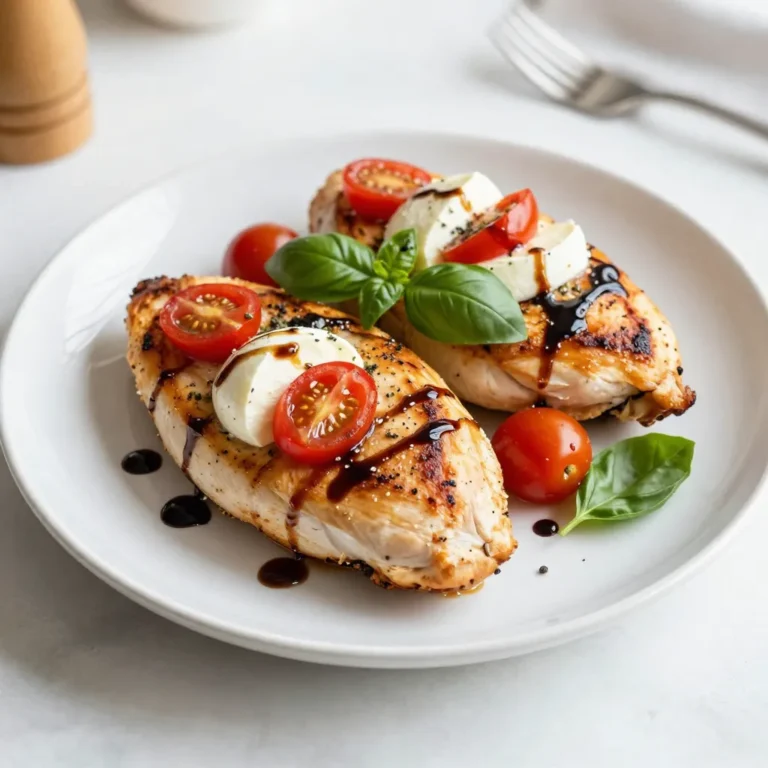
Caprese Stuffed Chicken Breast Flavorful Dinner Idea
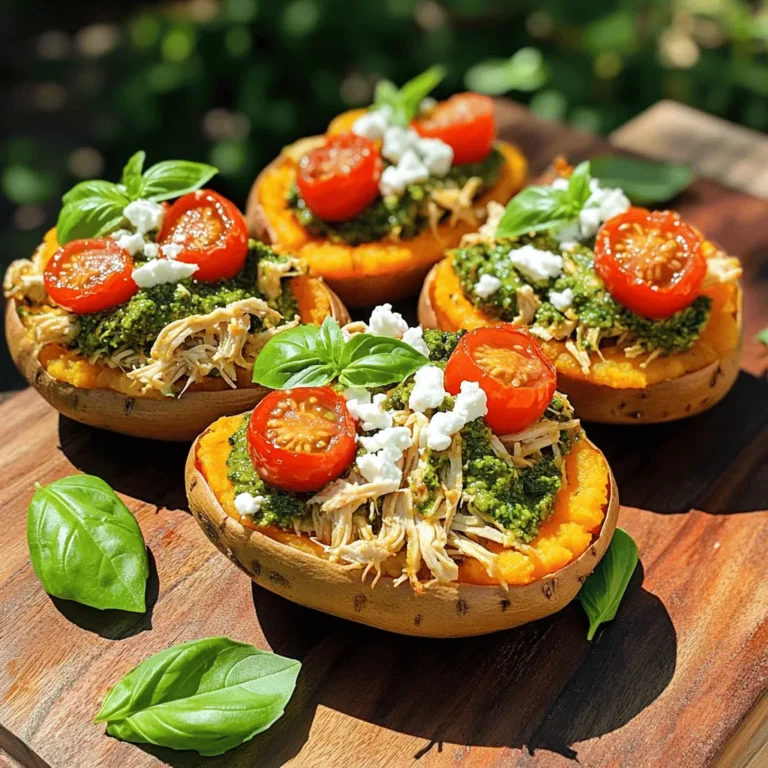
Pesto Chicken Stuffed Sweet Potatoes Delightful Meal
Caprese Quinoa Stuffed Peppers Tasty and Healthy Meal
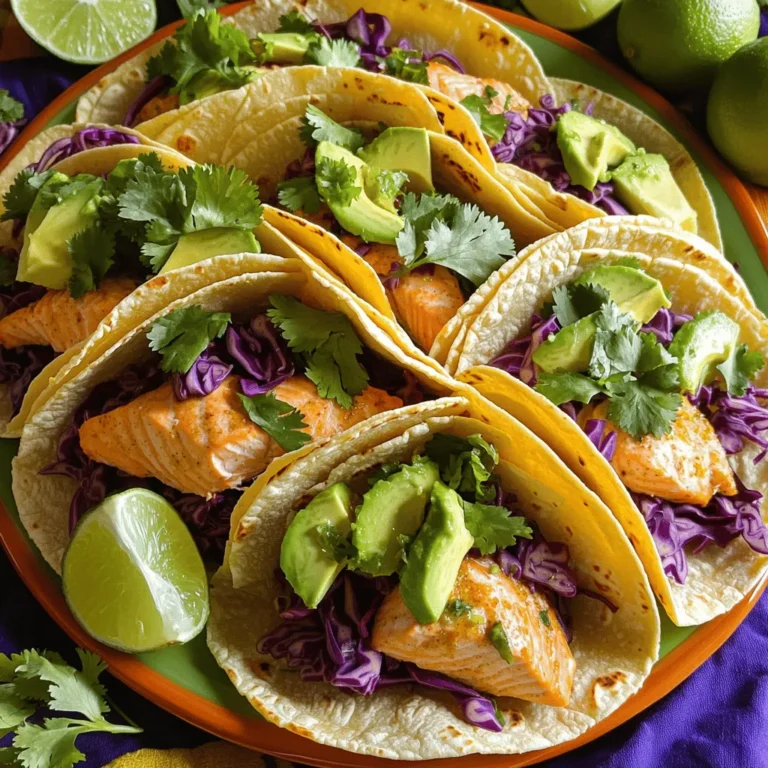
Sheet-Pan Chili Lime Salmon Tacos Flavorful and Easy
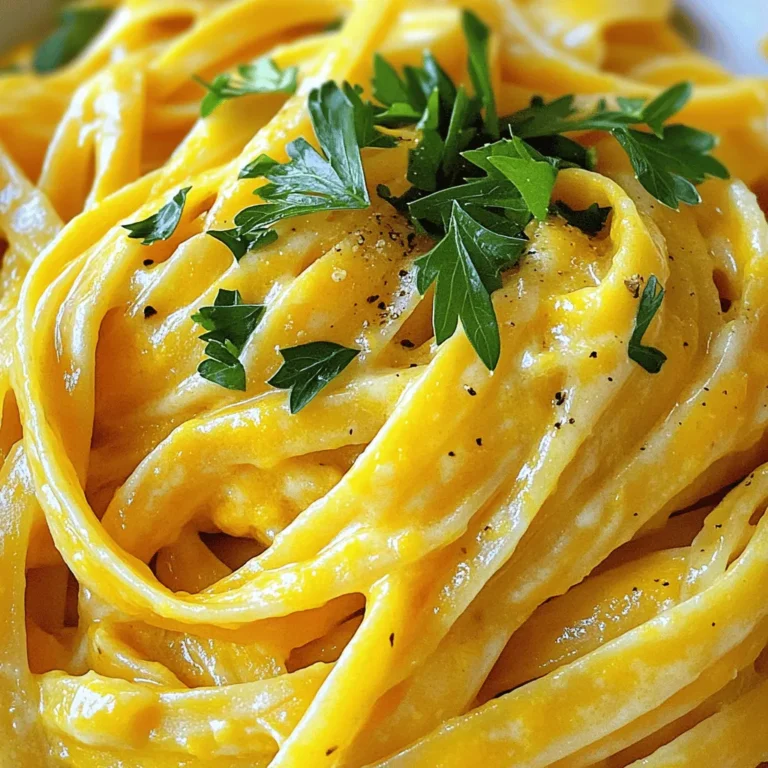
Creamy Butternut Squash Alfredo Pasta Delight
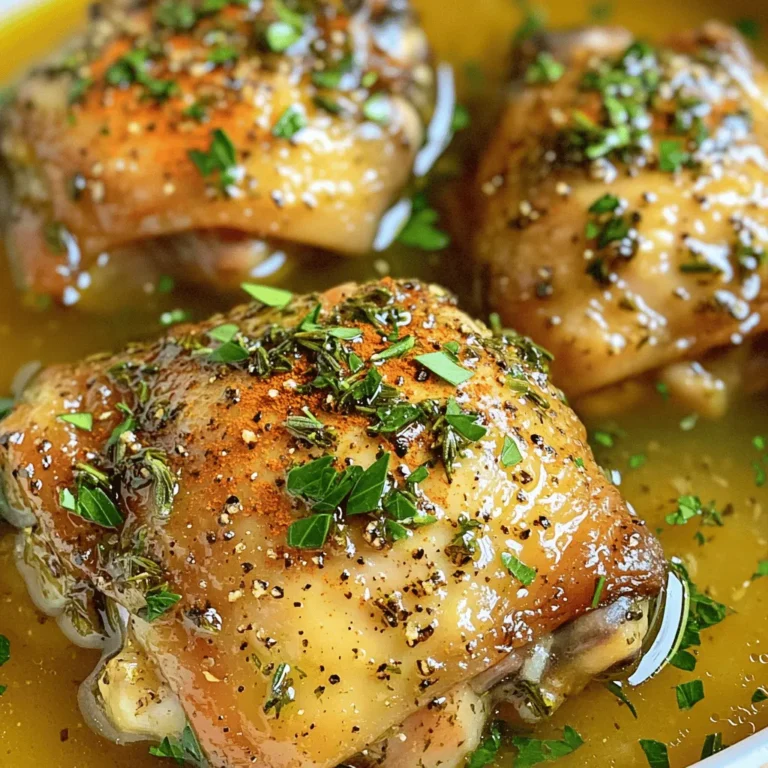
Slow Cooker Garlic Herb Chicken Thighs Recipe Delight
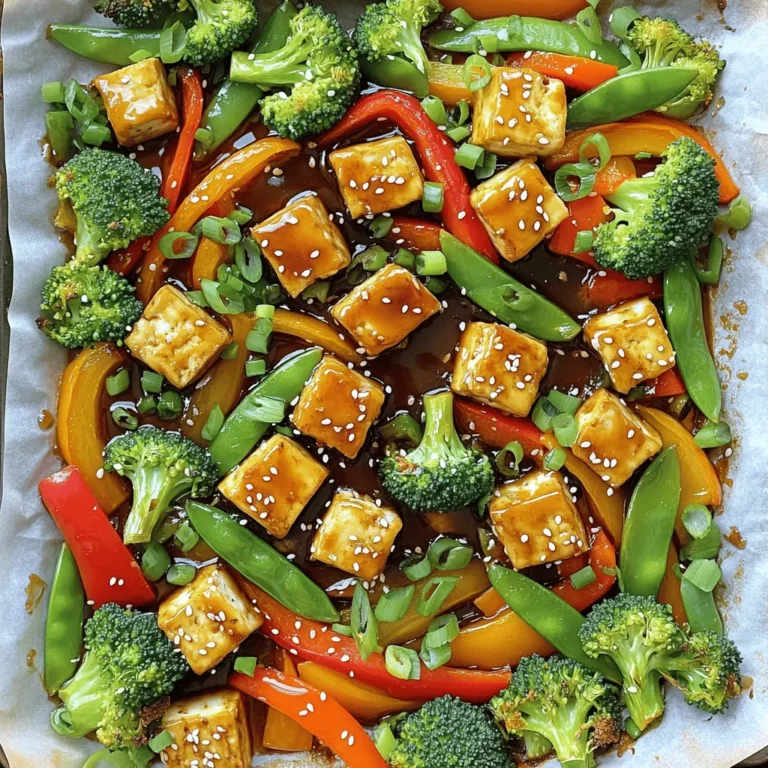
Sheet-Pan Honey Garlic Tofu Stir Fry Recipe Delight
Teriyaki Tofu & Veggies Sheet Pan Quick and Easy Dish
Page navigation
Previous Page
Previous
1
…
13
14
15
16
17
…
64
Next Page
Next
Home
Dinner
Appetizer
Desserts
Drinks
About
Contact
Privacy Policy
Toggle Menu Close
Search for:
Search