Skip to content
About
Contact
Cookie Policy
Copyright Policy
Disclaimer
Search
Home
Dinner
Appetizer
Desserts
Drinks
About
Contact
Privacy Policy
Toggle Menu
Home
/
Dinner
- Page 21
Dinner
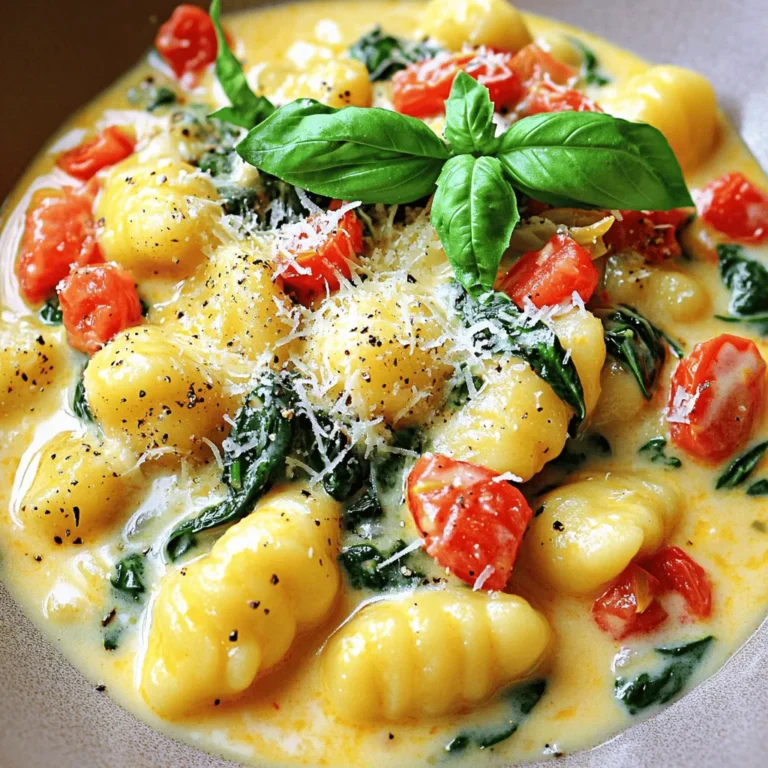
Creamy Tomato Spinach Gnocchi Flavorful Weeknight Meal
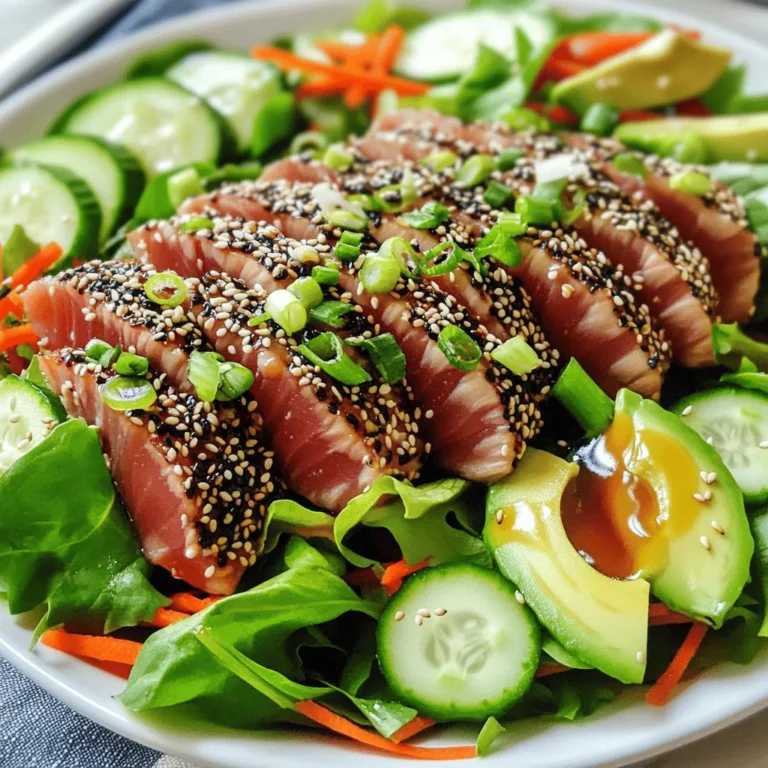
Sesame Crusted Ahi Tuna Salad Fresh and Flavorful Dish
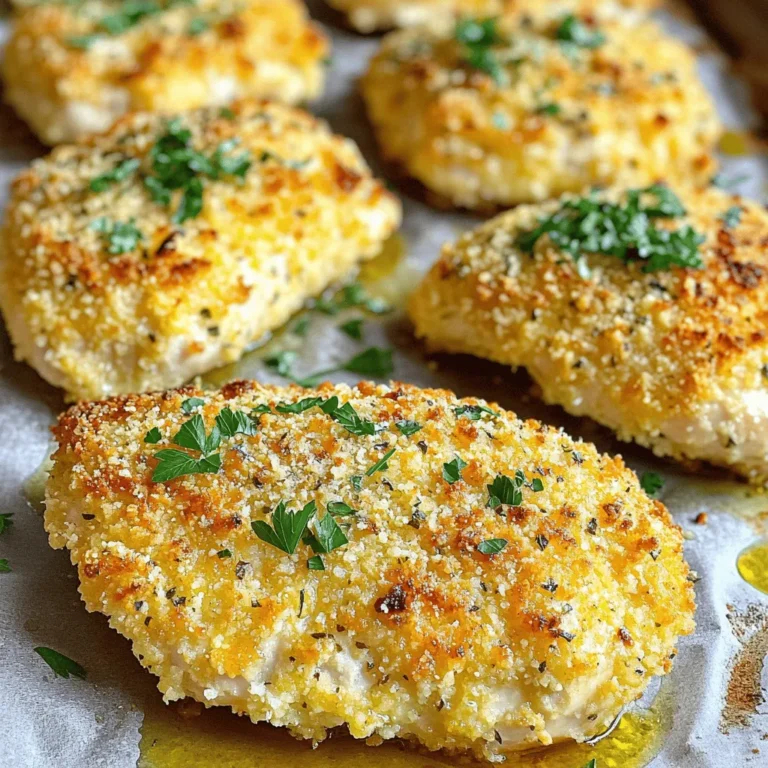
Baked Parmesan Crusted Chicken Simple and Tasty Meal
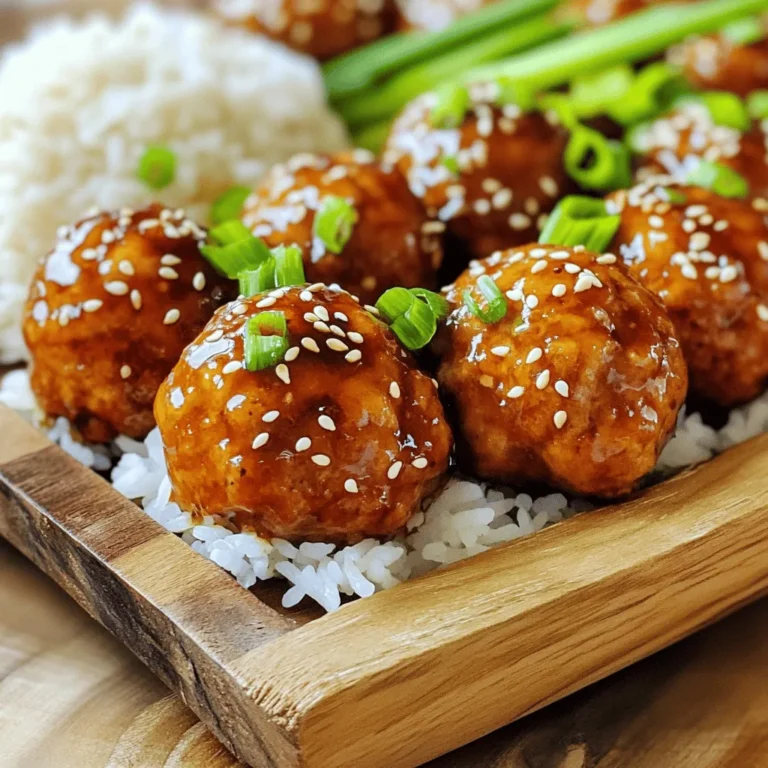
Teriyaki Chicken Meatballs Irresistible Flavor Recipe
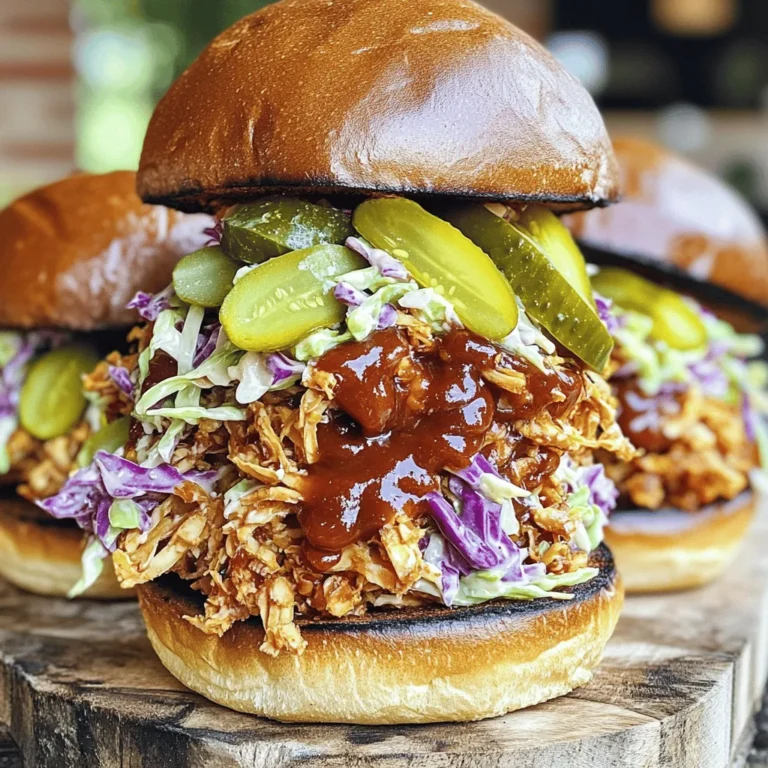
BBQ Jackfruit Sliders Flavorful and Simple Delight
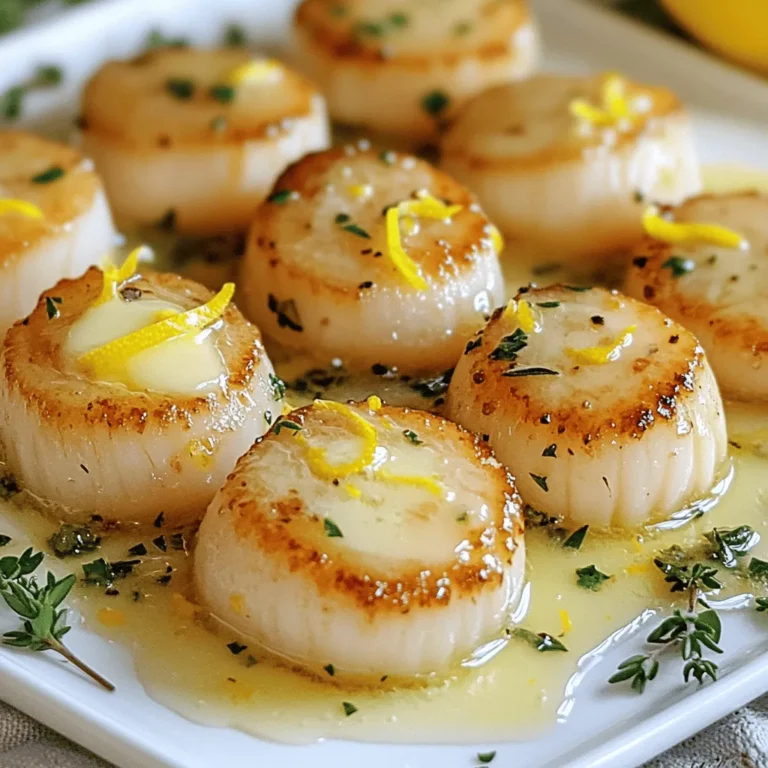
Buttery Lemon Garlic Scallops Flavorful and Simple Dish
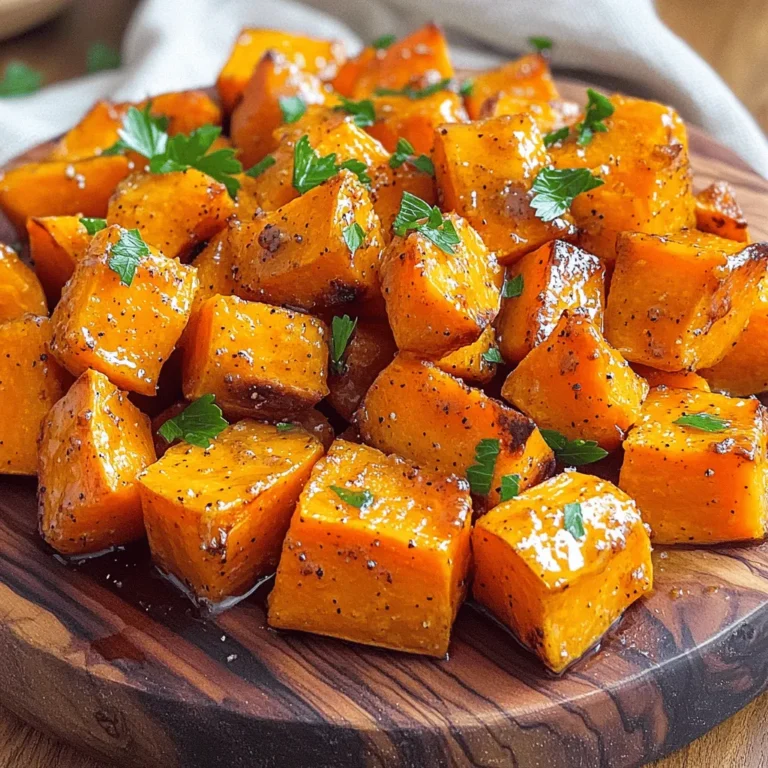
Roasted Maple Dijon Sweet Potatoes Flavorful Delight
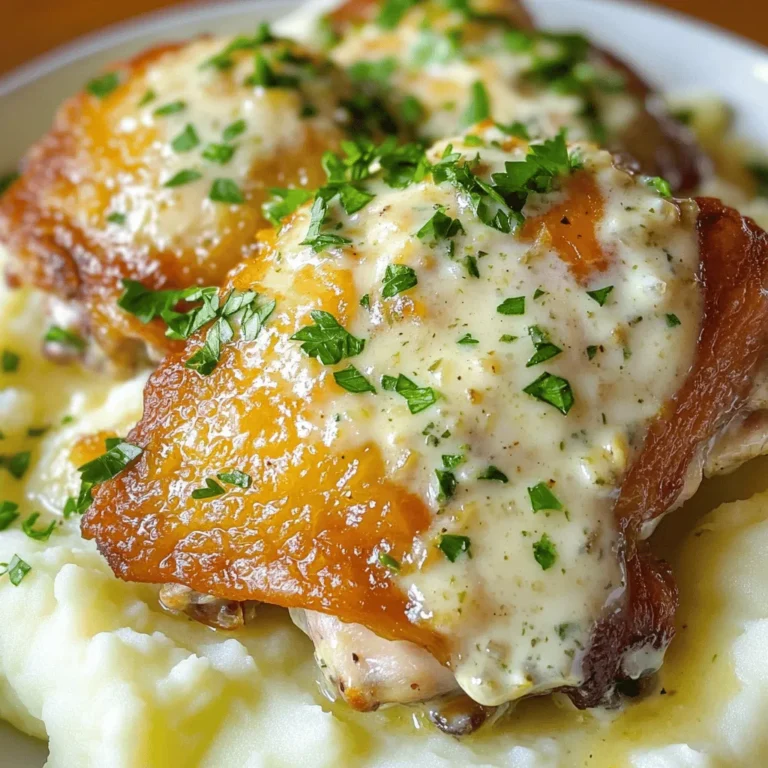
Creamy Garlic Herb Chicken Thighs Delightful Recipe
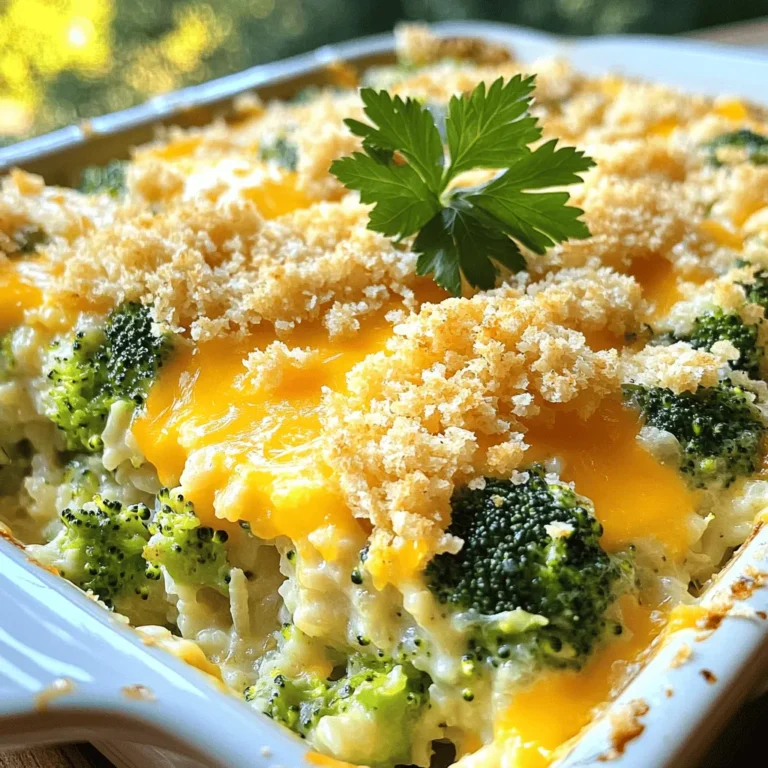
Cheesy Broccoli Rice Casserole Tasty Family Meal
Crispy Baked Chicken Tenders Easy and Crunchy Recipe
Page navigation
Previous Page
Previous
1
…
19
20
21
22
23
…
64
Next Page
Next
Home
Dinner
Appetizer
Desserts
Drinks
About
Contact
Privacy Policy
Toggle Menu Close
Search for:
Search