Skip to content
About
Contact
Cookie Policy
Copyright Policy
Disclaimer
Search
Home
Dinner
Appetizer
Desserts
Drinks
About
Contact
Privacy Policy
Toggle Menu
Home
/
Dinner
- Page 35
Dinner
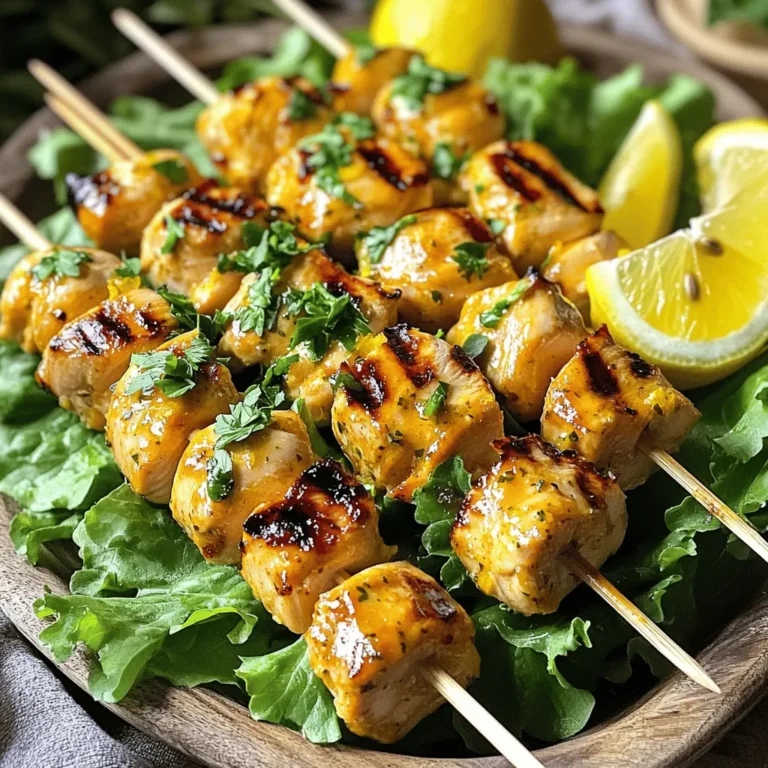
Zesty Lemon Chicken Skewers Flavorful Grilling Delight
Easy Chicken Fried Rice Simple and Tasty Weeknight Meal
Parmesan Crusted Tilapia Tasty and Easy Dinner Recipe
One-Pot Garlic Parmesan Pasta Quick and Easy Recipe
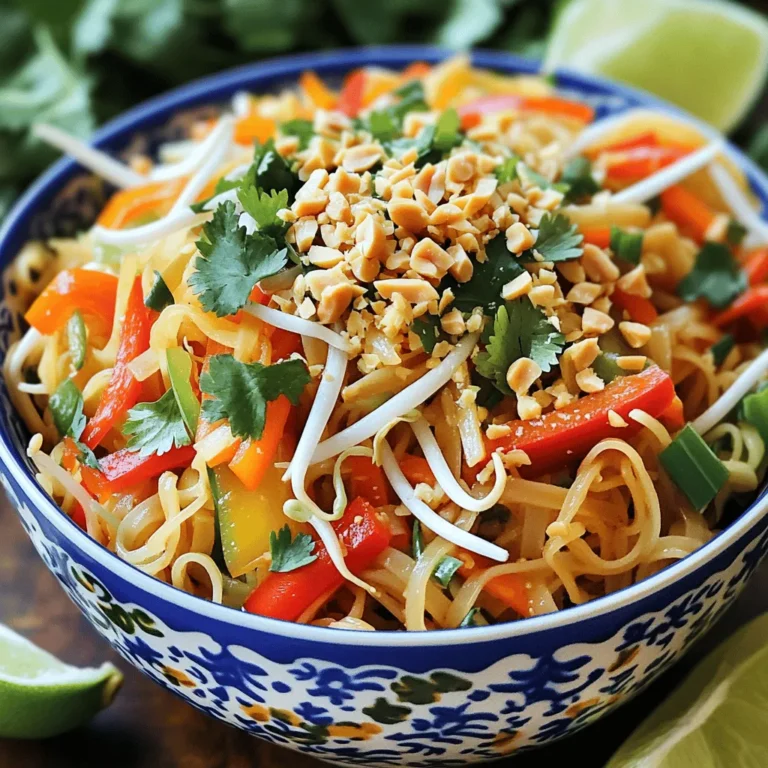
Easy Vegetable Pad Thai Simple and Flavorful Dish
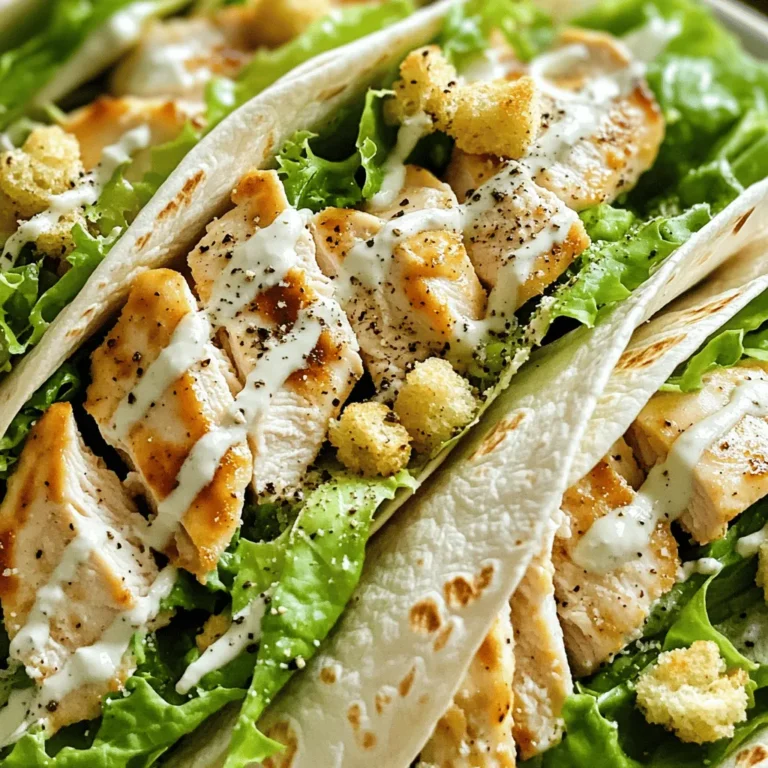
Classic Chicken Caesar Wraps Simple and Tasty Meal
Chickpea Quinoa Power Bowl Nourishing and Simple Meal
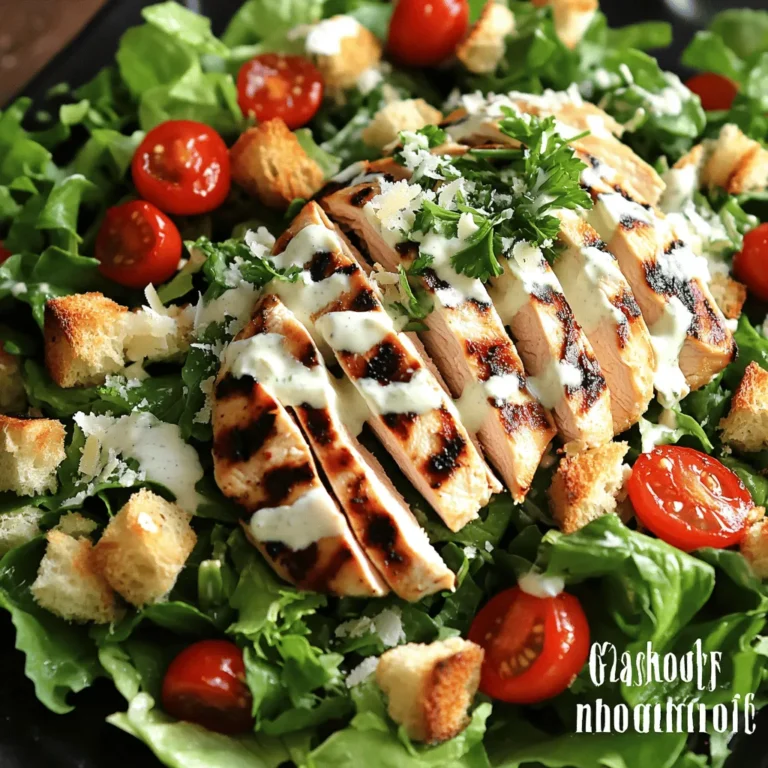
Grilled Chicken Caesar Salad Fresh and Flavorful Meal
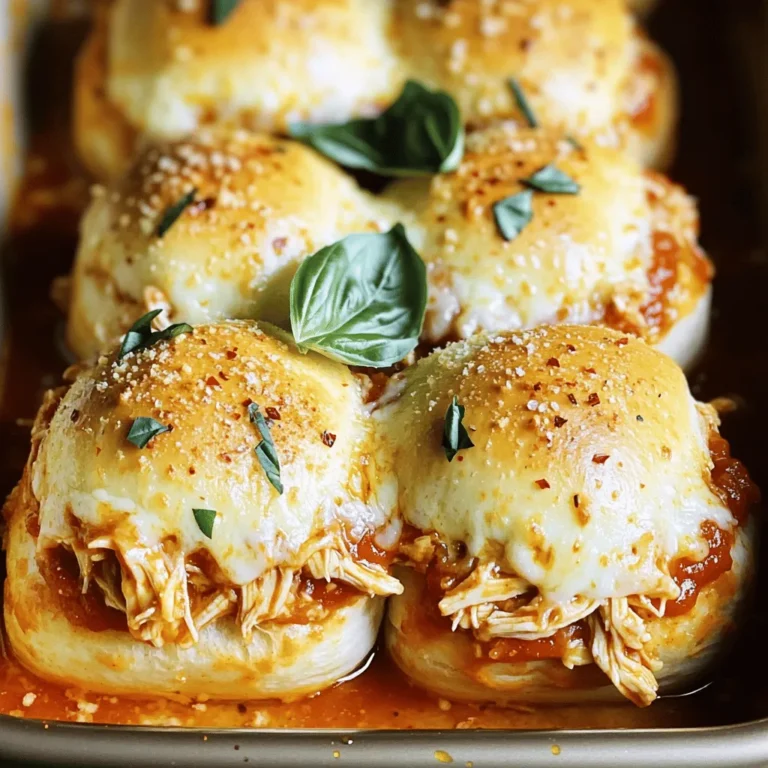
Baked Chicken Parmesan Sliders Tasty and Easy Recipe
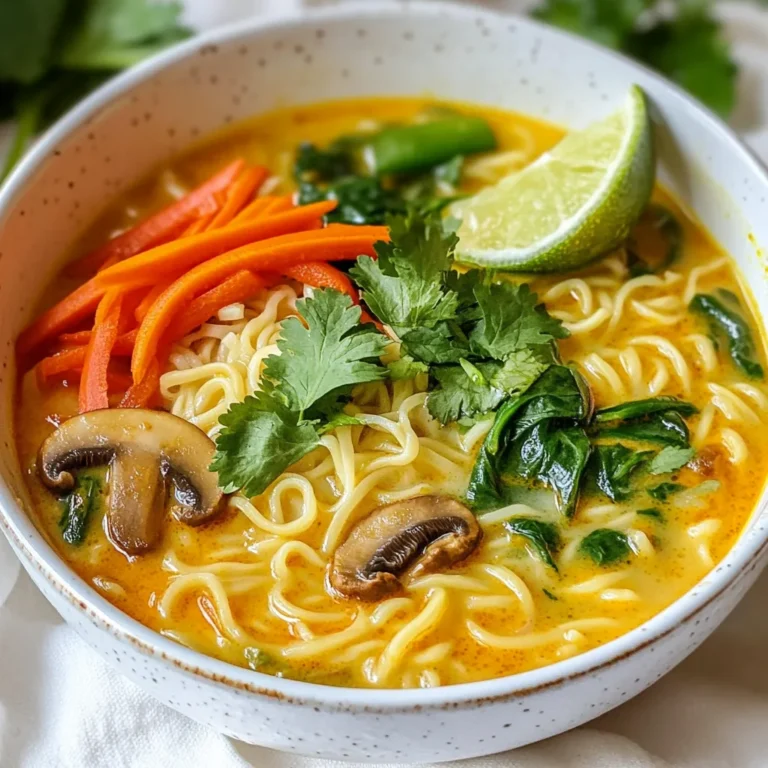
Coconut Curry Ramen Flavorful and Simple Recipe
Page navigation
Previous Page
Previous
1
…
33
34
35
36
37
…
64
Next Page
Next
Home
Dinner
Appetizer
Desserts
Drinks
About
Contact
Privacy Policy
Toggle Menu Close
Search for:
Search

![To make this easy chicken fried rice, gather these key ingredients: - 2 cups cooked rice (preferably day-old for best texture) - 1 cup cooked chicken, diced - 2 tablespoons vegetable oil - 2 eggs, lightly beaten - 1 cup mixed vegetables (carrots, peas, and corn) - 3 green onions, sliced - 2 cloves garlic, minced - 2 tablespoons soy sauce - 1 tablespoon sesame oil - Salt and pepper to taste These ingredients blend perfectly to create a tasty meal. Day-old rice gives the best texture. Freshly cooked rice can be too sticky. You can add personal touches to your chicken fried rice with these options: - Bell peppers for crunch - Broccoli for added nutrition - Shrimp or tofu for different proteins - Ginger for extra flavor - Chili flakes for heat Feel free to mix and match based on what you love. This dish is perfect for using up leftovers. If you have allergies, consider these swaps: - Use tamari instead of soy sauce for gluten-free needs. - Replace eggs with scrambled tofu for a vegan option. - Swap the vegetable oil for olive oil or avocado oil. - Use coconut aminos in place of soy sauce for a soy-free option. These substitutions help you enjoy the dish safely. Always check labels to ensure they meet your dietary needs. For the full recipe, check our detailed guide. To make this easy chicken fried rice, first gather your ingredients. You will need: - 2 cups cooked rice (preferably day-old for best texture) - 1 cup cooked chicken, diced - 2 tablespoons vegetable oil - 2 eggs, lightly beaten - 1 cup mixed vegetables (carrots, peas, and corn) - 3 green onions, sliced - 2 cloves garlic, minced - 2 tablespoons soy sauce - 1 tablespoon sesame oil - Salt and pepper to taste Make sure your rice is cold. This makes it easier to fry. Diced chicken should be ready to go. Slice your green onions and mince the garlic. These steps save time during cooking. Heat the vegetable oil in a large skillet or wok over medium-high heat. Once hot, add the minced garlic. Sauté for about 30 seconds, until fragrant. This adds great flavor to your dish. Next, push the garlic to one side of the skillet. Pour the beaten eggs into the other side. Scramble the eggs until fully cooked. Then mix them with the garlic. Now, add the diced chicken and mixed vegetables to the pan. Stir-fry for about 2-3 minutes. This allows everything to heat through and blend. Add the cooked rice next. Break up any clumps as you add it to the skillet. Stir well to combine with the other ingredients. Drizzle the soy sauce and sesame oil over the rice mixture. Stir-fry for an additional 3-4 minutes. This helps the rice absorb all the tasty flavors. Season with salt and pepper to taste. Then add the sliced green onions, saving some for garnish. Toss everything together until it is evenly mixed and heated through. For a great presentation, serve the fried rice in a large bowl. Garnish with the remaining green onions and a drizzle of sesame oil. This adds a nice touch to your dish. Enjoy your meal with chopsticks for an authentic experience. You can find the full recipe above for a detailed guide. For fried rice, use day-old rice. It dries out a bit in the fridge. This helps it fry better. Fresh rice can be too sticky. If you don’t have day-old rice, cook some and spread it on a tray to cool. This will help it dry. To boost flavors, use good soy sauce. Dark soy sauce gives a richer taste. Add sesame oil for a nice nutty flavor. You can also toss in some ginger or chili paste. Fresh herbs like cilantro add a fresh touch. A squeeze of lime brightens everything up too. Don’t overcrowd the pan. This makes food steam instead of fry. Always heat your skillet well before adding ingredients. Avoid using too much liquid; it can make the rice soggy. Lastly, don’t skip the garlic. It brings great flavor but should be cooked just right, not burnt. {{image_2}} You can easily make chicken fried rice vegetarian or vegan. Instead of chicken, use tofu or tempeh. Both add great texture and protein. For a vegan option, skip the eggs and use an egg substitute, like silken tofu. You can also add extra veggies like bell peppers or mushrooms for more flavor. Chicken is a favorite, but you can try other proteins too. Shrimp, beef, or pork all work well. For a fun twist, use leftover rotisserie chicken for quick prep. If you like a spicy kick, add diced sausage. Just remember to adjust cooking times based on the protein you choose. Enhancing flavor is key to great fried rice. Soy sauce is essential, but you can add more. Try hoisin sauce or oyster sauce for depth. For a kick, add chili paste or sriracha. Fresh herbs like cilantro or basil can brighten the dish. Finally, sesame seeds give a nice crunch. For a full guide on these variations, check out the Full Recipe. To store your leftover chicken fried rice, place it in an airtight container. Make sure the rice cools to room temperature first. This helps to keep it fresh. Store it in the fridge for up to three days. You can also divide it into smaller portions for easy access. If you want to save it longer, freezing works great. Use a freezer-safe bag or container. Press out as much air as you can before sealing. Chicken fried rice can be frozen for up to three months. When you're ready to eat, thaw it in the fridge overnight. Reheat it in a skillet over medium heat. Add a splash of water to help steam it and keep it moist. Chicken fried rice does not last forever. In the fridge, it stays good for about three days. After that, it may spoil. If you notice any off smells or colors, toss it. Always check before eating. Proper storage helps keep your meals tasty and safe! Check the [Full Recipe] for more tips on making this dish. Yes, leftover rice is perfect for chicken fried rice. Day-old rice has less moisture. This helps it fry better and gives a nice texture. Fresh rice can be too sticky and clump together. If you have leftover rice, use it! To reduce oil, use less vegetable oil. You can also add more veggies. They will add moisture and flavor without extra oil. Another tip is to cook over high heat. This helps to fry the rice quickly and keeps it from getting greasy. Great veggies for this dish include: - Carrots - Peas - Corn - Bell peppers - Broccoli These add color and crunch. You can mix and match based on what you have. Yes, you can make chicken fried rice gluten-free. Just use gluten-free soy sauce. There are many brands available now. You can also use coconut aminos as a tasty alternative. Yes, using frozen vegetables is a smart choice! They are easy and save time. Just add them straight to the pan. They will heat up quickly and keep their nutrients. Using frozen veggies also makes this dish even faster to prepare. For the full recipe, check the recipe section. Easy chicken fried rice combines simple ingredients and cooking steps. You can customize your dish with optional flavors or different proteins. I shared tips to boost taste and avoid common mistakes. Storage advice ensures you can enjoy leftovers safely. Remember, you can always use leftover rice and frozen veggies for convenience. Experiment with variations to find your favorite. This dish is fun and easy to make, perfect for any meal!](https://dailydishlab.com/wp-content/uploads/2025/06/7a871d5a-324a-485e-b6c8-e68637190de3-768x768.webp)