Skip to content
About
Contact
Cookie Policy
Copyright Policy
Disclaimer
Search
Home
Dinner
Appetizer
Desserts
Drinks
About
Contact
Privacy Policy
Toggle Menu
Home
/
Dinner
- Page 41
Dinner
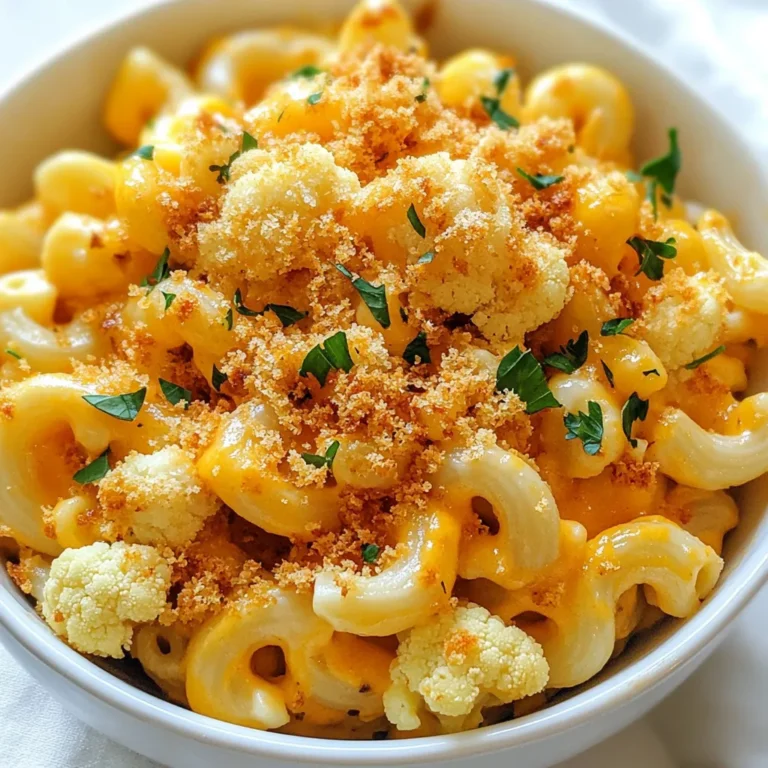
Buffalo Cauliflower Mac and Cheese Flavorful Delight
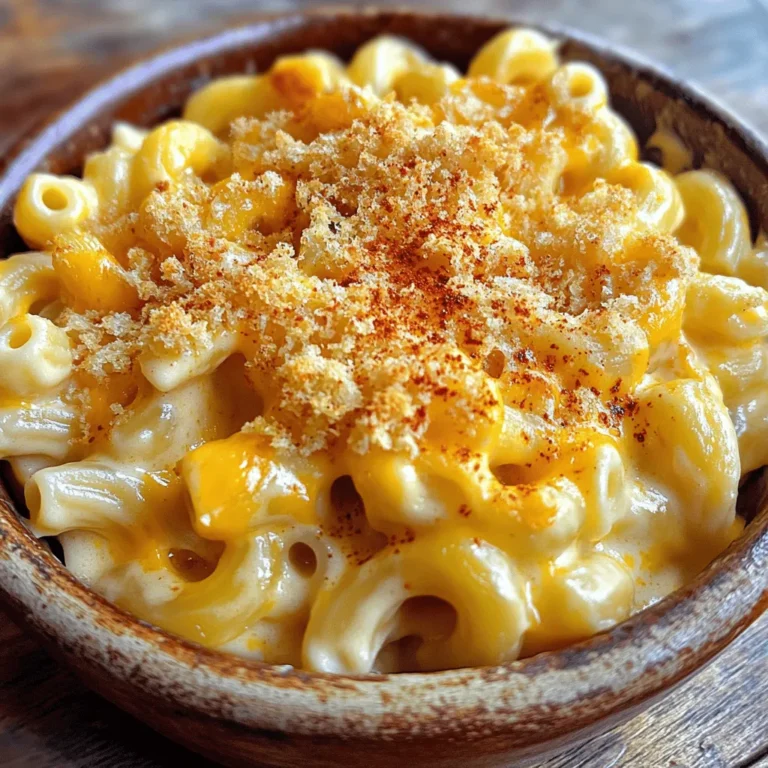
Cheesy Baked Macaroni and Cheese Comfort Food Delight
Chicken Alfredo Lasagna Creamy and Comforting Dish
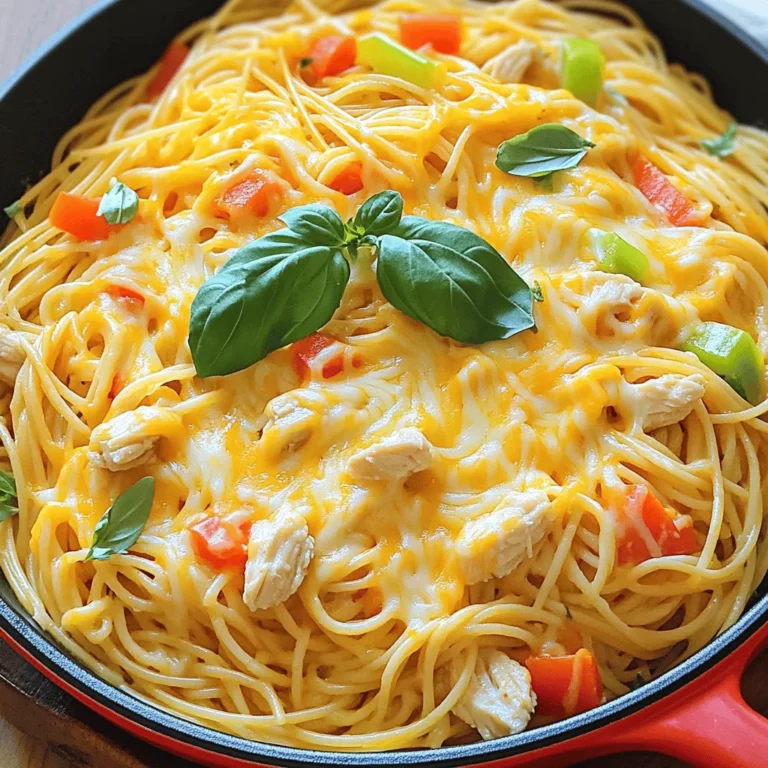
Easy Cheesy Chicken Spaghetti Simple and Tasty Meal
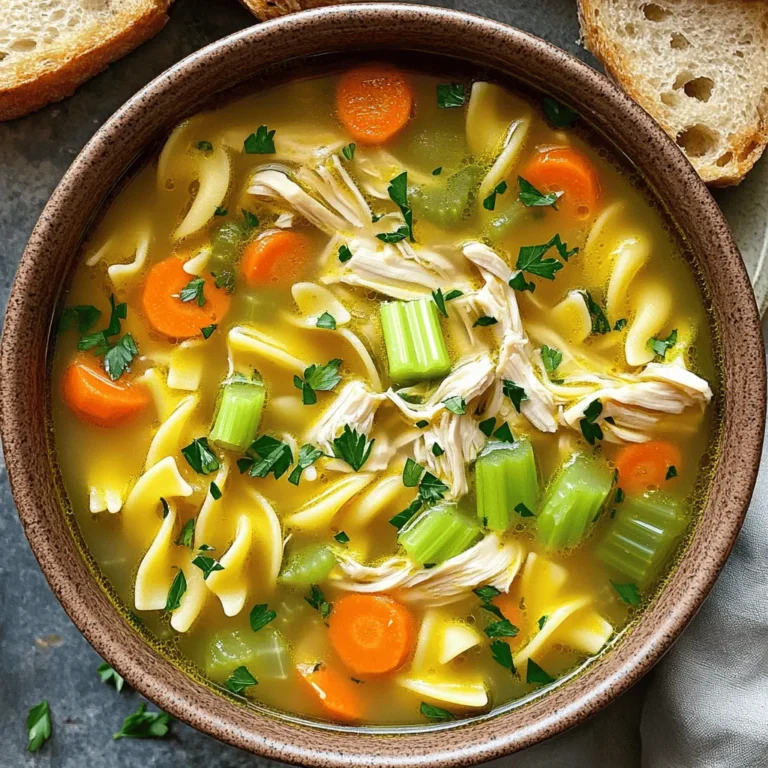
Classic Chicken Noodle Soup Savory Comfort Recipe
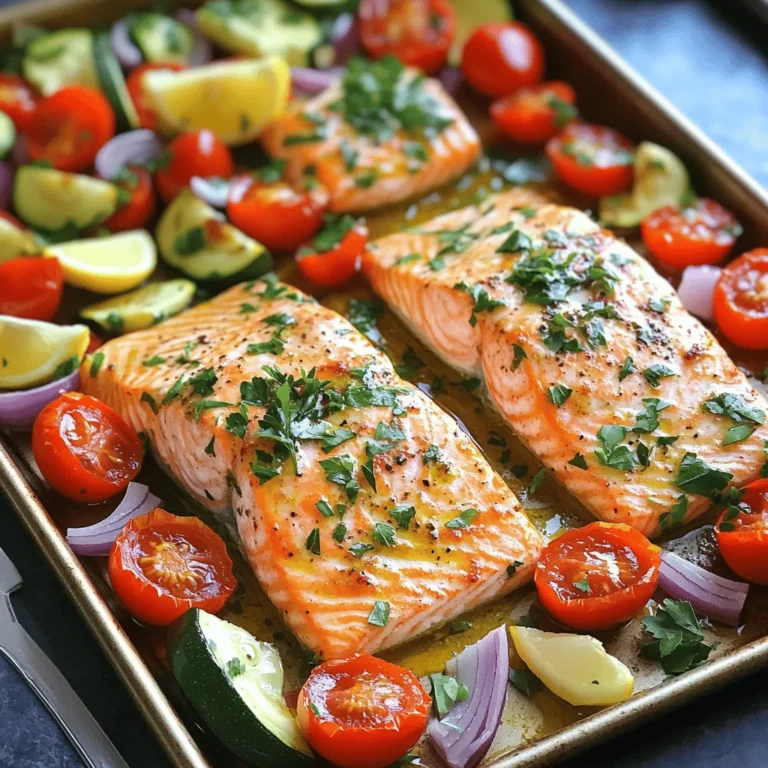
Sheet Pan Salmon and Veggies Simple Flavor Boost
Buffalo Chicken Stuffed Peppers Flavorful Easy Meal
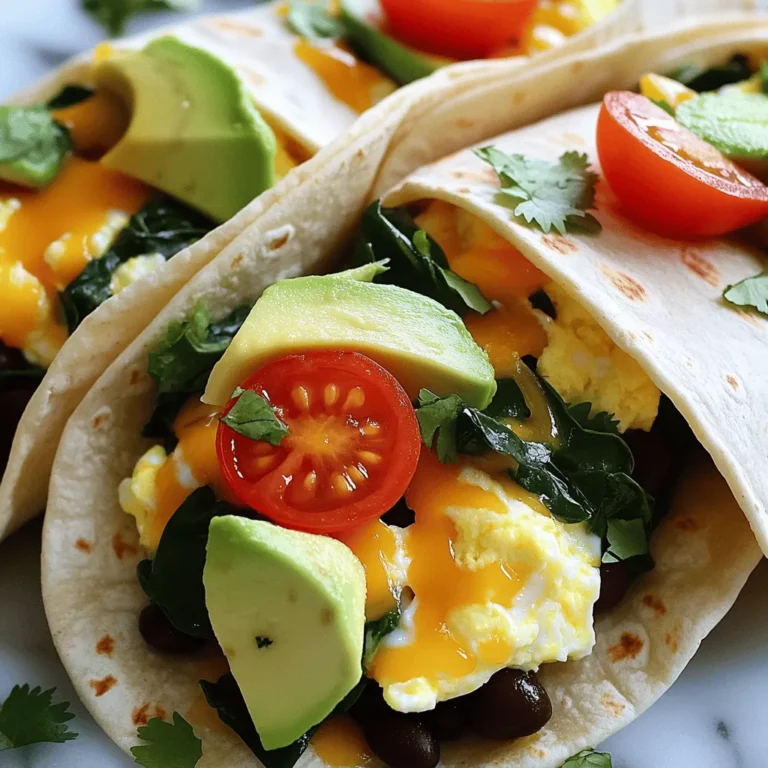
Homemade Breakfast Burritos Hearty and Simple Recipe
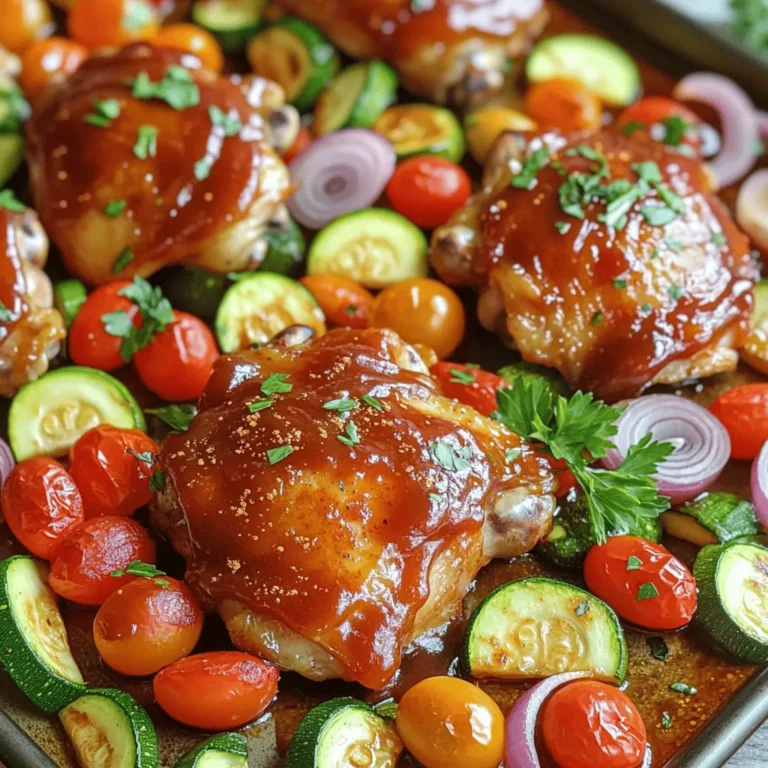
Sheet Pan BBQ Chicken and Veggies Quick Recipe
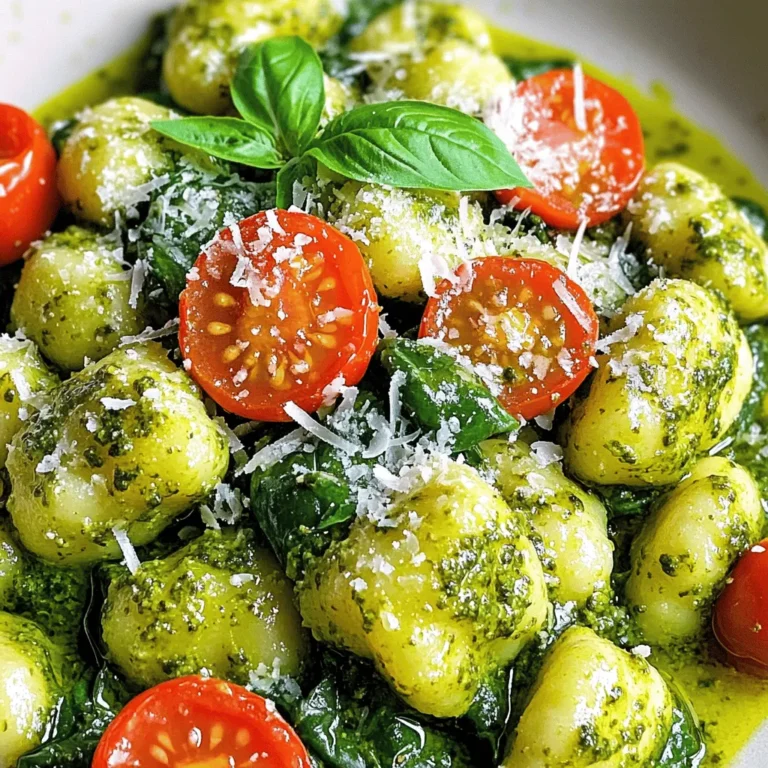
Creamy Pesto Gnocchi Savory and Satisfying Dish
Page navigation
Previous Page
Previous
1
…
39
40
41
42
43
…
64
Next Page
Next
Home
Dinner
Appetizer
Desserts
Drinks
About
Contact
Privacy Policy
Toggle Menu Close
Search for:
Search

![To make Chicken Alfredo Lasagna, you need simple and tasty ingredients. Here’s what you will need: - 8 lasagna noodles - 2 cups cooked chicken, shredded - 2 cups ricotta cheese - 2 cups mozzarella cheese, shredded - 1 cup grated Parmesan cheese - 3 cups Alfredo sauce (store-bought or homemade) - 1 teaspoon garlic powder - 1 teaspoon Italian seasoning - Salt and pepper to taste These ingredients work together to create a creamy and comforting dish. The lasagna noodles give it structure, while the chicken adds protein. Ricotta and mozzarella create a rich, cheesy base. Alfredo sauce makes it all creamy and delicious. You can add a few garnishes to make your Chicken Alfredo Lasagna even better. Here are some ideas: - Fresh parsley, chopped - Extra Parmesan cheese, grated - A sprinkle of red pepper flakes for spice These garnishes not only look nice but also enhance the flavor. A touch of parsley adds color, while red pepper flakes give a little kick. Knowing the nutritional facts helps you enjoy your meal fully. For each serving of Chicken Alfredo Lasagna, you get: - Calories: 450 - Protein: 30g - Fat: 25g - Carbohydrates: 35g - Fiber: 2g - Sugar: 3g This dish is filling and satisfying. It provides a good amount of protein and energy to keep you going. Just remember that it’s rich, so enjoy it in moderation. For the full recipe, check out the section above. To make Chicken Alfredo Lasagna, start by gathering all your ingredients. This includes lasagna noodles, cooked chicken, ricotta cheese, mozzarella cheese, Parmesan cheese, and Alfredo sauce. It helps to have everything ready before you start cooking. Preheating the oven to 375°F (190°C) is essential to ensure even baking. For the lasagna noodles, boil a large pot of salted water. Add the noodles and cook them until they are al dente, about 8 to 10 minutes. After cooking, drain the noodles and rinse them under cold water. This stops the cooking process and helps them stay firm. Set the noodles aside on a clean towel or plate. Now, let’s start layering! First, spread a thin layer of Alfredo sauce on the bottom of a 9x13-inch baking dish. Place four lasagna noodles on top of the sauce. Next, add half of the chicken mixture, which includes shredded chicken and ricotta cheese. Then, sprinkle one cup of mozzarella cheese over the chicken. Pour another cup of Alfredo sauce on top. Repeat this layering: add another set of four noodles, the remaining chicken mixture, one more cup of mozzarella cheese, and another cup of Alfredo sauce. Finish with a final layer of noodles. Pour the remaining Alfredo sauce over this top layer, then sprinkle grated Parmesan cheese and any leftover mozzarella cheese. Now cover the dish with aluminum foil and bake it in the preheated oven for about 25 minutes. After 25 minutes, remove the foil and bake for another 15 to 20 minutes. The cheese should be bubbly and golden when done. Let the lasagna rest for about 10 minutes before slicing. Garnish with fresh parsley for a lovely touch. Enjoy your creamy Chicken Alfredo Lasagna! For a complete guide, refer to the Full Recipe. To get great texture in your lasagna, cook the noodles just right. Aim for al dente, which means they should still have a slight bite. This will help keep your lasagna from becoming mushy. Don't forget to rinse the noodles in cold water after boiling. This step stops the cooking and prevents them from sticking together. Making homemade Alfredo sauce is simple and rewarding. You will need butter, heavy cream, and Parmesan cheese. Start by melting butter in a pan. Add heavy cream and let it simmer. Stir in grated Parmesan until smooth. Season with garlic powder and salt. This sauce will make your lasagna extra creamy and delicious. When serving Chicken Alfredo Lasagna, a fresh salad pairs nicely. A side of garlic bread is also a great choice. For drinks, consider a light white wine or sparkling water with lemon. This adds a refreshing touch to your meal. You can find the full recipe for Chicken Alfredo Lasagna above to guide you. {{image_2}} You can easily make a vegetarian version. Just swap the chicken for mushrooms or spinach. Use a blend of ricotta and cottage cheese for texture. This change keeps the dish creamy and rich without meat. Gluten-free lasagna noodles work great in this dish. Look for brands made from rice or corn. They cook similarly to regular noodles. Just follow the package instructions closely. This way, everyone can enjoy your Chicken Alfredo Lasagna. Feel free to add veggies for extra flavor and nutrients. Zucchini, bell peppers, or broccoli are great choices. Just sauté them lightly before adding to the layers. This adds color and a healthy twist to your lasagna. To store leftover Chicken Alfredo Lasagna, let it cool first. Then, place it in an airtight container. You can keep it in the fridge for up to three days. Make sure to cover the dish tightly to prevent it from drying out. If you want to freeze your lasagna, wrap it well in plastic wrap and then in foil. You can freeze it for up to three months. It’s best to freeze it before baking. When you're ready to eat it, thaw it in the fridge overnight. To reheat your lasagna, preheat your oven to 350°F (175°C). Place the lasagna in an oven-safe dish. Cover it with foil to keep it moist. Heat for about 25-30 minutes or until it’s hot all the way through. If you want a bubbly top, uncover it for the last 5-10 minutes. Enjoy your creamy Chicken Alfredo Lasagna! For the complete recipe, check out [Full Recipe]. Yes, you can use no-boil lasagna noodles. They save time and effort. Just layer them as you would regular noodles. They will cook in the oven with the sauce. This method keeps your lasagna moist and creamy. Chicken Alfredo Lasagna lasts about 3 to 5 days in the fridge. Make sure to store it in an airtight container. This keeps it fresh and tasty. Just reheat individual portions in the microwave or oven. Enjoy it warm, and it tastes almost as good as fresh! If you need substitutions, here are some easy swaps: - Use cottage cheese instead of ricotta. - Swap mozzarella for provolone for a bolder flavor. - Try a white sauce if you don’t have Alfredo. - You can replace chicken with cooked spinach for a veggie version. These changes still give you a great taste and texture in your lasagna. Check out the Full Recipe for more ideas! This blog post covered how to make Chicken Alfredo Lasagna, from ingredients to storage tips. I shared step-by-step instructions, helpful tricks, and tasty variations. With this guide, you can enjoy a rich, creamy dish that fits your needs, whether you're vegetarian or gluten-free. Remember to store any leftovers properly and try my tips for reheating. Get ready to savor this easy-to-make favorite!](https://dailydishlab.com/wp-content/uploads/2025/06/d9fb5a23-c67e-4c93-be8f-149e76ff08bb-768x768.webp)