Skip to content
About
Contact
Cookie Policy
Copyright Policy
Disclaimer
Search
Home
Dinner
Appetizer
Desserts
Drinks
About
Contact
Privacy Policy
Toggle Menu
Home
/
Dinner
- Page 48
Dinner
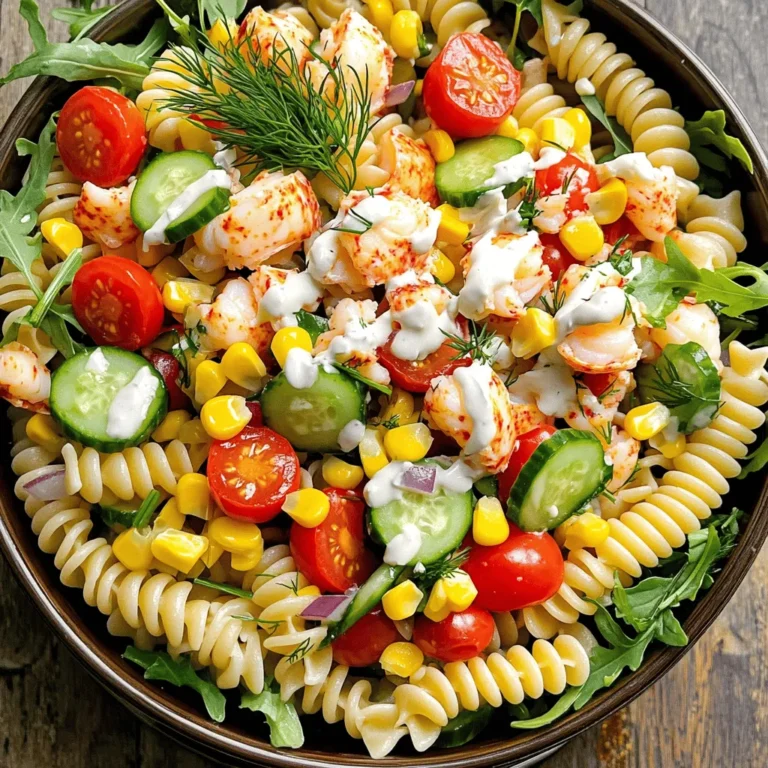
Lobster Pasta Salad Fresh and Flavorful Delight
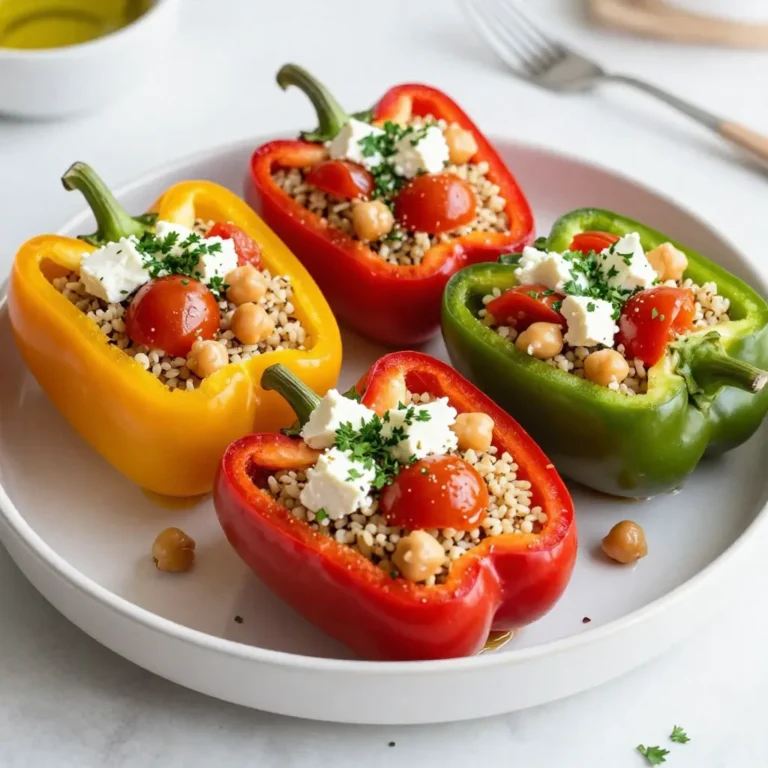
Mediterranean Quinoa Stuffed Peppers Flavorful Delight
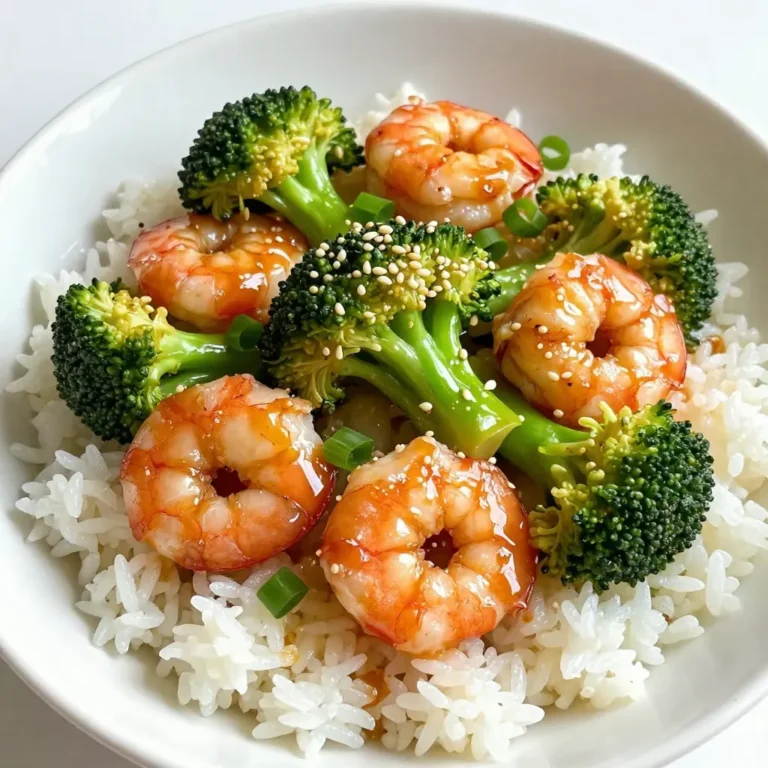
Honey Garlic Shrimp & Broccoli Stir Fry Delight
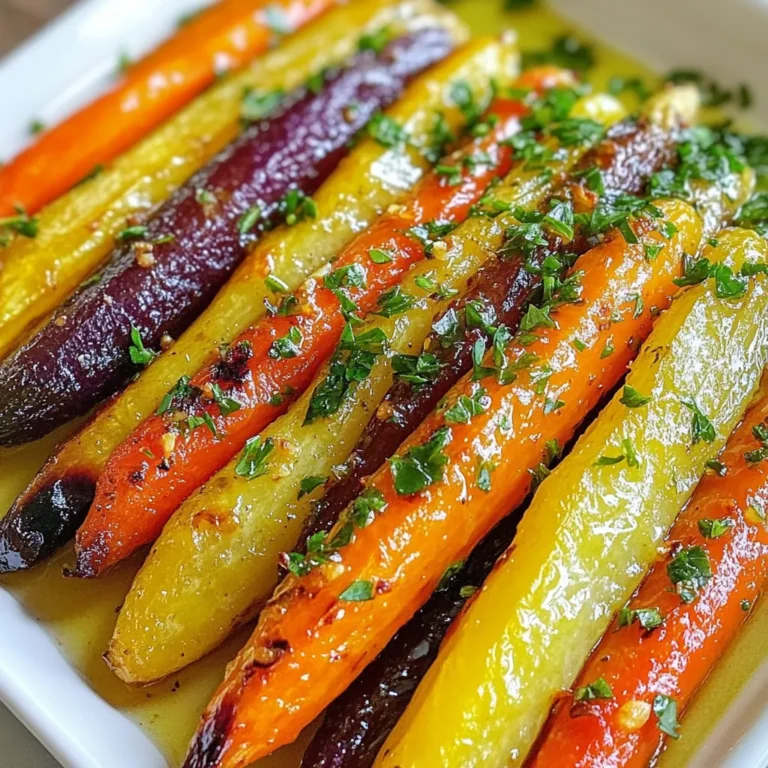
Garlic Herb Roasted Rainbow Carrots Flavorful Delight
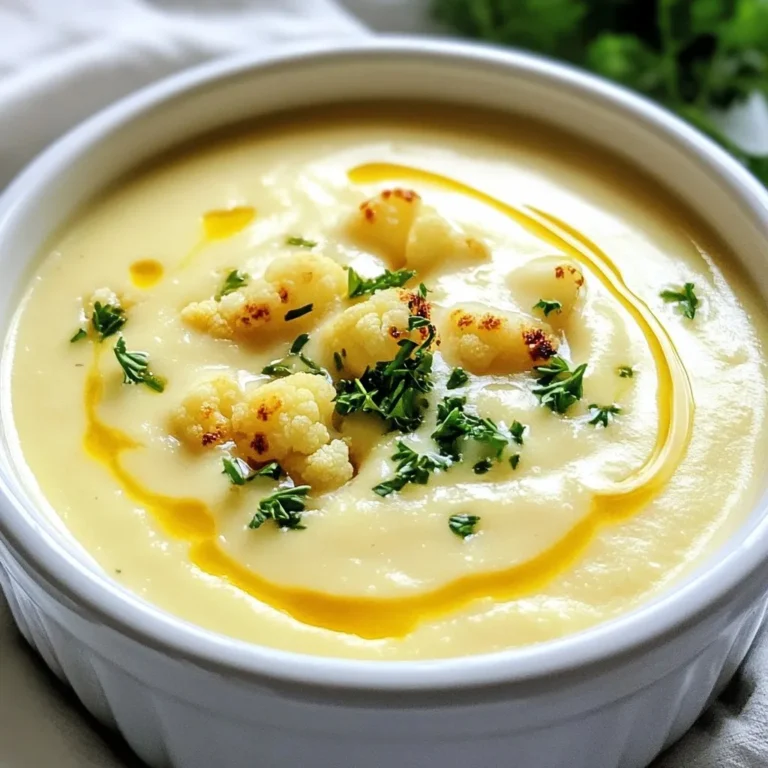
Creamy Roasted Garlic Cauliflower Soup Delight
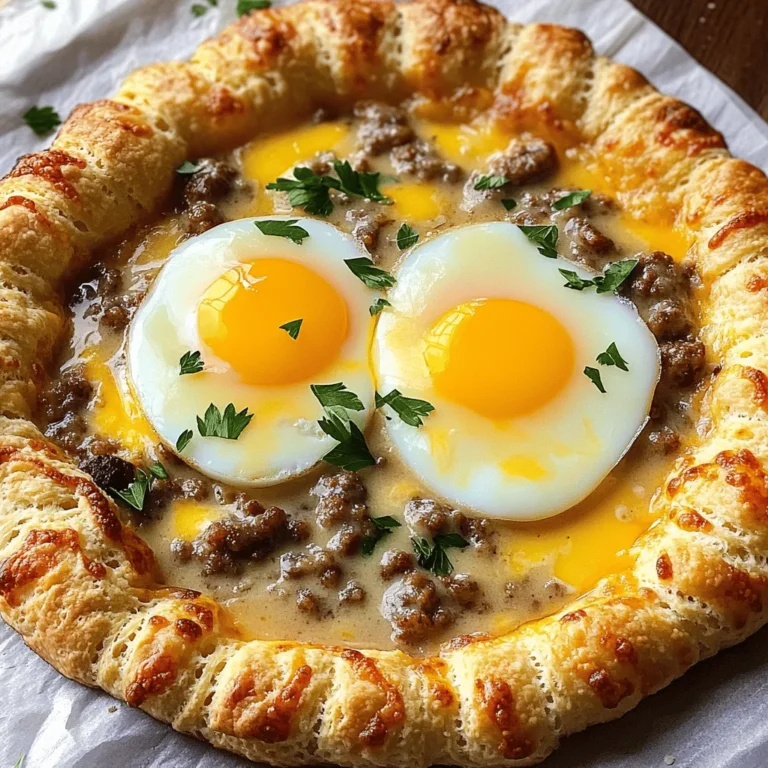
Biscuits and Sausage Gravy Breakfast Pizza Delight
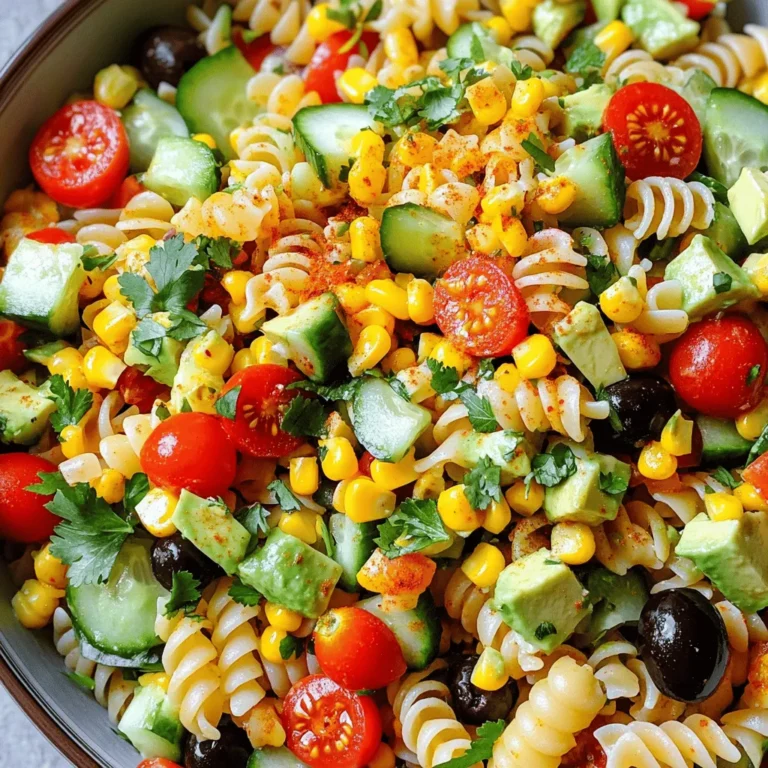
California Pasta Salad Fresh and Flavorful Recipe
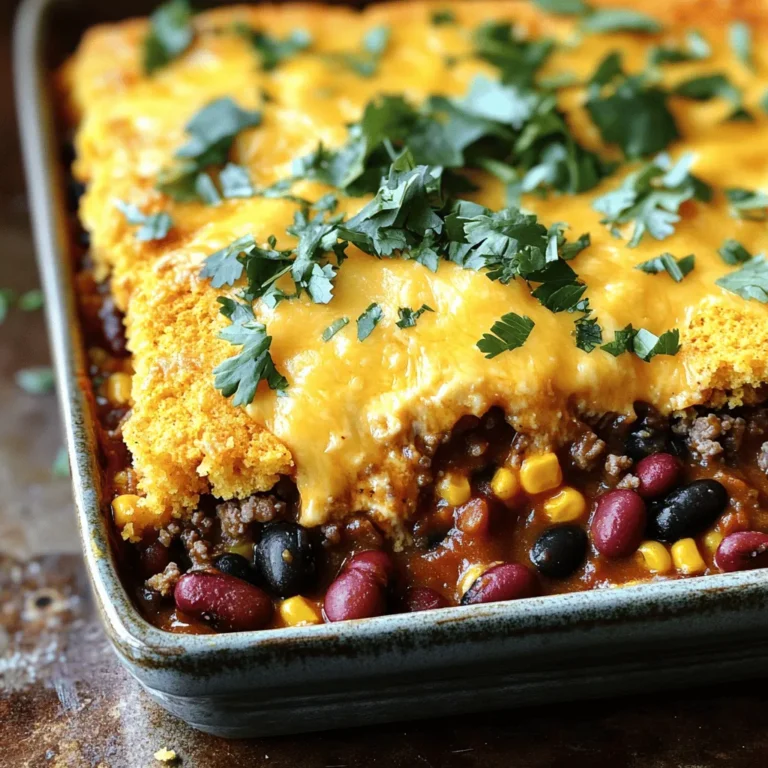
Cowboy Casserole with Cornbread Hearty Dinner Delight
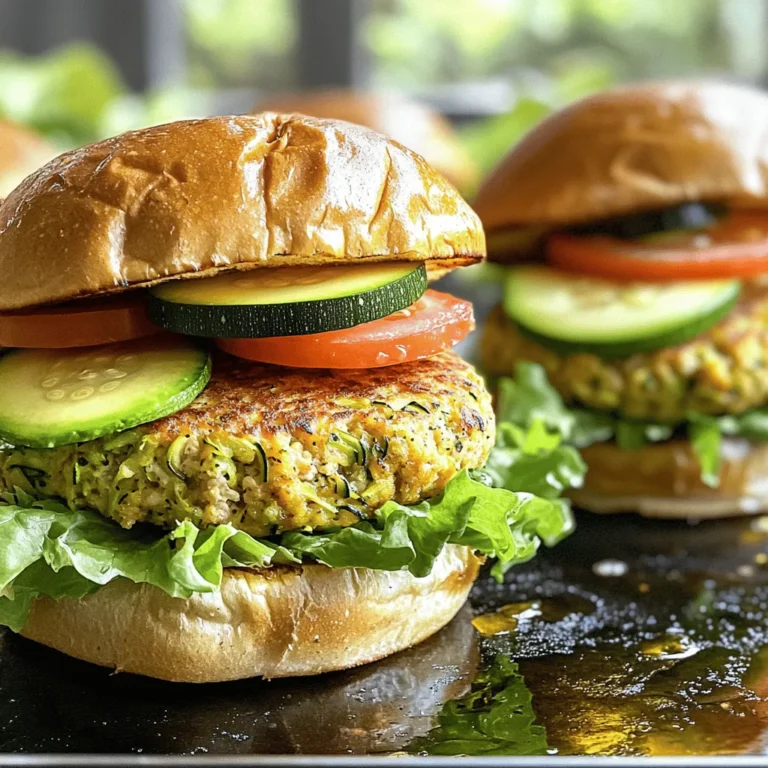
Healthy Chicken Zucchini Burgers Flavorful and Simple
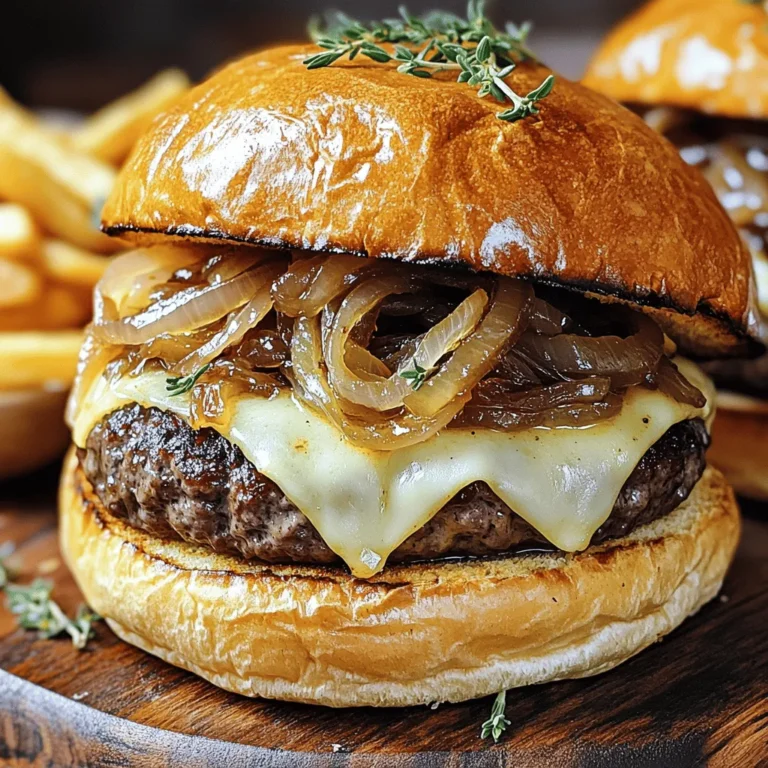
Savory French Onion Burgers Flavorful and Easy Meal
Page navigation
Previous Page
Previous
1
…
46
47
48
49
50
…
64
Next Page
Next
Home
Dinner
Appetizer
Desserts
Drinks
About
Contact
Privacy Policy
Toggle Menu Close
Search for:
Search