Skip to content
About
Contact
Cookie Policy
Copyright Policy
Disclaimer
Search
Home
Dinner
Appetizer
Desserts
Drinks
About
Contact
Privacy Policy
Toggle Menu
Home
/
Dinner
- Page 5
Dinner
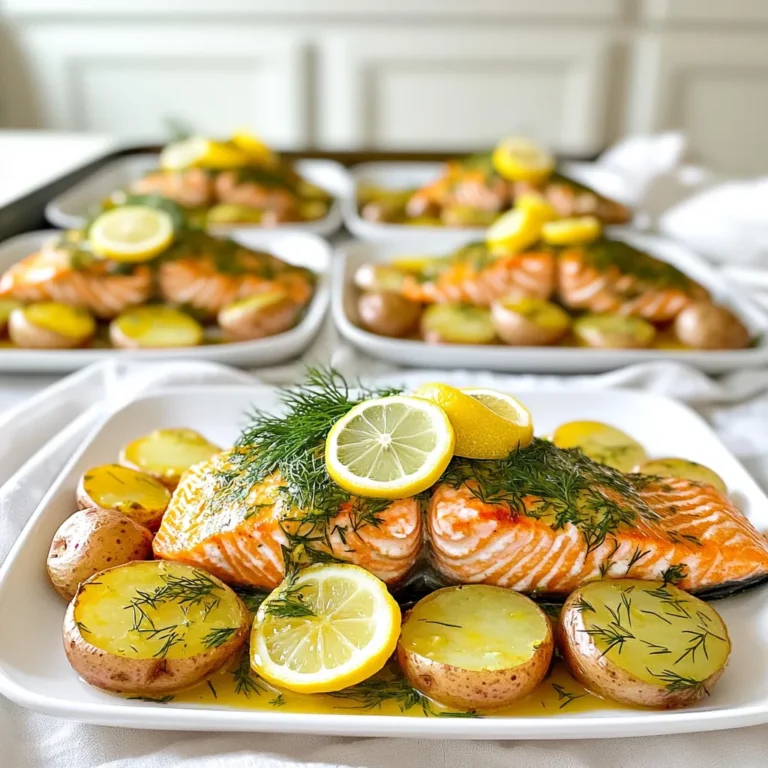
Savory Sheet-Pan Lemon Dill Salmon with Potatoes
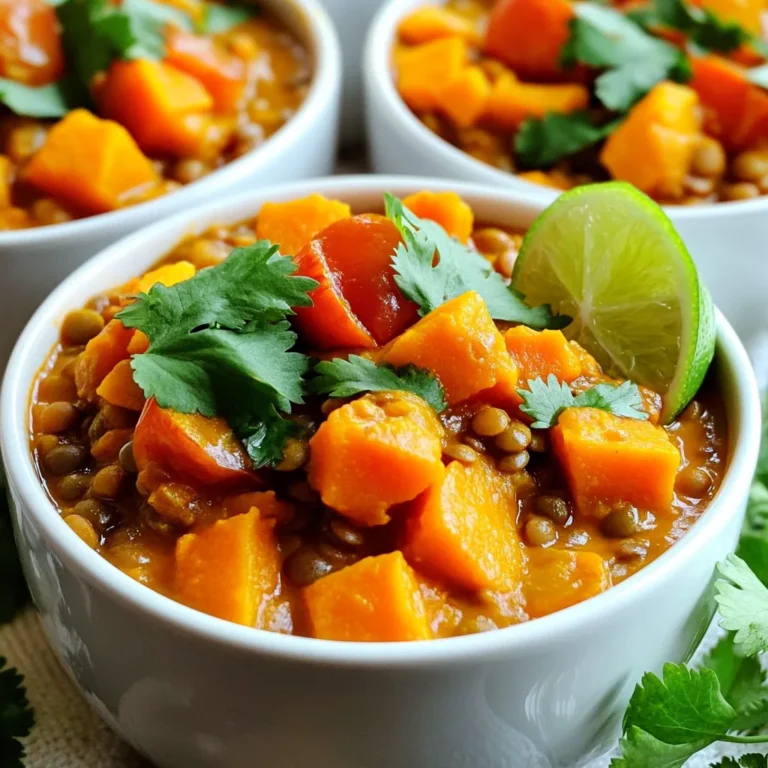
Savory Slow Cooker Butternut Squash Lentil Curry
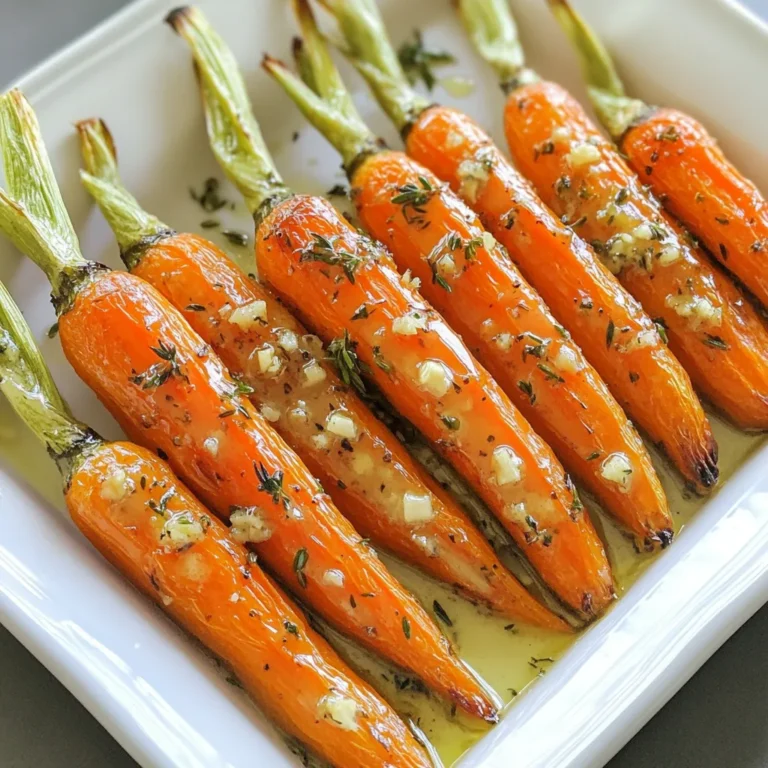
Garlic Herb Butter Roasted Carrots Savory Side Dish
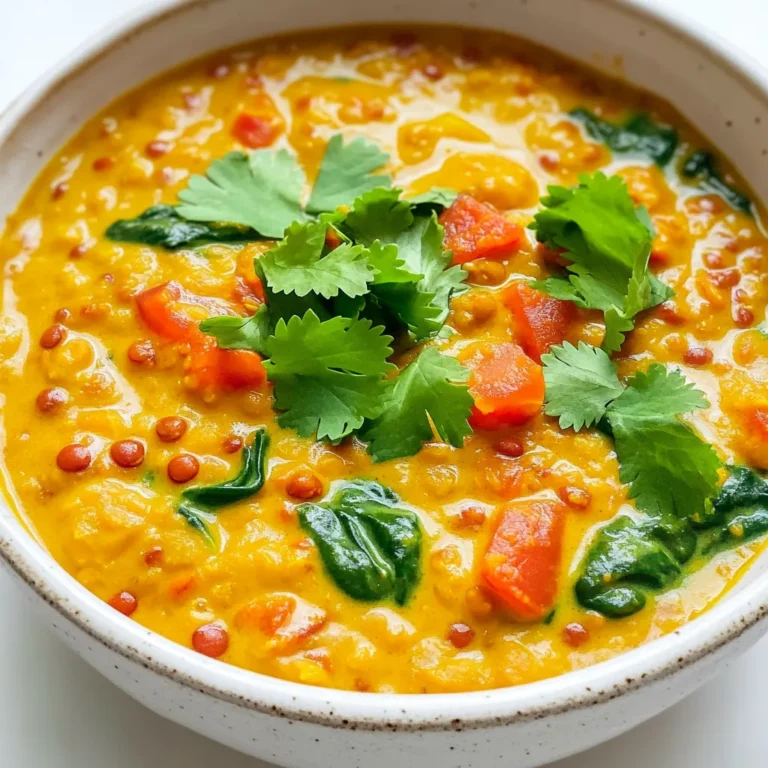
One-Pot Creamy Red Lentil Curry Easy and Flavorful Dish
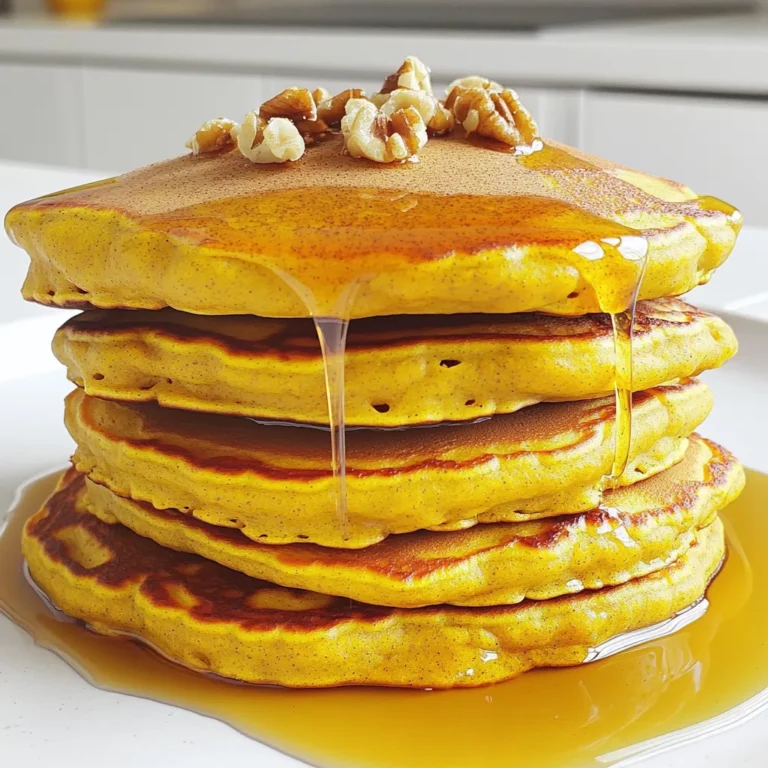
Pumpkin Spice Protein Pancakes Healthy Breakfast Idea
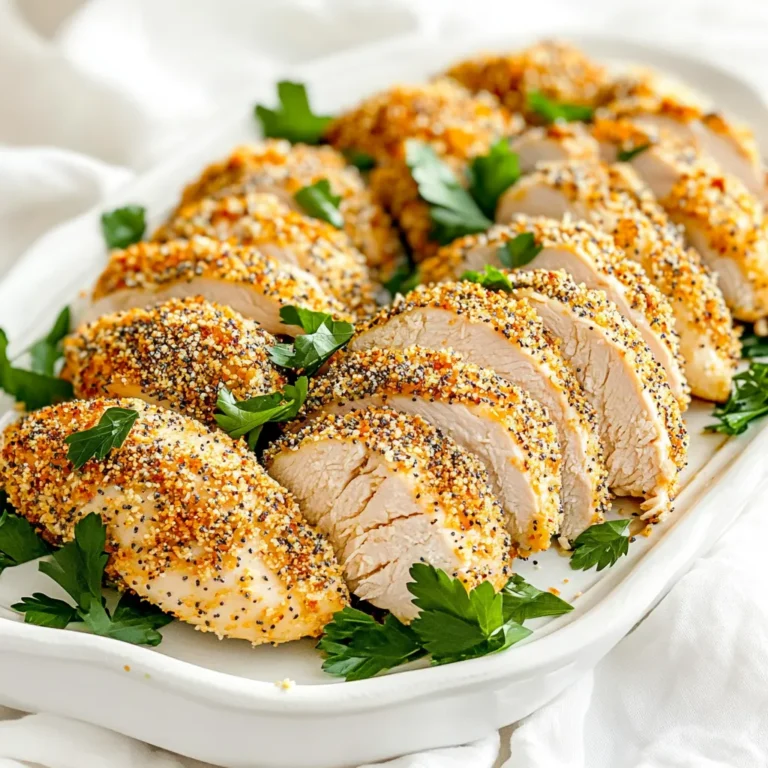
Air Fryer Everything Bagel Chicken Flavorful Delight
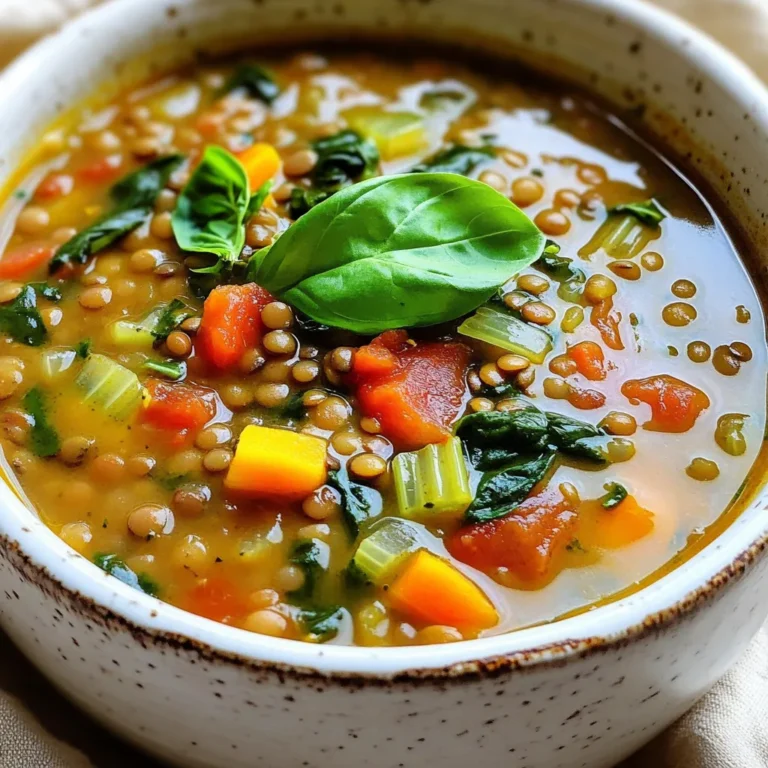
Slow Cooker Creamy Tuscan Lentil Soup Delight
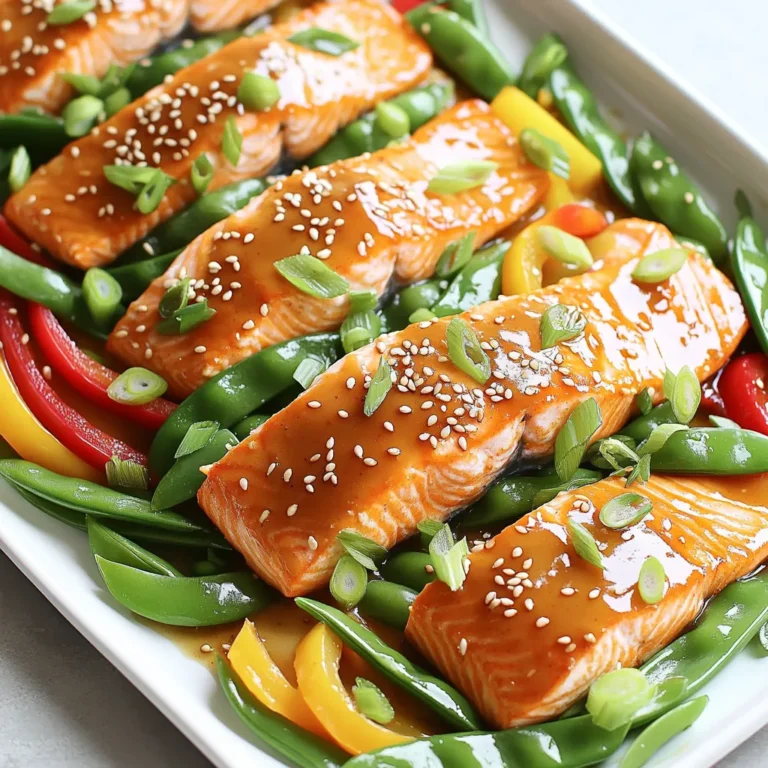
Sheet-Pan Sesame Ginger Salmon Quick and Tasty Meal
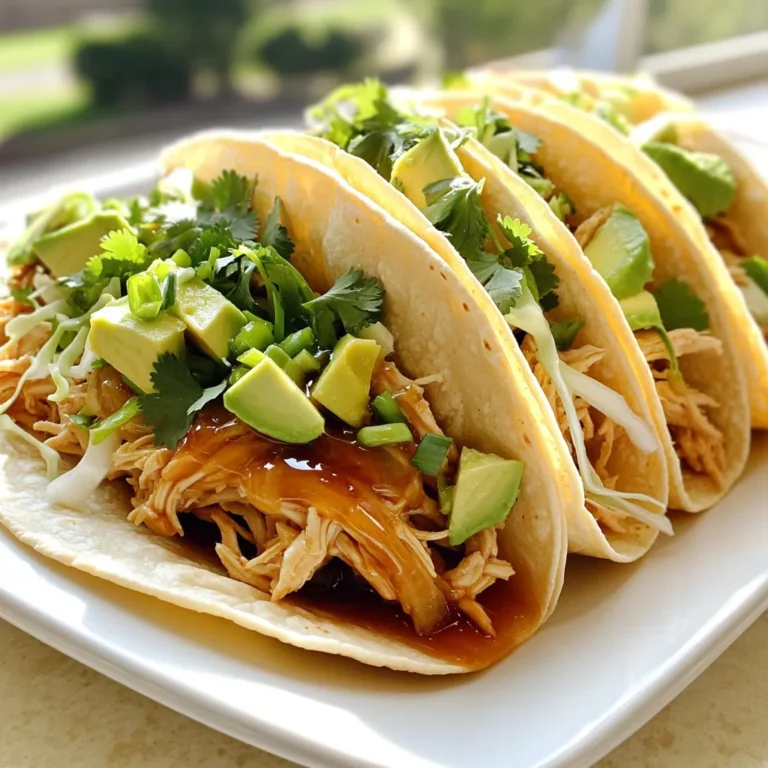
Slow Cooker Honey Garlic Chicken Tacos Delightful Meal
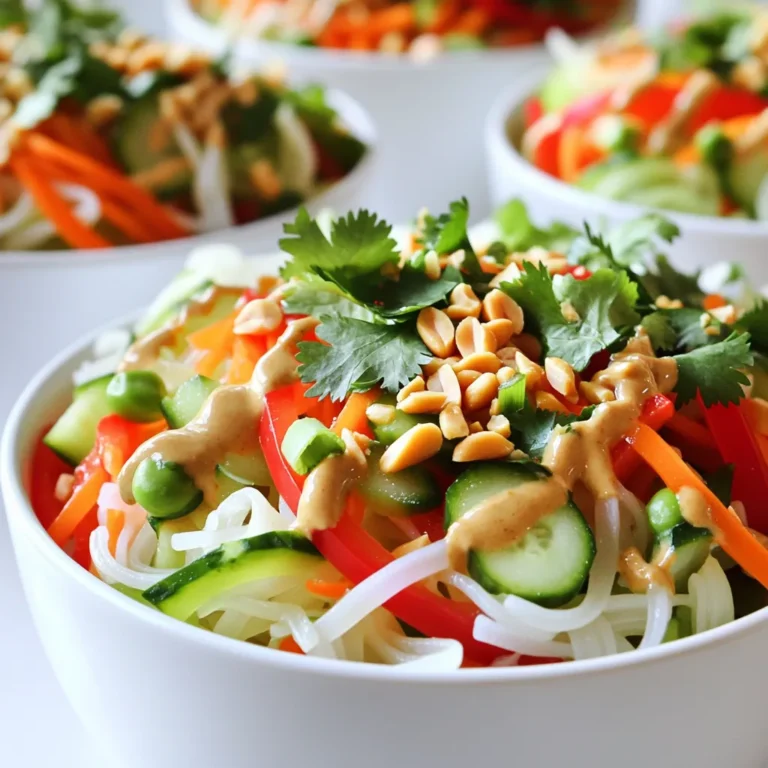
Minute Thai Peanut Noodle Salad Tasty and Quick Meal
Page navigation
Previous Page
Previous
1
…
3
4
5
6
7
…
64
Next Page
Next
Home
Dinner
Appetizer
Desserts
Drinks
About
Contact
Privacy Policy
Toggle Menu Close
Search for:
Search