Skip to content
About
Contact
Cookie Policy
Copyright Policy
Disclaimer
Search
Home
Dinner
Appetizer
Desserts
Drinks
About
Contact
Privacy Policy
Toggle Menu
Home
/
Dinner
- Page 50
Dinner
Zucchini Noodle Pad Thai Quick and Flavorful Recipe
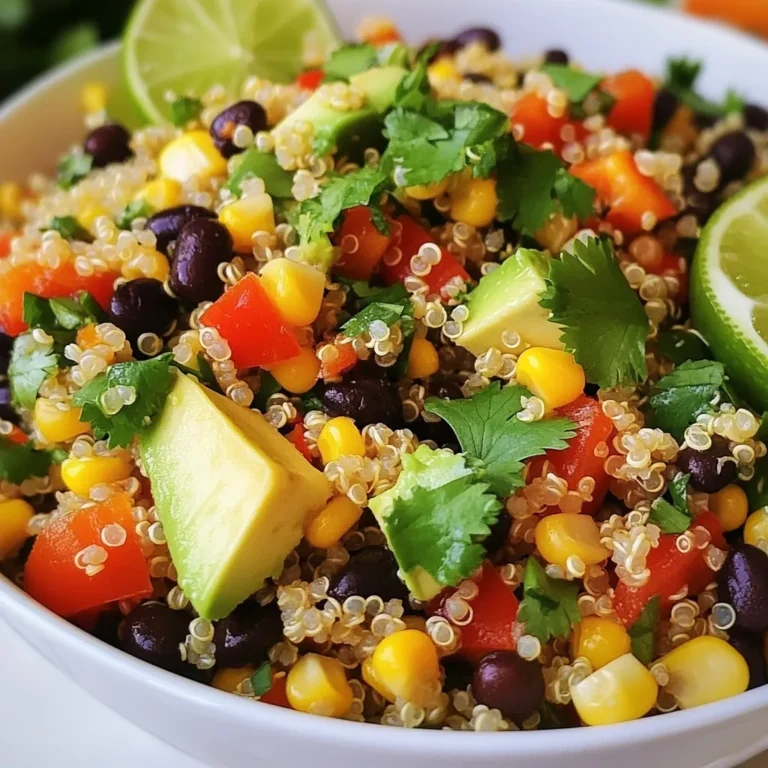
Southwest Quinoa Salad Flavorful and Healthy Dish
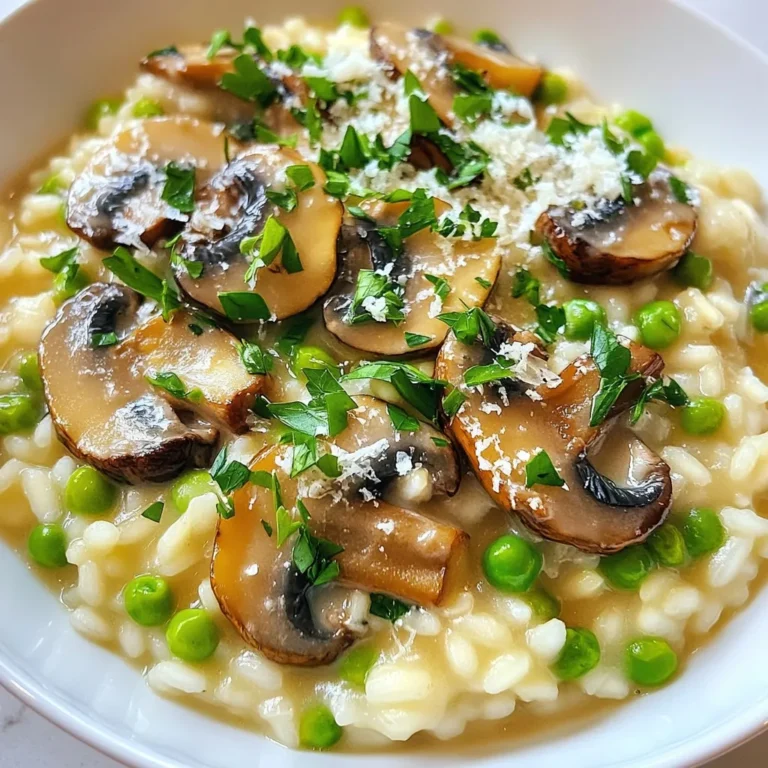
Creamy Mushroom Risotto Savory and Simple Recipe
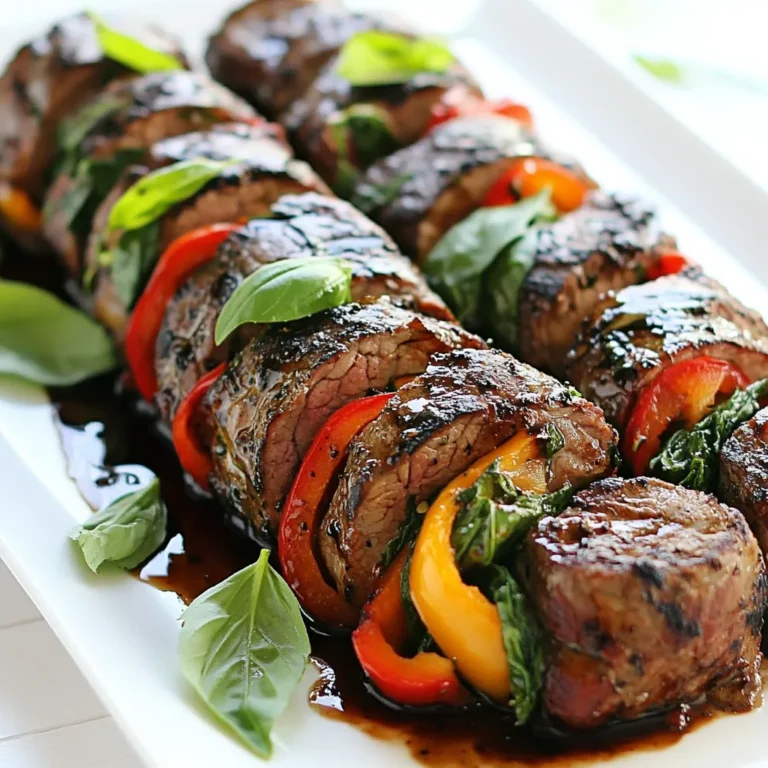
Balsamic Glazed Steak Rolls Flavorful and Easy Recipe
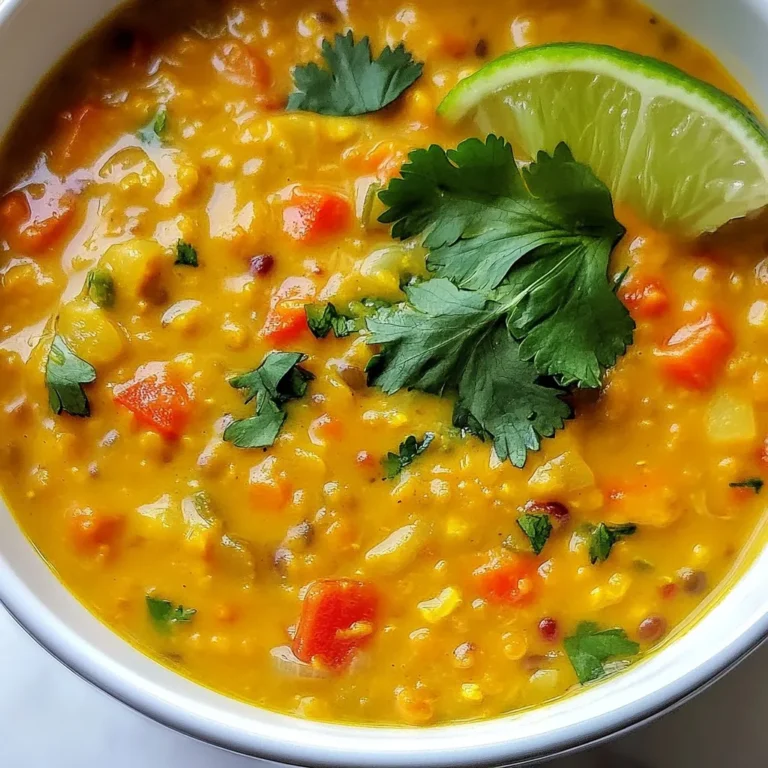
Coconut Curry Lentil Soup Flavorful and Easy Recipe
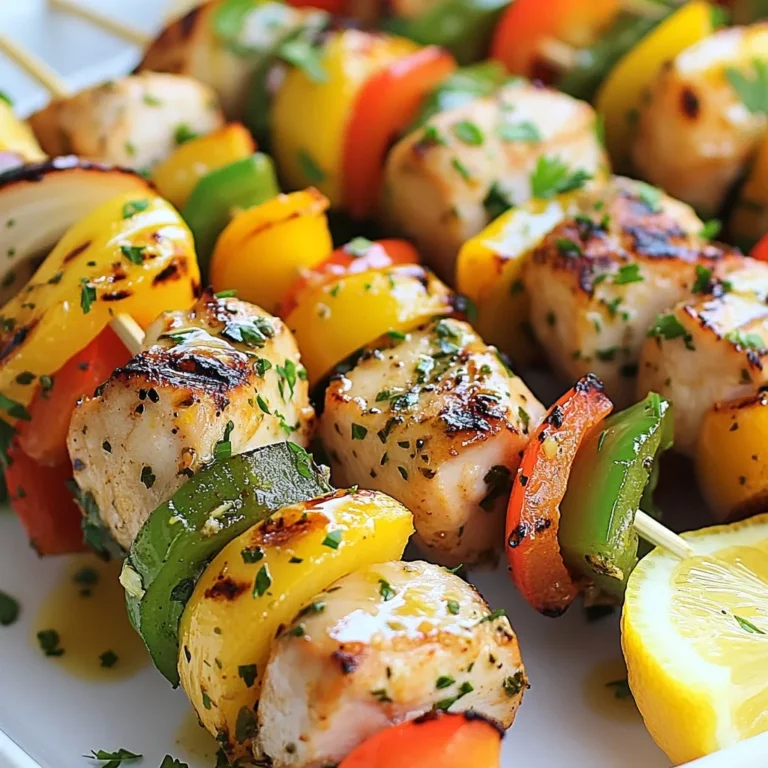
Lemon Herb Chicken Kabobs Flavorful Grilling Delight
Creamy Roasted Red Pepper Pasta Quick and Tasty Dish
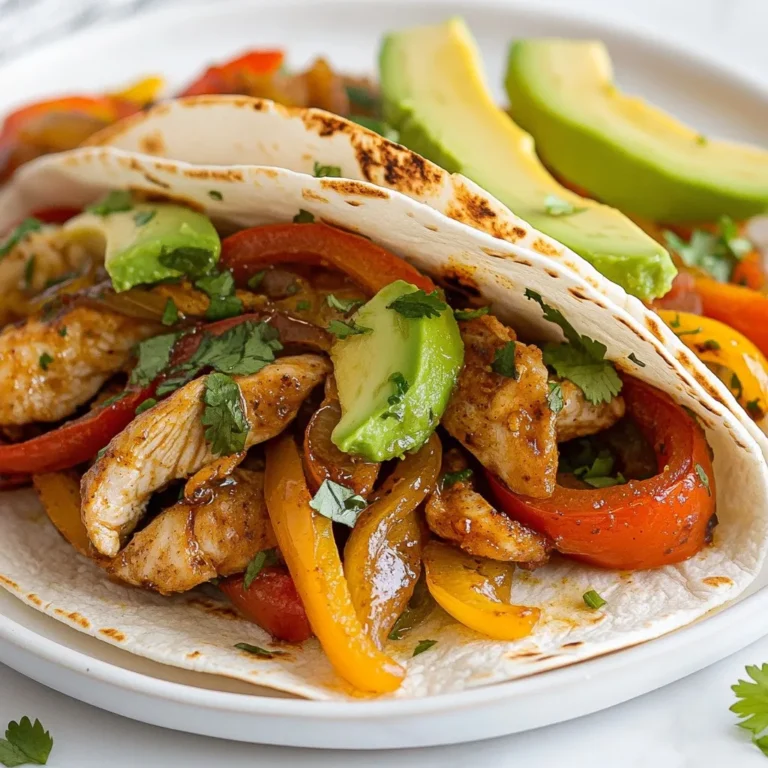
Honey Lime Chicken Fajitas Flavorful and Easy Recipe
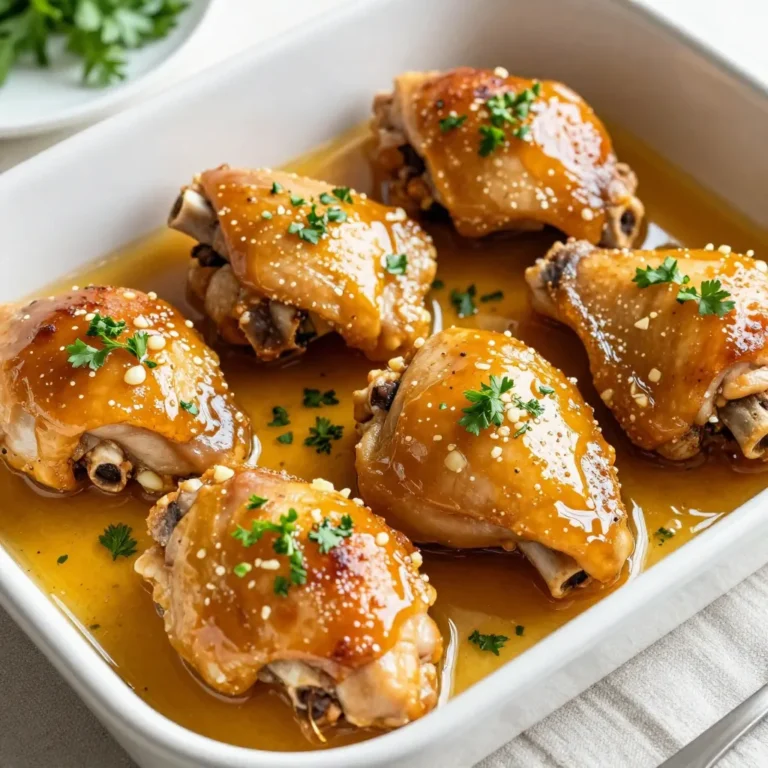
Honey Mustard Chicken Thighs Flavorful Weeknight Meal
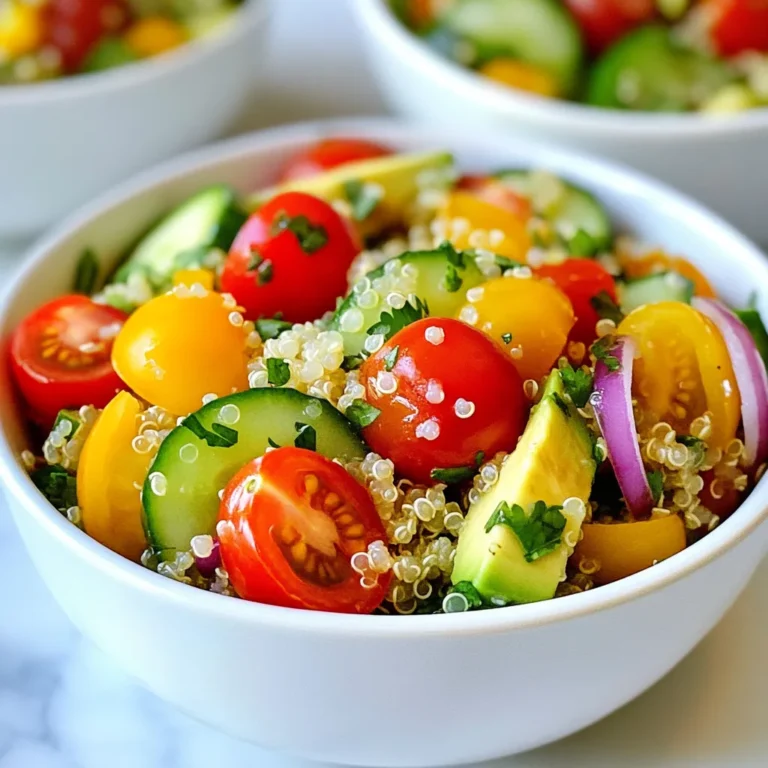
Honey Lime Quinoa Salad Fresh and Flavorful Treat
Page navigation
Previous Page
Previous
1
…
48
49
50
51
52
…
64
Next Page
Next
Home
Dinner
Appetizer
Desserts
Drinks
About
Contact
Privacy Policy
Toggle Menu Close
Search for:
Search