Skip to content
About
Contact
Cookie Policy
Copyright Policy
Disclaimer
Search
Home
Dinner
Appetizer
Desserts
Drinks
About
Contact
Privacy Policy
Toggle Menu
Home
/
Dinner
- Page 51
Dinner
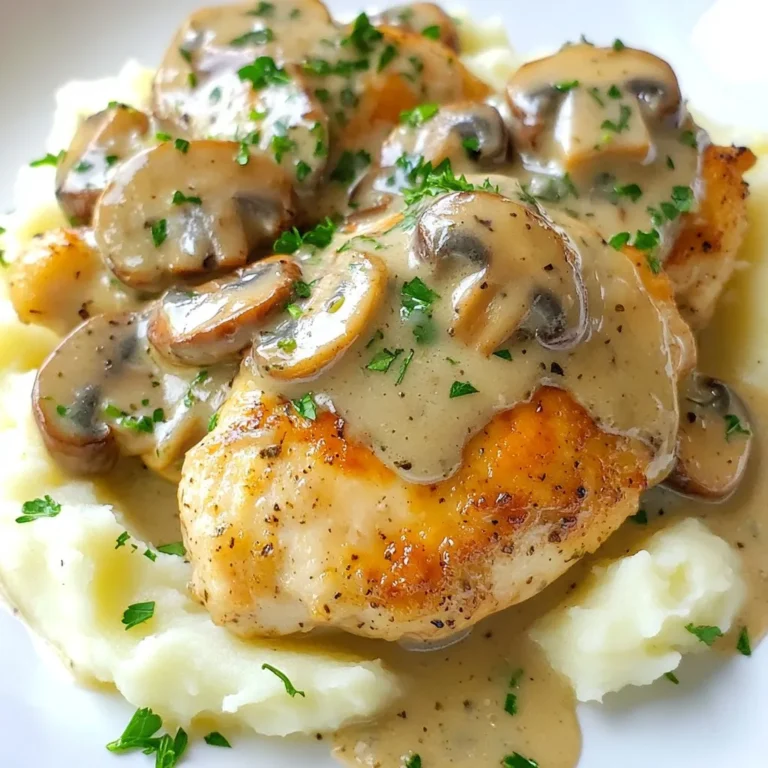
Creamy Garlic Mushroom Chicken Irresistible Delight
Veggie Packed Summer Roll Bowls Fresh and Crunchy Meal
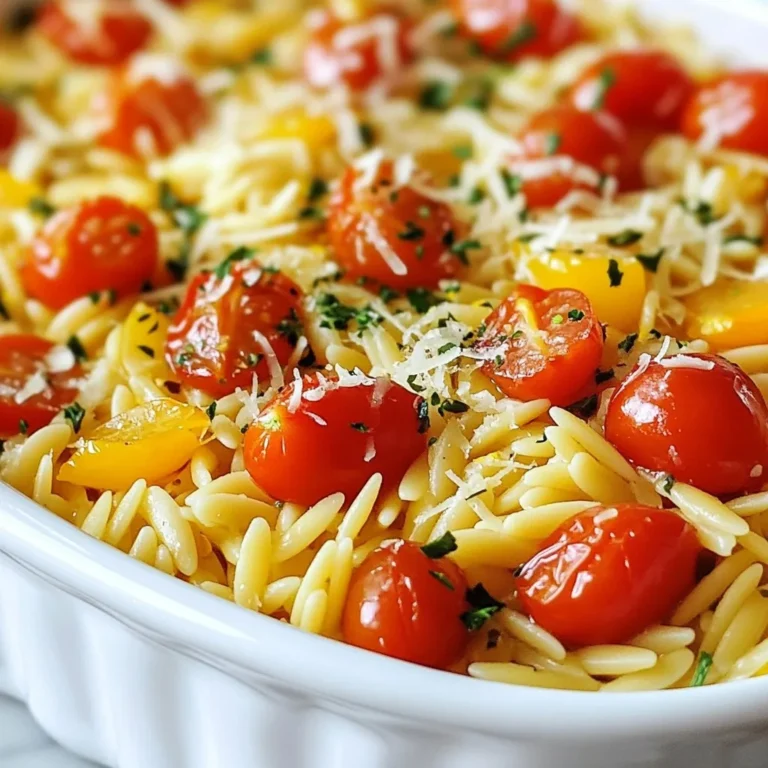
Creamy Mushroom Orzo Delicious and Easy Recipe
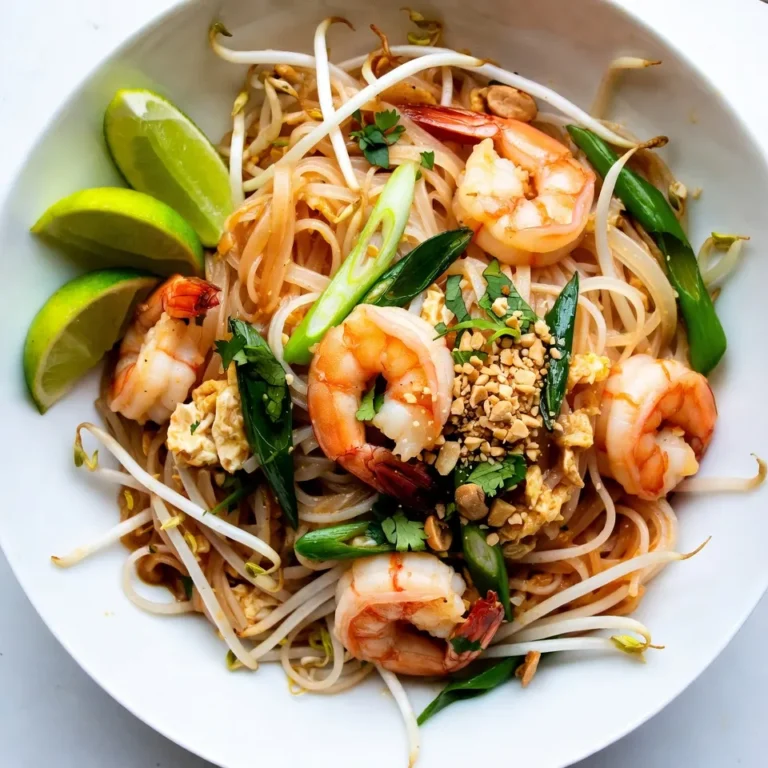
Easy Shrimp Pad Thai Flavorful and Quick Dinner Delight
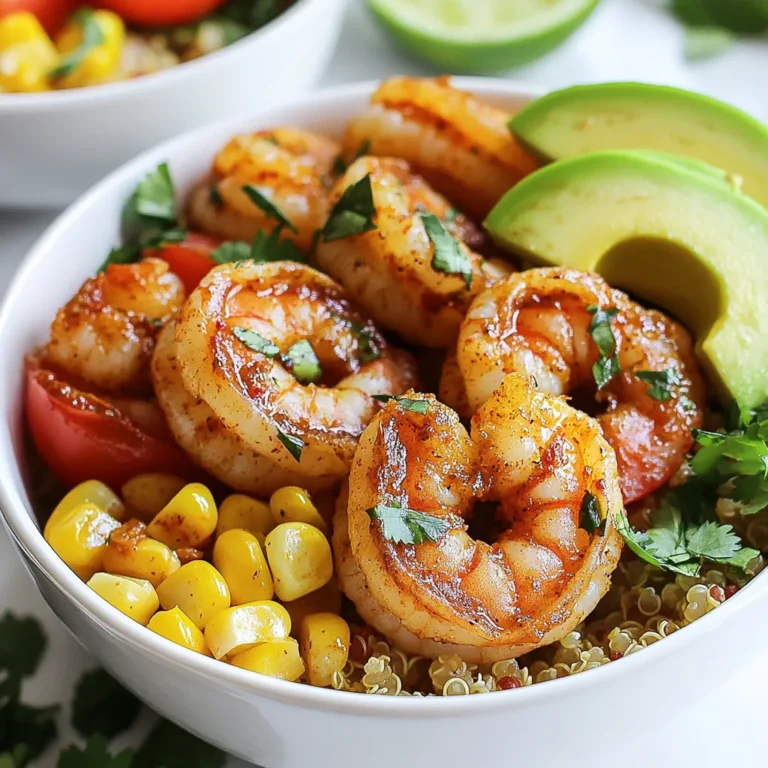
Chipotle Lime Shrimp Bowl Fresh and Zesty Delight
Tiktok Feta Baked Orzo Flavorful and Easy Recipe
Lemon Garlic Orzo Fresh and Flavorful Dish
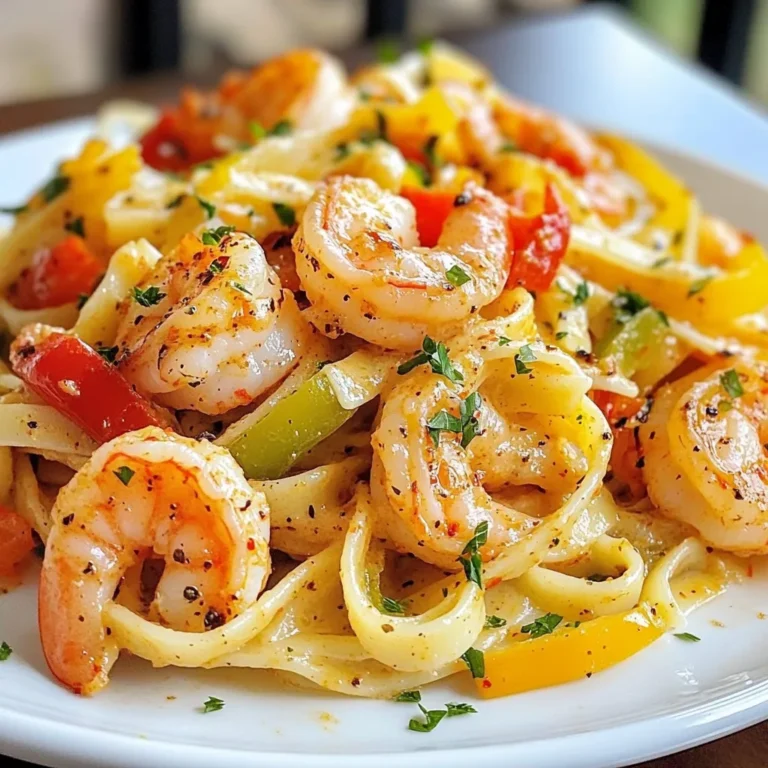
Creamy Cajun Shrimp Pasta Flavorful Dinner Delight
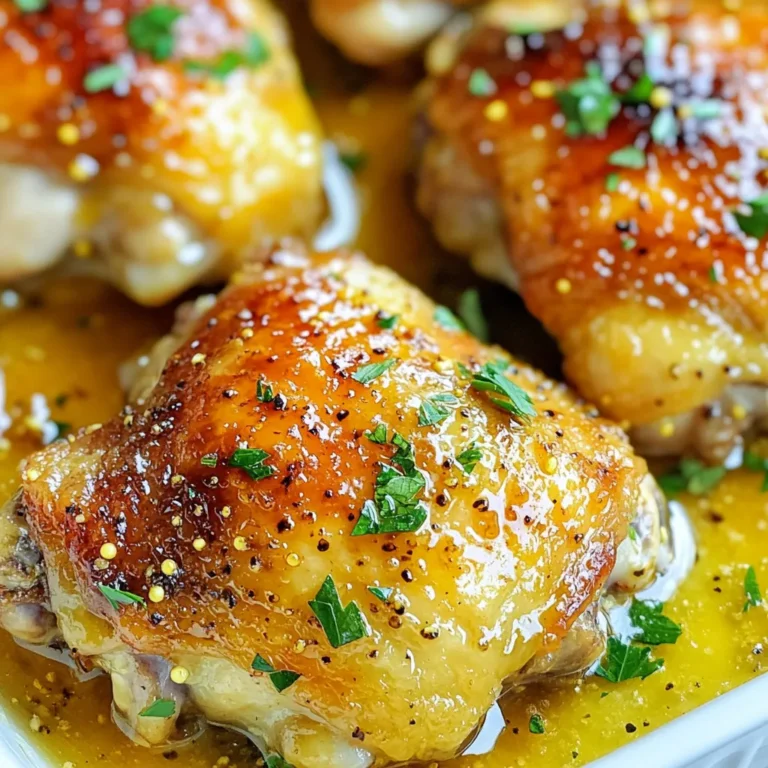
Honey Mustard Chicken Thighs Juicy and Flavorful Bake
Chicken Parmesan Casserole Tasty Family Meal Idea
Page navigation
Previous Page
Previous
1
…
49
50
51
52
53
…
64
Next Page
Next
Home
Dinner
Appetizer
Desserts
Drinks
About
Contact
Privacy Policy
Toggle Menu Close
Search for:
Search