Skip to content
About
Contact
Cookie Policy
Copyright Policy
Disclaimer
Search
Home
Dinner
Appetizer
Desserts
Drinks
About
Contact
Privacy Policy
Toggle Menu
Home
/
Dinner
- Page 53
Dinner
Garlic Butter Shrimp Scampi Fresh and Flavorful Dish
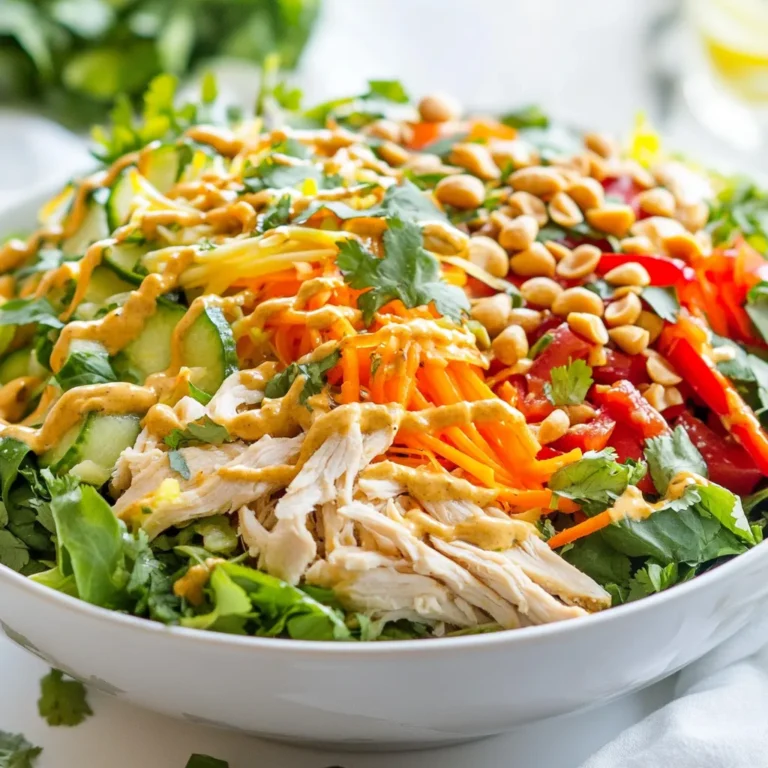
Thai Peanut Chicken Salad Perfectly Fresh Delight
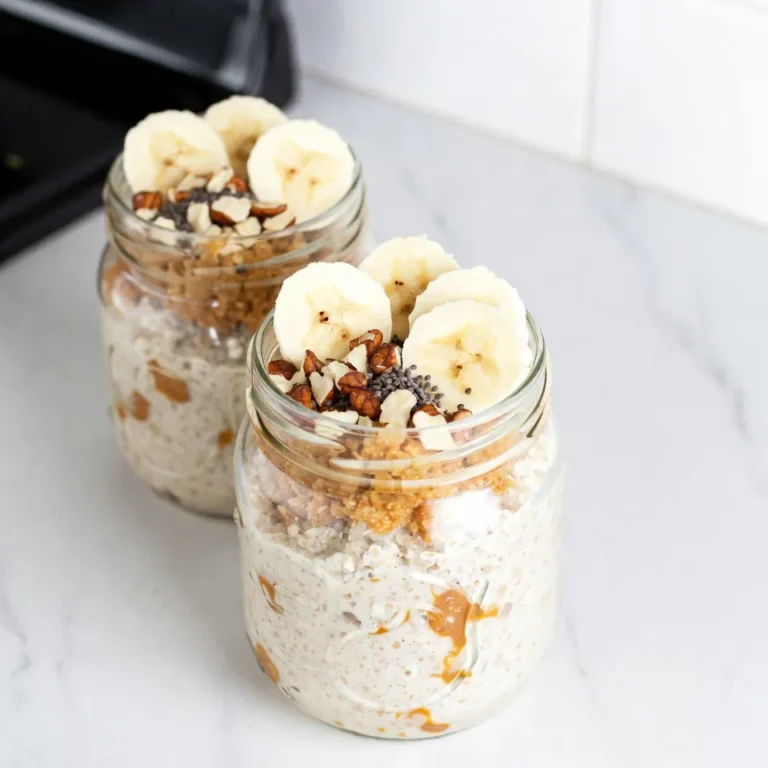
Peanut Butter Banana Overnight Oats Easy Breakfast Recipe
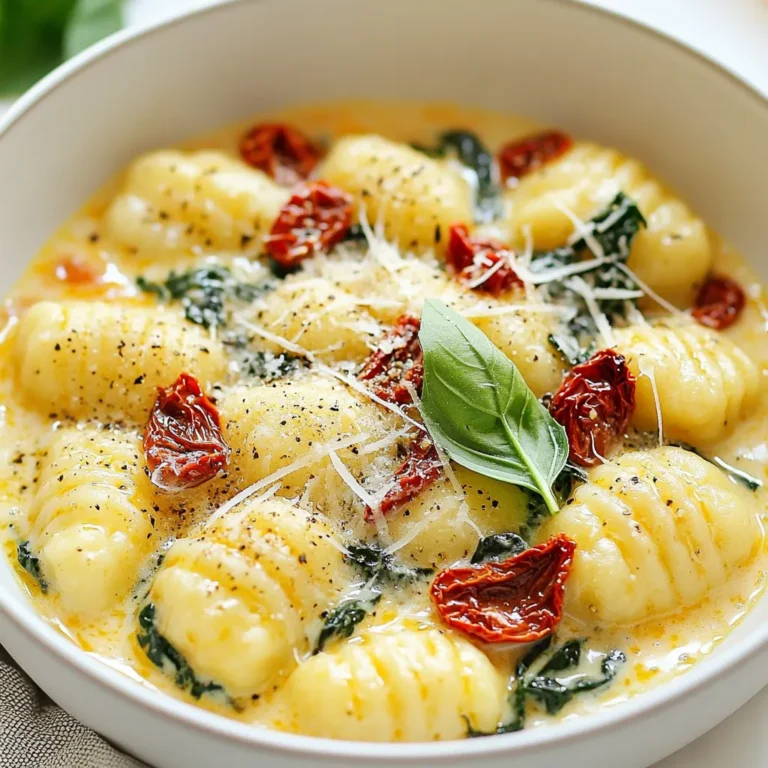
Creamy Sun Dried Tomato Gnocchi Flavorful Delight
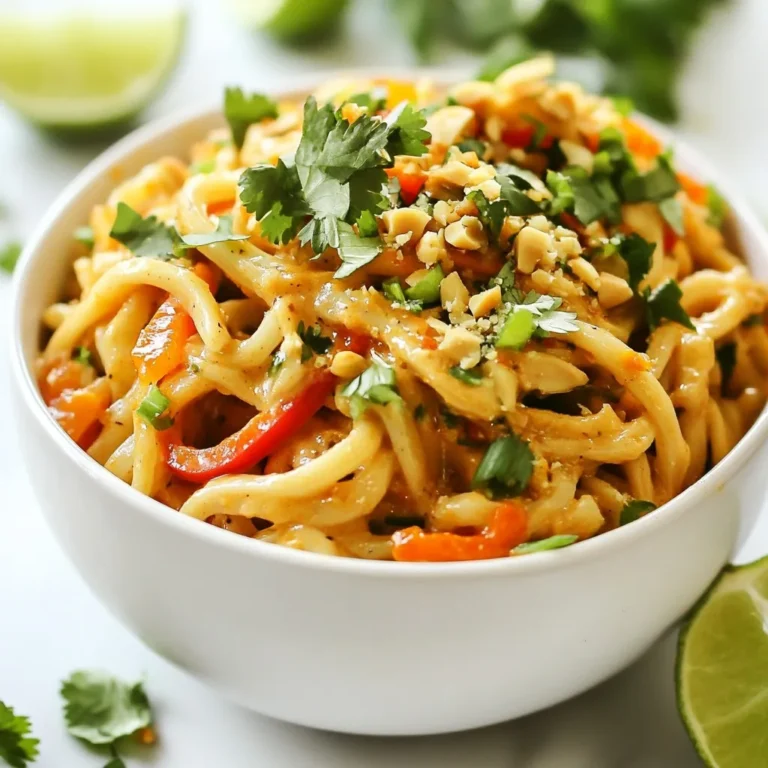
Spicy Peanut Udon Noodles Quick and Easy Recipe
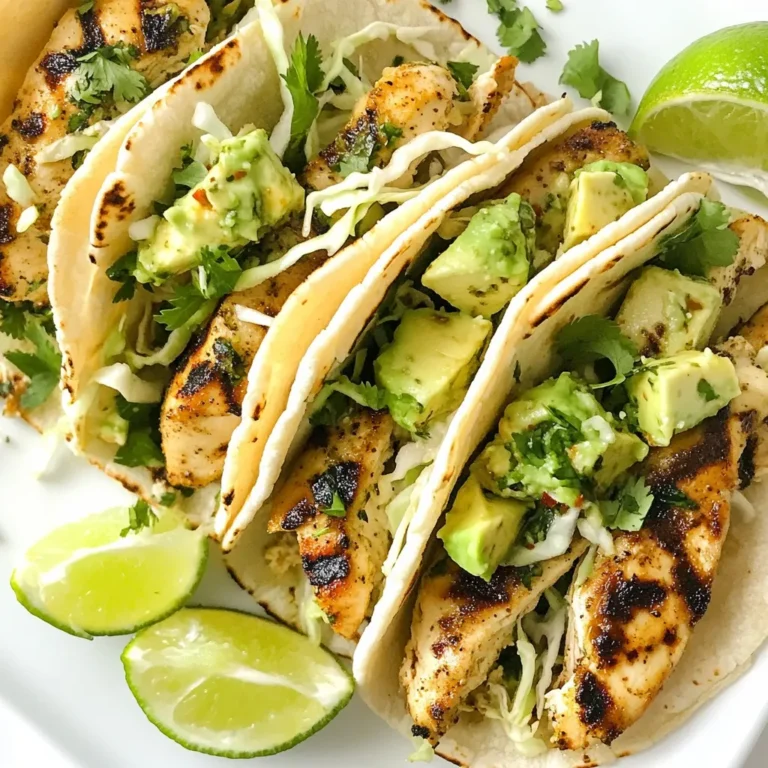
Coconut Lime Chicken Tacos Flavorful and Simple Meal
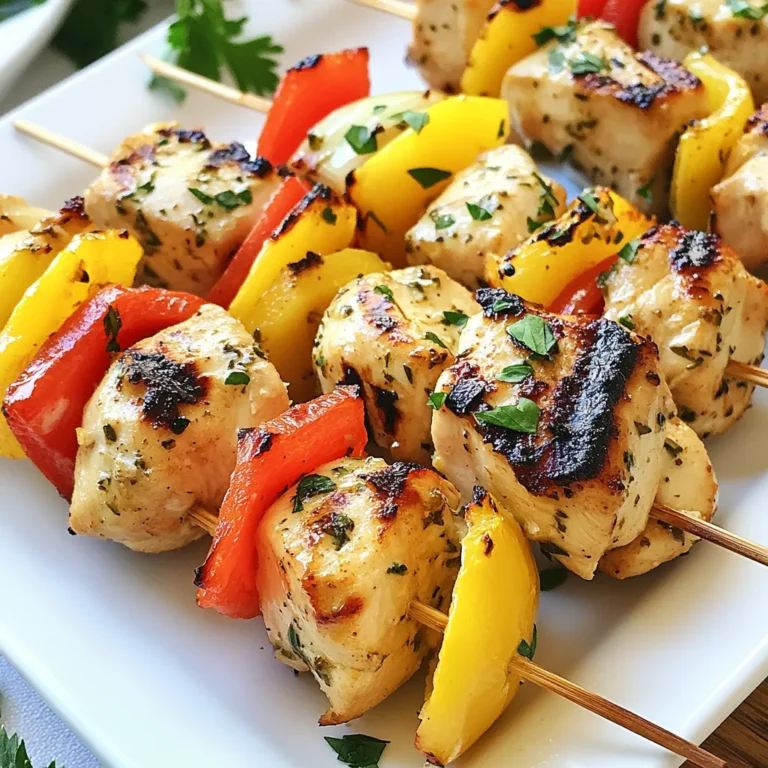
Lemon Herb Chicken Kabobs Flavorful Grilled Delight
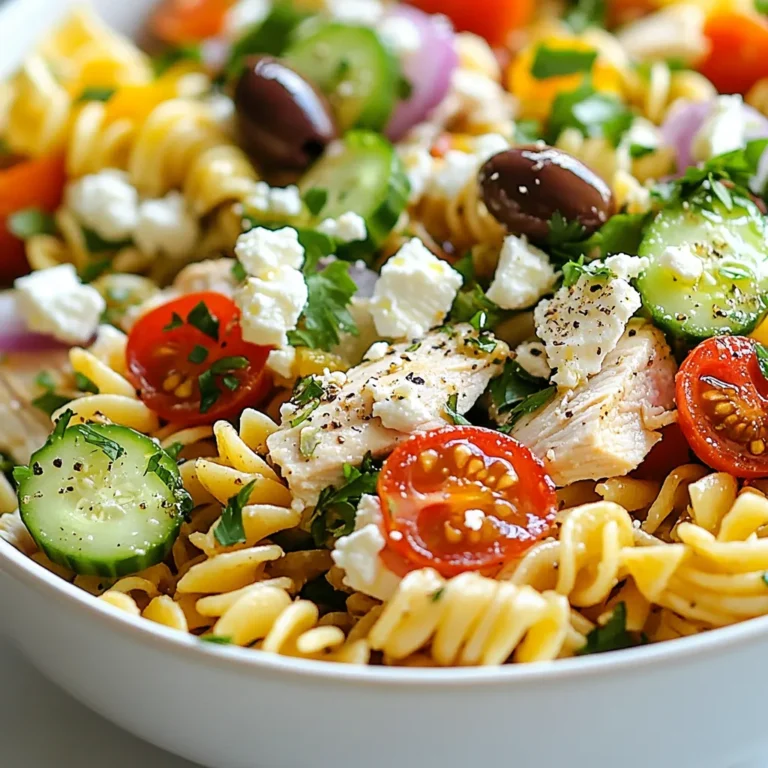
Greek Chicken Pasta Salad Flavorful and Fresh Dish
Sweet Chili Pineapple Chicken Flavorful Dinner Idea
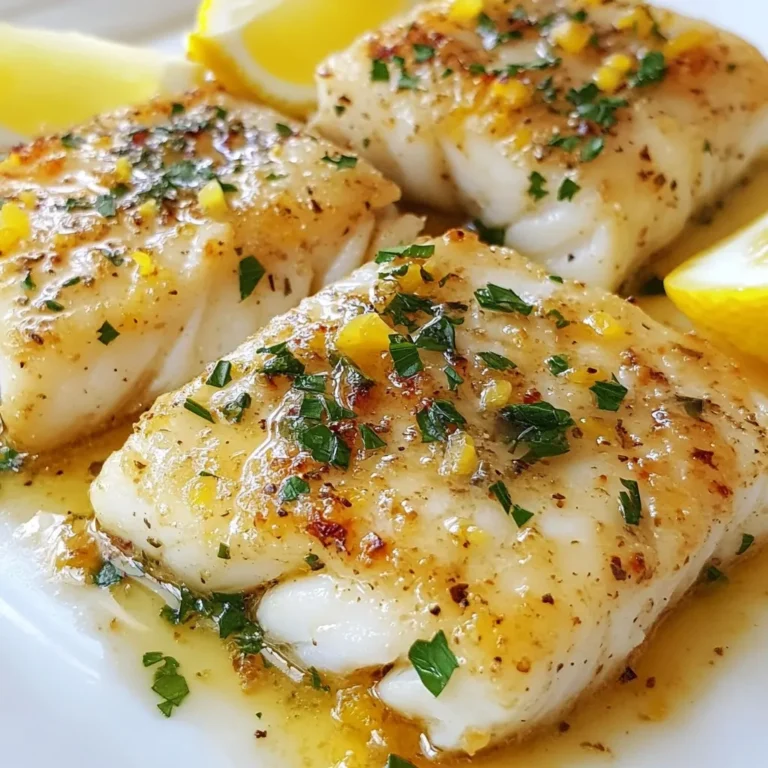
Garlic Lemon Butter Cod Tasty and Simple Dinner
Page navigation
Previous Page
Previous
1
…
51
52
53
54
55
…
64
Next Page
Next
Home
Dinner
Appetizer
Desserts
Drinks
About
Contact
Privacy Policy
Toggle Menu Close
Search for:
Search