Skip to content
About
Contact
Cookie Policy
Copyright Policy
Disclaimer
Search
Home
Dinner
Appetizer
Desserts
Drinks
About
Contact
Privacy Policy
Toggle Menu
Home
/
Dinner
- Page 56
Dinner
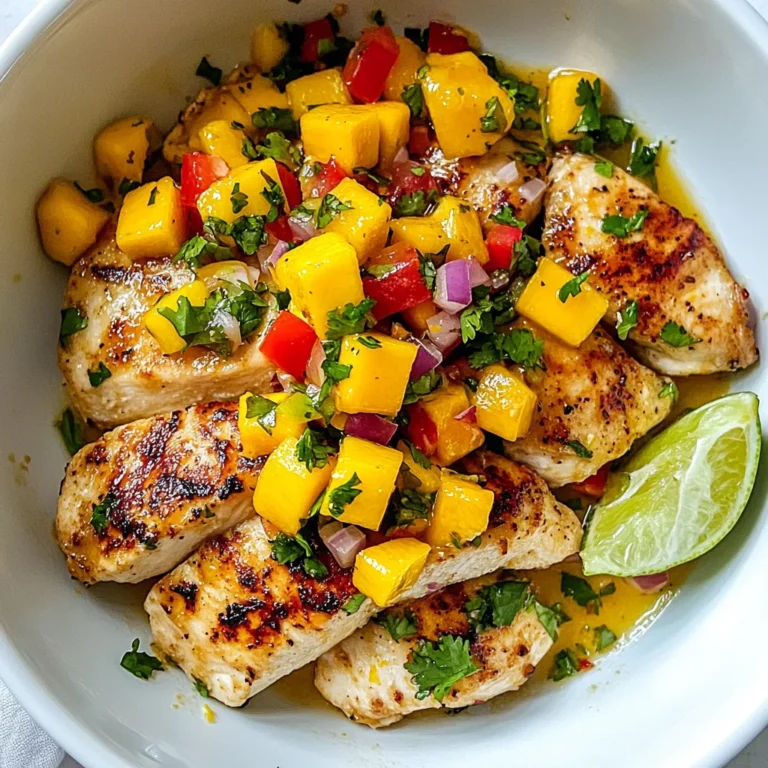
Mouthwatering Mango Salsa Chicken Easy Flavorful Dish
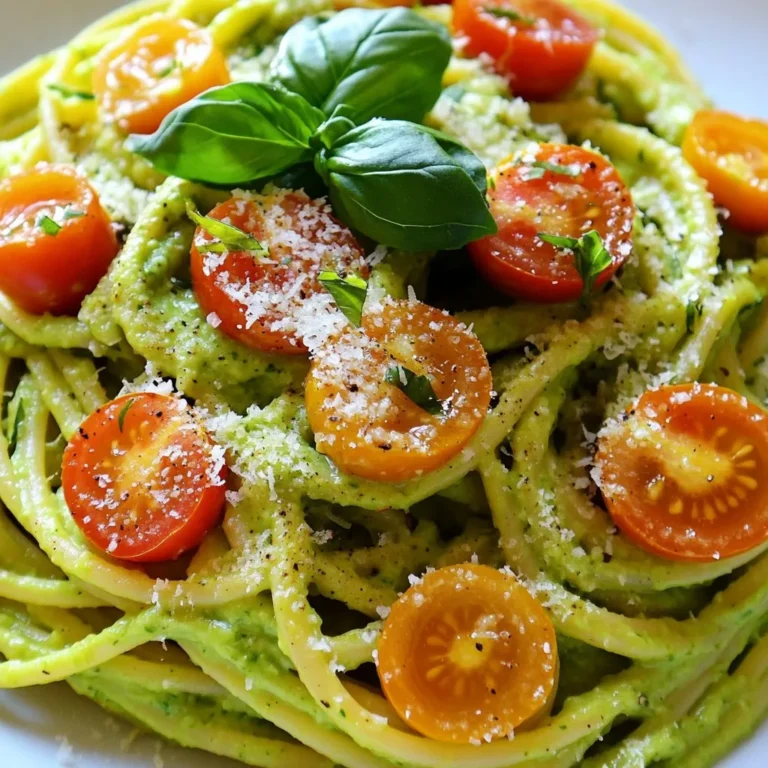
Creamy Avocado Lime Pasta Delicious and Easy Meal
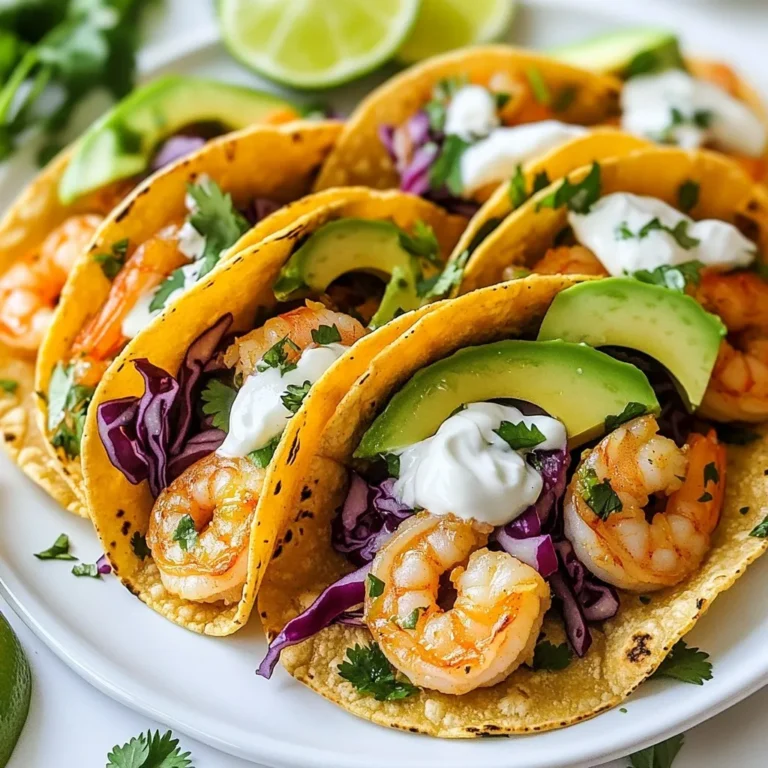
Cilantro Lime Shrimp Tacos Fresh and Flavorful Meal
Veggie Loaded Frittata Flavorful and Nutritious Meal
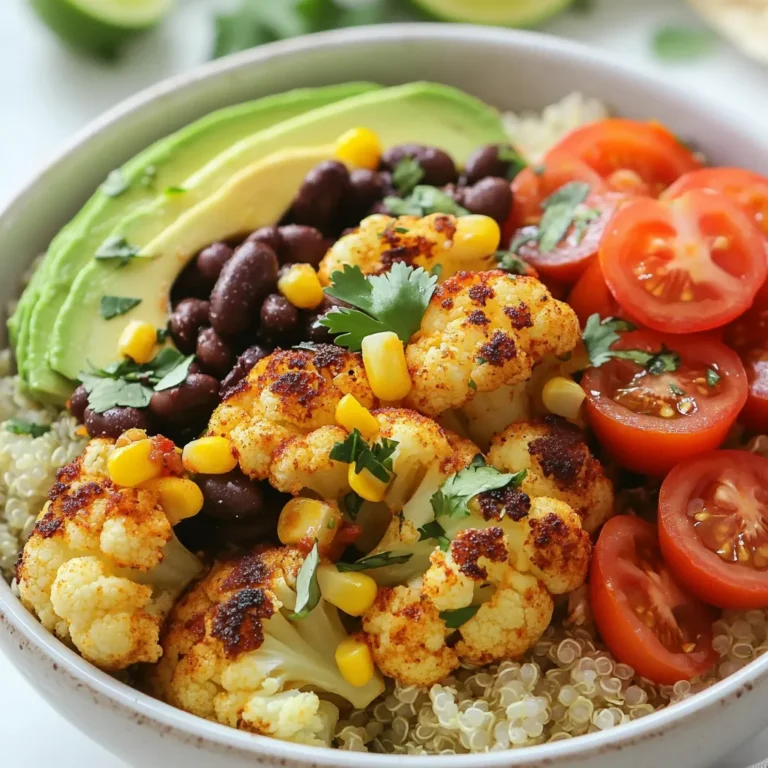
Roasted Cauliflower Taco Bowls Flavorful and Healthy Meal
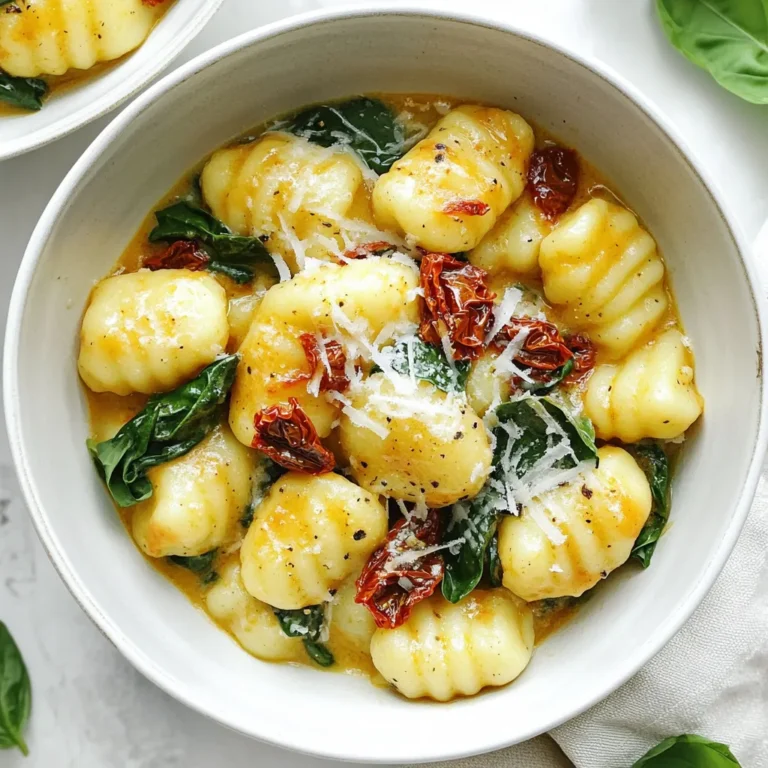
Creamy Sun-Dried Tomato Gnocchi Delightful Dinner Idea
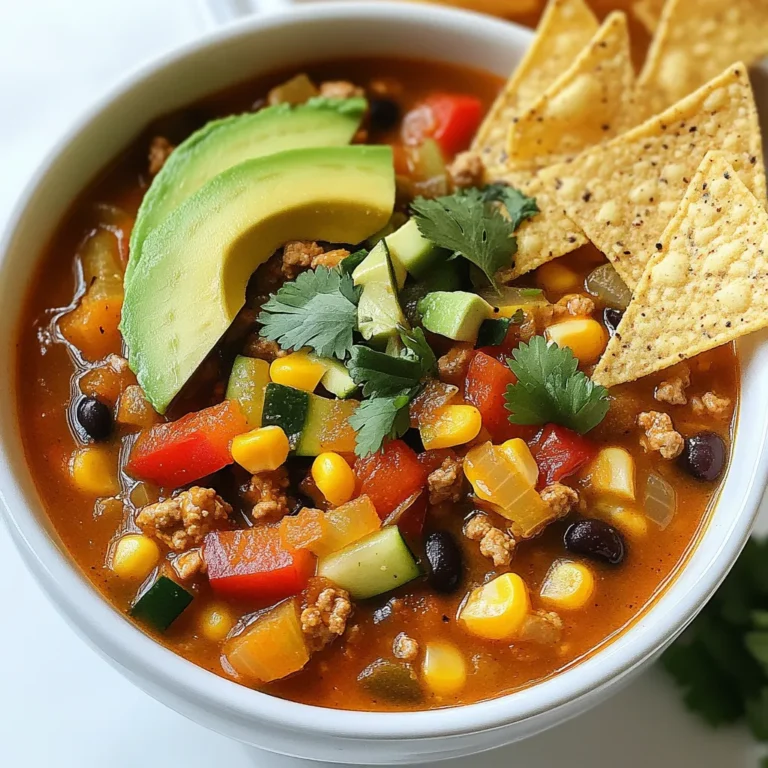
Veggie Loaded Taco Soup Flavorful and Healthy Meal
Veggie Packed Burrito Bowls Bursting with Flavor
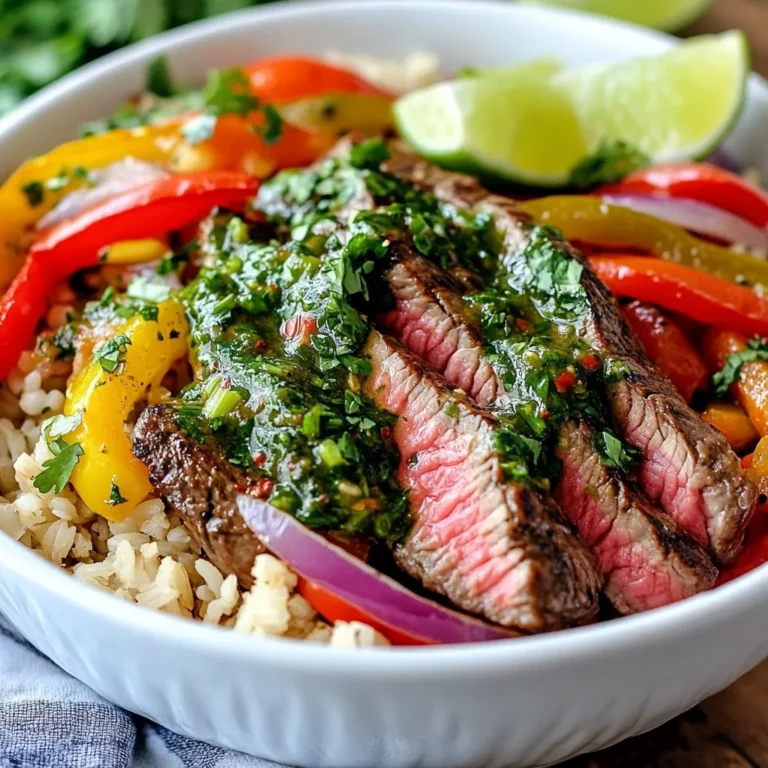
Chimichurri Steak Fajita Bowls Flavorful & Easy Meal
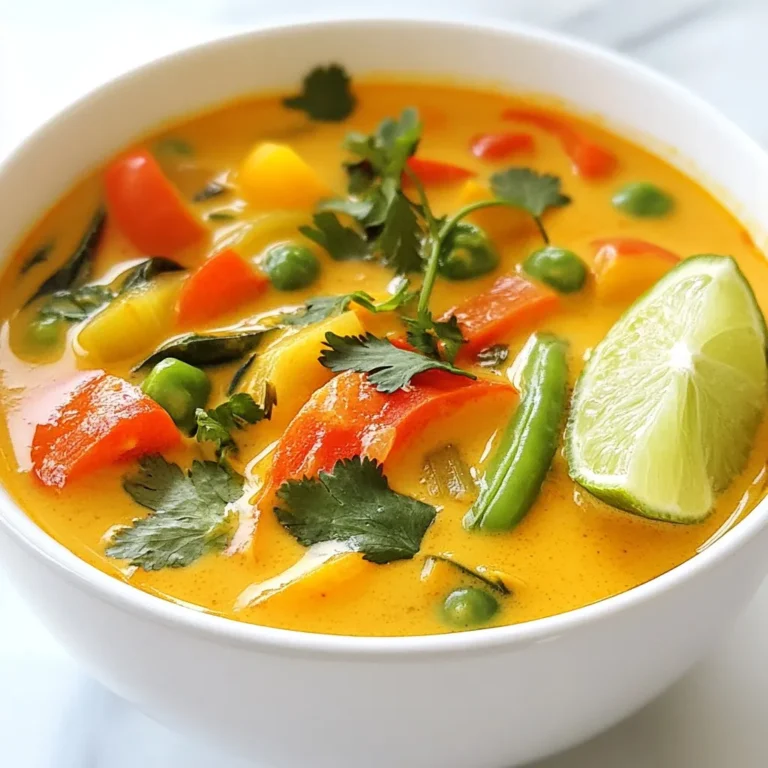
Vegan Thai Red Curry Soup Flavorful Comfort Meal
Page navigation
Previous Page
Previous
1
…
54
55
56
57
58
…
64
Next Page
Next
Home
Dinner
Appetizer
Desserts
Drinks
About
Contact
Privacy Policy
Toggle Menu Close
Search for:
Search