Skip to content
About
Contact
Cookie Policy
Copyright Policy
Disclaimer
Search
Home
Dinner
Appetizer
Desserts
Drinks
About
Contact
Privacy Policy
Toggle Menu
Home
/
Dinner
- Page 59
Dinner
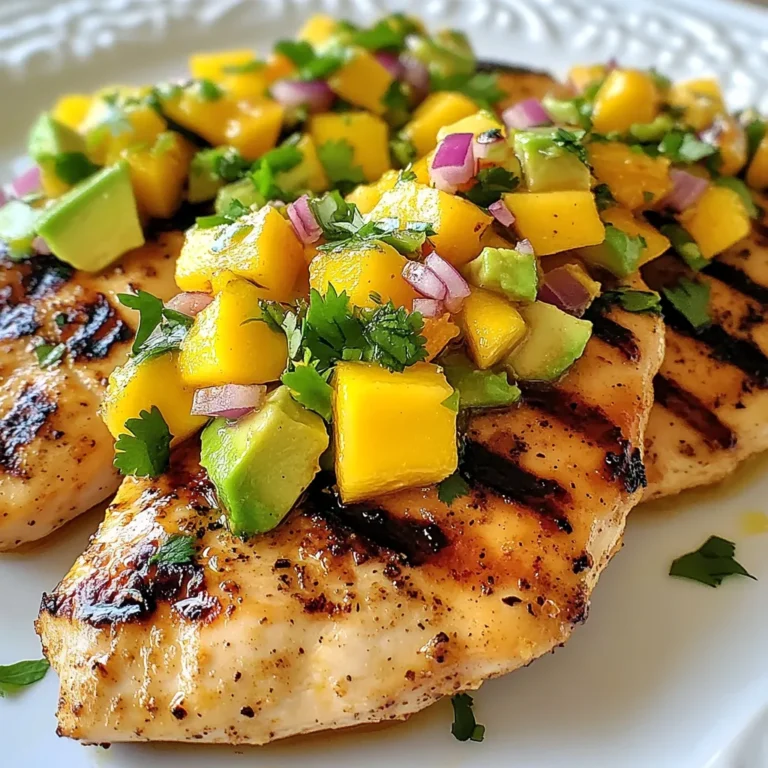
Mango Avocado Salsa Chicken Flavorful Dinner Recipe
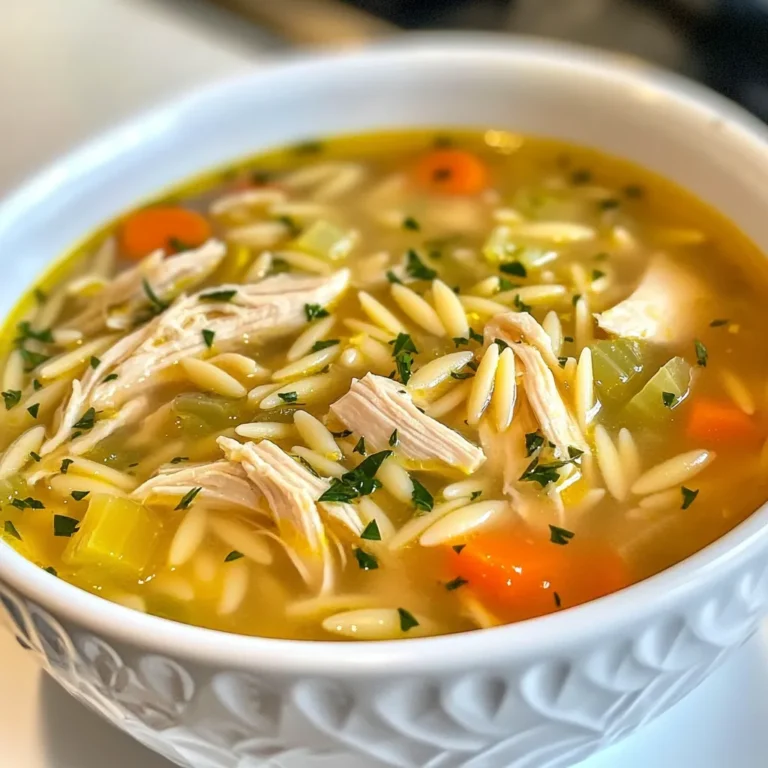
Zesty Lemon Chicken Orzo Soup Quick and Tasty Meal
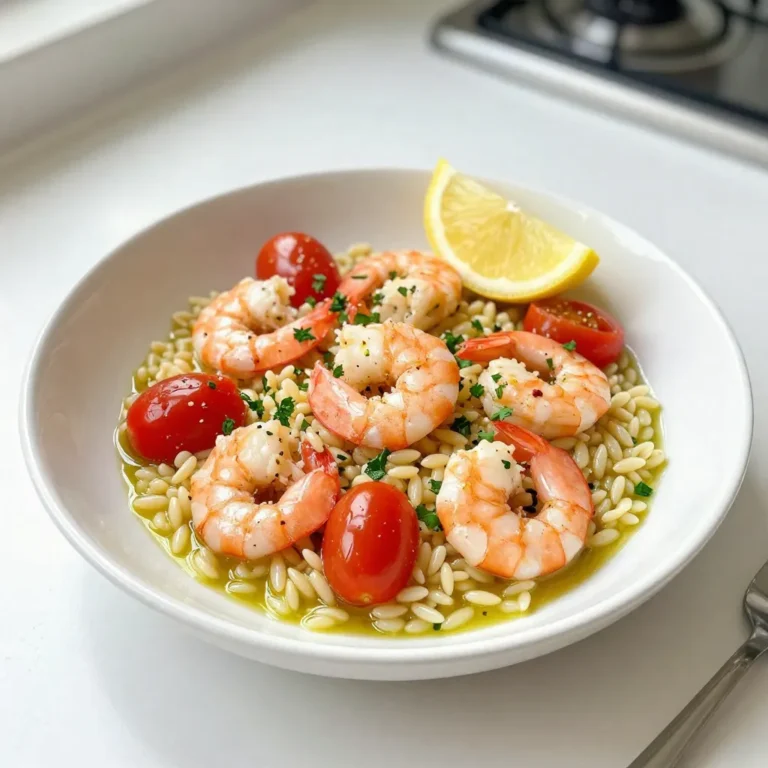
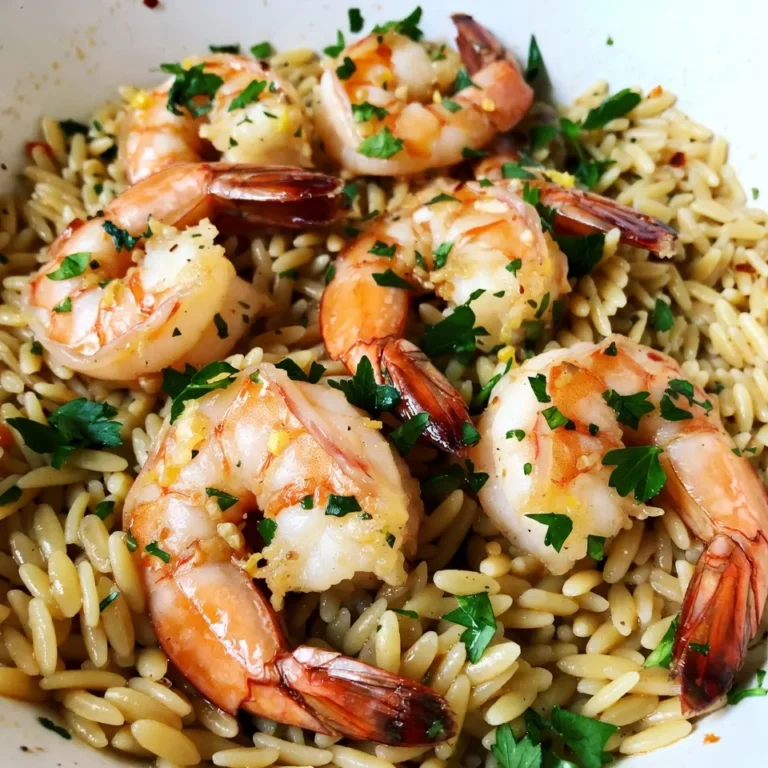
Lemon Garlic Orzo with Shrimp Flavors You’ll Love
Pesto Chicken Stuffed Shells Delicious Dinner Idea
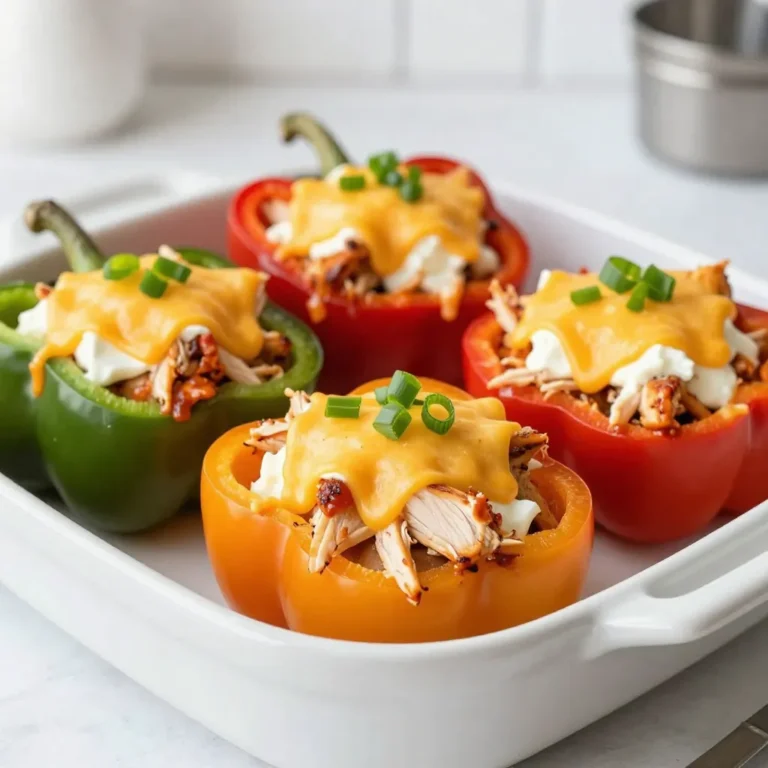
Buffalo Chicken Stuffed Peppers Flavorful and Simple Dish
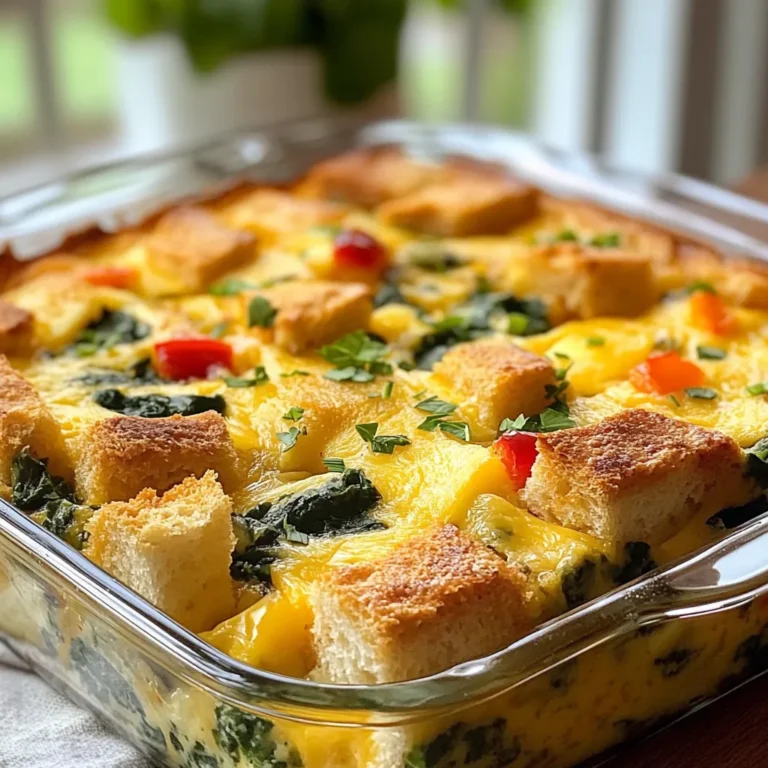
Cheesy Spinach Breakfast Casserole Tasty and Quick Meal
Lemon Garlic Shrimp Orzo Flavorful and Easy Recipe
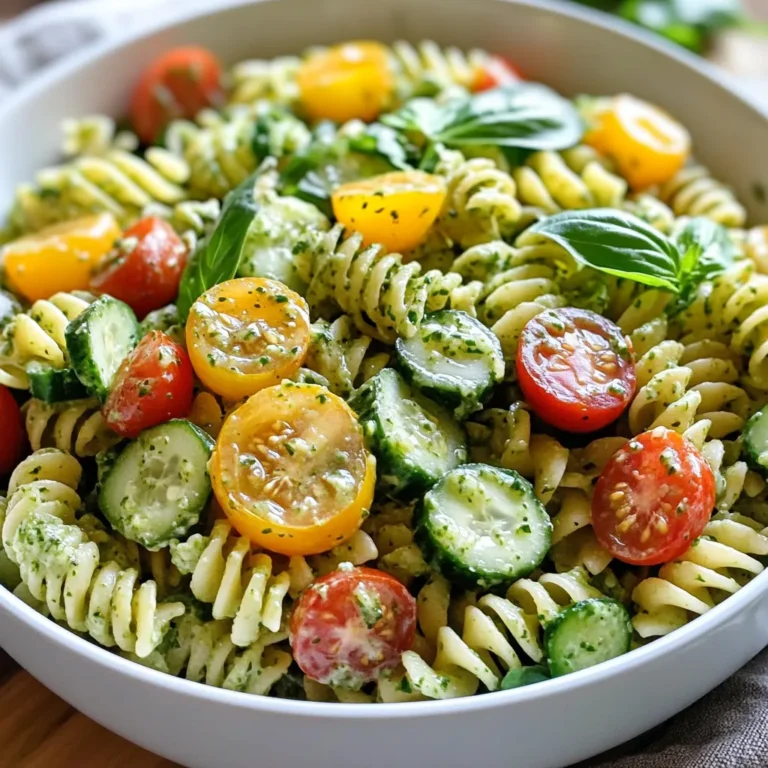
Green Goddess Pasta Salad Fresh and Healthy Delight
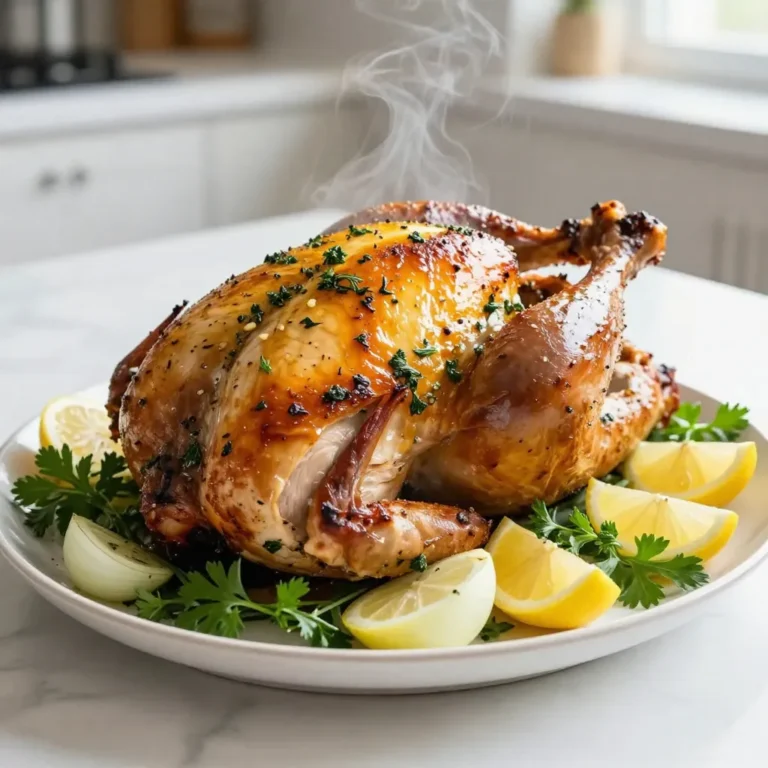
Garlic Herb Roasted Turkey Breast Savory Meal Idea
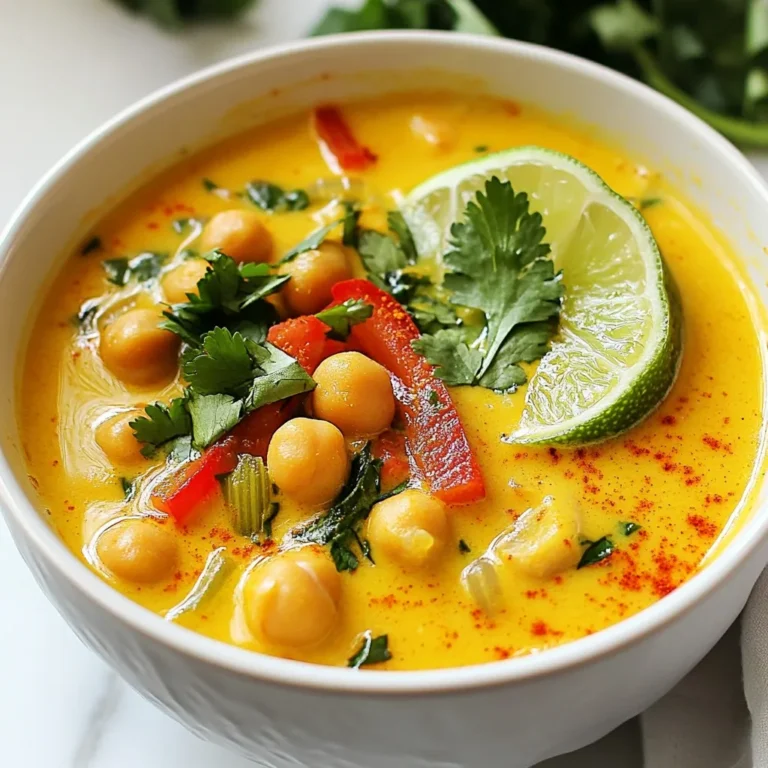
Curry Coconut Chickpea Soup Flavorful and Easy Recipe
Page navigation
Previous Page
Previous
1
…
57
58
59
60
61
…
64
Next Page
Next
Home
Dinner
Appetizer
Desserts
Drinks
About
Contact
Privacy Policy
Toggle Menu Close
Search for:
Search